Integrating Wrike With LambdaTest
Wrike is a SaaS(Software-As-A-Service) Product Management software. You can manage and track your projects, deadlines, and other workflow processes. It also allows inter-team communications, and therefore used by many developments, as well as testing teams to keep track of their work and teams. Wrike also provides the ability to track bugs effectively.
LambdaTest Wrike integration helps you in creating issues in Wrike directly from the LambdaTest platform. LambdaTest now allows you to integrate your Wrike workspace with simple one-click. You can push annotated issues to a project of your choice, assign it to the required teammate, set the priority, and attach screenshots in the middle of the test session. After creating the issue, it gets reflected directly in your project's workspace on Wrike with the details of the test session along with the annotated screenshot.
Wrike Integration with LambdaTest, like all of the integrations to 3rd party applications, is available for freemium as well as premium plan.
Integrate Wrike With Your LambdaTest Account
Step 1: Login to your LambdaTest account. You need to have an Admin or User level access to see and install 3rd party integrations.
Step 2: Select ‘Integrations’ tab from the left navigation menu bar. This will guide you to a screen where you will find a list of 3rd party applications, that have already been integrated as well as that are available to integrate with your LambdaTest account. 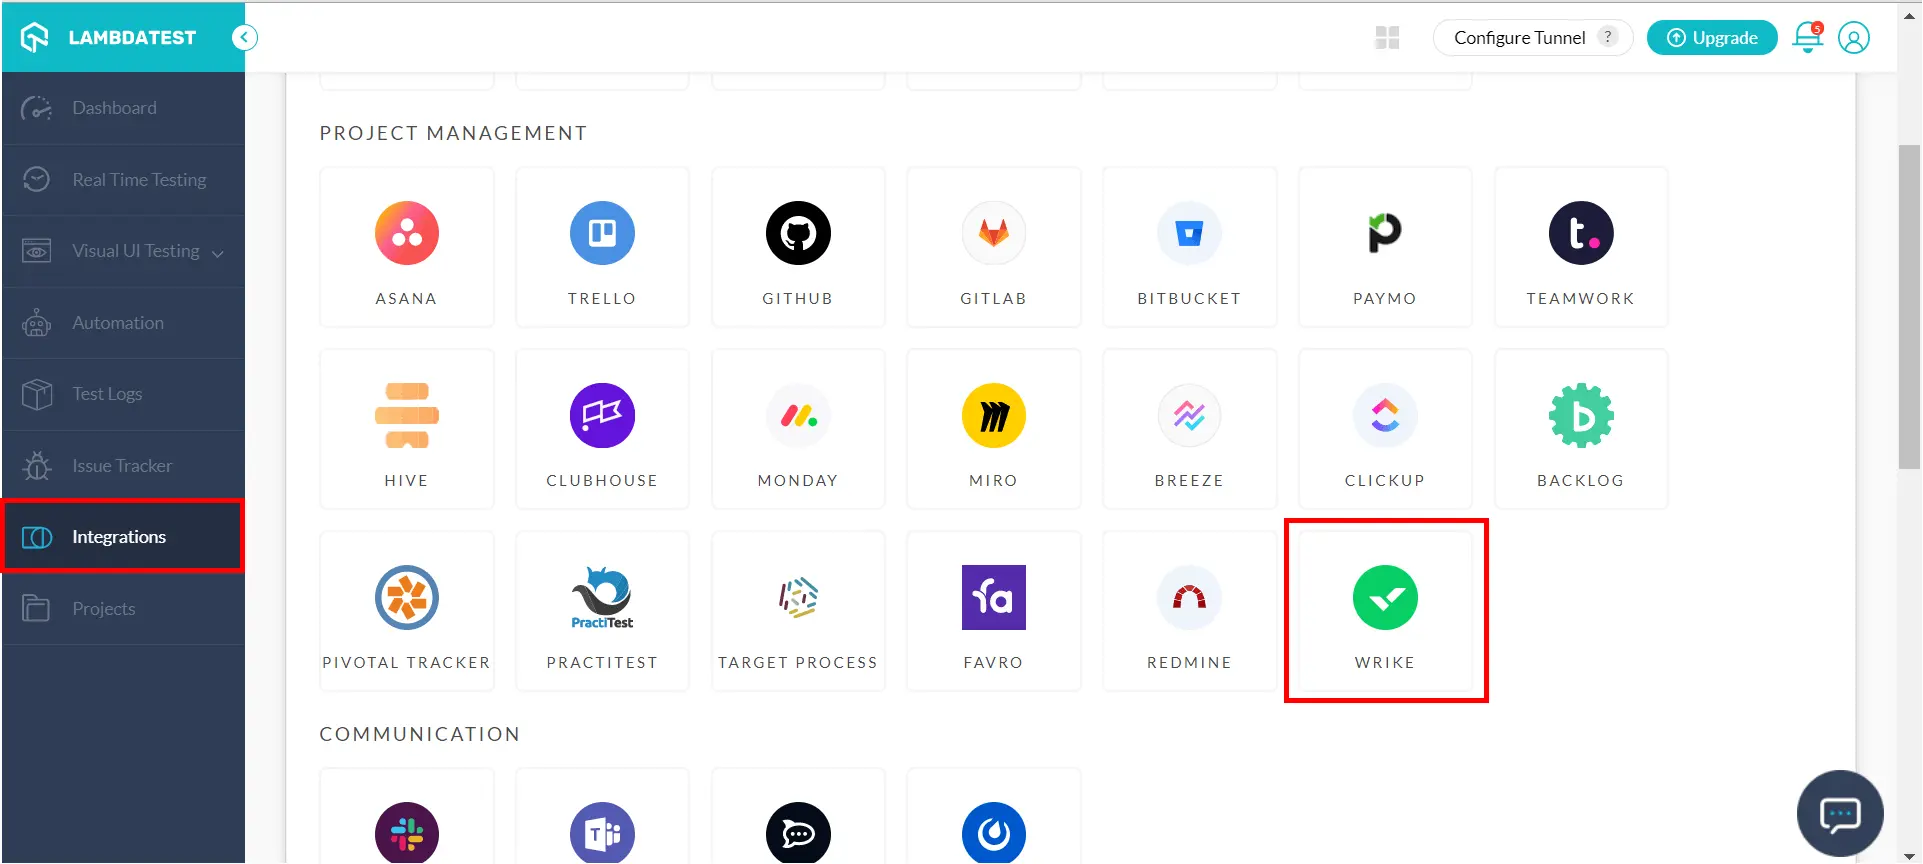
Step 3: Hover to the 'Wrike' block under "Project Management" category, and click on "Add" button that appears. 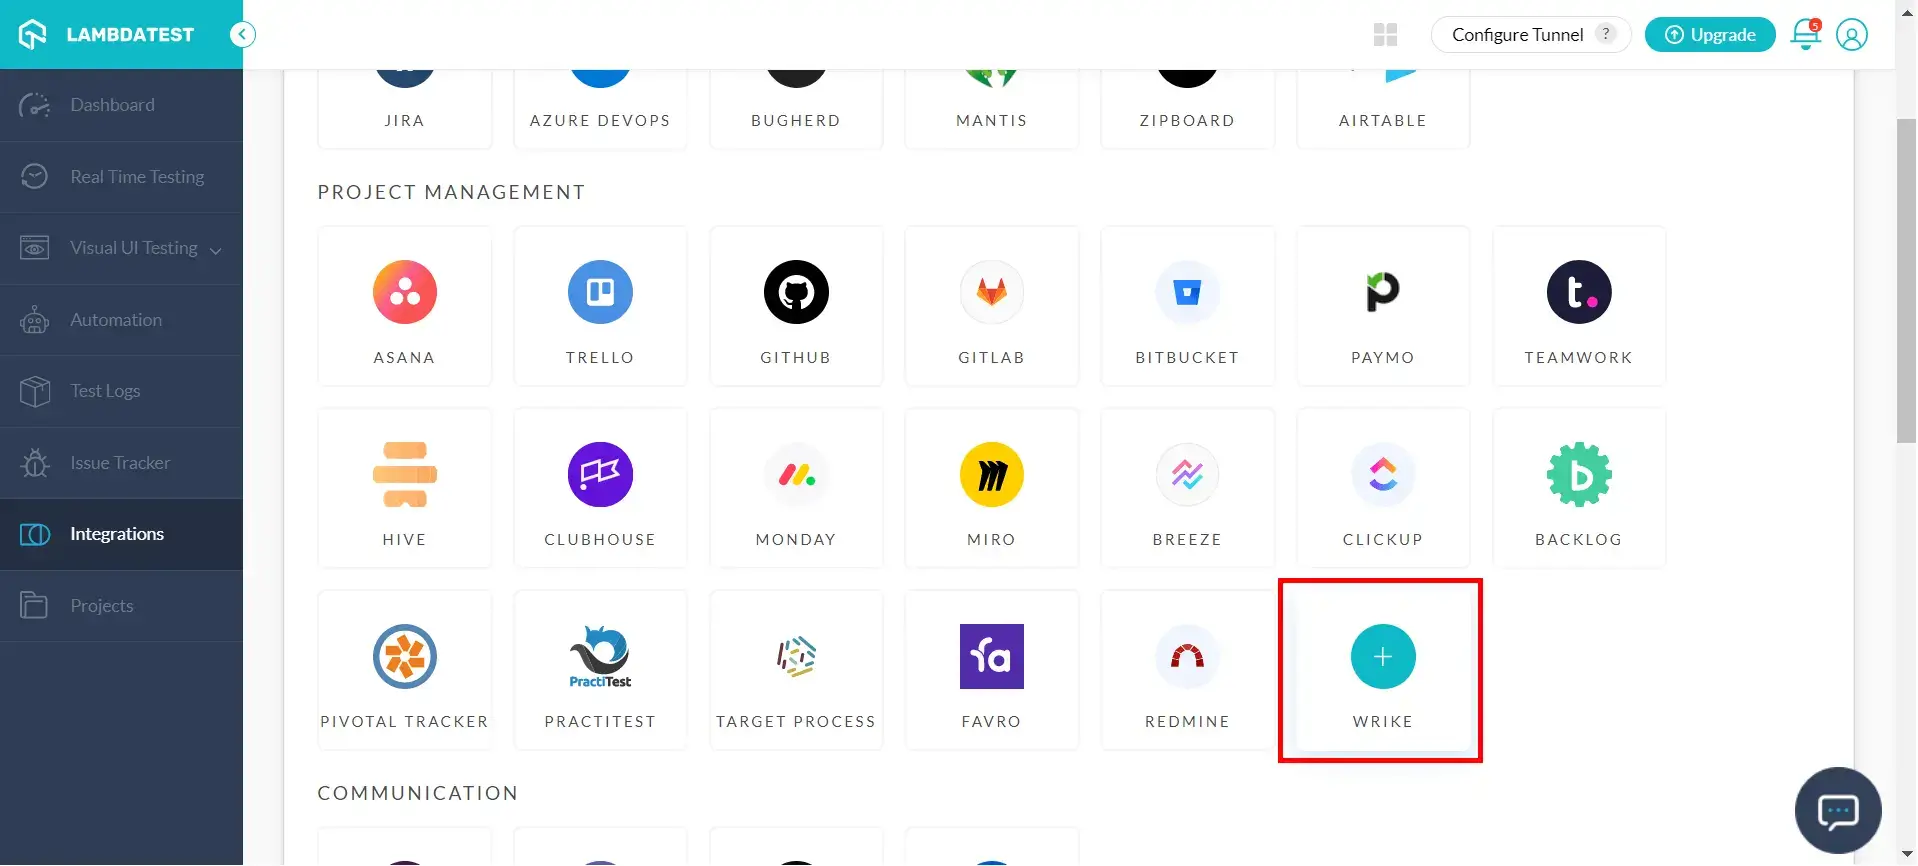
Step 4: You need to create an account on Wrike to integrate your workspace with LambdaTest. If you don't have an account, you can create one even in the middle of this integration in the this step. If you are already logged in, this step won't appear in the integration process. 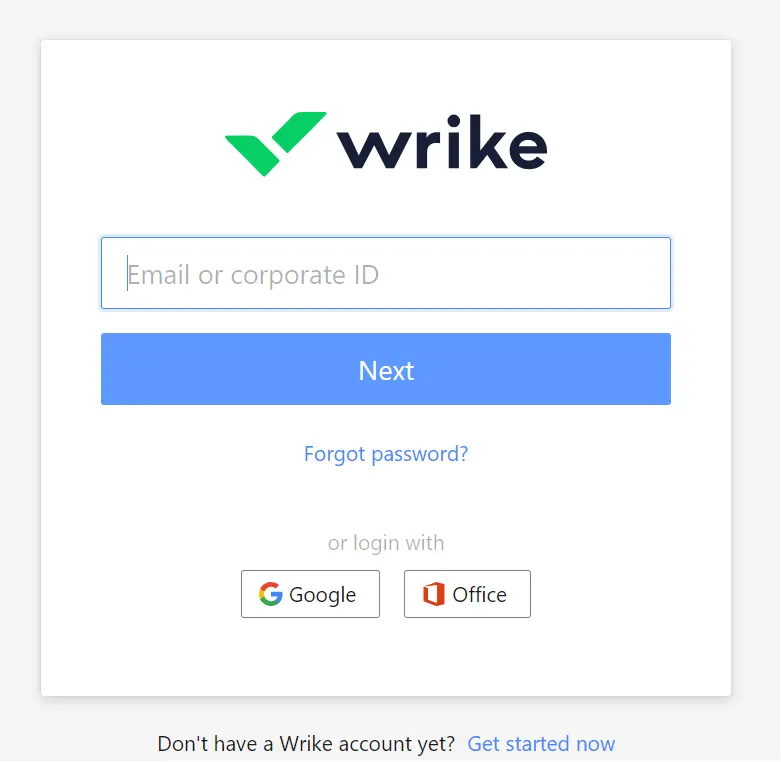
Step 5: Review the privacy policy and click on "Accept". 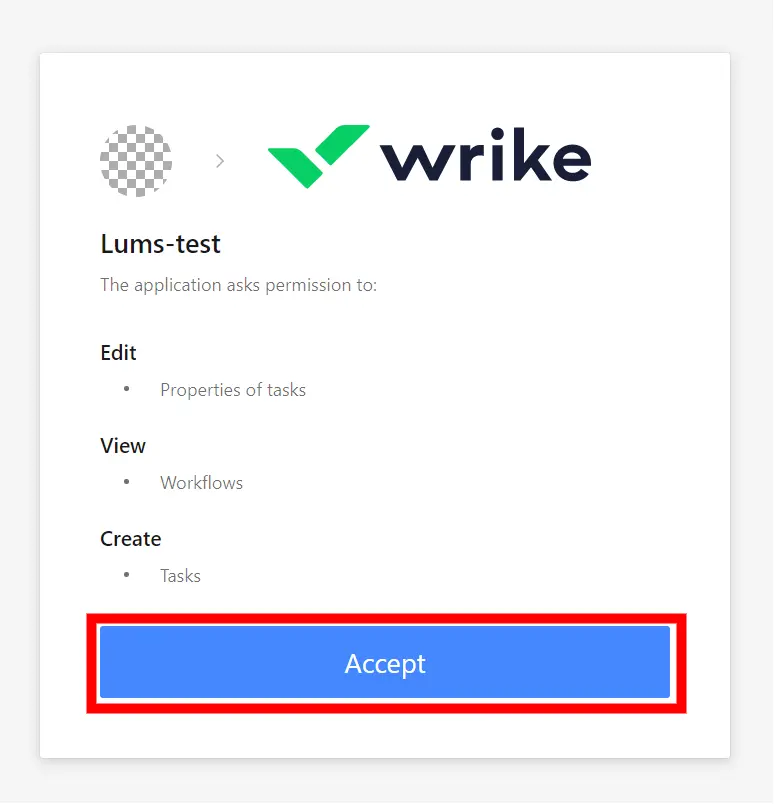
Step 6: Once you press on "Accept", Wrike will be integrated with LambdaTest on the same account, and an alert-box will appear on the top right corner of the screen stating that the integration is successful. 
Step 7: Congrats! Wrike has been successfully integrated. Go to Integrations tab again and you will see Wrike under the "My Integrations" tab. 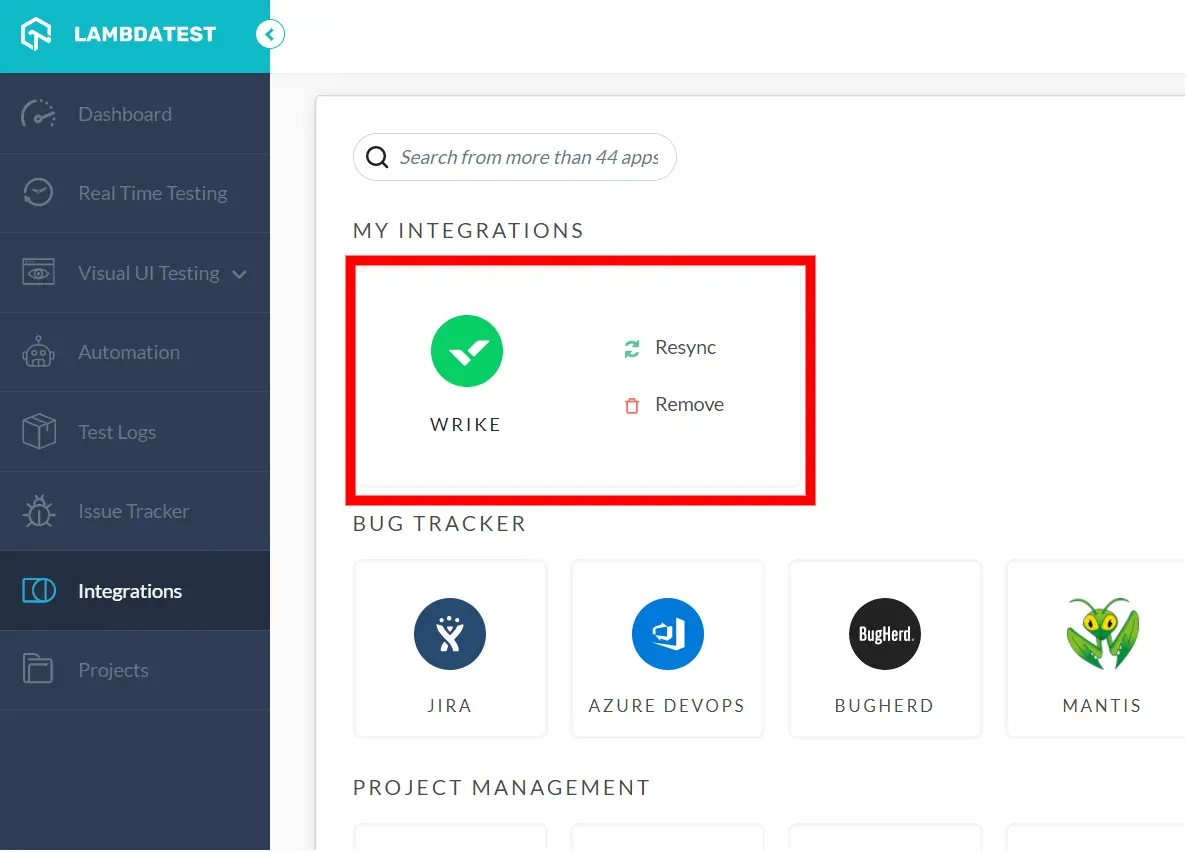
Also, you can see a green tick in front of Wrike under Project Management category, indicating that Wrike has been successfully installed.

How To Log Your First Bug Through Wrike Integration?
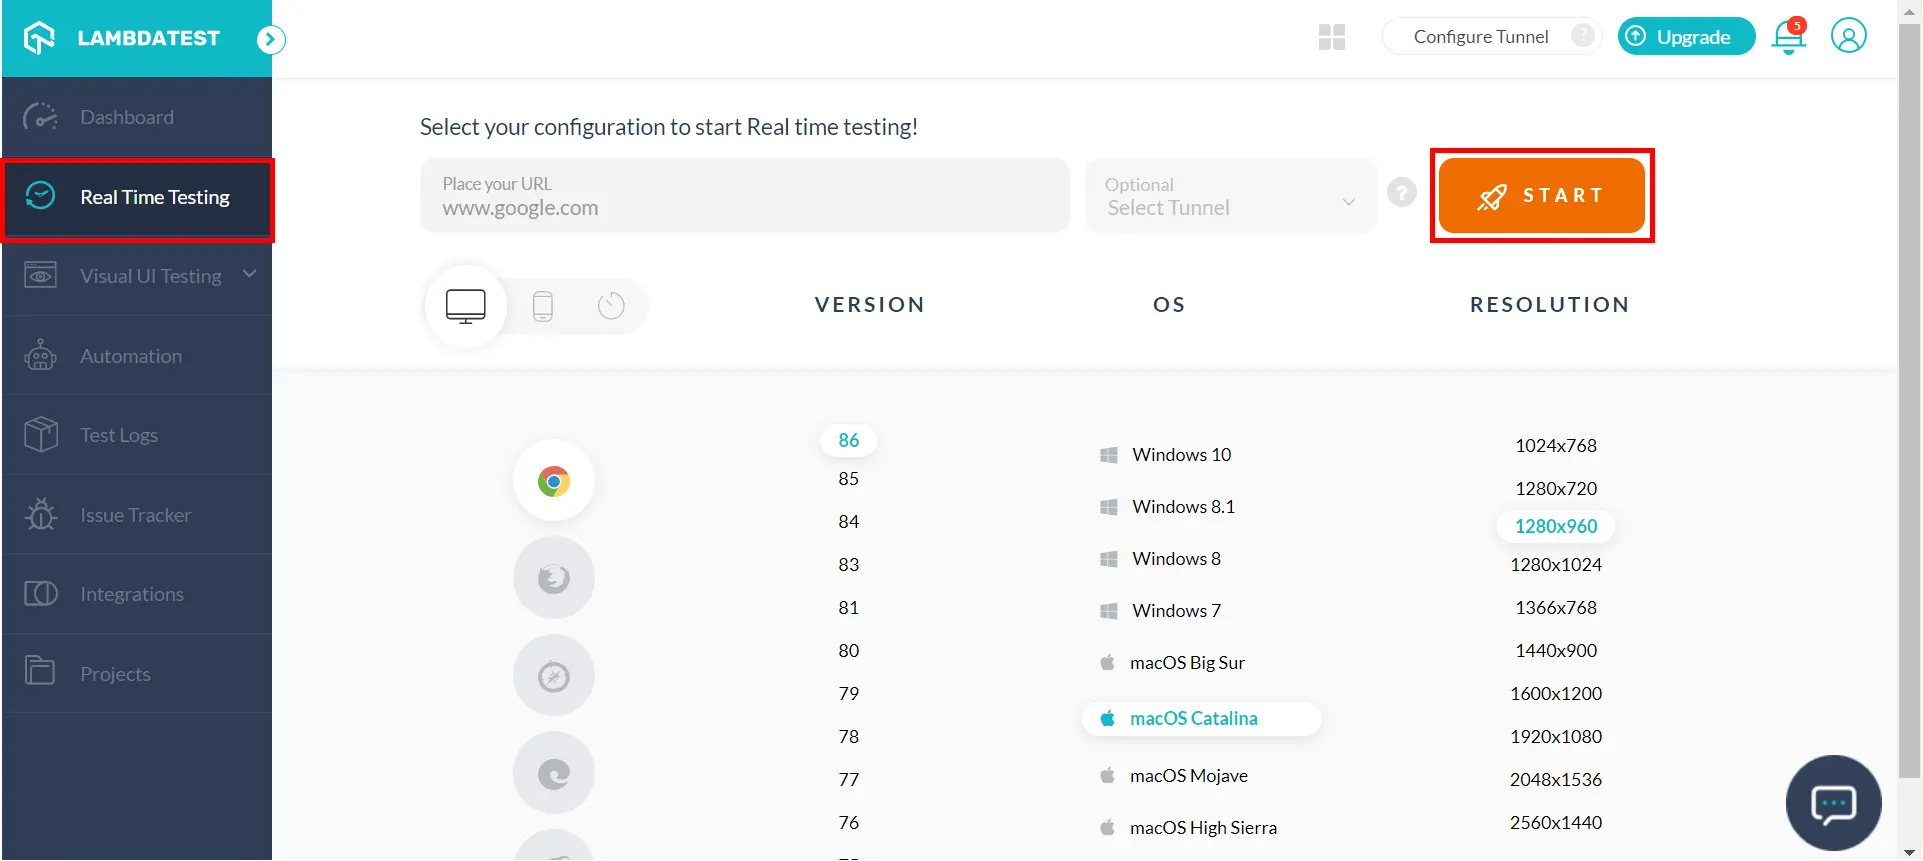
Step 1: Select any of the test from the left navigation menu of LambdaTest. For this instance, we will be taking "Real Time Testing" option.
Step 2: Enter the URL of the web-app to be tested in the URL box. Press 'Start' after selecting the configuration of browser and operating system as per your choice.
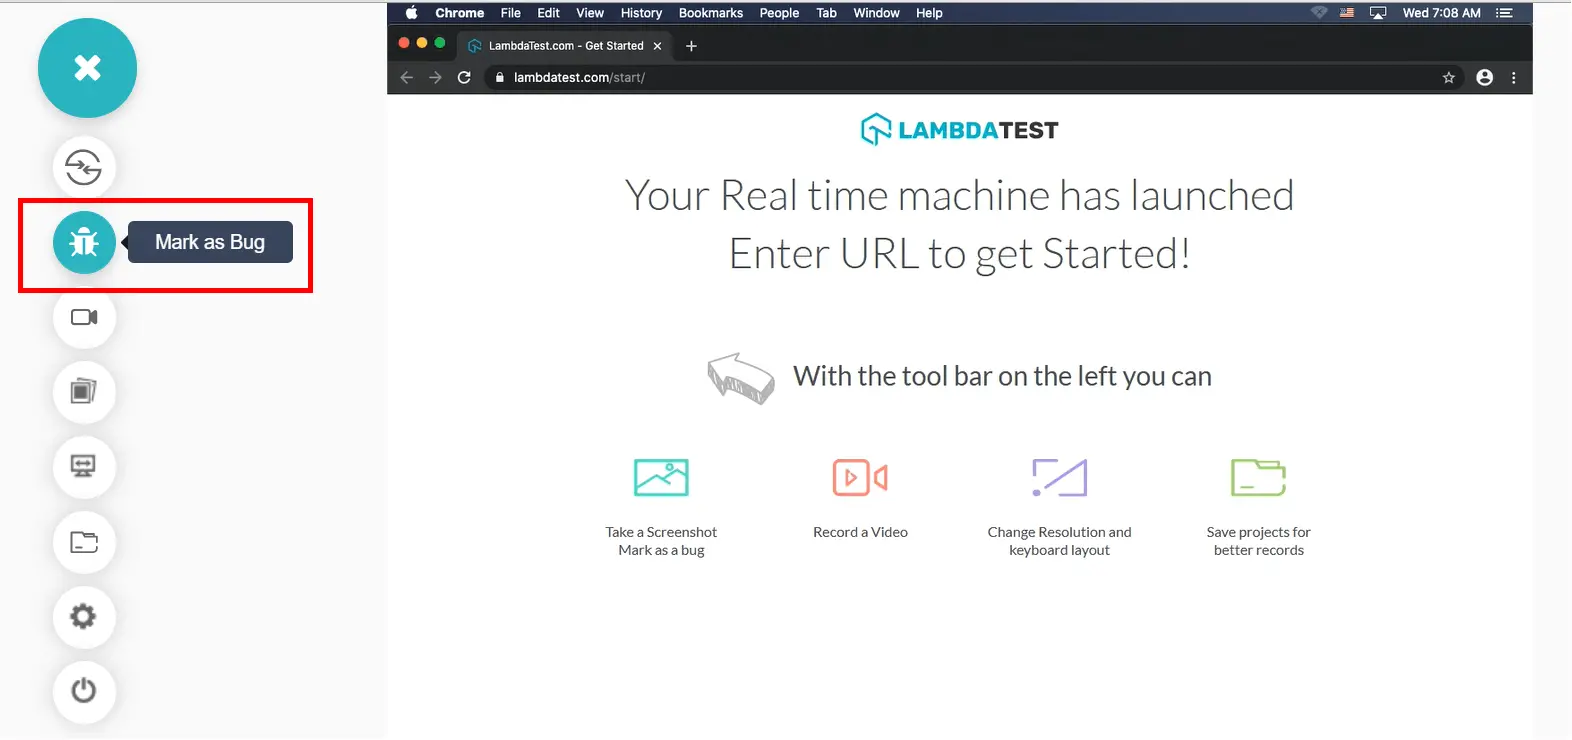
Step 3: After the VM is launched and operable, you can perform testing on your web-app as per your choice, such as for finding issues. Suppose if you come across any bug, then you need to click on the Bug icon from the left panel, for capturing a screenshot of the current VM instance.
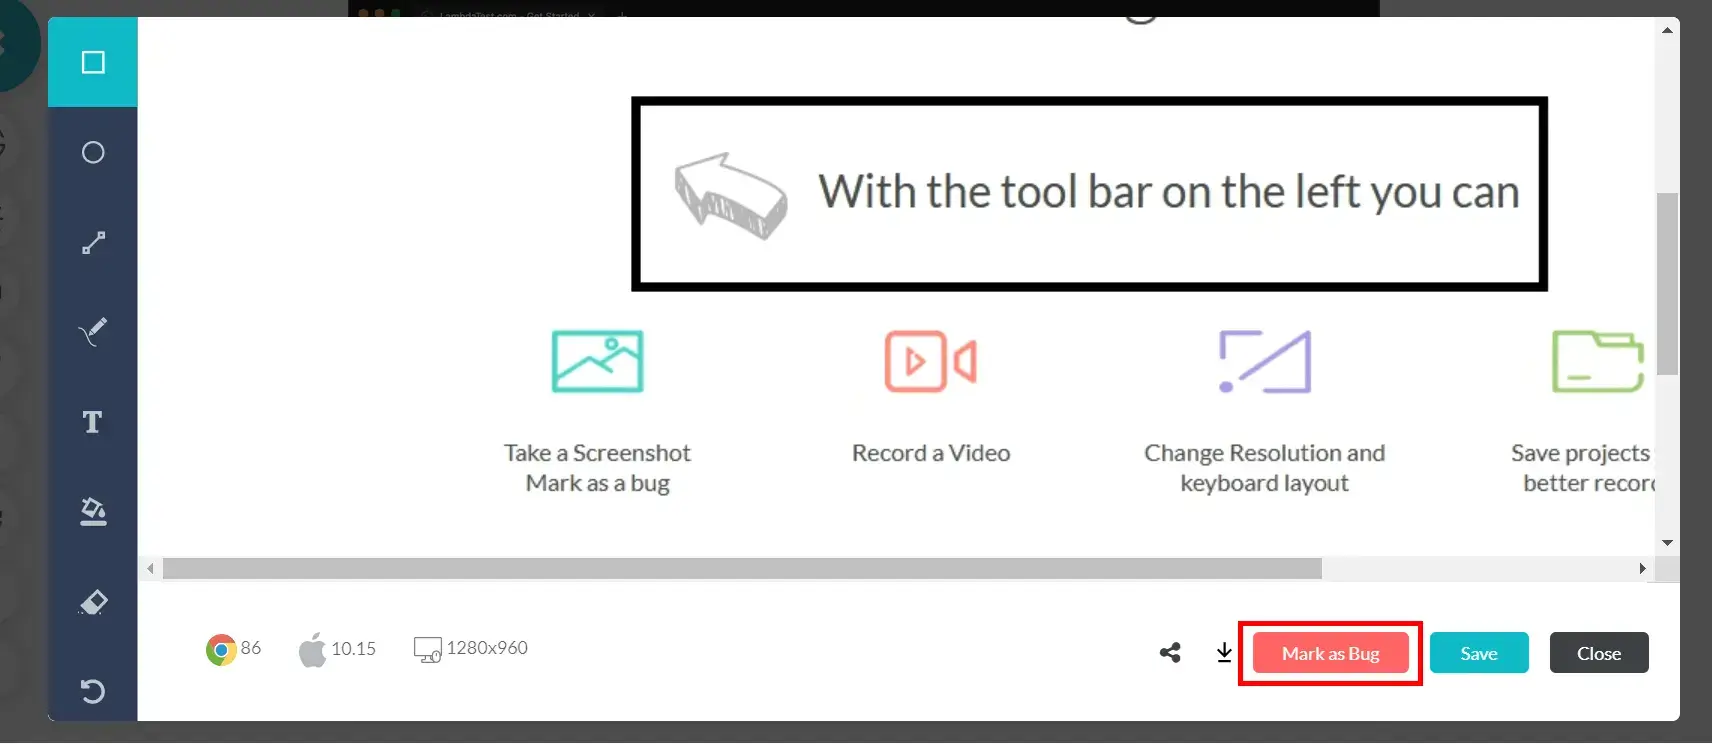
Step 4: A screenshot will be captured and appear on your screen in an in-built image editor. Annotate any issue as per your choice in this editor, and then press "Mark as Bug" button.
Step 5: Complete the Bug/Task/Issue Form that appears upon clicking the "Mark as Bug" button, as per your requirement:
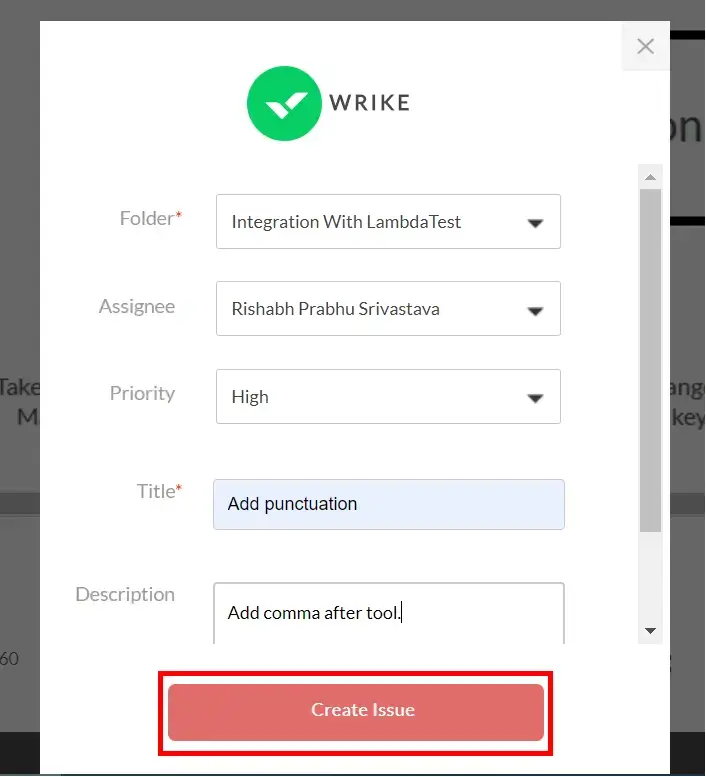
- Select the Folder from your Wrike workspace, in which you want to create this issue.
- You can assign the bug to a member of your team or yourself, by selecting from the drop-down of field 'Assignee'.
- Set the Priority of the bug as per convenience.
- Give a title to your bug in the "Title" field.
- Also, post an optional description to help the assignee with the bug tracking.
Now click on "Create Bug" button create the bug and send the bug directly to selected project.
Step 6: After you click on "Create Bug", you will be able to observe it being successfully marked through a single click effort. You will get prompt messages on top of your Virtual Machine indicating the progress of bug logging. After few seconds you will be notified with a prompt message "Bug successfully marked" indicating that the screenshot has been pushed to your Wrike workspace.

Step 7: Login to your workspace on Wrike and you will be able to notice the marked bug in the set channel assigned to the selected person. All the data you provided through LambdaTest form would already be presented in it. LambdaTest automatically includes test environment details and related screenshots in the screenshot as attachments.
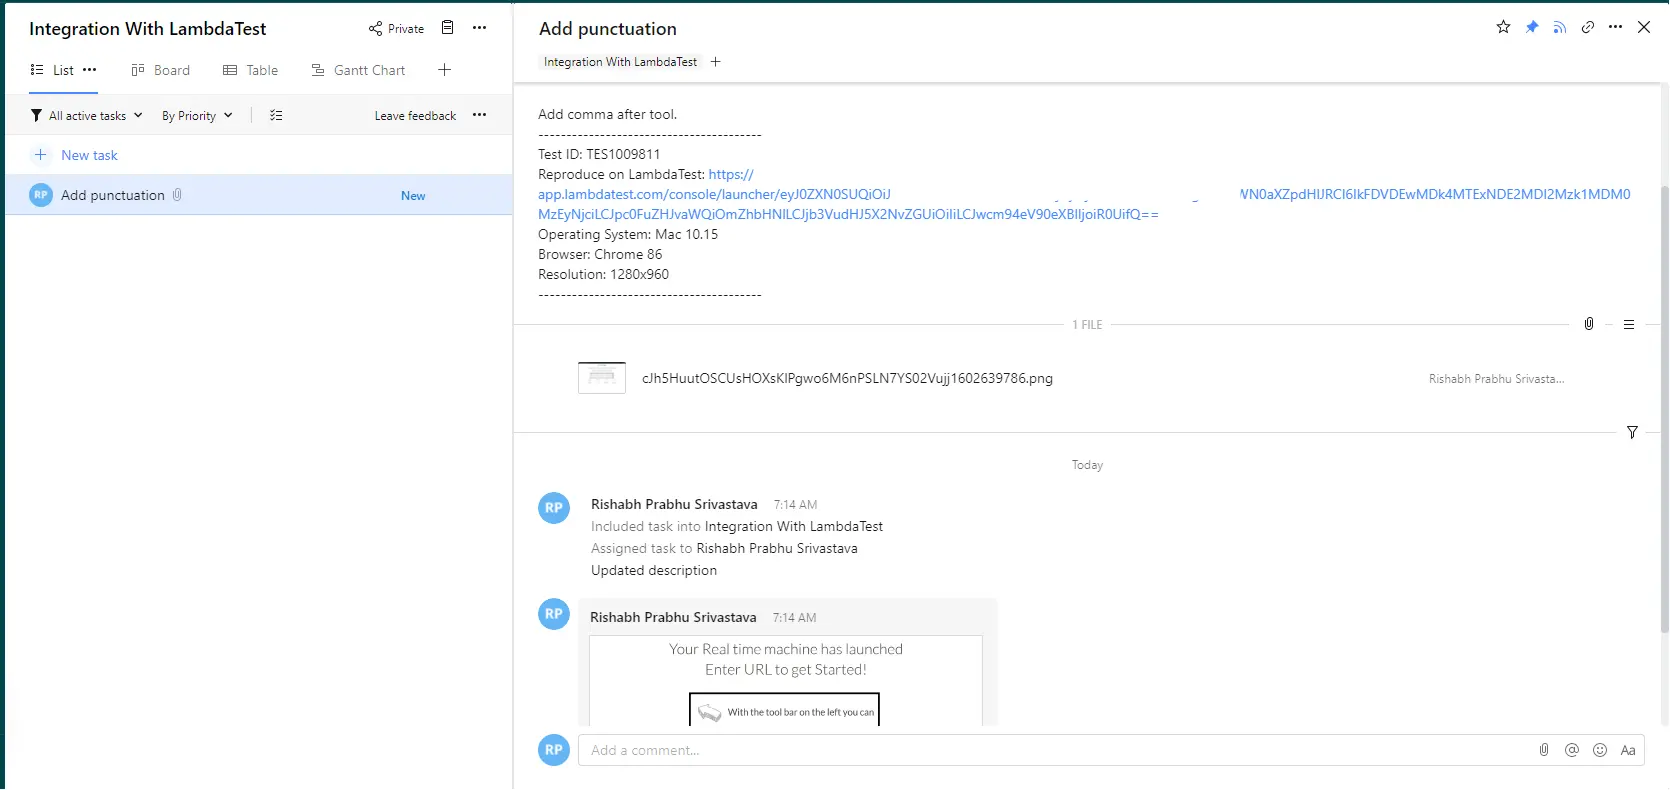
A clickable link will be provided in the Wrike channel along with the screenshot to instantly route users on their browser for a full screen view of the bug.
How To Remove Wrike Integration?
You can work with one integration at a time. So if you would want to integrate to a similar 3rd party application, then you would have to remove your current integration. Here is how you can do that.
Step 1: Login to your LambdaTest account.
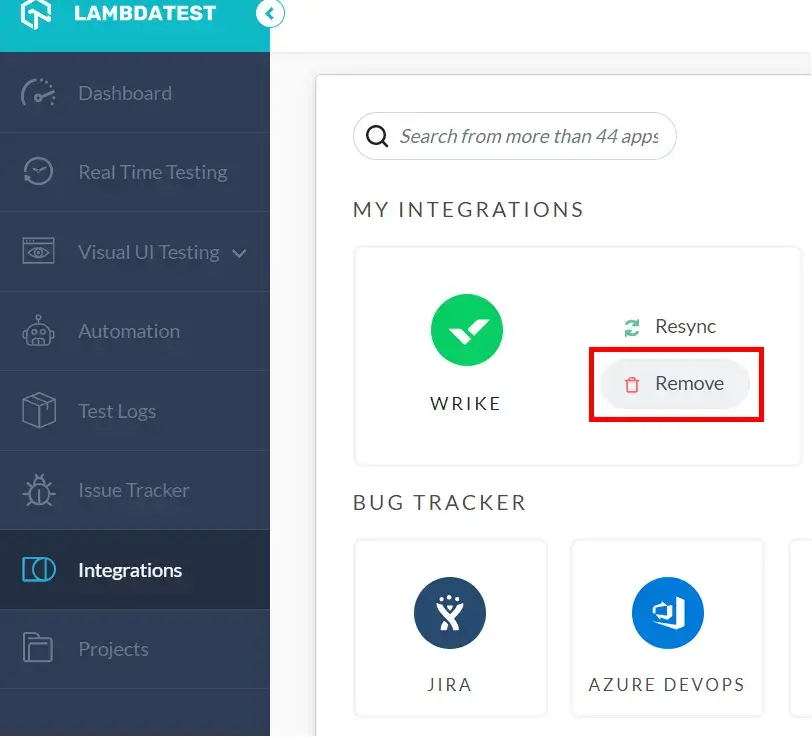
Step 2: Select ‘Integrations’ from the left navigation menu bar & go to 'Product Management' category. This will guide you to a screen where you will find 3rd party applications, available to integrate with your LambdaTest account. You can also remove it using the 'My Integrations' tab on the Integrations tab.
Step 3: On the Wrike block. A "REMOVE" button will appear. Click on ‘REMOVE’.
Step 4: Upon pressing 'REMOVE', a message will prompt on the top right corner of the app stating the same.

That was all you need to know for LambdaTest + Wrike Integration. Increase your productivity multifold with our integrations. If you still have any questions for us, please feel free to let us know. Our experts are always available on chat to help you out with any roadblock regarding our product. Happy testing!