- Automation
- Home
- /
- Learning Hub
- /
- XCUITest Tutorial
- -
- June 13 2023
XCUITest Tutorial: A Detailed Guide To XCUITest Framework
XCUITest is a test automation framework to automate UI testing of iOS applications.
OVERVIEW
In today's digital era, ensuring the seamless functionality of iOS applications is of paramount importance. Enter XCUITest, a test automation framework developed by Apple in 2015, specifically designed for automating UI testing of iOS applications. A key component of Apple's XCTest, an integrated test framework for Xcode, XCUITest allows developers to write automated UI tests in Swift or Objective-C programming languages for native iOS & macOS applications. Often hailed as one of the best mobile app testing frameworks, XCUITest is easy to maintain, helps avoid test flakiness, and significantly enhances the overall continuous integration (CI) process.
The benefits of using XCUITest for iOS testing are manifold. For one, it requires no installation, as Xcode comes pre-equipped with everything you need to start mobile automation testing. Moreover, the framework supports native iOS language, fostering confidence in developers when creating UI tests, and facilitating better collaboration between developers and testers. XCUITest's tailored focus on UI testing ensures faster, reliable, and non-flaky test execution. It also supports the Xcode UI test recorder for interface recording and test code generation. Lastly, with its robust support for Continuous Integration (CI), XCUITest can be seamlessly integrated into your CI process, enabling consistent feedback on real devices and under actual end-user conditions.
In the following sections, we will delve deeper into the key concepts of XCUITest, the XCUITest API, and how it compares to other frameworks like Appium. We will also explore some of the limitations of the XCUITest framework and best practices to follow. Ready to embark on this journey? Let's dive in!
What is XCUITest framework?
Developed by Apple in 2015, XCUITest is an automated UI test framework for performing iOS automation testing. It utilizes XCTest - an integrated test framework for Xcode by Apple. You can write automated UI tests using the XCUITest framework with Swift or Objective-C programming language for native iOS & macOS applications.
XCUITest framework is considered one of the best mobile app testing frameworks that are easy to maintain, avoid test flakiness, and improve your overall continuous integration (CI) process.
Why use XCUITest for iOS testing?
In this section of XCUITest tutorial, we will discuss few benefits of XCUITest framework that makes it ideal for iOS application testing.
There are various mobile test automation frameworks available in the mobile market. Development teams leverage the XCUITest framework to achieve fast and reliable feedback on code changes.
Shown below are the pointer on why one should use XCUITest for iOS app testing.
- No installation required: Xcode comes with everything to start mobile automation testing using XCUITest. It is pre-installed into Xcode, so you don't need to install anything.
- Native testing support: XCUITest framework supports native iOS language, giving developers confidence while creating UI tests. It's coded in Swift/Objective-C. (language used by Apple dev team). Furthermore, XCUITest simply integrates, synchronizes, and delivers faster test execution.
- Easier collaboration: As XCUITest supports the native iOS language, developers and testers can write their test code in the same language, resulting in better collaboration.
- Faster iOS test execution: Since the XCUITest framework is tailored to UI testing only, it ensures that each Unit test and UI test passes exceptionally well. Therefore, tests created using XCUITest are faster, reliable, and non-flaky.
- iOS test recorder: In XCTest, the user interface recording is possible using the Xcode IDE since XCUITest is closely related to XCTest. The Xcode UI test recorder enables test code generation and UI recording that testers can use as a base, make code tweaks, and write test cases effectively.
- Continuous Integration (CI): XCUITest framework supports Continuous Integration (CI) for automated app testing. Therefore you can execute XCUITest as a part of your CI process and get continuous feedback on real devices and end-user conditions.
How do I get started with XCUITest?
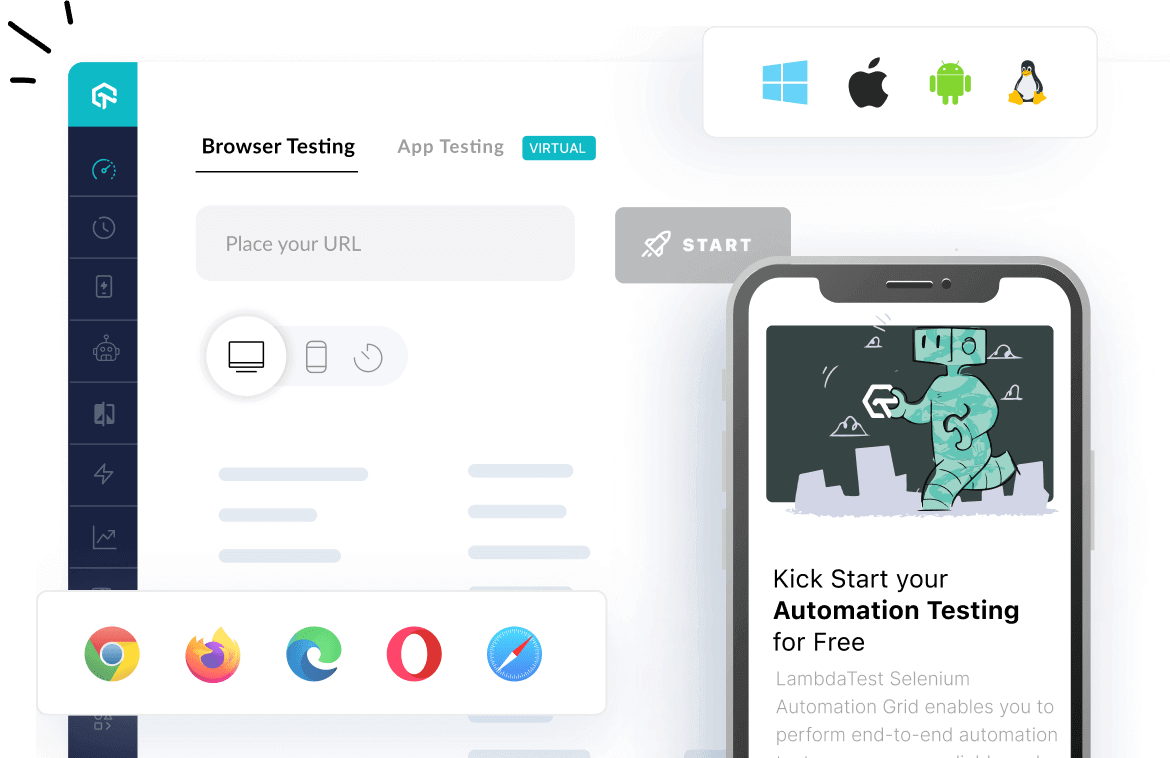
The XCUITest framework is an excellent choice for test automation. It is therefore essential to carry out XCUITest automation efficiently. Scaling up Apple device labs is tedious and expensive. Therefore, it is important to use a real device cloud platform such as LambdaTest that eliminates the hassle of setting up an in-house device lab. Leveraging LambdaTest’s online device farm, developers and testers can perform XCUI testing on real iOS devices anywhere at any time.
Prerequisites
Ensure you have installed the npm dependencies & should have a LambdaTest username and access key. You can obtain these by registering on LambdaTest and accessing the automation dashboard. You'll also need an iOS app (.ipa) and an XCUI Test app (.ipa file). If you don't have these, you can run your sample tests on LambdaTest using our sample iOS app and a sample XCUI Test.
Getting Started with XCUITest Automation on LambdaTest
Want to know a fun fact? Your first 100 XCUITest automation minutes are on us with just a free sign-up. In addition, you can also avail benefits of cross browser testing, manual app testing, Visual UI testing, responsive testing, and more.
Running Your Initial Test
Step 1: Application Upload
The first step is to upload your iOS application (.ipa file) to LambdaTest servers. This is done using the REST API. The cURL command should include your Username and AccessKey, in the form Username:AccessKey. Also, ensure to add the path of the appFile in the cURL request. The example below demonstrates how to upload your app using the REST API:
For Linux / MacOS:
curl -u "YOUR_LAMBDATEST_USERNAME:YOUR_LAMBDATEST_ACCESS_KEY" \
--location --request POST 'https://manual-api.lambdatest.com/app/uploadFramework' \
--form 'appFile=@"/Users/macuser/Downloads/proverbial.ipa"' \
--form 'type="xcuit-ios"'
For Windows:
curl -u "YOUR_LAMBDATEST_USERNAME:YOUR_LAMBDATEST_ACCESS_KEY" -X POST "https://manual-api.lambdatest.com/app/uploadFramework" -F "appFile=@"/Users/macuser/Downloads/proverbial.ipa"" -F "type="xcuit-ios""The response will be a JSON object carrying the App URL in the following format: lt://APP123456789123456789. You'll use this in the final step.
Step 2: Test Suite Upload
Next, upload your test suite (.ipa file) to the LambdaTest servers using our REST API. As before, you need to provide your Username and AccessKey in the format Username:AccessKey in the cURL command. Remember to include the path of the appFile in the cURL request. See the example below:
For Linux / MacOS:
curl -u "YOUR_LAMBDATEST_USERNAME:YOUR_LAMBDATEST_ACCESS_KEY" \
--location --request POST 'https://manual-api.lambdatest.com/app/uploadFramework' --form 'appFile=@"/Users/macuser/Downloads/proverbial_ios_xcuitest.ipa"' --form 'type="xcuit-ios"'
For Windows:
curl -u "YOUR_LAMBDATEST_USERNAME:YOUR_LAMBDATEST_ACCESS_KEY" --location --request POST "https://manual-api.lambdatest.com/app/uploadFramework" --form "appFile=@"C:/Users/varunkumarb/Downloads/proverbial_ios_xcuitest.ipa"" --form "type="xcuit-ios""The response will be a JSON object carrying the App URL in the following format: lt://APP123456789123456789. Keep it for the subsequent step.
Step 3: Test Execution
For Basic Authentication, you will need base64 encoded authentication to carry out your XCUI automation test suite. Input your username:accesskey as instructed, then encode to generate the base64 authentication. Record the base64 encoded authentication for the following step.
YOUR_LAMBDATEST_USERNAME:YOUR_LAMBDATEST_ACCESS_KEYOnce you've uploaded both your app and test suite, you can execute your test. Fill in your basic authentication, app URL (from step 1), and testSuite URL (from step 2) in the command below:
curl --location --request POST 'https://mobile-api.lambdatest.com/framework/v1/xcui/build' \
--header 'Authorization: Basic <Enter_Basic_Auth>' \
--header 'Content-Type: application/json' \
--data-raw '{
    "app" : "lt://APP_ID",
    "testSuite": "lt://TestSuite_ID",
    "device" :  ["iPhone 11-14"],
    "video" : true,
    "queueTimeout": 10800,
    "idleTimeout": 150,
    "devicelog": true,
    "network": false,
    "build" : "Proverbial-XCUITest"
}'
Step 4: Examination of Test Execution
After executing your tests, you can review the test execution along with logs. You can check the success or failure of test cases on LambdaTest Automation.
You can head over to our XCUI testing guide for a step-by-step procedure for running your first XCUITest automation script on a cloud XCUITest Grid. So you don’t have to worry about the challenges with XCUITest infrastructure as we will provide you with a cloud XCUITest Grid with highly scalable infrastructure.
About LambdaTest
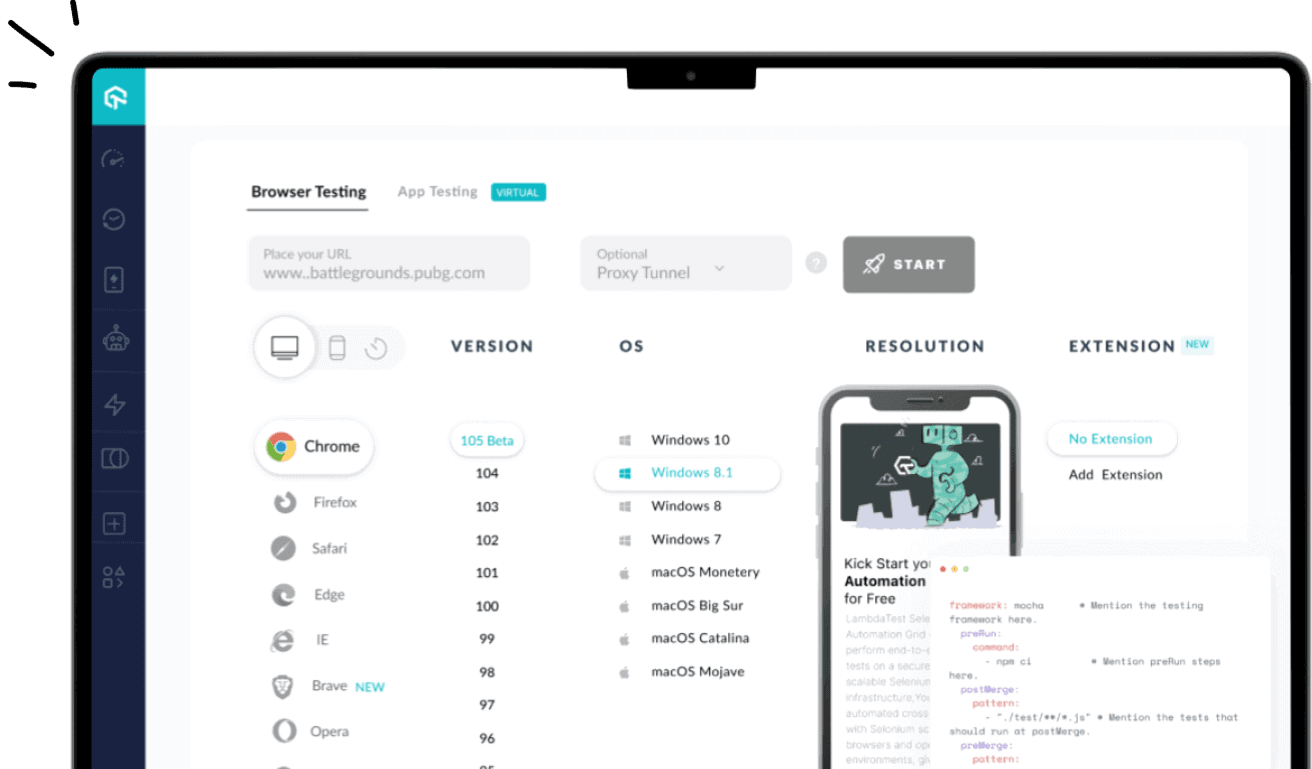
LambdaTest is the world’s leading test orchestration and execution platform. It allows users to run manual and automated web and mobile app testing across 3000+ browsers, operating systems, and real device combinations. Using LambdaTest, organizations can ensure faster developer feedback on code changes and achieve faster go-to-market delivery. Over 500 enterprises and 2 Million + users across 130+ countries rely on LambdaTest for their testing needs.
Key Concepts of XCUITest
Automated UI testing of mobile applications involves validating how the interface behaves when the user interacts with it and then comparing test case results with the expected results.
You can perform app test automation with XCUITest using two key concepts -
- XCTest: XCTest is a testing framework that allows you to create and run UI tests, unit tests, and performance tests for your Xcode projects in Swift and Objective-C languages. It is pre-built with Xcode. The tests are designed to assert certain conditions are met during code execution and record failures if those conditions are not met.
- Accessibility: Conducting Accessibility testing of mobile apps lets you test and modify the app’s behavior to validate how it would perform for people with impairments. UI test cases will use the Accessibility core's functions to run and validate tests.
An Overview of the XCUITest API
This section of XCUITest tutorial provides an introduction to the XCUITest API.
In XCTest, all classes are conveniently packaged into a single file - XCTest. Following are the different classes testers can use to automate iOS apps.
- XCUIElementQuery: The XCUIElementQuery methods can be used to find an element in the user interface and perform some action on it.
- XCUIElement: The XCUIElement method represents a UI element in an iOS app. It allows you to test the app with gestures like touching, swiping, dragging and rotating.
- XCUIApplication: A proxy representing an iOS application to launch, monitor, and terminate it.
- XCUIElement.ElementType: A user interface test involves locating, inspecting, and interacting with UI elements. For example - .button, .image etc.
- XCUIScreen: It represents the physical screen of the device (iOS/macOS//tvOS) that is used to grab screenshots during test execution.
- XCUIScreenshot: It represents screenshots of a screen, app, or UI element.
- XCUIDevice: It represents a proxy that can simulate physical buttons, device orientation, and interact with Siri
- XCUIRemote: This class represents simulating interactions with physical remote controls.
Declaration: class XCUIElementQuery : NSObject
Declaration: class XCUIElement : NSObject
Declaration: class XCUIApplication : XCUIElement
Declaration: enum ElementType : UInt, @unchecked Sendable
Declaration: class XCUIScreen : NSObject
Declaration: class XCUIScreenshot : NSObject
Declaration: class XCUIDevice : NSObject
Declaration: class XCUIRemote : NSObject
Differences between XCUITest and Appium
In this section of XCUITest tutorial, we will look at how XCUITest framework differs from Appium.
Both Appium and XCUITest are used for mobile automation testing. Appium is used to perform app automation testing of Android and iOS applications. It supports different programming languages like Java, JavaScript, Python, PHP, and more.
On the other hand, XCUITest is a native framework for testing iOS applications. Since it comes pre-built with Xcode IDE, it provides the fastest test speed to perform automated device testing for iOS applications.
Below are some differences between XCUITest and Appium framework.
| XCUITest | Appium |
| It automates UI testing for iOS applications. | It automates mobile app testing for Android and iOS applications. |
| It supports only Swift and Objective C languages. | It supports different programming languages like Java, JavaScript, Python, PHP, and more. |
| Test flakiness is low. | Test flakiness is high. |
| It is easier to set up. | It is tedious to set up. |
| Fast execution of tests. | Slow execution of tests. |
Limitations of XCUITest framework
Here are the limitations of using XCUITest for automated app testing.
- Testing on iOS Simulators or running unit tests with XCUITest avoids flaky tests, but performing XCUI testing on real devices does not ensure anti-flakiness.
- It is not ideal for smoke or regression testing on real devices.
- It does not support a wide range of languages. XCUITest currently only supports Objective C and Swift.
- It doesn't offer Android automation testing.
Best Practices of XCUITest
The effectiveness of your XCUITest automation script will depend entirely on test design, implementation, and analysis. This section of XCUITest guide discusses some of the best practices to follow to make your XCUITest automation suites more efficient and stable.
- The UI test recorder captures information about UI interactions, including application internals. You can use the built-in UI recording features of XCUITest to record a test interaction with your app's UI and save that interaction as a source code.
- When you convert any test case to a test script, ensure that what you are testing is to avoid test code fixing every time.
- It may take some time before the view is fully displayed. Therefore, you should always wait for the view's presence before asserting anything.
- In XCUITest, you can specify user interactions such as tap(), doubleTap(), and twoFingerTap(). With press(), you can specify a duration, or both a duration and a dragging target. There are four directional swipes (left, right, up, and down), a pinch() with scale and velocity, and a rotate() with velocity.
- Besides UI testing, you can run web accessibility tests using the UIAccessibility protocol for people with impairments. This will help you maximize your potential customer base.
- It’s good practice to create a framework and a guideline to help your team add more tests.
References
https://developer.apple.com/documentation/xctest/xcuielement
On this page
Frequently asked questions
- General →

Did you find this page helpful?
![]()
![]()
More Hubs

Try LambdaTest Now !!
Get 100 minutes of automation test minutes FREE!!