Integrate TestMu AI with Cypress Dashboard
Run your Cypress tests on the TestMu AI cloud grid while recording the results to the Cypress Dashboard (Cypress Cloud). Create a project in Cypress Cloud, add its projectId to cypress.config.js, then start the run with lambdatest-cypress run and Cypress's --record flag so the results appear on both dashboards.
This guide uses TestMu AI's sample Cypress Cloud repo. You can find all the resources used in this article in the linked repository.
Steps to Integrate TestMu AI With Cypress Dashboard
This guide assumes you have already run a Cypress test on TestMu AI. If you haven't, the getting started with Cypress testing guide walks you through your first run. Once that is done, follow the steps below.
Update the TestMu AI Cypress CLI
Update the lambdatest-cypress-cli to the latest version:
npm install -g lambdatest-cypress-cli
Confirm the installed version (the latest is 3.0.50):
lambdatest-cypress --version
Create a Project on Cypress Dashboard
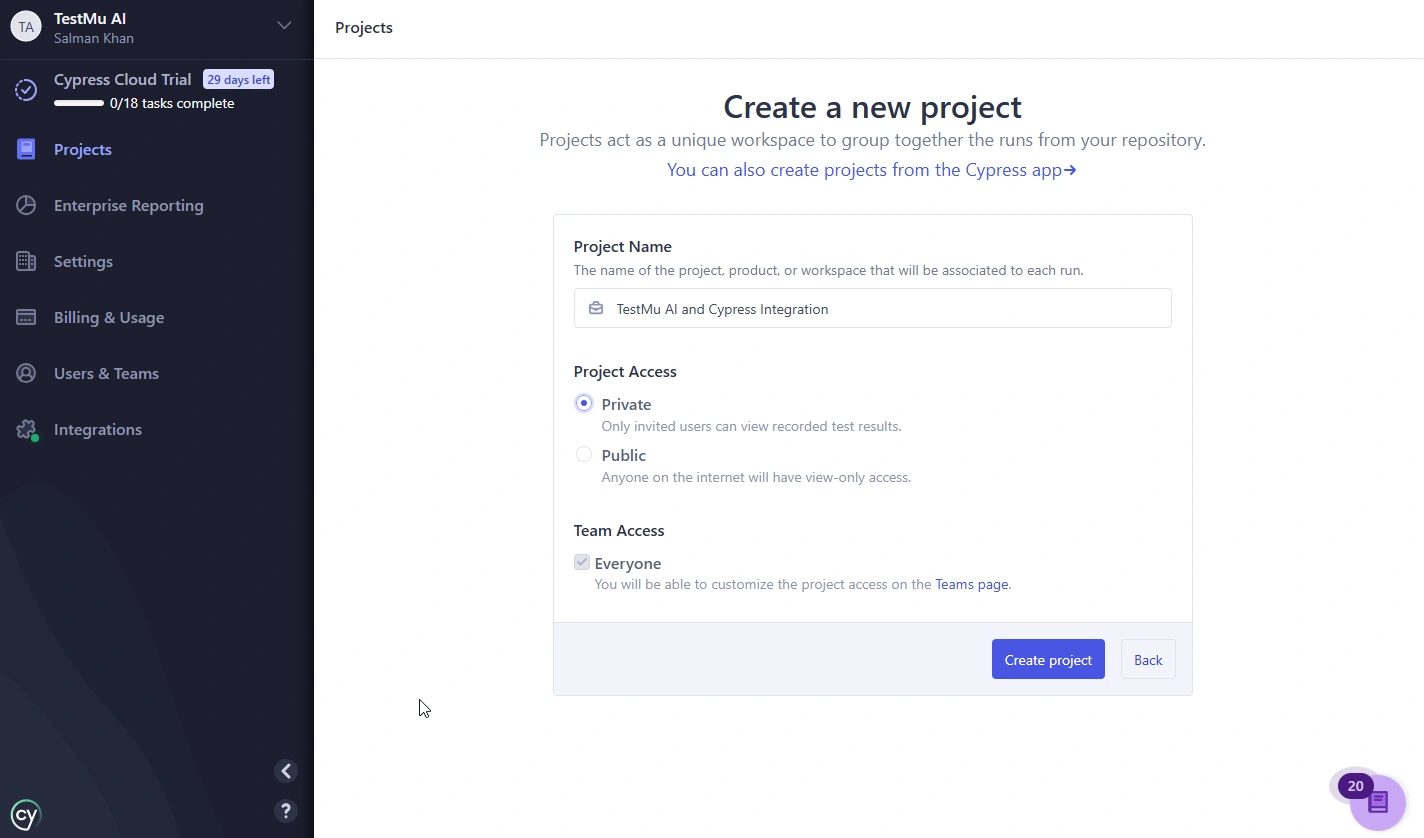
Log in to Cypress Cloud, open the Projects page, and click New project. Enter a project name, choose Private or Public access, then click Create project.
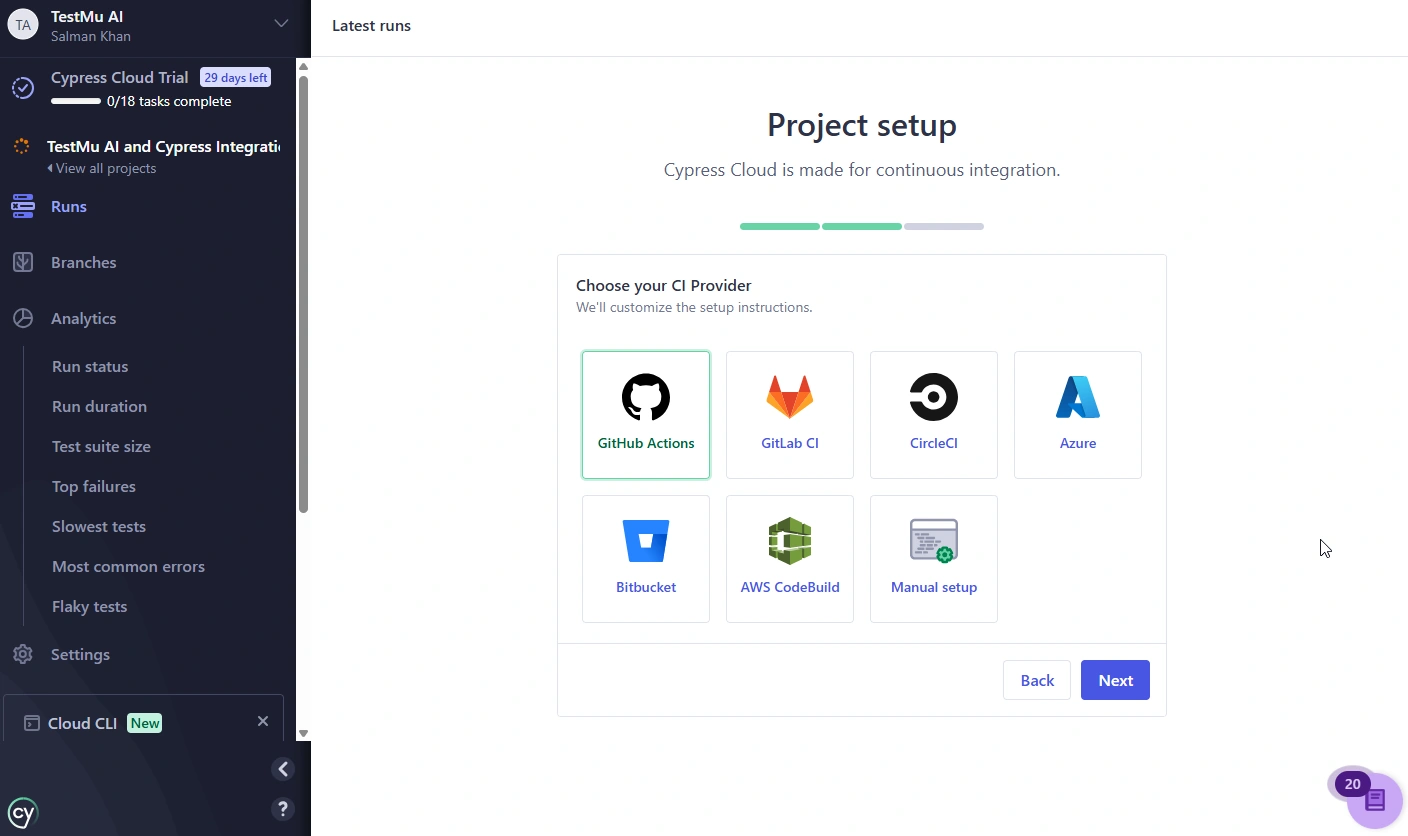
Choose Your CI Provider
Select the CI provider you use, such as GitHub Actions, then click Next. Cypress Cloud uses this only to tailor its setup instructions - you can still record runs from your terminal.
Copy Your Record Key
On the project setup screen, copy the record key shown under Try it first and in the CYPRESS_RECORD_KEY field. You will pass this key to the run command in a later step.
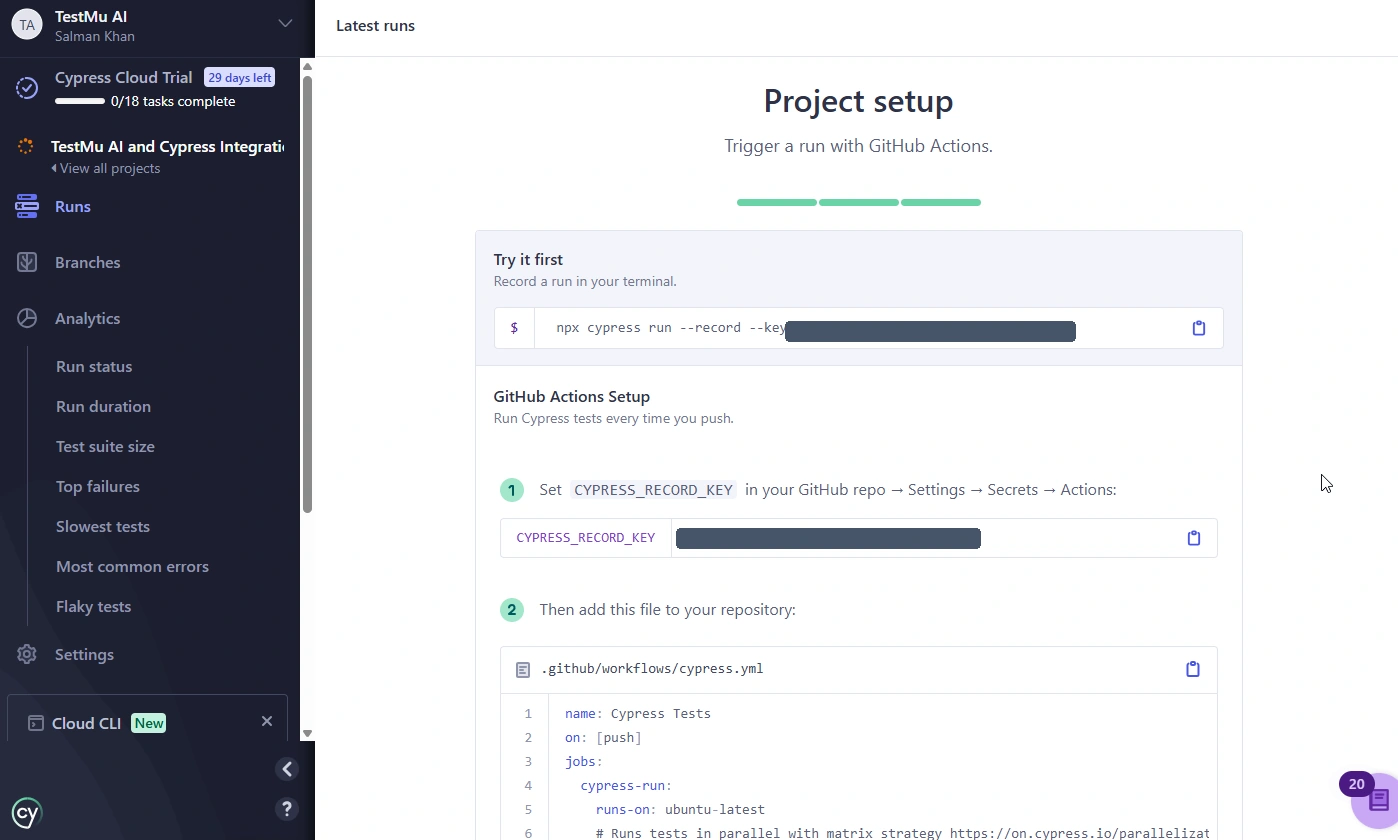
Treat the record key like a password. Set it as the CYPRESS_RECORD_KEY environment variable instead of hard-coding it in scripts or committing it to source control.
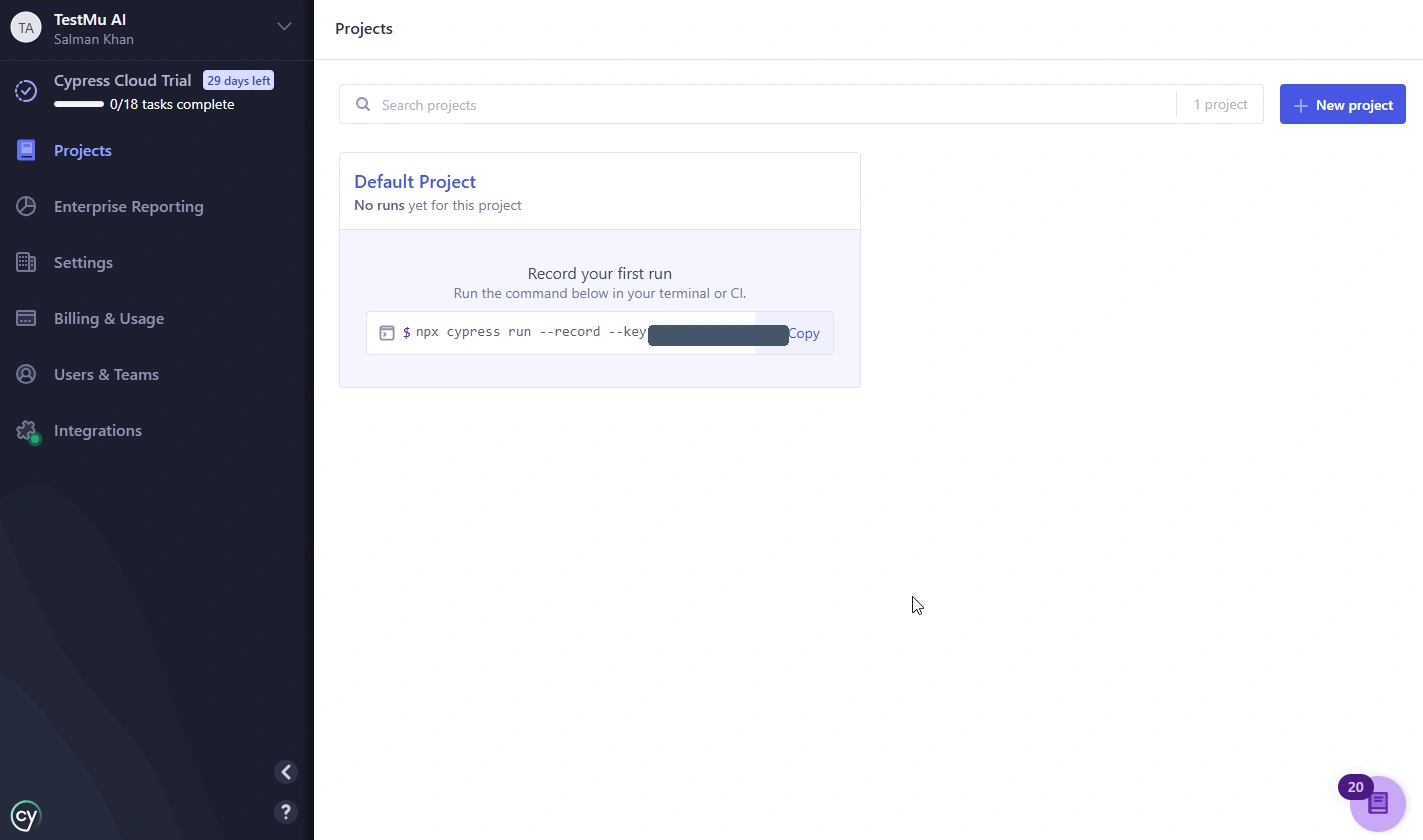
You can find the record command for any project later from the Projects page in Cypress Cloud.
Add the Project ID to Your Cypress Config
When you create the project, Cypress Cloud also generates a unique projectId. Add it to the cypress.config.js file of your project so each recorded run is linked to the correct project:
const { defineConfig } = require('cypress')

module.exports = defineConfig({
  projectId: '<your-project-id>',
  e2e: {
    setupNodeEvents(on, config) {
      return config
    },
  },
})
Cypress 10 and later use cypress.config.js instead of the older cypress.json. You can find your projectId on the project's Settings page in Cypress Cloud.
Run Your Tests With the Record Flag
Start the run on the TestMu AI grid and pass Cypress's --record and --key flags through the CLI. Replace <key_value> with the record key you copied earlier:
lambdatest-cypress run --cy="--record;--key <key_value>"
View Results on Both Dashboards
The integration is complete. Your tests run on the TestMu AI grid, and the recorded results are sent to the Cypress Dashboard.
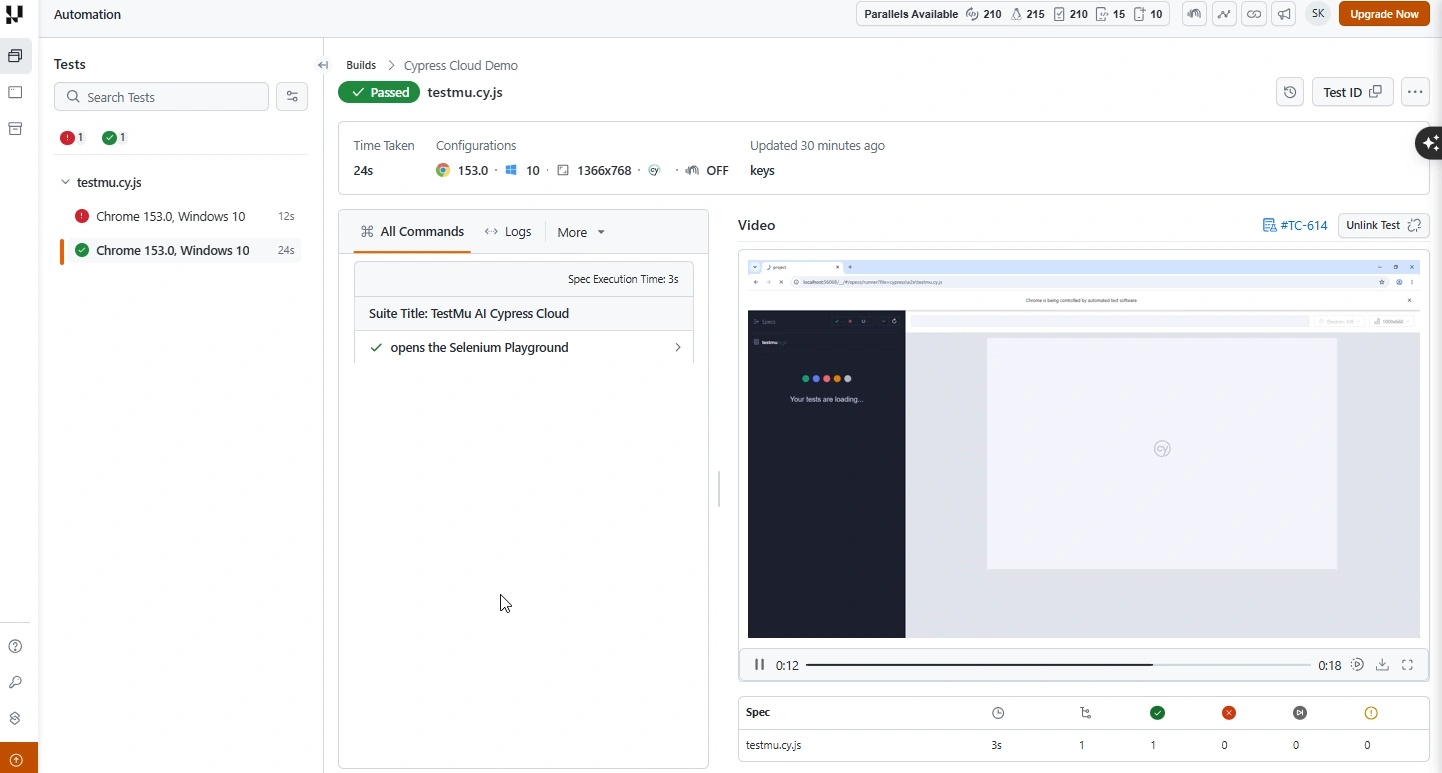
Open the TestMu AI Automation Dashboard to see the run with its command logs, video, and other test artifacts. The same run is also available in Cypress Cloud under your project.
That's all! In case you have any questions or need any additional information, you could reach out at our [24X7 Chat Support] or mail us directly at support@testmuai.com.


 Chat with Us