Getting Started With Visual Regression Testing Using Espresso On SmartUI Real Devices
Espresso is a widely-used testing framework for Android, designed to simplify the process of writing reliable and efficient UI tests. It allows developers to create automated tests that simulate user interactions within an app, ensuring that the app's UI behaves as expected.
In this documentation, you will learn step-by-step how to perform regression testing and find Visual UI Regression bugs easily with the help of Smart Testing.
Prerequisites
- Your TestMu AI Username and Access key.
- Access to an Android app (.apk) and an Espresso Test app (.apk file).
- Go to
TestMu AI SmartUIand login along with your credentials.
If you do not have any Android app (.apk) and an Android Test app (.apk) file, you can run your sample tests on TestMu AI by using our sample 🔗 Android app and a sample 🔗 Espresso Test.
Step 1: Create a SmartUI Project
The first step is to create a project with the application in which we will combine all your builds run on the project. To create a SmartUI Project, follow these steps:
- Go to Projects page
- Click on the
new projectbutton - Select the platform as Real Device for executing your
Espressotests. - Add name of the project, approvers for the changes found, tags for any filter or easy navigation.
- Click on the Submit.
Step 2: Set up your Authentication
Now, you need to export your environment variables LT_USERNAME and LT_ACCESS_KEY that are available in the TestMu AI Profile page.
Run the below mentioned commands in your terminal to setup the CLI and the environment variables.
- Linux / MacOS
- Windows
export LT_USERNAME="()=>{if(typeof window!=='undefined'){return window.lt_web_doc.username;}}"
export LT_ACCESS_KEY="()=>{if(typeof window!=='undefined'){return window.lt_web_doc.apiToken;}}"
set LT_USERNAME="()=>{if(typeof window!=='undefined'){return window.lt_web_doc.username;}}"
set LT_ACCESS_KEY="()=>{if(typeof window!=='undefined'){return window.lt_web_doc.apiToken;}}"
Step 3: Update your App Configurations
It should be in your app configurations then only you can perform the Espresso integration.
- In your
build.gradlefile, add the lambdatest-espresso dependency:
implementation 'io.github.lambdatest:lambdatest-espresso:1.0.1'
- Initialize this dependency in your test classes. You can do it as follows:
import io.github.lambdatest.LTApp;
public class BrowserTest {

  LTApp smartUIApp = new LTApp();

  @Test
  public void checkBrowserPageIsOpened() throws InterruptedException {
    String response = smartUIApp.screenshot("LT-Espresso-Test");
  }
}
Now build your application.
Step 4: Upload your Application
To begin testing, upload your Android application (.apk file) to TestMu AI's servers. You'll use our REST API for this process.
- Authentication : You'll need your TestMu AI Username and AccessKey. Combine them in the format
Username:AccessKey. - Uploading the App : Use cURL command to send a request to our API. The request should include the path to your application file (appFile).
- Linux / MacOS
- Windows
curl -u "()=>{if(typeof window!=='undefined'){return window.lt_web_doc.username;}}:()=>{if(typeof window!=='undefined'){return window.lt_web_doc.apiToken;}}" --location --request POST 'https://manual-api.lambdatest.com/app/uploadFramework' --form 'appFile=@"<PATH_OF_YOUR_ANDROID_APP>"' --form 'type="espresso-android"'
curl -u "()=>{if(typeof window!=='undefined'){return window.lt_web_doc.username;}}:()=>{if(typeof window!=='undefined'){return window.lt_web_doc.apiToken;}}" --location --request POST "https://manual-api.lambdatest.com/app/uploadFramework" --form "appFile=@"<PATH_OF_YOUR_ANDROID_APP>"" --form "type="espresso-android""
- Provide the path of your android application in the above URL in place of
<PATH_OF_YOUR_ANDROID_APP> - Response of above cURL will be a JSON object containing the
App URLof the format -lt://APP123456789123456789and will be used in the last step.
Step 5: Upload Your Test Suite
Upload your Espresso test suite (.apk) file to TestMu AI servers using our REST API.
The following sample cURL command shows how to upload a test suite:
- Linux / MacOS
- Windows
curl -u "()=>{if(typeof window!=='undefined'){return window.lt_web_doc.username;}}:()=>{if(typeof window!=='undefined'){return window.lt_web_doc.apiToken;}}" --location --request POST 'https://manual-api.lambdatest.com/app/uploadFramework' --form 'appFile=@"<PATH_OF_YOUR_TEST_SUITE_APP>"' --form 'type="espresso-android"'
curl -u "()=>{if(typeof window!=='undefined'){return window.lt_web_doc.username;}}:()=>{if(typeof window!=='undefined'){return window.lt_web_doc.apiToken;}}" --location --request POST "https://manual-api.lambdatest.com/app/uploadFramework" --form "appFile=@"<PATH_OF_YOUR_TEST_SUITE_APP>"" --form "type="espresso-android""
- Provide the path of your android application in the above URL in place of
<PATH_OF_YOUR_TEST_SUITE_APP> - Response of above cURL will be a JSON object containing the
App URLof the format -lt://APP123456789123456789and will be used in the last step.
Step 6: Executing The Test
- You will need base64 encoded authentication in order to execute your Espresso automation test suite. Enter your
username:accesskeyin Basic Authentication Header Generator to generate your auth token.
Take note of the base64 encoded authentication which needs to be added in the next step.
()=>{if(typeof window!=='undefined'){return window.lt_web_doc.username;}}:()=>{if(typeof window!=='undefined'){return window.lt_web_doc.apiToken;}}
- Once you have uploaded your app and test suite, you can execute your test by running the following command:
Enter your BASIC_AUTH_TOKEN, APP_ID (generated in the fourth step) and TEST_SUITE_ID (generated in the fifth step) in the below command.
curl --location 'https://mobile-api.lambdatest.com/framework/v1/espresso/build' \
--header 'Authorization: Basic BASIC_AUTH_TOKEN' \
--header 'Content-Type: application/json' \
--data '{
    "app": "APP_ID", //enter your app-id
    "testSuite": "TEST_SUITE_ID", //enter your test-suite id
    "device": [
        "Galaxy.*"
    ],
    "smartUI.project": "Espresso-SmartUI-Project",
    "smartUI.build": "Espresso-SmartUI-Build", // Optional
    "smartUI.cropNavigationBar" : true, // Optional (By default false)
    "smartUI.cropStatusBar" : true, // Optional (By default true)
    "queueTimeout": 300,
    "IdleTimeout": 30,
    "deviceLog": true,
    "network": false,
    "visual": true,
    "build": "Proverbial-Espresso-Test",
    "singleRunnerInvocation": false
}'
You can check the executed builds over at TestMu AI SmartUI.
Types of Sharding
Sharding can be categorized into two types:
Manual Sharding: This feature enables users to manually specify shards along with their definitions, offering multiple strategies such as class, package, and more. By doing so, users can have greater flexibility and control over the sharding process.
Refer to the sample .yaml file here
version: "0.2"
concurrency: 2
runson: android
autosplit: false
globalTimeout: 180  #MAXQUEUETIMEOUT

framework:
  name: "android/espresso"
  args:
    buildName: "Espresso"
    video: true
    deviceLog: true

    # You can use either the appId (lt://APP1234567) or provide the path of the application using appPath. Both examples are given below.

    appPath: Proverbial.apk

    testSuitePath: ProverbialExpressoTest.apk
    # We have used the appPath and testSuitePath here.


    appId: lt://APP1010461471690377432133206
    testSuiteAppId: lt://APP10104592261690377454846669
    # We have used the appId and testSuiteAppID here.

    deviceSelectionStrategy: all
    devices: ["Galaxy.*", "Pixel.*"]

    smartUI:
      project: "Espresso-SmartUI-Project"

    shards:
      mappings:
     - name: shard1
        strategy: "class"
        values: ["com.lambdatest.proverbial.BrowserTest"]
    # The strategy for this shard is based on "class".
    # This shard will run all tests from the class com.lambdatest.proverbial.BrowserTest.
     - name: shard2
       strategy: "package"
       values: ["com.lambdatest.proverbial"]
    # The strategy for this shard is based on "package".
    # This shard will run all tests that belong to the package com.lambdatest.proverbial.l.
     - name: shard3
       strategy: "skipClass"
       values: ["com.lambdatest.proverbial.BrowserTest"]
    # The strategy for this shard is to skip a specific class.
    # This shard will avoid running tests from the class com.lambdatest.proverbial.BrowserTest.
If you are using the deviceSelectionStrategy: all,then in that case all the specified shards will be executed on every device available.
For example: If there are 3 shards, 2 devices in list (d1, d2) and test suites contains total 10 test cases.
Then, d1 has 3 shards, i.e., total 3 devices of d1 configuration will be used. 10 test cases distributed among these 3 shards and similarly d2 also has 3 shards, i.e., total 3 devices of d2 configuration will be used. 10 test cases will be distributed among these 3 shards.
If you are using the deviceSelectionStrategy: any, then in that case all the mentioned shards will be executed on just one device from the provided list.
For example: If there are 2 shards mentioned in .yamland 3 devices mentioned, the system will create 2 shards. These shards might use any 2 devices from the given 3 configurations. It's also possible that the same device configuration could be used for both shards. In this setup, test cases will be distributed between these shards.
Auto Sharding : The system intelligently determines the distribution of tests across devices, employing specific criteria to optimize the testing process.
Refer to the sample .yaml file here
version: "0.2"
concurrency: 2
runson: android
autosplit: true
globalTimeout: 180  #MAXQUEUETIMEOUT

framework:
  name: "android/espresso"
  args:
    buildName: "Espresso"
    video: true
    deviceLog: true

    # You can use either the appId (lt://APP1234567) or provide the path of the application using appPath. Both examples are given below.

    appPath: Proverbial.apk

    testSuitePath: ProverbialExpressoTest.apk
    # We have used the appPath and testSuitePath here.


    appId: lt://APP1010461471690377432133206
    testSuiteAppId: lt://APP10104592261690377454846669
    # We have used the appId and testSuiteAppID here.

    smartUI:
      project: "Espresso-SmartUI-Project"

    deviceSelectionStrategy: all
    devices: ["Galaxy.*", "Pixel.*"]
If you are using the deviceSelectionStrategy: all, then in that case the tests will be executed on all mentioned devices in .yaml based on the concurrency.
For example: If the concurrency is 3, 2 devices in list (d1, d2) and test suites contains total 10 test cases.
Then, d1 has 3 shards, i.e., total 3 devices of d1 configuration will be used. 10 test cases distributed among these 3 shards and similarly d2 also has 3 shards, i.e., total 3 devices of d2 configuration will be used. 10 test cases will be distributed among these 3 shards.
If you are using the deviceSelectionStrategy: any, then in that case all the specified tests will be executed on each device from the provided list, considering the concurrency setting.
For example: If the concurrency is set to 2 and 3 devices mentioned, the system will create 2 shards. These shards might use any 2 devices from the given 3 configurations. It's also possible that the same device configuration could be used for both shards. In this setup, test cases will be distributed between these shards.
Smart Crop With SmartUI
The all-new Real Device mobile notification status bar and navigation bar crop feature in SmartUI allows you to take your visual regression testing workflows to the next level. With Smart Crop, you can crop the status bar and navigation bar or footer from screenshots, enabling them to focus solely on the core UI elements during visual comparisons.
By leveraging machine learning algorithms, it accurately detects and crops the status bar and navigation bar from screenshots. With precise image processing techniques, SmartUI precisely identifies the location of status bar elements. By excluding it from visual comparisons, the focus is solely on critical UI elements.
| Original Screenshot | Cropped Screenshot |
|---|---|
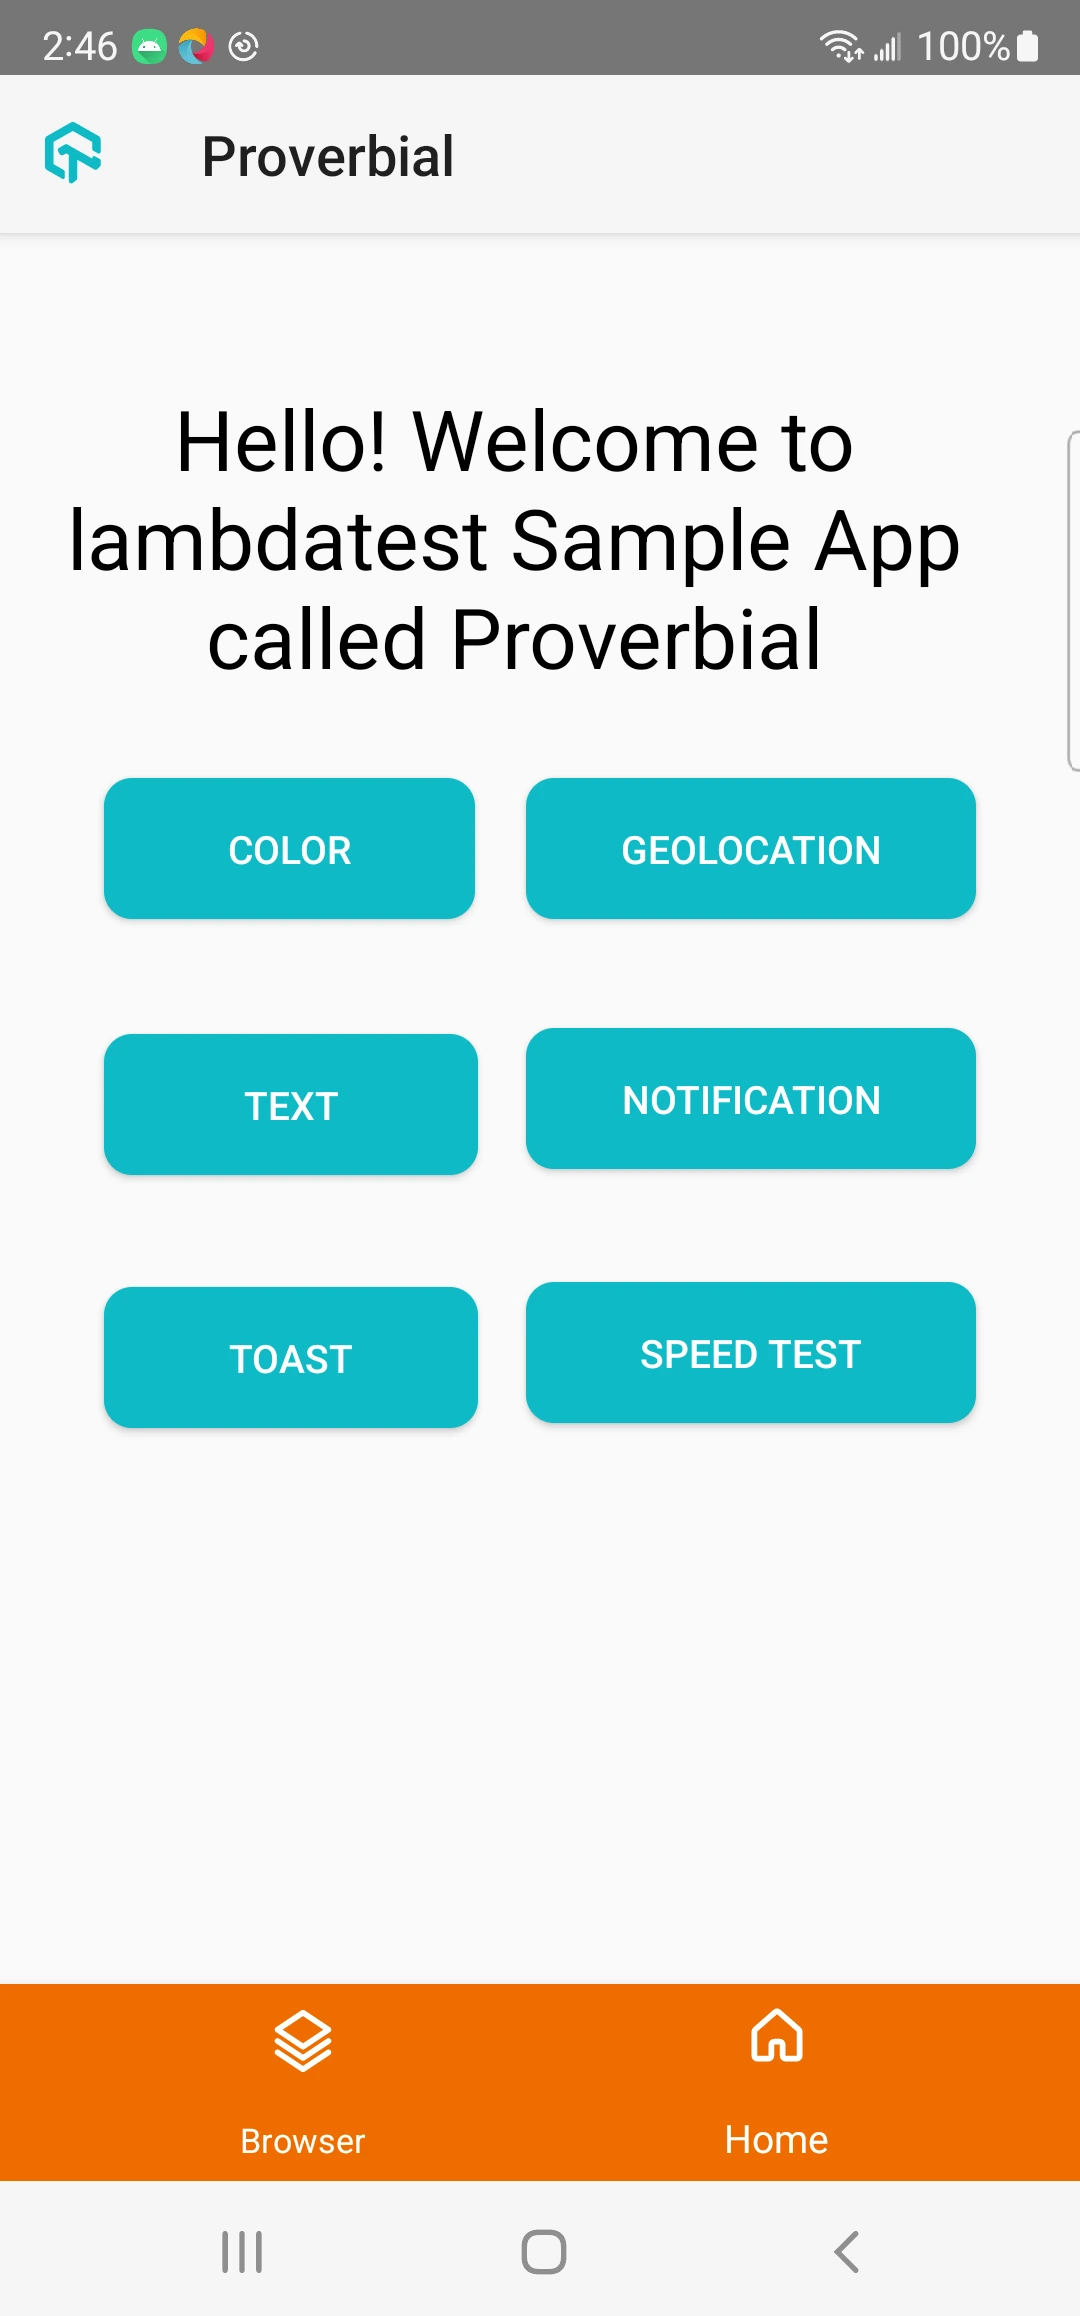 | 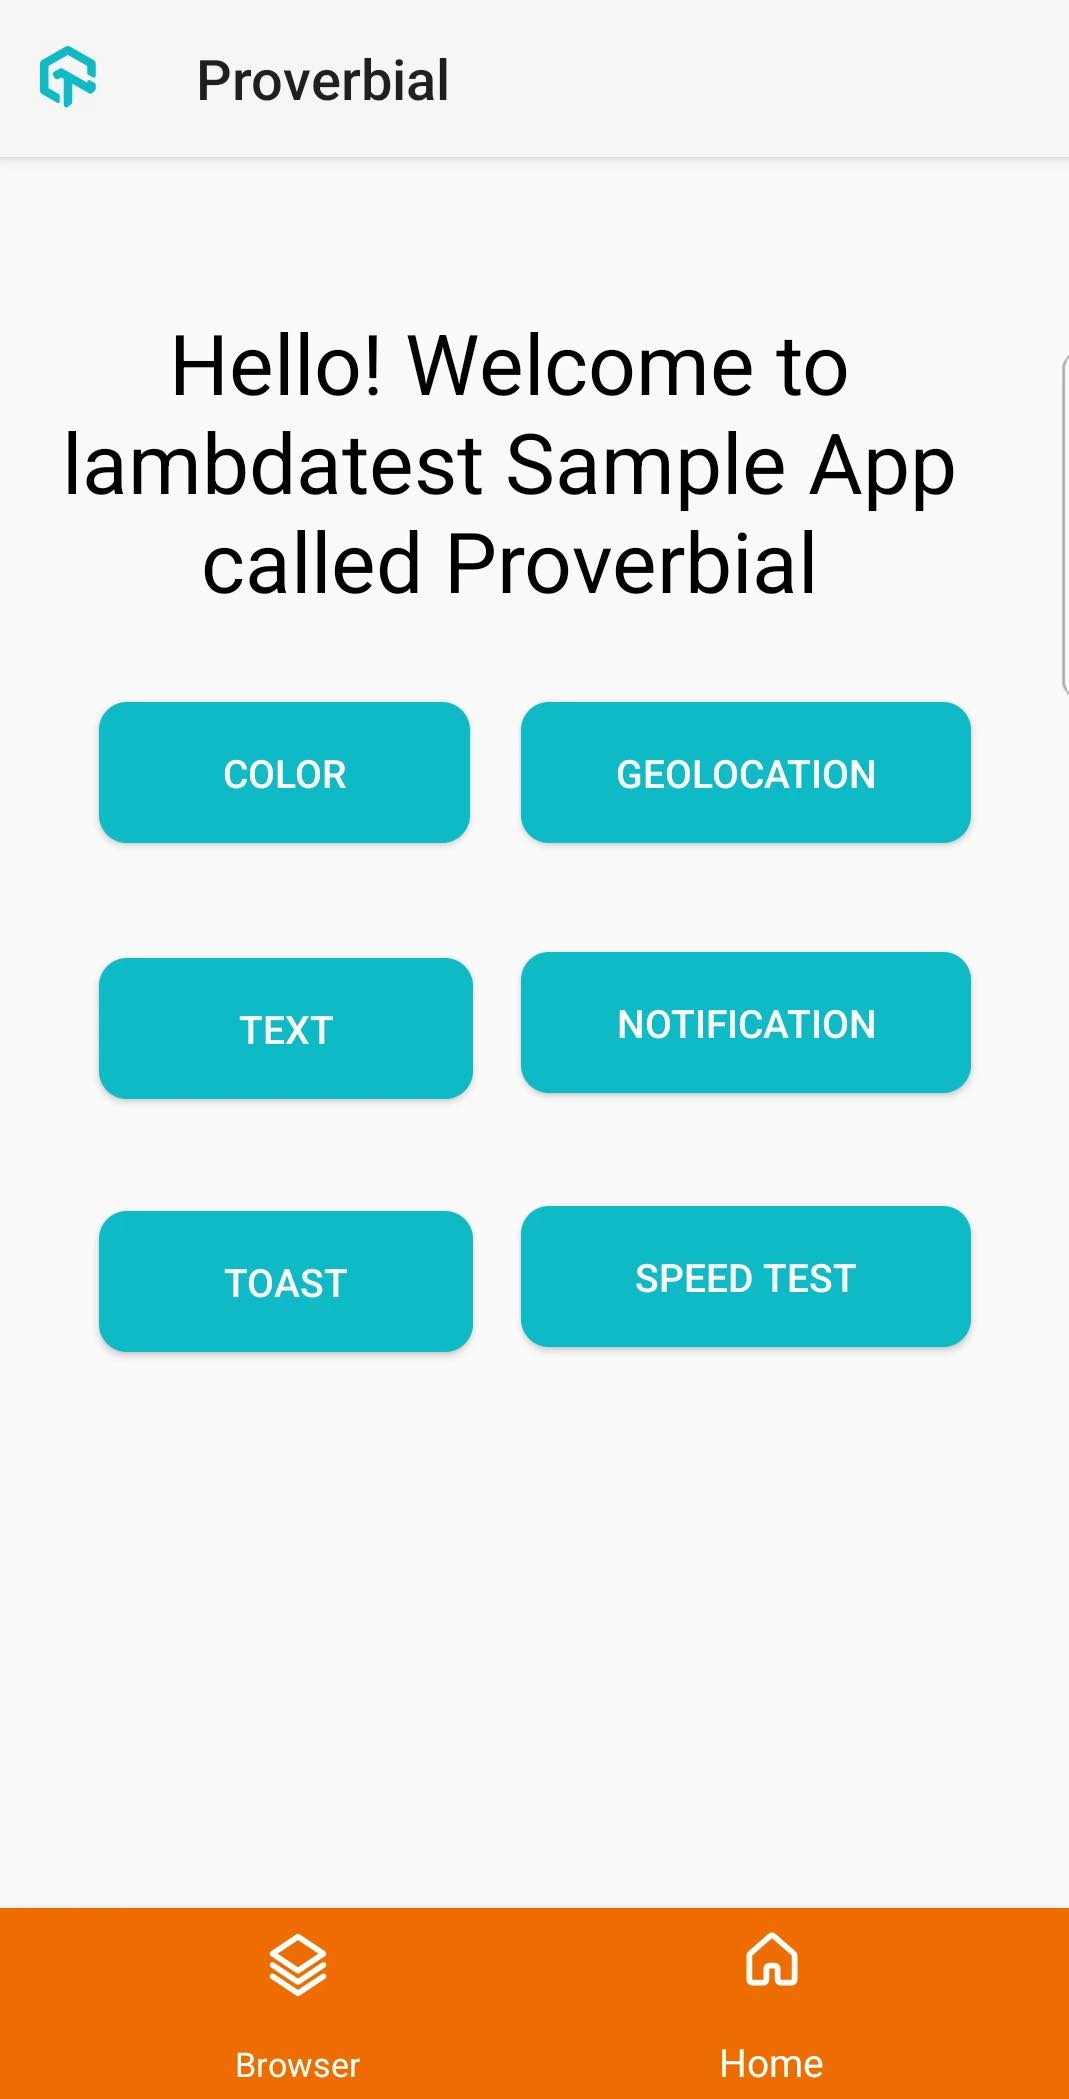 |
Best Practices
- Project and Build Naming
- Device Selection
- Smart Crop Configuration
- Test Organization
- App and Test Suite Management
- App and Test Suite Management
Project and Build Naming
- Use descriptive, consistent names for projects and builds
- Include app version or release info in build names
- Avoid special characters that might cause issues
- Use consistent naming conventions across test runs
Example:
{
  "smartUI.project": "MyApp-VisualTests",
  "smartUI.build": "Release-1.0.0"
}
Device Selection
- Test on devices that match your user base
- Include multiple device configurations for comprehensive coverage
- Use device patterns for consistent testing (e.g.,
Galaxy.*,Pixel.*)
Smart Crop Configuration
- Enable
cropStatusBarto focus on core UI elements - Enable
cropNavigationBarfor Android devices - Test cropped screenshots to ensure important content isn't removed
Test Organization
- Use sharding for parallel test execution
- Group related tests in same build
- Use meaningful test names for better organization
App and Test Suite Management
- Upload apps and test suites before execution
- Use app IDs (
lt://APP...) for faster execution - Keep app and test suite versions synchronized
App and Test Suite Management
- Upload apps and test suites before execution
- Use app IDs (
lt://APP...) for faster execution - Keep app and test suite versions synchronized
Troubleshooting
- Screenshots Not Captured
- Project Not Found Error
- App Upload Fails
- Test Execution Fails
- Screenshots Show Incorrect Content
Issue: Screenshots Not Captured
Symptoms: Tests run but no screenshots appear in SmartUI dashboard
Possible Causes:
visual: truenot set in request- Incorrect project name
- Network connectivity issues
- Authentication issues
Solutions:
-
Verify
visual: trueis set in API request:{
visual": true,
"smartUI.project": "ProjectName"
} -
Check project name matches exactly (case-sensitive)
-
Verify authentication token is correct:
- Generate base64 encoded token from username:accesskey
- Ensure token is included in Authorization header
-
Check network connectivity to TestMu AI
Issue: Project Not Found" Error
Symptoms: Error indicating SmartUI project cannot be found
Possible Causes:
- Project name typo or mismatch
- Project deleted
- Wrong account credentials
Solutions:
- Verify project exists in SmartUI dashboard
- Copy project name directly from dashboard
- Check credentials match the account with the project
- Ensure project name is in API request
Issue: App Upload Fails
Symptoms: App upload returns error or fails
Possible Causes:
- Invalid APK file
- File size too large
- Network issues
- Authentication problems
Solutions:
- Verify APK file is valid and not corrupted
- Check file size limits
- Retry upload with stable network connection
- Verify authentication credentials
Issue: Test Execution Fails
Symptoms: Test suite execution fails or times out
Possible Causes:
- Invalid test suite APK
- Device not available
- Timeout settings too low
- Test suite errors
Solutions:
-
Verify test suite APK is valid
-
Check device availability
-
Increase
queueTimeoutandIdleTimeout:{
queueTimeout: 600,
IdleTimeout: 60
} -
Review device logs for test errors
Issue: Screenshots Show Incorrect Content
Symptoms: Screenshots captured but show wrong screen or state
Possible Causes:
- App state issues
- Timing problems
- Navigation issues
Solutions:
- Ensure app is in correct state before test execution
- Add appropriate waits in test code
- Verify test navigation flow
Getting Help
If you encounter issues not covered here:
- Review the Comprehensive Troubleshooting Guide for detailed solutions
- Check SmartUI Configuration Options documentation
- See Handling Dynamic Data for dynamic content issues
- Visit TestMu AI Support for additional resources
- Contact support at support@testmu.ai or use 24/7 Chat Support
