Scheduled Test Runs
In this documentation, you will learn how to create a scheduled test run using pre-existing test runs. This involves navigating through your project, selecting test configurations, and setting up recurring schedules to automate test executions at specified times.
Step 1: Navigate to Test Manager >> select your desired project >> Test Runs section.
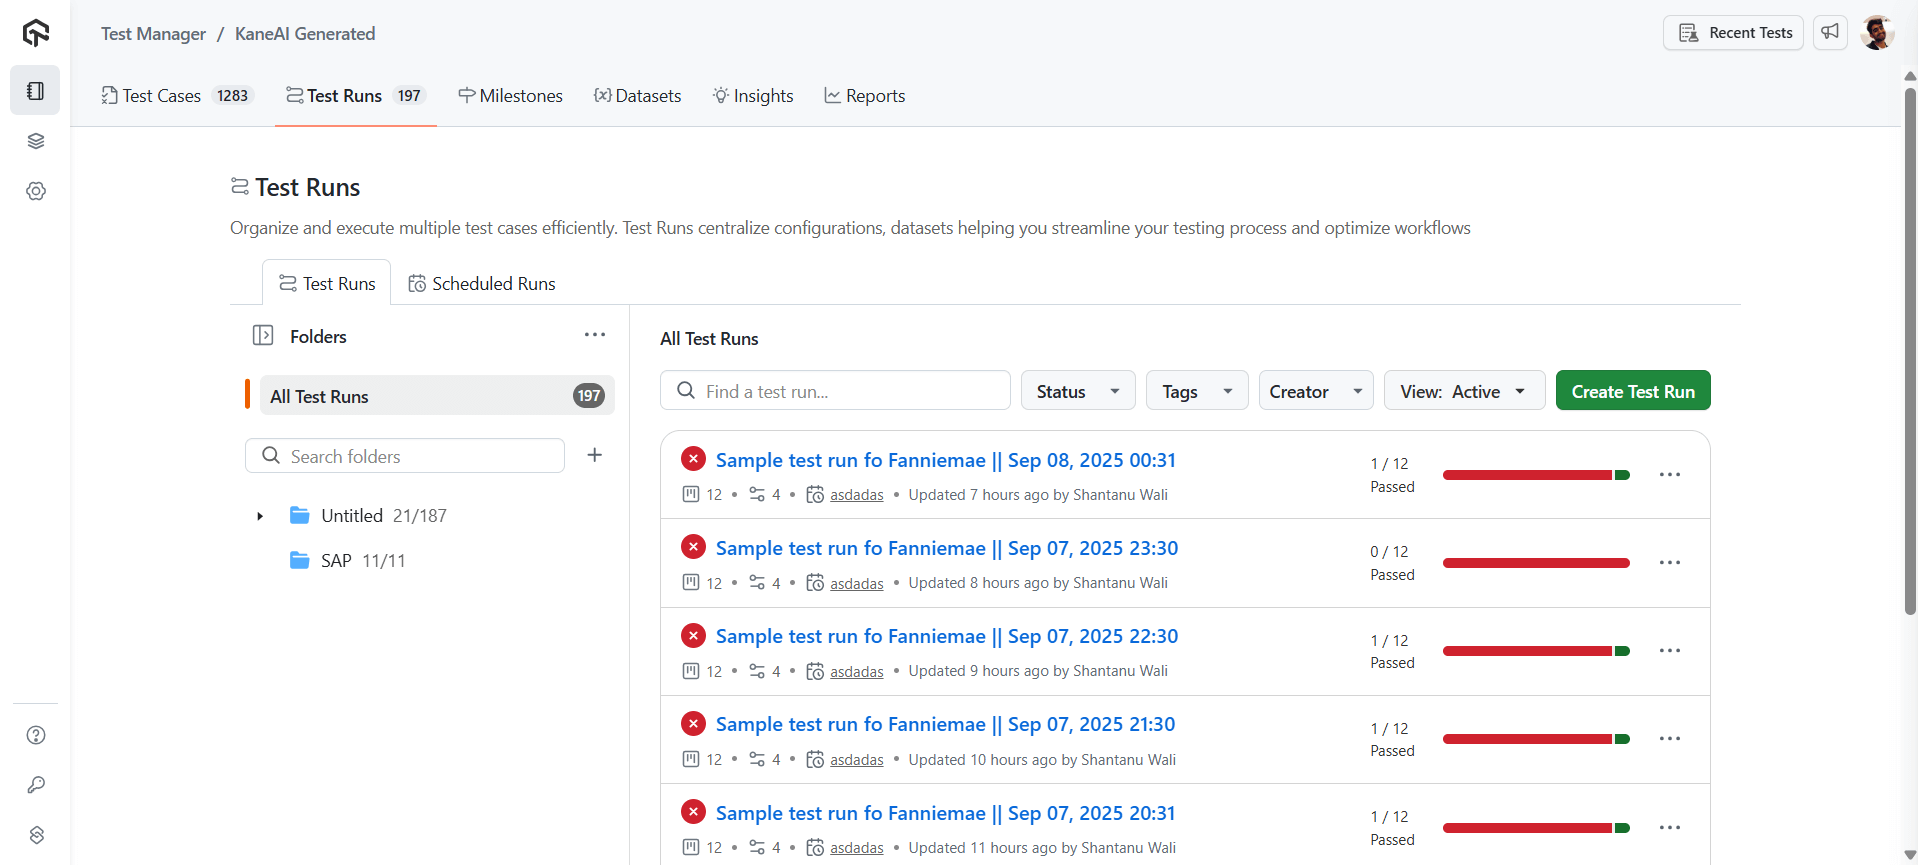
Step 2: Here, you will see the details of your existing test runs. To create a schedule, click on the three dots next to a test run and select Create Schedule. Alternatively, you can go to the Scheduled runs section to view all existing schedules. If you don't have any existing schedule, click on Create a Scheduled Run button to create a scheduled run.
Test Runs must be created before creating a test run schedule.

Step 3: Provide the details related to the test you want to schedule, like Schedule Name, select existing test run you want to schedule, and configure the date and time details.

Step 4: After making your selections, click Next to review a summary of the schedule, including the scheduled date and time.
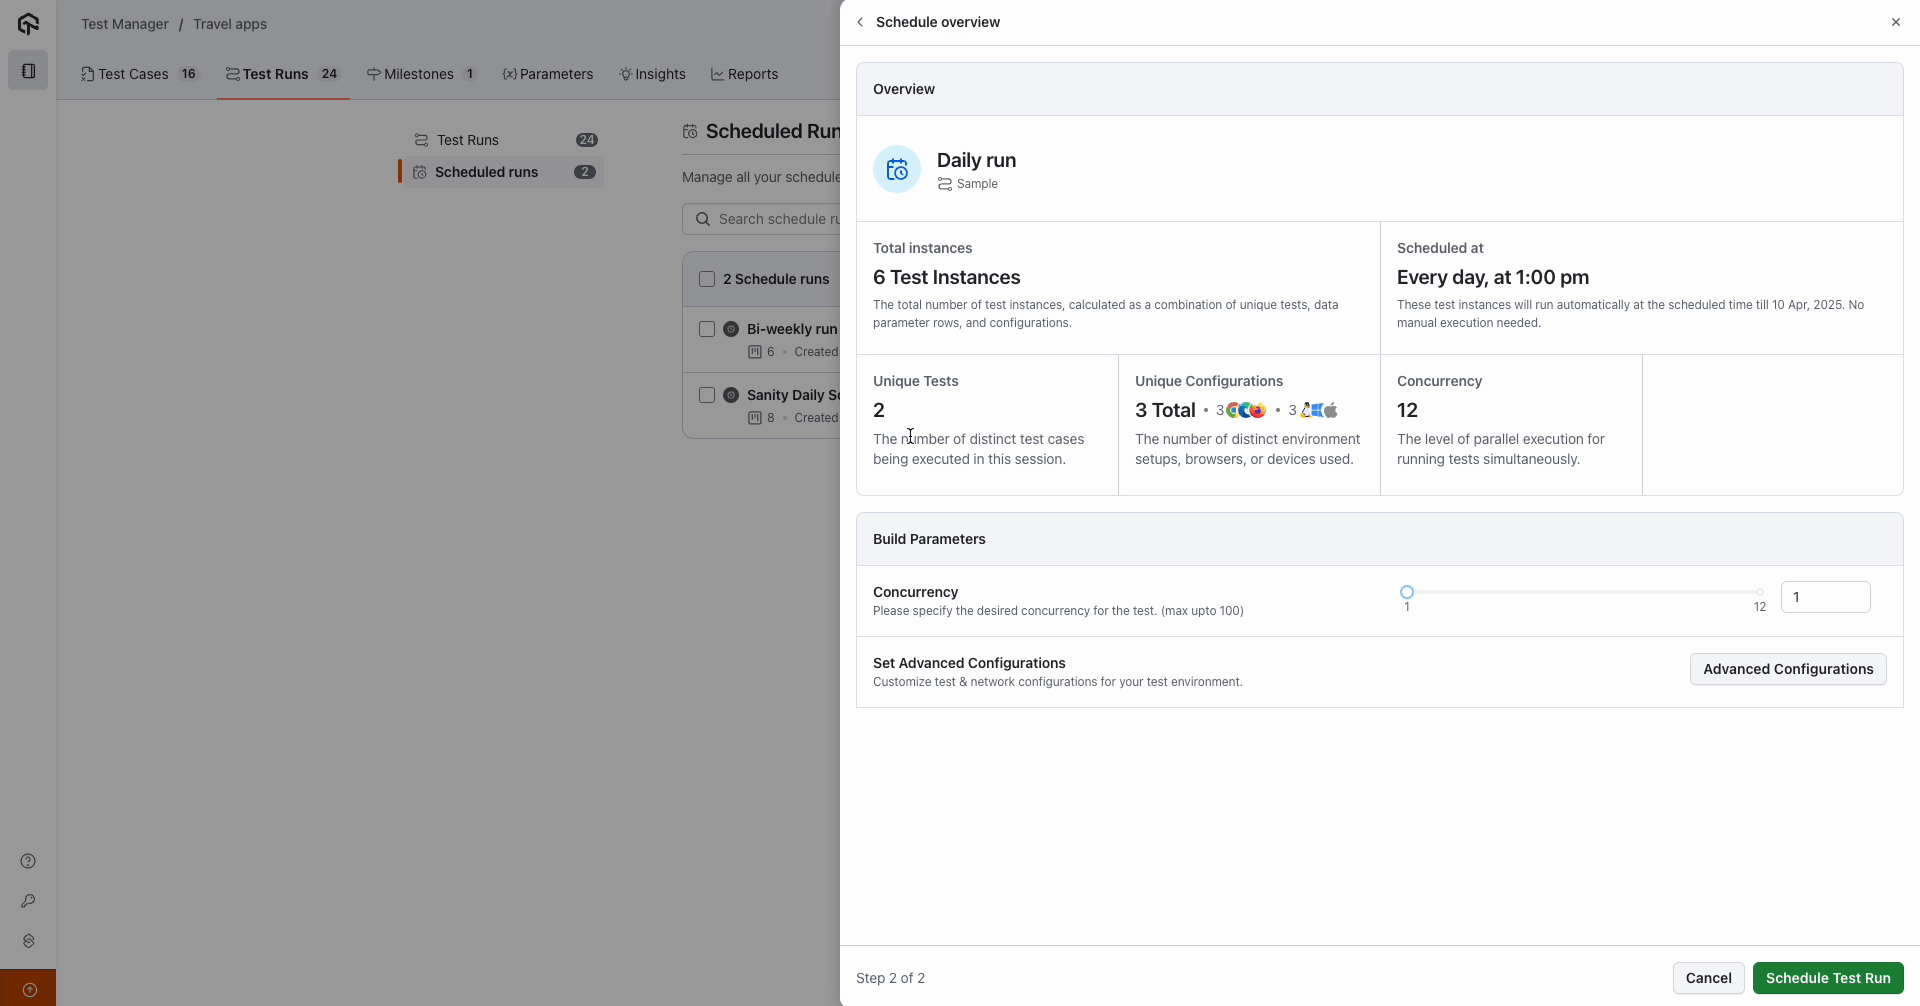
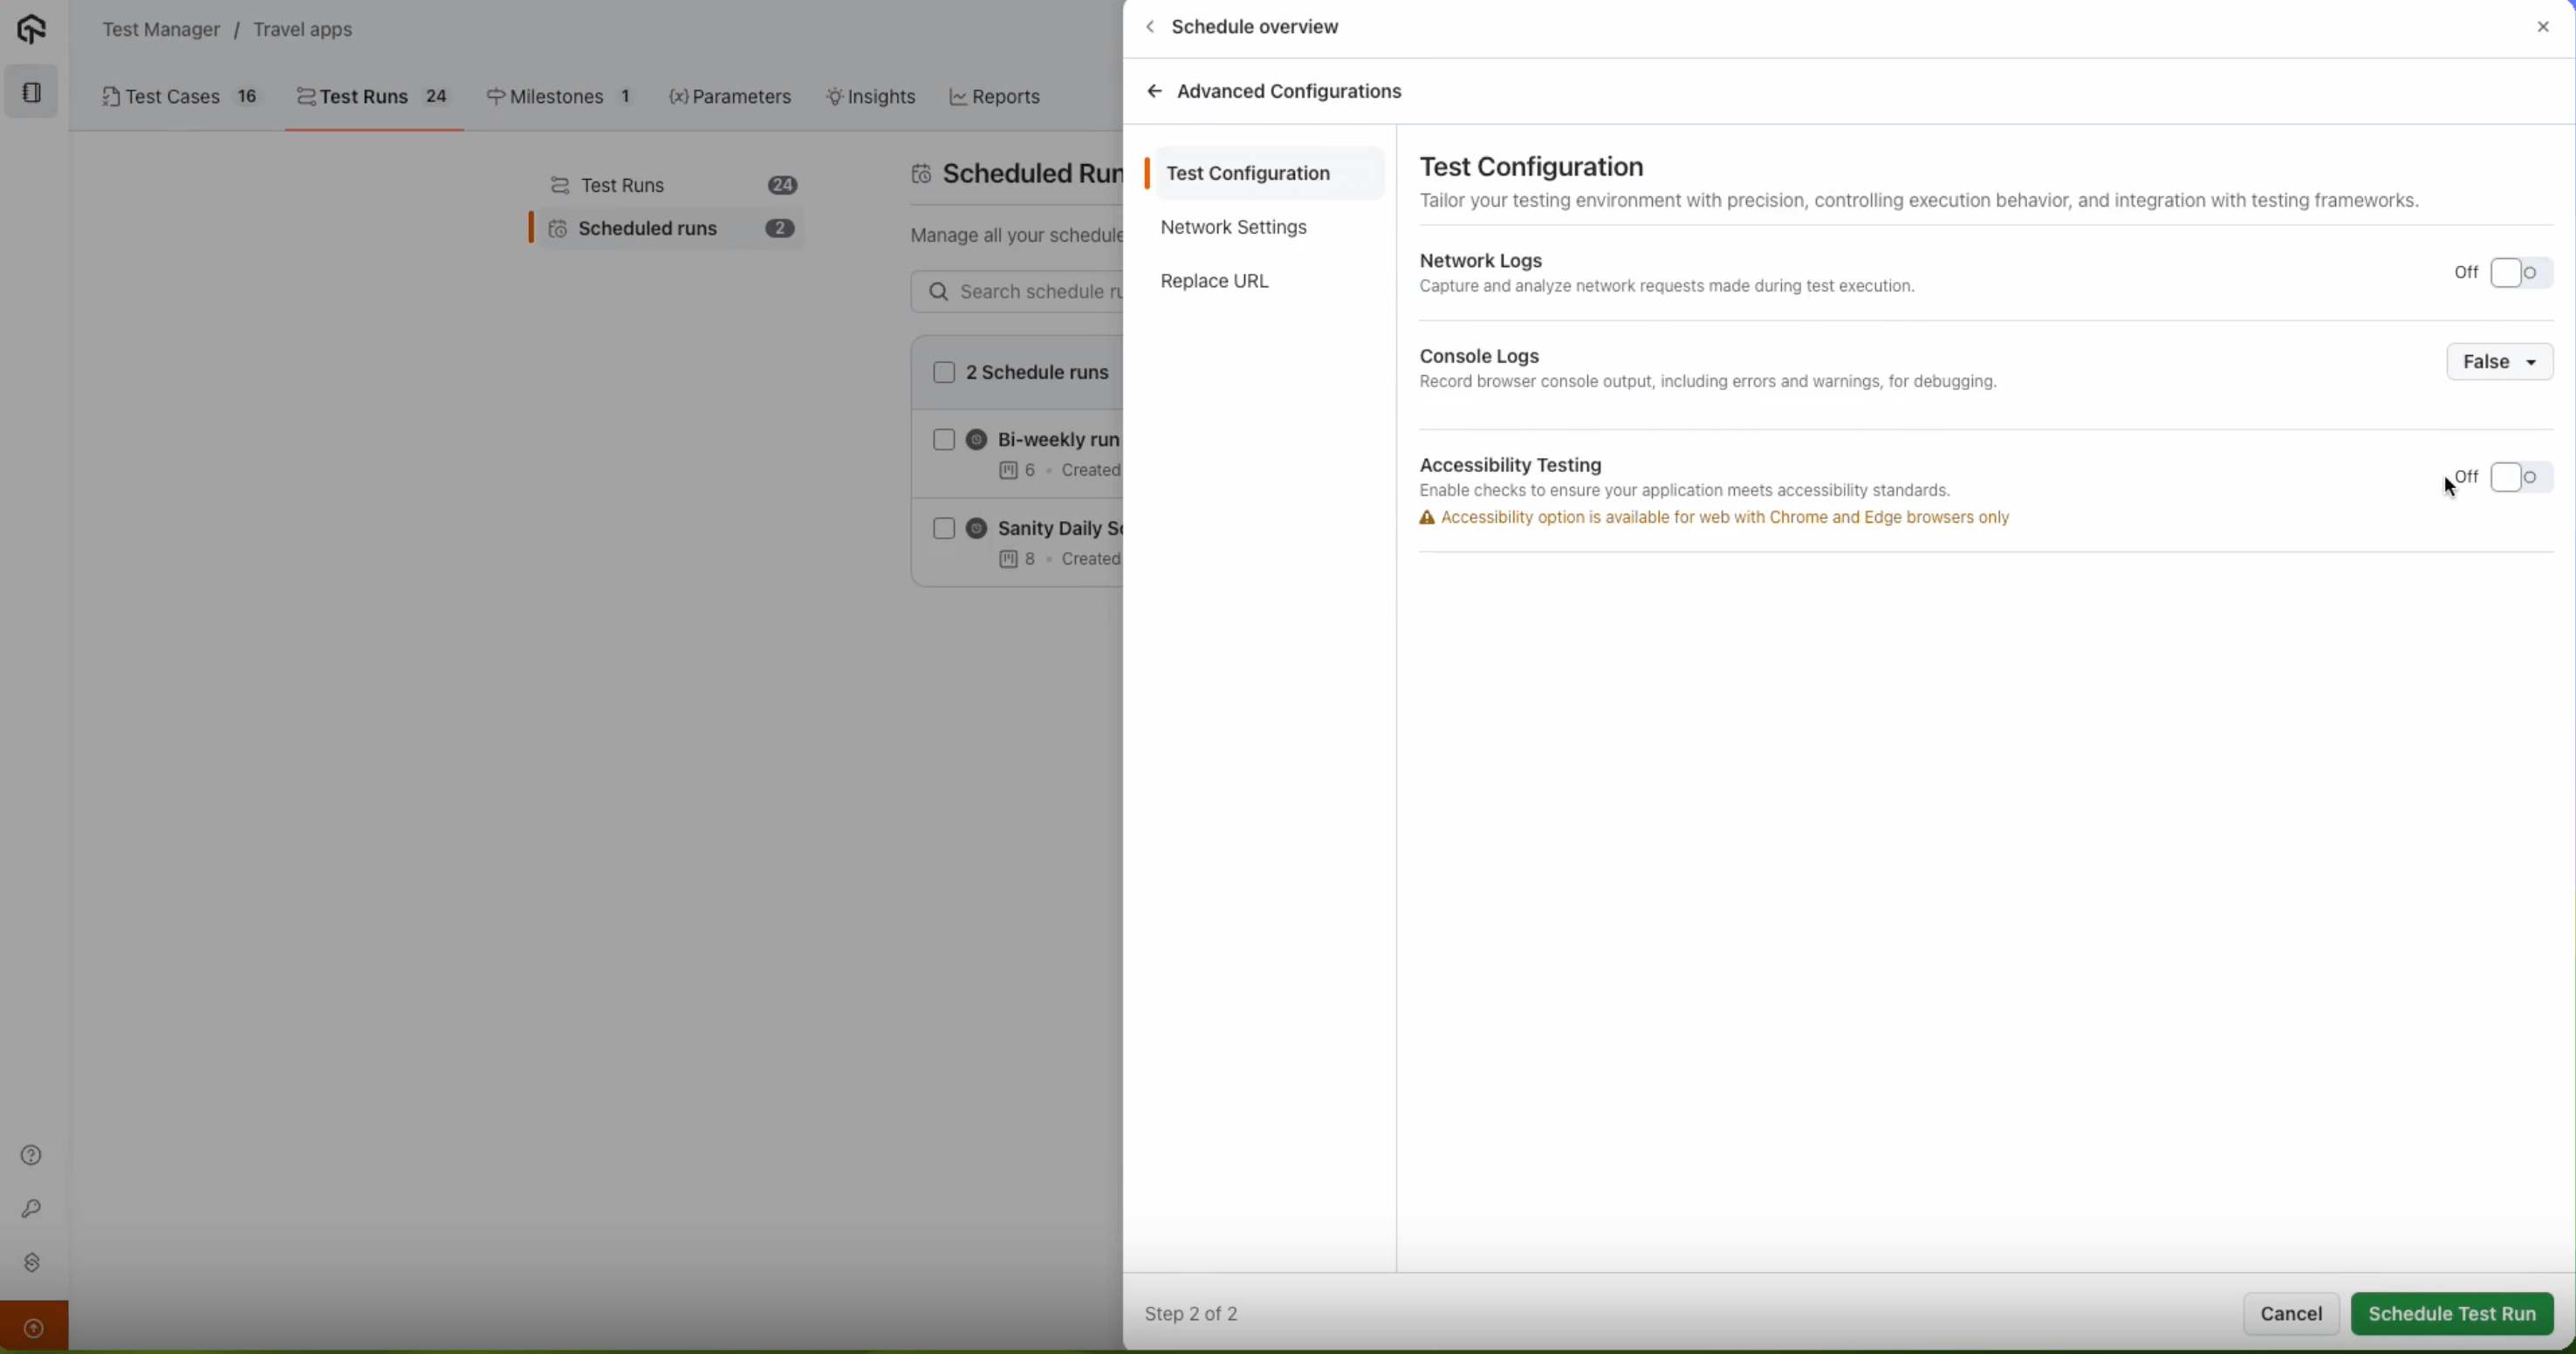
Step 5: In the Build Parameters box, you can define your desired concurrency for the tests. Click on the Advanced Configurations button to configure additional settings such as Self-maintenance, network throttling, URL replacement, visual regression, accessibility testing, and report generation. Finally, click Schedule Test Run to create a recurring schedule.
A schedule made of Classic test cases shows the full Advanced Configurations panel. A schedule whose test cases are all New Experience, on Chrome desktop or a mobile app, can use Evidence Reporting, which shows a shorter Test Configurations panel with Self-maintenance instead. Retry on Failure is available in both.
Step 6: Click on any existing schedule to view detailed information, including a summary of test outcomes, passed and failed cases, and their respective instances. This helps in easily reviewing and proceeding with the tests.
Step 1: Open the Test Runs Section
Navigate to Test Manager, select your project, and open the Test Runs section.
Result: The Test Runs section lists your existing test runs.
Step 2: Create a Schedule
Click the three dots next to a test run and select Create Schedule. Alternatively, open the Scheduled runs section to view all existing schedules, then click Create a Scheduled Run.
Result: The schedule creation form opens.
Step 3: Enter Schedule Details
Enter the Schedule Name, select the existing test run you want to schedule, and set the date and time.
Result: The schedule is defined with your selected test run and timing.
Step 4: Review the Summary
Click Next to review a summary of the schedule, including the scheduled date and time.
Result: The summary confirms the schedule details before you save.
Step 5: Set Build Parameters and Schedule
In the Build Parameters box, define the concurrency for the tests. Click Advanced Configurations to configure settings such as Self-maintenance, network throttling, URL replacement, visual regression, accessibility testing, and Reports. Click Schedule Test Run to create the recurring schedule.
A schedule made of Classic test cases shows the full Advanced Configurations panel. A schedule whose test cases are all New Experience, on Chrome desktop or a mobile app, can use Evidence Reporting, which shows a shorter Test Configurations panel with Self-maintenance instead. Retry on Failure is available in both.
Result: The recurring schedule is created and runs automatically at the set times.
Step 6: Review a Schedule
Click any existing schedule to view its details, including a summary of test outcomes, passed and failed cases, and their instances.

Result: The schedule detail view shows the outcomes of each scheduled run.
Next Steps
Continue with these guides:
- KaneAI HyperExecute Test Run Execution: Create and execute a test run before scheduling it.
- Test Runs Configurations: Manage the browser and device configurations a schedule uses.


 Chat with Us