Integrate SmartUI SDK with Testcafe Tests
Welcome to the world of simplified visual testing with the SmartUI SDK.
Integrating seamlessly into your existing Testcafe testing suite, SmartUI SDK revolutionizes the way you approach visual regression testing. Our robust solution empowers you to effortlessly capture, compare, and analyze screenshots across a multitude of browsers and resolutions, ensuring comprehensive coverage and accuracy in your visual testing endeavors.
Prerequisites
- Basic understanding of Command Line Interface and Testcafe is required.
- Login to TestMu AI SmartUI with your credentials.
The following steps will guide you in running your first Visual Regression test on TestMu AI platform using SmartUI Testcafe SDK integration.
Create a SmartUI Project
The first step is to create a project with the application in which we will combine all your builds run on the project. To create a SmartUI Project, follow these steps:
- Go to Projects page
- Click on the
new projectbutton - Select the platform as CLI for executing your
SDKtests. - Add name of the project, approvers for the changes found, tags for any filter or easy navigation.
- Click on the Submit.
Steps to run your first test
Once you have created a SmartUI Project, you can generate screenshots by running automation scripts. Follow the below steps to successfully generate screenshots
Step 1: Create/Update your test
You can clone the sample repository to run Testcafe tests with SmartUI and use the testcafeSDKLocal.js file.
git clone https://github.com/LambdaTest/smartui-testcafe-sample
cd smartui-testcafe-sample
Step 2: Install the Dependencies
Install required NPM modules for LambdaTest SmartUI Testcafe SDK in your Frontend project.
npm install @lambdatest/smartui-cli @lambdatest/testcafe-driver testcafe
If you face any problems executing tests with SmartUI-CLI versions >= v4.x.x, upgrade your Node.js version to v20.3 or above.
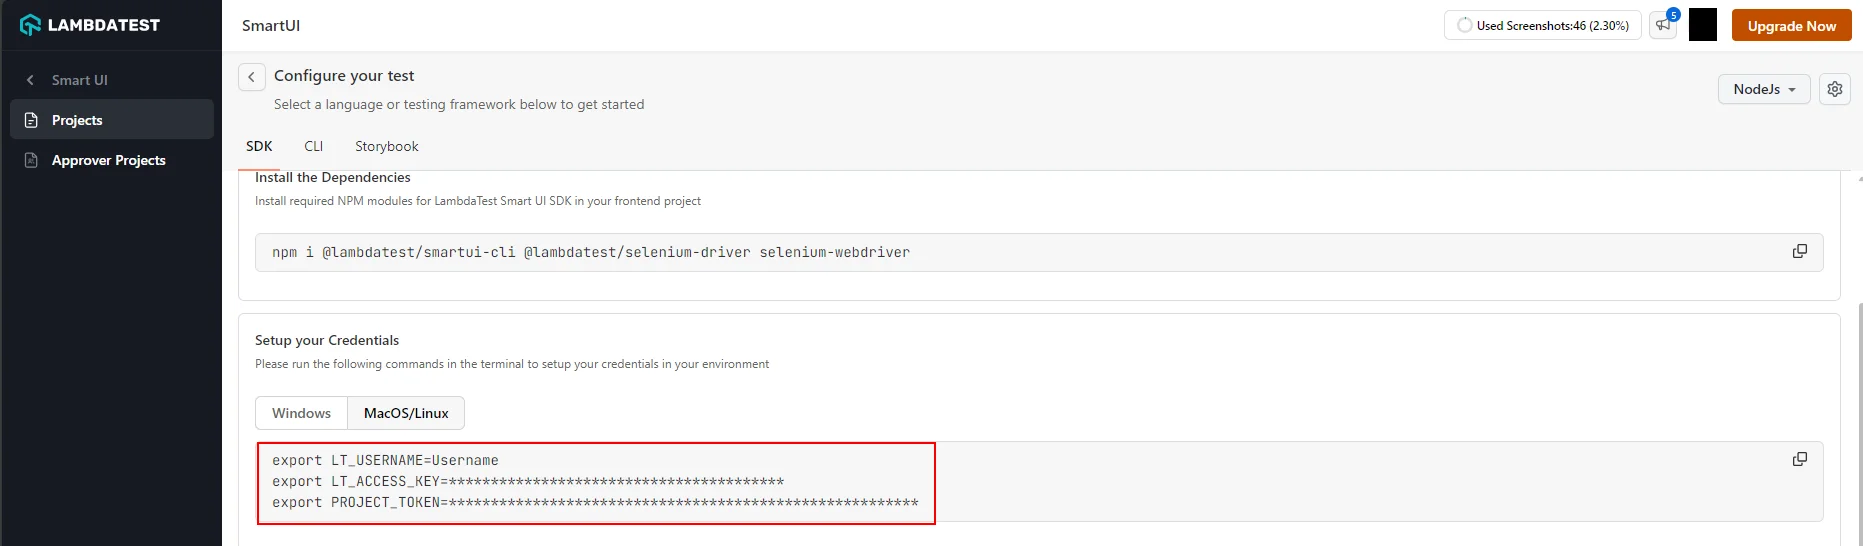
Step 3: Configure your Project Token
Setup your project token shown in the SmartUI app after creating your project.
- MacOS/Linux
- Windows - CMD
- PowerShell
export PROJECT_TOKEN="123456#1234abcd-****-****-****-************"
set PROJECT_TOKEN=123456#1234abcd-****-****-****-************"
$env:PROJECT_TOKEN=123456#1234abcd-****-****-****-************"
Step 4: Create and Configure SmartUI Config
You can now configure your project configurations on using various available options to run your tests with the SmartUI integration. To generate the configuration file, please execute the following command:
npx smartui config:create .smartui.json
Once, the configuration file will be created, you will be seeing the default configuration pre-filled in the configuration file:
{
  "web": {
    "browsers": [
      "chrome",
      "firefox",
      "safari",
      "edge"
    ],
    "viewports": [
      [
        1920
      ],
      [
        1366
      ],
      [
        1028
      ]
    ] // Full Page screenshots are captured by default for web viewports
  },
  "mobile": {
    "devices": [
      "iPhone 14",  //iPhone 14 viewport
      "Galaxy S24"  //Galaxy S24 viewport
    ],
    "fullPage": true, //Full Page is true by default for mobile viewports
    "orientation": "portrait" //Change to "landscape" for landscape snapshot
  },
  "waitForTimeout": 1000, //Optional (Should only be used in case lazy-loading/async components are present)
  "waitForPageRender": 50000, //Optional (Should only be used in case of websites which take more than 30s to load)
  "enableJavaScript": false, //Enable javascript for all the screenshots of the project
  "allowedHostnames": [] //Additional hostnames to capture assets from
}
- For capturing fullpage or viewport screenshots, please refer to this documentation
- For the list of available mobile viewports, please refer to this documentation
- For more information about SmartUI config global options, please refer to this documentation.
Step 5: Adding SmartUI function to take screenshot
- You can incorporate SmartUI into your custom
Testcafeautomation test (any platform) script by adding thesmartuiSnapshotfunction in the required segment of testcafe script of which we would like to take the screenshot, as shown below:
fixture('Amazon Test')
  .page('https://www.lambdatest.com');

test('Take Amazon Homepage Screenshot', async (t) => {
  // Take a screenshot using LambdaTest's TestCafe driver
  await smartuiSnapshot(t, 'LT-Homepage');
});
Step 6: Execute the Tests on SmartUI Cloud
Execute visual regression tests on SmartUI using the following commands
npx smartui exec testcafe chrome testcafeSDKLocal.js --config .smartui.json
You may use the npx smartui --help command in case you are facing issues during the execution of SmartUI commands in the CLI.
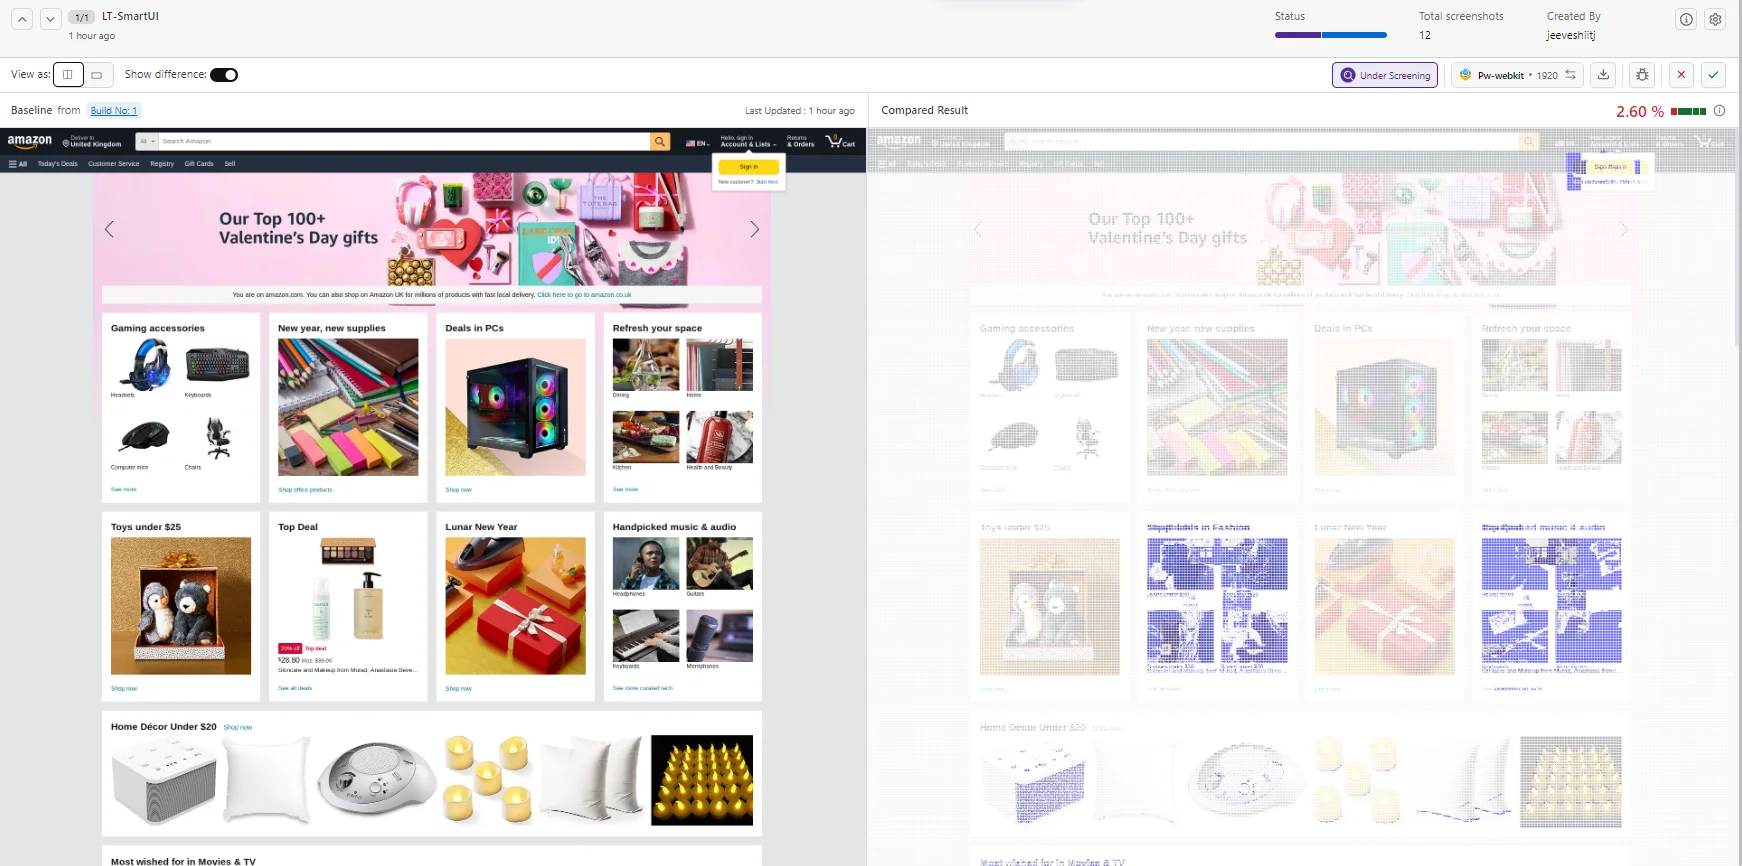
View SmartUI Results
You have successfully integrated SmartUI SDK with your Testcafe tests. Visit your SmartUI project to view builds and compare snapshots between different test runs.
You can see the SmartUI dashboard to view the results. This will help you identify the Mismatches from the existing Baseline build and do the required visual testing.
Arguments supported in the smartUISnapshot function
The following are the different options which are currently supported:
| Key | Description |
|---|---|
t (test controller) | This object allows you to control the test execution and interact with the web page under test. |
"Screenshot Name" (string) | Specify a name for the screenshot in your tests to match the same screenshot with the name from your baseline. |
options (object) | Specify one or a combination of selectors in the ignoreDOM or selectDOM objects. These selectors can be based on HTML DOM IDs, CSS classes, CSS selectors, or XPaths used by your webpage. They define elements that should be excluded from or included in the visual comparison. |
Handling Dynamic Data in SmartUI SDK New
When conducting visual tests, you may encounter scenarios where certain elements within your application change between test runs. These changes might introduce inconsistencies in your test results.You can ignore / select specific element(s) to be removed from the comparison by parsing the options in the smartuiSnapshot function in the following way
- Ignore ID
- Ignore Class
- Ignore XPath
- Ignore CSS Selector
let options = {
            ignoreDOM: {
                id: ["ID-1", "ID-2"],
            }
        }
        await smartuiSnapshot(t, 'Screenshot Name', options);
let options = {
            ignoreDOM: {
                class: ["Class-1", "Class-2"],
            }
        }
        await smartuiSnapshot(t, 'Screenshot Name', options);
let options = {
            ignoreDOM: {
                xpath: ["Xpath-1", "Xpath-2"],
            }
        }
        await smartuiSnapshot(t, 'Screenshot Name', options);
let options = {
            ignoreDOM: {
                cssSelector: ["CSS-Selector-1", "CSS-Selector-2"],
            }
        }
        await smartuiSnapshot(t, 'Screenshot Name', options);
- Select ID
- Select Class
- Select XPath
- Select CSS Selector
let options = {
            selectDOM: {
                id: ["ID-1", "ID-2"],
            }
        }
        await smartuiSnapshot(t, 'Screenshot Name', options);
let options = {
            selectDOM: {
                class: ["Class-1", "Class-2"],
            }
        }
        await smartuiSnapshot(t, 'Screenshot Name', options);
let options = {
            selectDOM: {
                xpath: ["Xpath-1", "Xpath-2"],
            }
        }
        await smartuiSnapshot(t, 'Screenshot Name', options);
let options = {
            selectDOM: {
                cssSelector: ["CSS-Selector-1", "CSS-Selector-2"],
            }
        }
        await smartuiSnapshot(t, 'Screenshot Name', options);
For capturing the screenshot of a specific element
You can capture screenshots of targeted elements by leveraging various locator mechanisms such as XPath, CSS ID, class, and selectors. This precision-driven approach ensures accurate and specific visual regression testing for your web application's components.
- Capture Element by ID
- Capture Element by Class
- Capture Element by XPath
- Capture Element by Selector
let options = {
      element: {
          id: 'Required ID',
      }
  };
        await smartuiSnapshot(t, 'Screenshot Name', options);
let options = {
      element: {
          class: 'Required Class',
      }
  };
        await smartuiSnapshot(t, 'Screenshot Name', options);
let options = {
      element: {
          xpath: 'Required Xpath',
      }
  };
        await smartuiSnapshot(t, 'Screenshot Name', options);
let options = {
      element: {
          cssSelector: 'Required CSS Selector',
      }
  };
        await smartuiSnapshot(t, 'Screenshot Name', options);
For capturing interactive lazy loading elements
If you encounter difficulties loading interactive elements that appear on scroll in full-page screenshots, consider functionally incorporating a full-page scroll into your script before capturing the screenshot. This approach ensures the elements load first, facilitating the screenshot processing.
// Function to scroll through the page and then back to the top
async function scrollToBottomAndTop(t, lastPageWait = 100) {
    const getScrollHeight = Selector(() => document.body.scrollHeight);
    const heightOfPage = await getScrollHeight();
    let size = 200;
    let noOfLoop = Math.floor(heightOfPage / size);

    for (let i = 1; i <= noOfLoop; i++) {
        await t.scrollBy({ x: 0, y: size });
        await t.wait(1000);
        if (i === noOfLoop) {
            await t.scrollTo({ x: 0, y: heightOfPage });
            await t.wait(lastPageWait);
        }
    }

    // Scroll to the top
    await t.scrollTo({ x: 0, y: 0 });
    await t.wait(10000);
    console.log("Scroll Completed");
}

fixture `Page Scroll Test`
    .page `Required URL`; // Replace `Required URL` with the actual URL

test('Scroll through the page, then take a smartUI Snapshot', async t => {
    await scrollToBottomAndTop(t, 100); // Adjust wait time as needed
    await smartuiSnapshot(t, 'Screenshot Name'); // Adjust the screenshot name as needed
});
Best Practices
- Screenshot Naming
- Wait for Page Load
- Handle Dynamic Content
- Configuration Management
- Test Organization
Screenshot Naming
- Use descriptive, consistent names for screenshots
- Include page/component name in screenshot names
- Avoid special characters that might cause issues
- Use consistent naming conventions across your test suite
Example:
await smartuiSnapshot(t, 'HomePage-Header');
await smartuiSnapshot(t, 'ProductPage-MainContent');
Wait for Page Load
- Always wait for pages to fully load before taking screenshots
- Use TestCafe's built-in wait methods for dynamic content
- Consider using
waitForTimeoutin configuration for lazy-loaded content
Example:
fixture `Page Test`
    .page `https://example.com`;

test('Take screenshot after page loads', async t ="> {
    await t.expect(Selector('#main-content').exists).ok();
    await t.wait(1000); // Wait for animations
    await smartuiSnapshot(t, 'Page Loaded');
});
Handle Dynamic Content
- Use
ignoreDOMfor elements that change between runs - Use
selectDOMwhen you only need to compare specific areas - Document why elements are ignored for future reference
Configuration Management
- Keep
.smartui.jsonin version control - Use environment variables for sensitive data
- Document custom configuration choices
Test Organization
- Group related screenshots in the same build
- Use meaningful build names
- Run tests in consistent environments
Troubleshooting
- Screenshots Not Appearing in Dashboard
- Project Not Found Error
- Screenshots Show Blank or Incorrect Content
- Build Execution Fails
- npm Dependencies Not Resolving
- Screenshot Names Not Matching Baseline
Issue: Screenshots Not Appearing in Dashboard
Symptoms: Tests run successfully but no screenshots appear in SmartUI dashboard
Possible Causes:
- Project token not set or incorrect
- Project name mismatch
- Network connectivity issues
- CLI not installed or outdated
Solutions:
-
Verify
PROJECT_TOKENis set correctly:echo $PROJECT_TOKEN -
Check project name matches exactly (case-sensitive)
-
Verify SmartUI CLI is installed:
npx smartui --version -
Check network connectivity to TestMu AI servers
-
Review test execution logs for error messages
Issue: Project Not Found" Error
Symptoms: Error message indicating project cannot be found
Possible Causes:
- Incorrect project token
- Project deleted or renamed
- Token from wrong project
Solutions:
- Verify project exists in SmartUI dashboard
- Copy project token directly from Project Settings
- Ensure token includes the project ID prefix (e.g.,
123456#...) - Check for extra spaces or quotes in token
Issue: Screenshots Show Blank or Incorrect Content
Symptoms: Screenshots captured but show blank pages or incorrect content
Possible Causes:
- Page not fully loaded
- JavaScript not executed
- Viewport size issues
- Timing issues
Solutions:
-
Add explicit waits before screenshots:
await t.expect(Selector('#content').exists).ok();
await t.expect(Selector('.main-content').visible).ok();
await t.wait(2000); // Wait for content to load -
Enable JavaScript in configuration:
{
  enableJavaScript": true
} -
Increase
waitForTimeoutin configuration -
Verify viewport size matches expected dimensions
Issue: Build Execution Fails
Symptoms: npx smartui exec command fails
Possible Causes:
- Missing or incorrect configuration file
- Invalid JSON in configuration
- Port conflicts
- Permission issues
Solutions:
- Verify
.smartui.jsonexists and is valid JSON - Check configuration file syntax
- Try different port if default is in use:
npx smartui exec -P 5000 -- <command"> - Check file permissions for configuration and project files
Issue: npm Dependencies Not Resolving
Symptoms: npm cannot find @lambdatest/testcafe-driver or @lambdatest/smartui-cli
Possible Causes:
- Incorrect package version
- npm registry access issues
- Network connectivity problems
Solutions:
-
Check latest versions on npm:
npm view @lambdatest/testcafe-driver version
npm view @lambdatest/smartui-cli version -
Clear npm cache:
npm cache clean --force -
Verify internet connectivity for npm registry access
-
Check package.json for version conflicts
Issue: Screenshot Names Not Matching Baseline
Symptoms: Screenshots appear as New" instead of comparing with baseline
Possible Causes:
- Screenshot name changed
- Baseline doesn't exist
- Name contains special characters
Solutions:
- Ensure screenshot names are consistent across test runs
- Verify baseline exists in project
- Avoid special characters in screenshot names
- Check for case sensitivity issues
Getting Help
If you encounter issues not covered here:
- Review the Comprehensive Troubleshooting Guide for detailed solutions
- Check SmartUI Configuration Options documentation
- See Handling Dynamic Data for dynamic content issues
- Visit TestMu AI Support for additional resources
- Contact support at support@testmu.ai or use 24/7 Chat Support
