Visual AI Agent
The Visual AI Agent is an intelligent layer on top of SmartUI that reduces noise in visual testing. Unlike traditional pixel-by-pixel comparison, the AI Agent understands the context of visual elements, allowing it to distinguish between critical visual defects and insignificant rendering differences between your baseline and captured screenshots. This allows you to instantly focus on significant UI shifts and understand the context of the changes without getting lost in minor, irrelevant noise.
What Problems Does SmartUI Visual Agent Solve?
Traditional pixel-to-pixel comparison can be noisy and time-consuming. SmartUI Visual Agent eliminates the guesswork by providing context-aware, intelligent analysis.
| Problem | SmartUI Visual Agent Solution |
|---|---|
| Pixel diffs are cluttered with noise from anti-aliasing or rendering glitches. | The AI agent filters out irrelevant diffs and only highlights changes a human user would notice. |
| It's hard to understand the scope or meaning of a change from a simple highlighted area. | Get a plain-English summary that explains the entire change in context. |
| Reviewing hundreds of minor visual differences is slow and inefficient. | Focus your attention only on significant UI and UX regressions that impact the user experience. |
How to Use SmartUI Visual Agent
Step 1: Activate Visual AI Mode
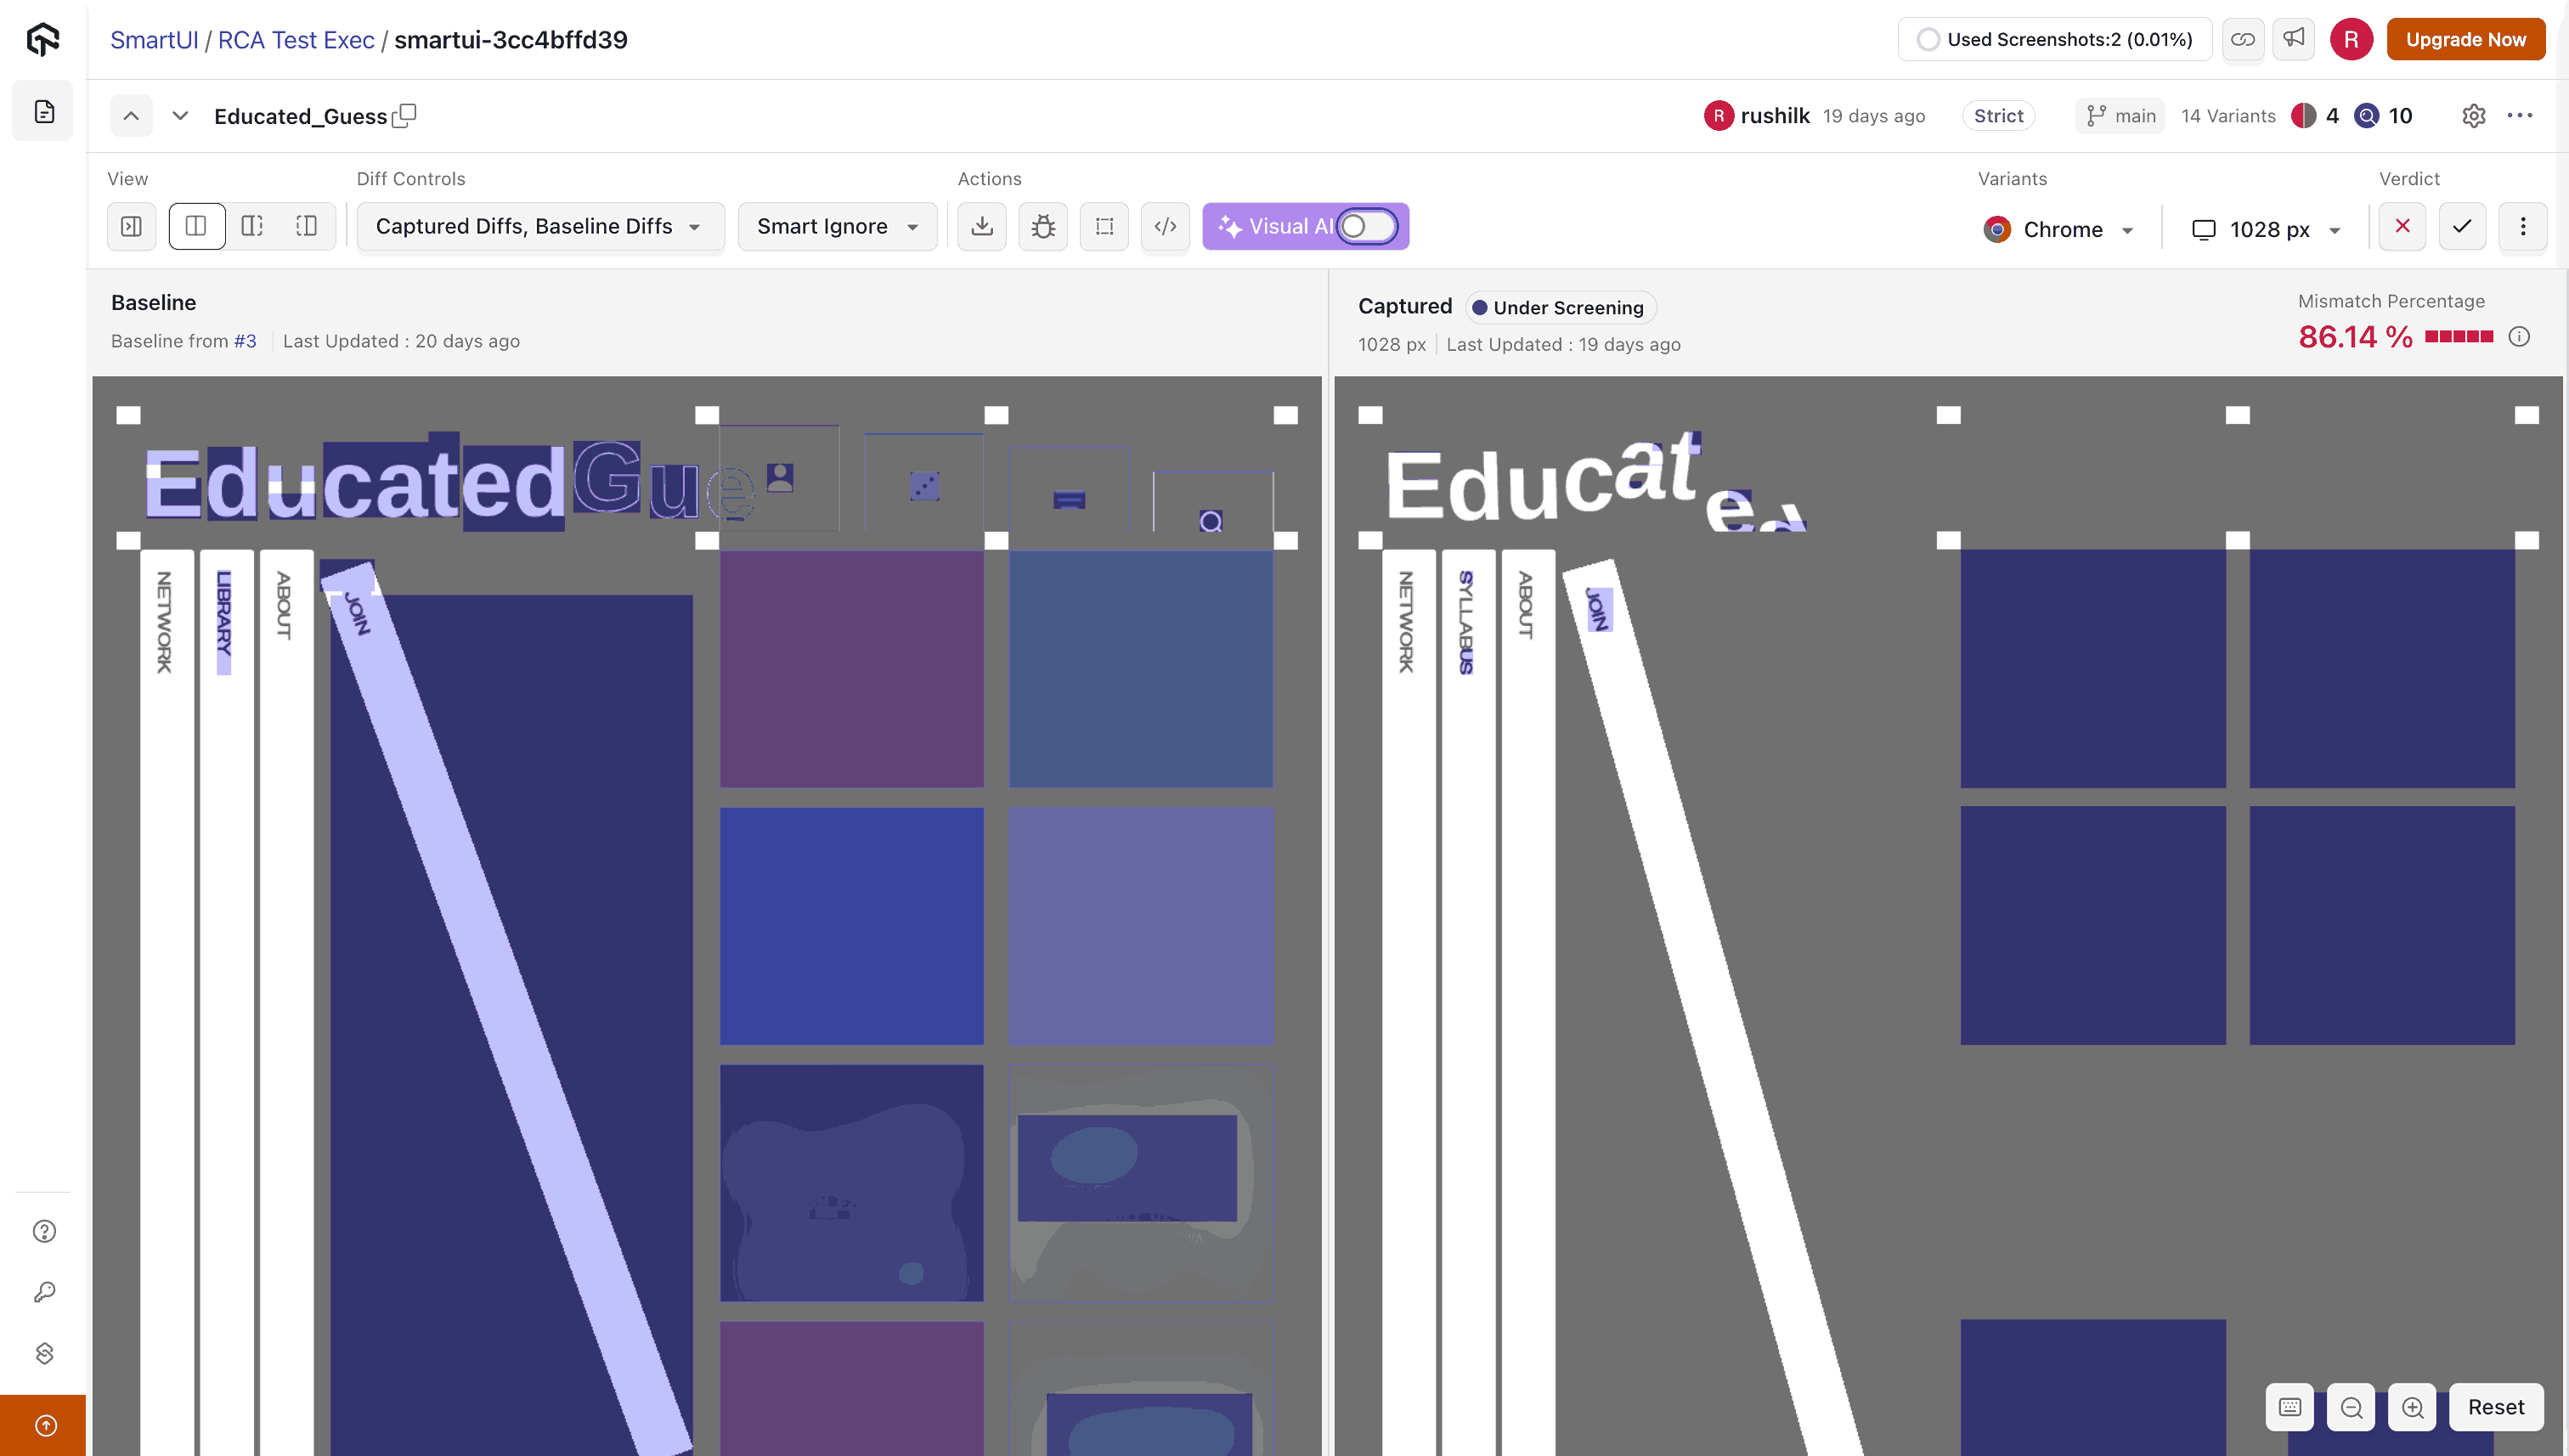
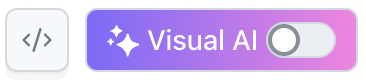
Navigate to any SmartUI comparison build. In the toolbar above the screenshots, locate and click the Visual AI toggle. This activates the "Human Intelligence AI Agent."
Step 2: Investigate AI-Detected Differences
Once Visual AI is active, the system automatically draws boxes around what it has identified as significant visual changes on the "Captured" screenshot. You can then interact with these boxes to learn more.
| User Interaction | Visual Feedback |
|---|---|
| Default View | Boxes are drawn around each meaningful visual difference the AI has detected. |
| Hover on a diff box | The box under your cursor highlights slightly, indicating it is interactive. |
| Click a diff box | The box turns red to confirm your selection, and a floating summary panel appears with a description of the change. |
Step 3: Understand the AI-Generated Summary
When you click on a diff box, a panel appears with a concise, human-readable explanation of the change. This summary describes the full scope of the difference, allowing for quick recognition and understanding. For example, it might summarize a complex visual change as "Content Grid Replaced with Placeholders."

Benefits for Your Team
- ✅ Fewer False Positives: Only see changes that a human would notice.
- ✅ Faster Approvals: Review fewer screenshots without missing real defects.
- ✅ Actionable Insights: Get change location, type, and a human-readable summary.
- ✅ Works at Scale: Designed for high-volume regression testing pipelines.
Perfect For
- ✅ Teams tired of noisy traditional visual testing tools
- ✅ CI/CD pipelines that need fast, trustworthy visual QA
- ✅ Product teams that care about real user experience impact
Provide Feedback
All members can give feedback on AI-generated differences and summaries. Following are the available feedback options:
- Thumbs up/down.
- Comment (optional): Enter up to 120 characters. This option is only available when a thumbs-up or thumbs-down is given.
Things to Keep in Mind
- Visual AI Agent is currently available for comparisons with vertical lengths under 5000px.
- If the Visual AI agent is active and you open the RCA panel, the panel will still display all differences from the standard Smart RCA comparison.
Visual AI Agent can make mistakes. Please visually verify the results.
