Creating iOS Applications
This document outlines the process of creating and testing iOS apps using Xcode. It covers two methods for creating.ipa files for testing: directly creating the.ipa file or creating an.app bundle and converting it into an.ipa file. The first method involves creating a.ipa file using various export methods, such as Ad Hoc, Enterprise, or Development. The second method involves creating an.app bundle and converting it into an.ipa file.
Step 1: Create .ipa files for Testing
In Xcode, there are two common methods to create .ipa files for iOS app distribution. The first method directly creates the .ipa file, while the second method involves creating an .app bundle and then converting it into an .ipa file.
Method 1: Using Export Methods
You can directly create .ipa files using various export methods (Ad Hoc, Enterprise, or Development) for distribution. The App Store type is not included in this method.
Step 1: Open your project in Xcode. Choose Generic iOS Device or Any iOS Device (arm64). for the project's device target.
Step 2: Go to the Product -> Clean to ensure a clean build. Again, go to the Product -> Archive. Your app will be listed under the Archives after the process is completed.
Step 3: Choose your app from the list and click Distribute App.
Step 4: Select an export method and configure the Distribution options as follows:
- App Thinning: None
- Unselect the option Rebuild from Bitcode.
- Strip swift symbols is optional.
- Unselect the option Include manifest for over-the-air installation.
Step 5: Choose your Distribution Certificate and Provisioning Profile (Automatic or Manual). This will create the .ipa file.
Step 6: Once the export is complete, you will be prompted to specify the location where you want to save the .ipa file. Choose the desired location for saving the generated .ipa file.
You can use the generated .ipa file for testing on the TestMu AI Platform.
Method 2: Using .app Bundles
Step 1: Open your app project in Xcode.
Step 2: For your Product's device target, select either Generic iOS Device or Any iOS Device (arm64).
Step 3: Go to the Product menu -> Clean to ensure a clean build. Again, click on Product menu -> Build.
The .app file is generated in your Xcode project's Products Directory.
Step 4: After generating the .app bundle, proceed with building an .ipa file:
- Firstly, create an empty directory with the name
Payload.
- Move the .app file to the
Payloaddirectory. - Make an archive (.zip file) by compressing the
Payloaddirectory. - Rename this archive and append
.ipaat the end. This creates an .ipa file.
Step 2: Create an XCUITest Package (.ipa)
Follow the below mentioned steps to create your Test package:
Step 1: Open your application project in Xcode. Choose Generic iOS Device or Any iOS Device (arm64) for the project's device target.
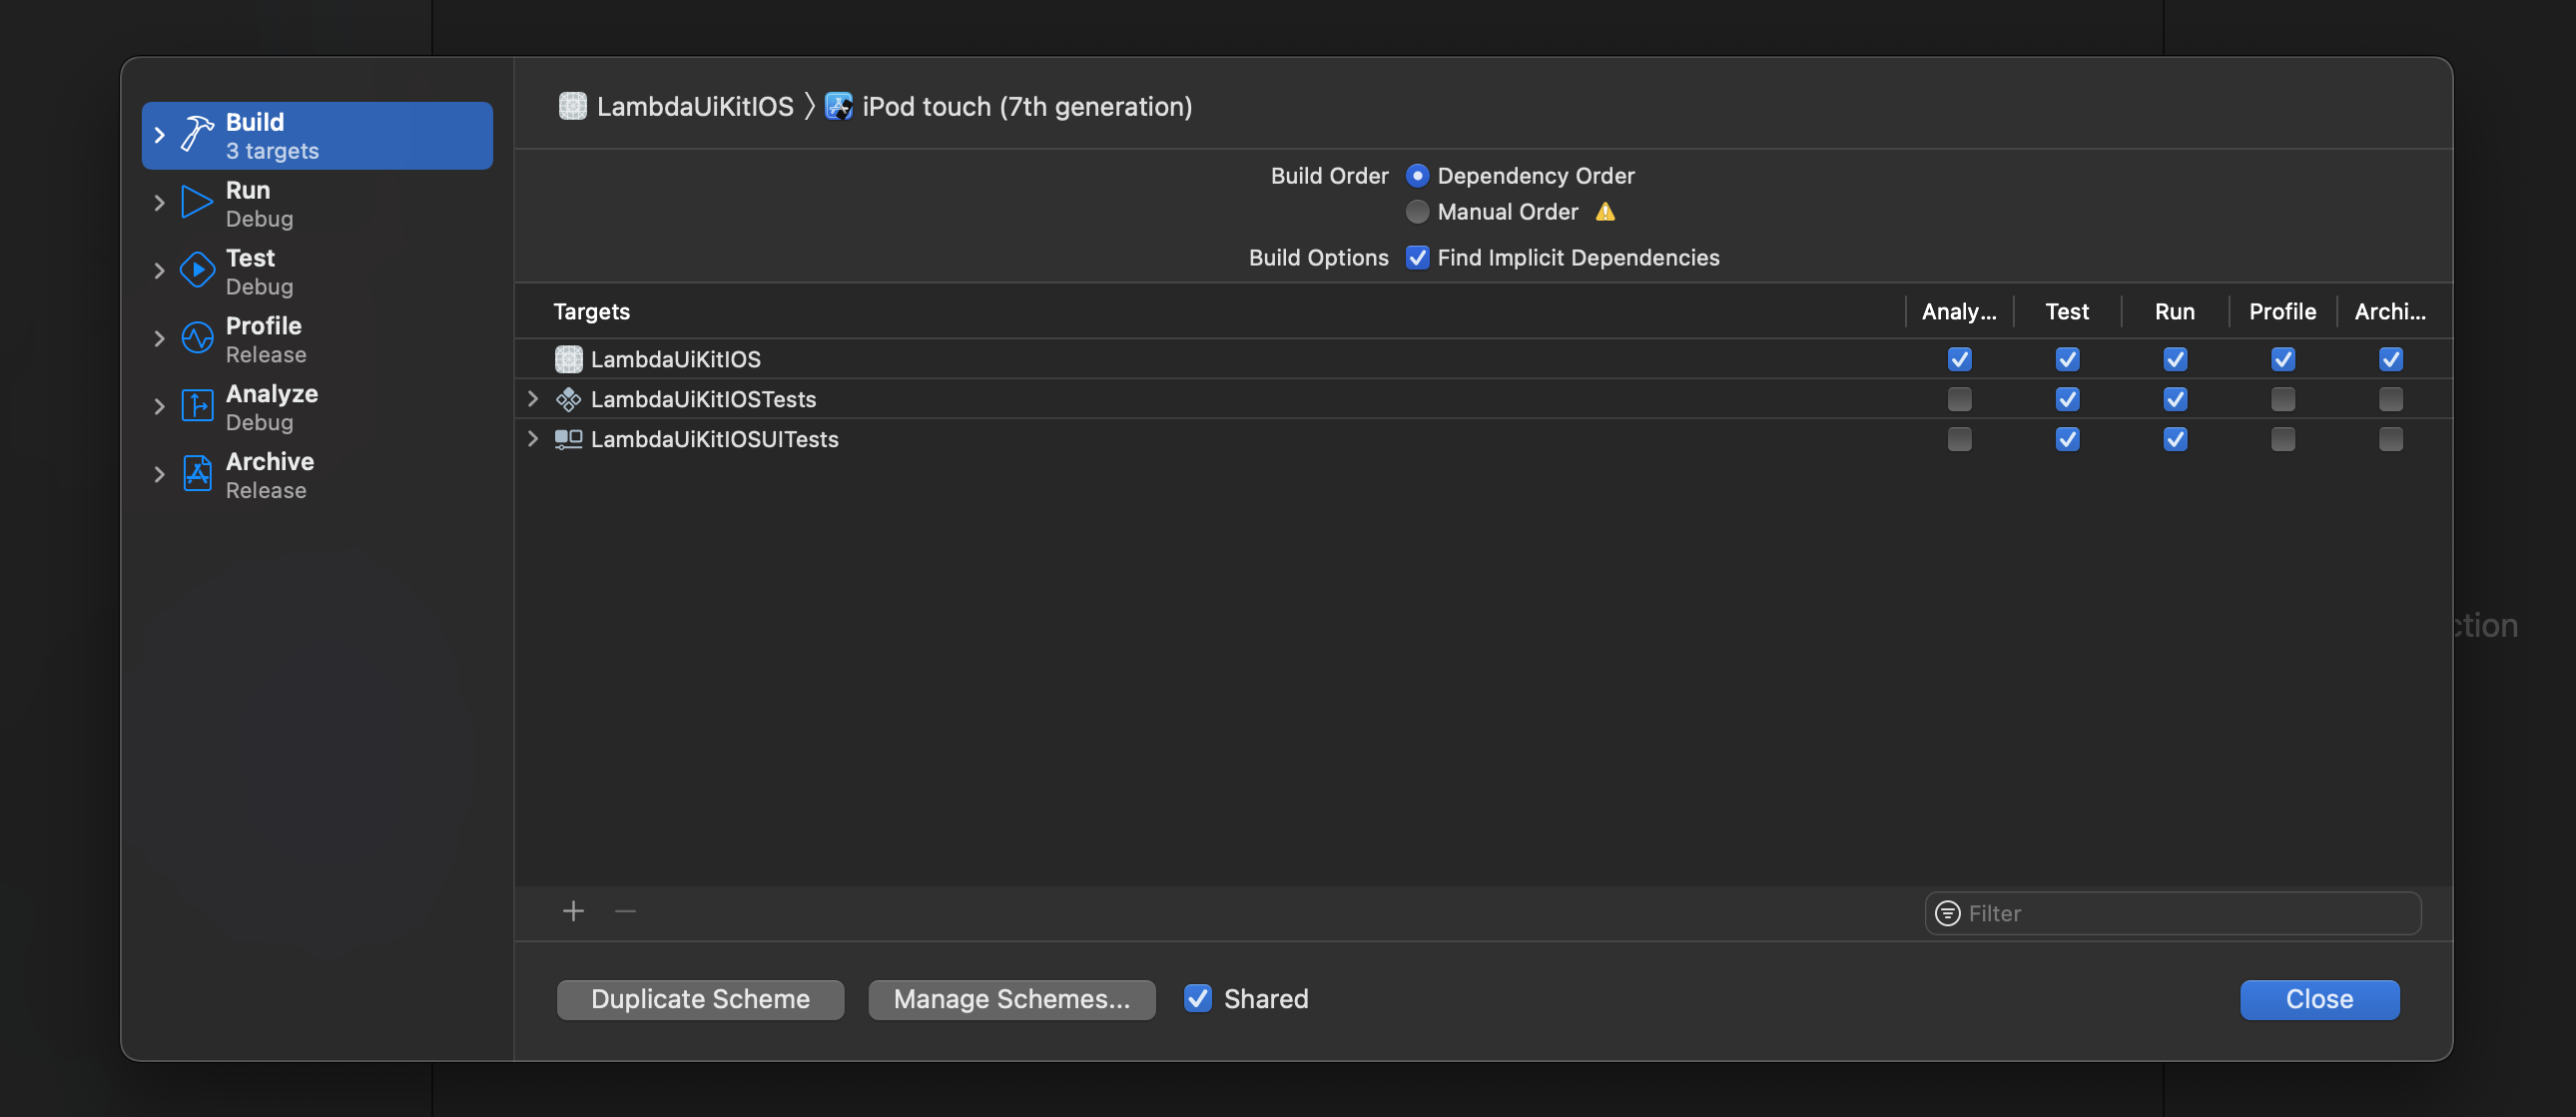
Step 2: Confirm that your UI Tests are included in Target Membership and the said targets are selected to be built in your Xcode Build Scheme. UI Tests Targets are specially selected to be built at the "Test" build action.
Step 3: Click on Product -> Build For -> Testing to create your test package.
Step 4: Go to the Products Directory of your XCode project to find the generated .app file.
Step 5: Now, create .ipa from the .app bundle. After generating the .app bundle, proceed with building an .ipa file:
- Firstly, create an empty directory with the name
Payload.
- Move the .app files to the
Payloaddirectory. - Make an archive (.zip file) by compressing the
Payloaddirectory. - Rename this archive and append
.ipaat the end. This creates an .ipa file.
This allow you to transform the generated .app bundle into an .ipa file, suitable for iOS app distribution.
Step 3: Aligning iOS Deployment Target for XCUITest Testing.
Match the iOS version of your app and test runner iOS Deployment Target. If they don't match up, the tests will run locally, but won't be able to run on TestMu AI Real Devices.
To match the version in your Xcode Project:
- Go to the Project that you wish to build.
- Go to the Build Settings, set the iOS Deployment Target to the iOS version of your app. This will align the app and test runner to the same iOS version.
To match the version in your Xcode Target.
- Choose the Target of your Project.
- Go to the Build Settings, set the iOS Deployment Target to the iOS version you want to use in your test.
