Sharding for XCUI
Generally the XCUI tests are run in sequence which is a time taking process. This document explains how you can speed up this process by splitting the tests into shards. We can divide the various tests into shards which can run parallelly and save time while running various XCUI tests.
This document will cover how to execute XCUI Tests on real devices with HyperExecute. HyperExecute is a smart test orchestration platform to run end-to-end tests at the fastest speed possible. HyperExecute is configured using a YAML file.
You can learn more about the HyperExecute portal and UI by going through our Guided Walkthrough page. It contains all the relevant information that you need to optimise your testing process with HyperExecute.
Objectives
By the end of this topic, you will be able to:
- Speed up your XCUI tests with sharding
- Learn more about HyperExecute
- Explore advanced features of TestMu AI
Prerequisites
Before you start performing your App automation testing with XCUI, please make sure:
- You have access to TestMu AI username and accessKey. If you have not registered yet, you can do the same by visiting our website. You will be able to access the credentials at the TestMu AI Profile
- Make sure you have App Automation and HyperExecute Cloud plans on your account.
Uploading your App & Test suite
Step 1: Upload Your Application
Upload your iOS application (.ipa file) to the TestMu AI servers using our REST API. You need to provide your Username and AccessKey in the format Username:AccessKey in the cURL command for authentication. Make sure to add the path of the appFile in the cURL request.
Here is an example cURL request to upload your app using our REST API:
Using App File:
- Linux / MacOS
- Windows
curl -u "undefined:undefined" \
--location --request POST 'https://manual-api.lambdatest.com/app/uploadFramework' \
--form 'appFile=@"/Users/macuser/Downloads/proverbial.ipa"' \
--form 'type="xcuit-ios"'
curl -u "undefined:undefined" -X POST "https://manual-api.lambdatest.com/app/uploadFramework" -F "appFile=@"/Users/macuser/Downloads/proverbial.ipa"" -F "type="xcuit-ios""
Response of above cURL will be a JSON object containing the App URL of the format - APP123456789123456789 and will be used in the last step as appId.
Step 2: Uploading Test Suite
Upload your test suite (.ipa file) to the TestMu AI servers using our REST API. You need to provide your Username and AccessKey in the format Username:AccessKey in the cURL command for authentication. Make sure to add the path of the appFile in the cURL request. Here is an example cURL request to upload your app using our REST API:
Using App File:
- Linux / MacOS
- Windows
curl -u "undefined:undefined" \
--location --request POST 'https://manual-api.lambdatest.com/app/uploadFramework' --form 'appFile=@"/Users/macuser/Downloads/proverbial_ios_xcuitest.ipa"' --form 'type="xcuit-ios"'
curl -u "undefined:undefined" --location --request POST "https://manual-api.lambdatest.com/app/uploadFramework" --form "appFile=@"C:/Users/varunkumarb/Downloads/proverbial_ios_xcuitest.ipa"" --form "type="xcuit-ios""
Response of above cURL will be a JSON object containing the App URL of the format - APP123456789123456789 and will be used in the next step as testSuiteAppId
How to use Sharding
- Firstly, create a folder on your local.
- Download the HyperExecute CLI file and put it under this folder. You may download HyperExecute CLI from either of the following ways:
- Download it from our HyperExecute documentation page here, or
- "Get Started" through HyperExecute onboarding and download the CLI.
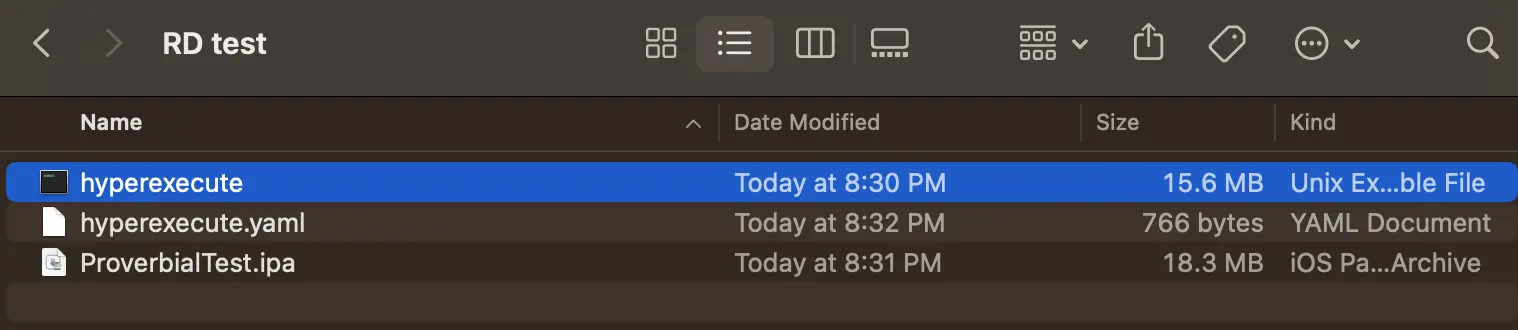
- Refer to the sample
.ipafiles and.yamlfile given below. Put all of them under this folder.
Refer to the sample .yaml file here
version: "0.2"
concurrency: 2
runson: ios
autosplit: true
maxRetries: 2
retryOnFailure: true
globalTimeout: 180    #MAXQUEUETIMEOUT

framework:
  name: "ios/xcui"
  args:
    buildName: "XCUIT"
    video: true
    networkLog: true
    deviceLog: true

    # You can use either the appId (APP1234567) or provide the path of the application using appPath.

    appPath: LambdaUiKitIOS.ipa
    # We have used the appPath here instead of appId

    # You can use either the APP ID (APP1234567) or provide the path of the application.

    testSuiteAppId: lt://APP10160202521675167637685231
    # We have used the testSuiteAppID here instead of testSuitePath

    deviceSelectionStrategy: all
    devices: ["iPhone 12 Pro-14", "iPad Air (2019)-16"]

    shards:
      mappings:
      - name: shard1
        strategy: "only-testing/skip-testing"
        values: ["<className>/<className/testName>"]
     - name: shard2
       strategy: "only-testing/skip-testing"
       values: ["<className>/<className/testName>", "<className>/<className/testName>"]
If you are using the deviceSelectionStrategy: all, then in that case all the mentioned shards will be executed on all the devices.
For example: There are 2 shards and 2 devices mentioned, then the 2 shards will be executed on 2 devices (2 Shards * 2 Devices).
If you are using the deviceSelectionStrategy: any, then in that case all the mentioned shards will be executed on any one device from the list provided.
For example: There are 2 shards and 2 devices mentioned, then the 2 shards will be executed on any device (2 shards * any device mentioned).
- Go to the location of the folder on the terminal and run the below commands. After the second command, you may need to give permission on System Settings/Privacy & Security.
chmod u+x <cliFileNAme>
./<cliFileNAme> --u <userName> --k <accessKey> --verbose -i <yamlFileName>.yaml
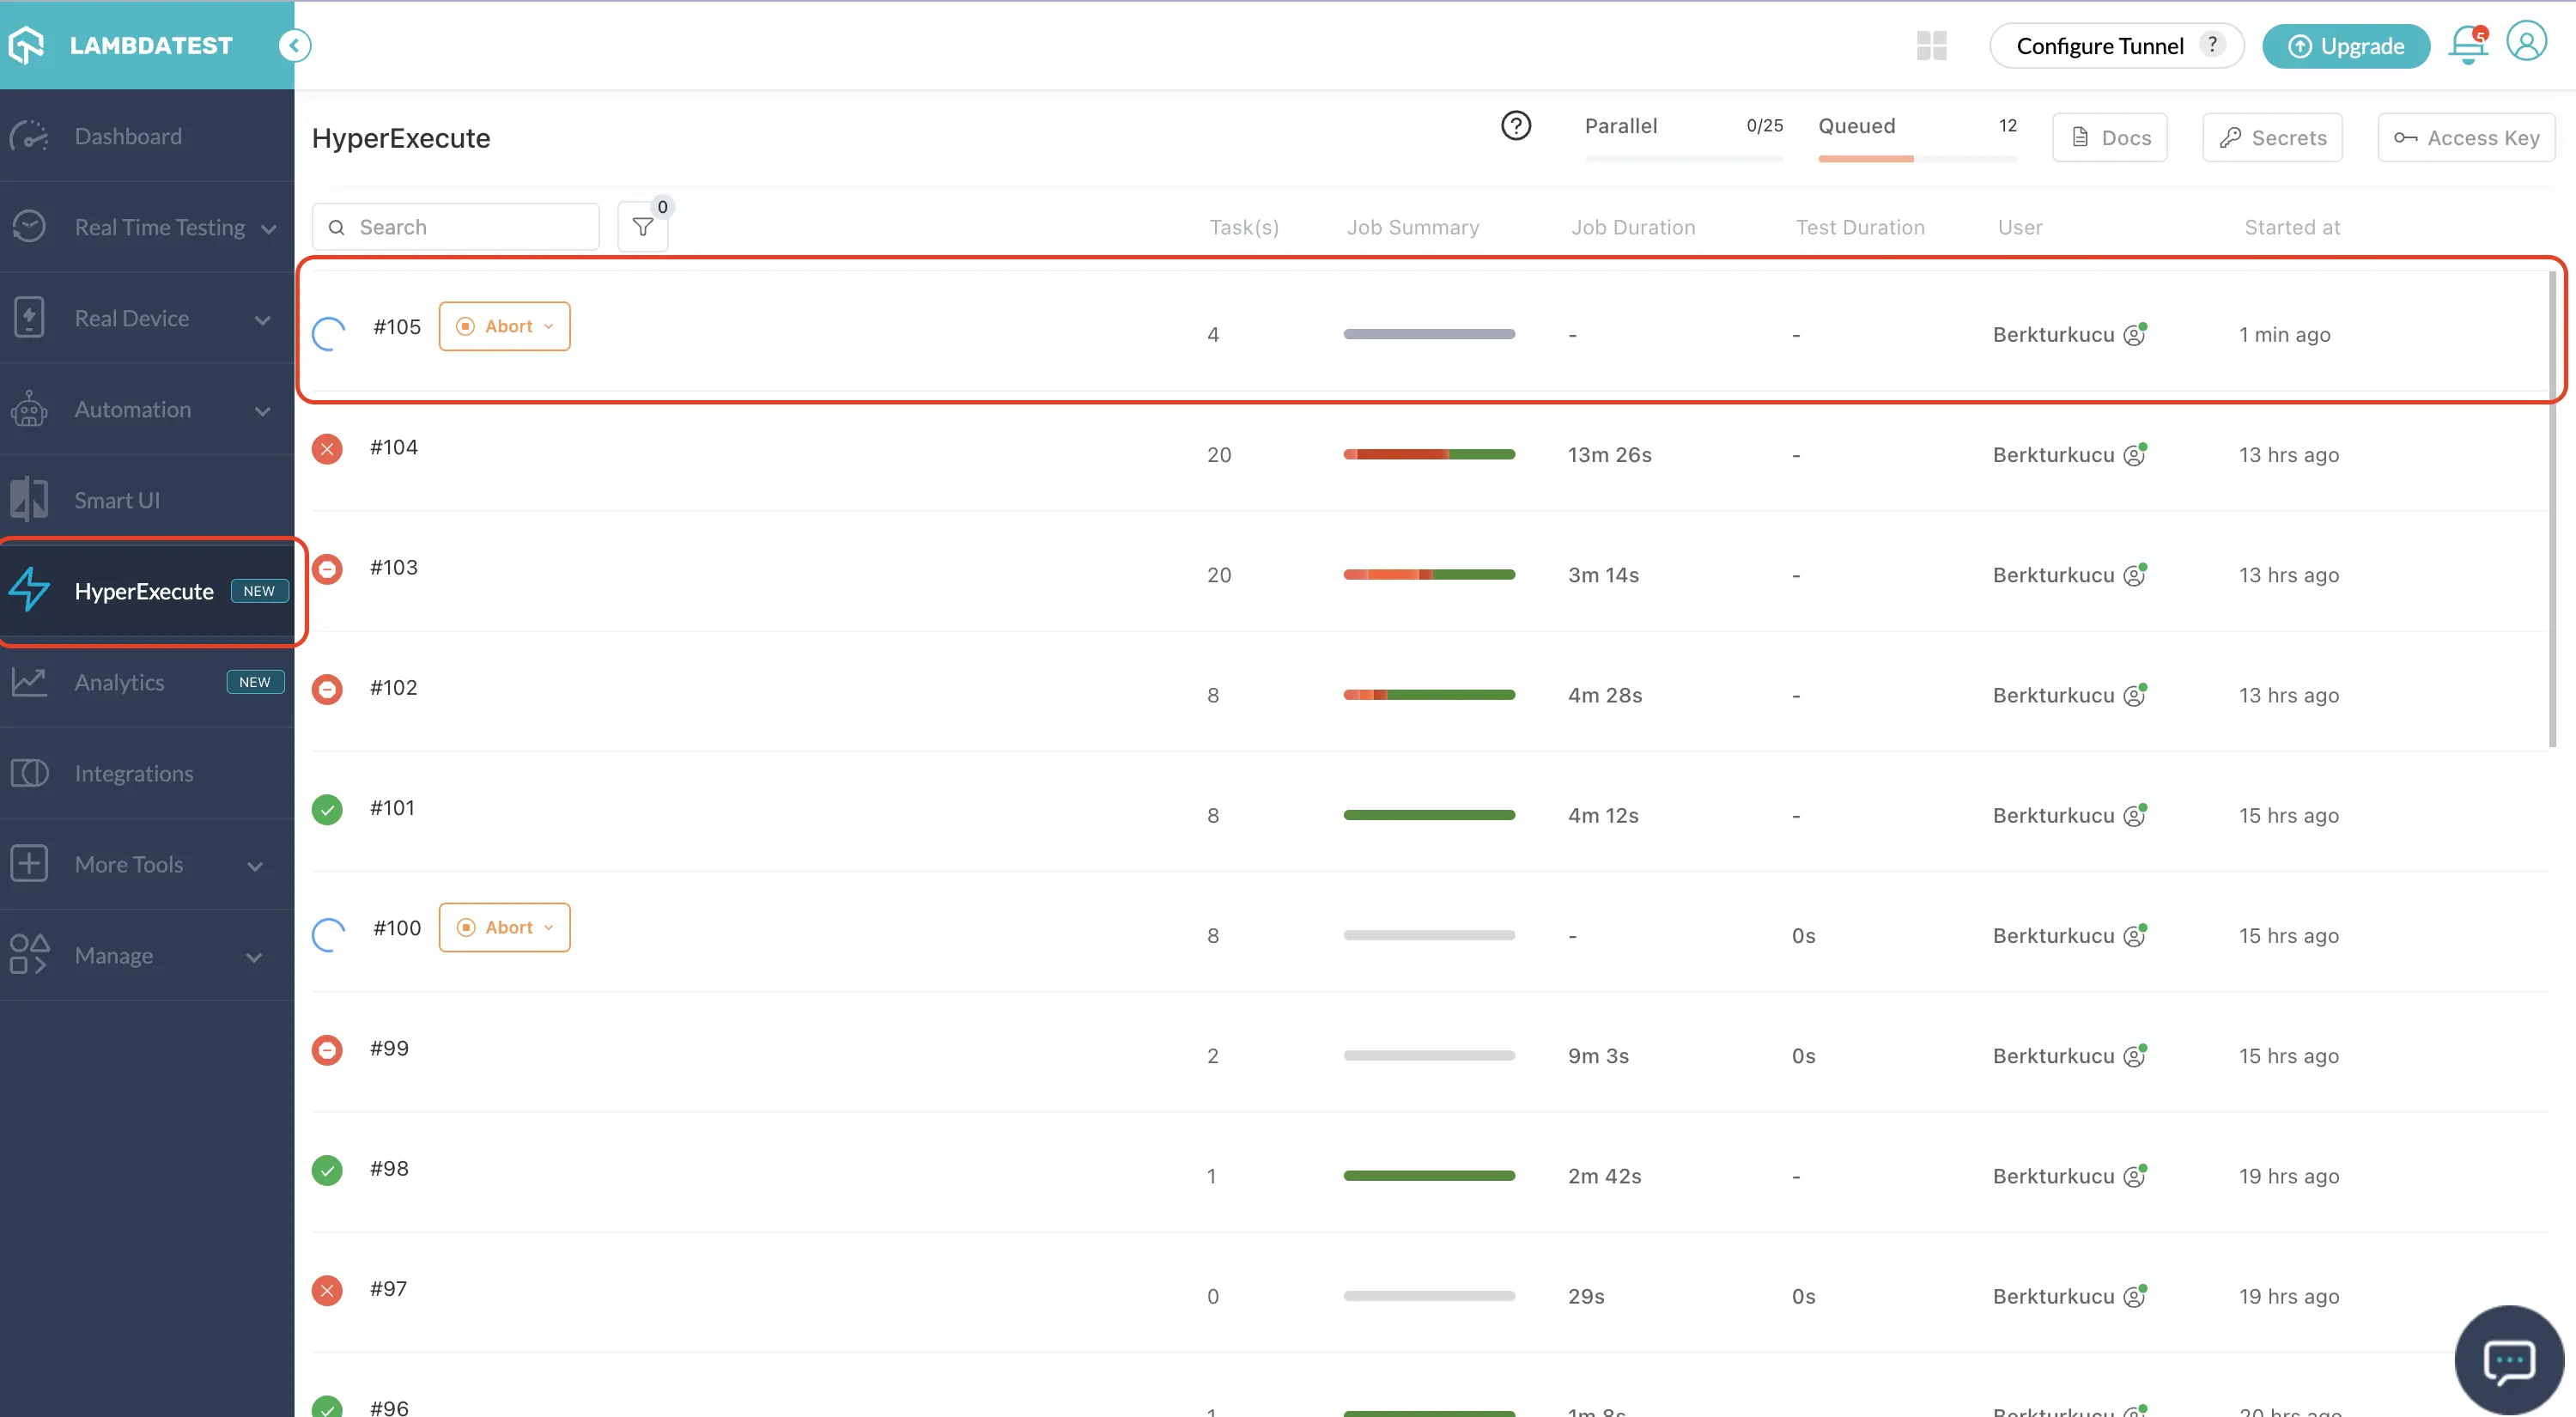
You can refer to this example and screenshot below:
./hyperexecute --u my_user_name --k xyx123abc --verbose -i hyperexecute.yaml
- After the test is started you can follow the test on the below links.

globalTimeout The globalTimeout value determines the maximum duration (in minutes) of a Job . It can be set between 5 and 180 minutes, and has a default value of 10 minutes.
Filters in Sharding
You can filter the Classes / Tests that you'd like to execute using filters. Here's an example of the same.
filters:
      attributes:
      - type: className
        values: ["LambdaUiKitIOSUITests","LambdaUiKitIOSUITestsLaunchTests"]
      - type: testName
        values: ["LambdaUiKitIOSUITests/testverifyAppLaunch"]
This example will run only the 2 classes & one test as mentioned from the TestSuite.
XCTestPlan in Sharding
To implement the XCTestPlan in Sharding, add the xctestplan flag along with app and testSuite in the framework flag as shown below:
framework:
  name: "ios/xcui"
  args:
    "app" : "lt://APP_ID",
    "testSuite": "lt://TEST_SUITE_ID",
    "xctestplan" : "lt://YOUR_XC_TEST_PLAN_ID" #only when you want to use XCTestPlan
Refer the documentation to learn how to use XCTestPlan feature.
