Visual Test Creation with KaneAI
This guide provides a detailed walkthrough on how to leverage KaneAI to create, manage, and automate visual regression tests. By integrating with SmartUI, you can capture screenshots, compare visual changes, and maintain UI consistency throughout your development lifecycle.
Creating Your First Visual Test
Initiate a Web Test
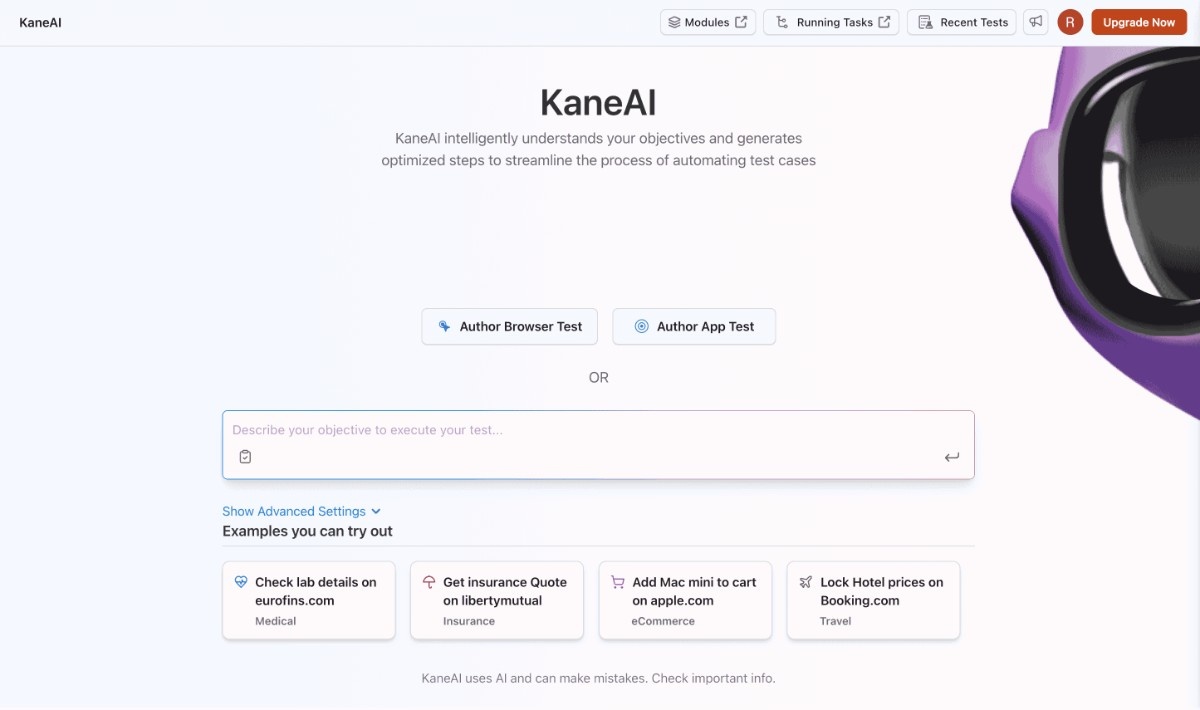
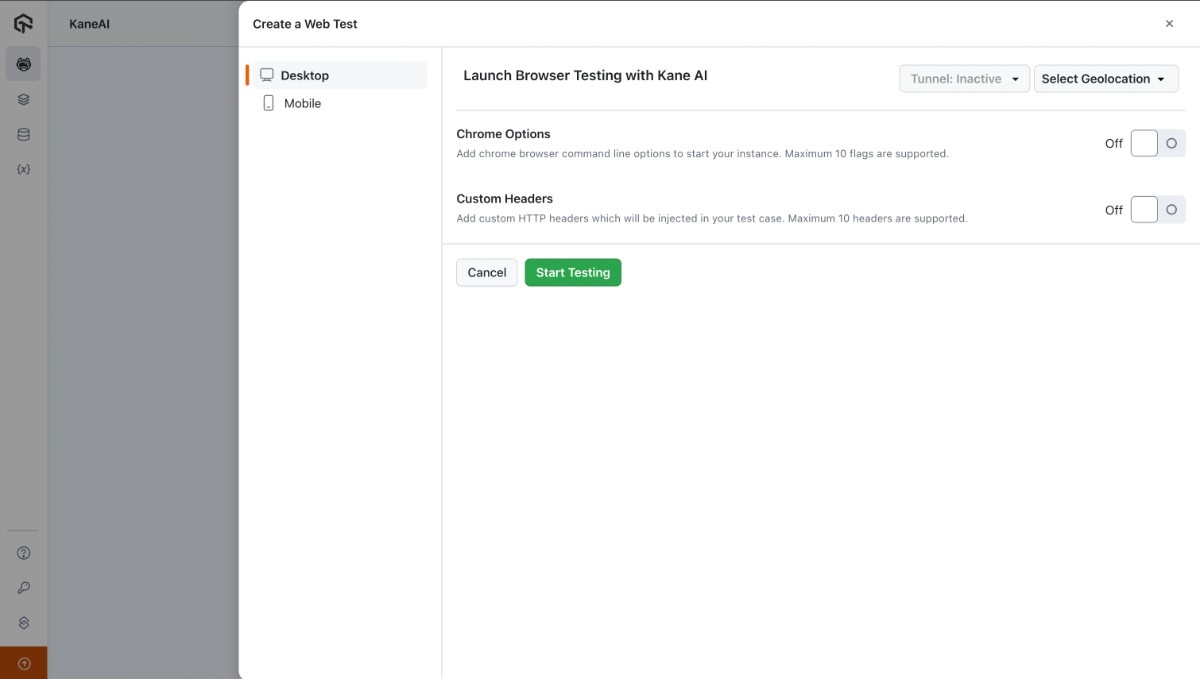
To begin, navigate to the KaneAI dashboard and click Author Browser Test. You can configure network settings before clicking Start Testing to launch the test authoring environment.
Add a Visual Comparison Step
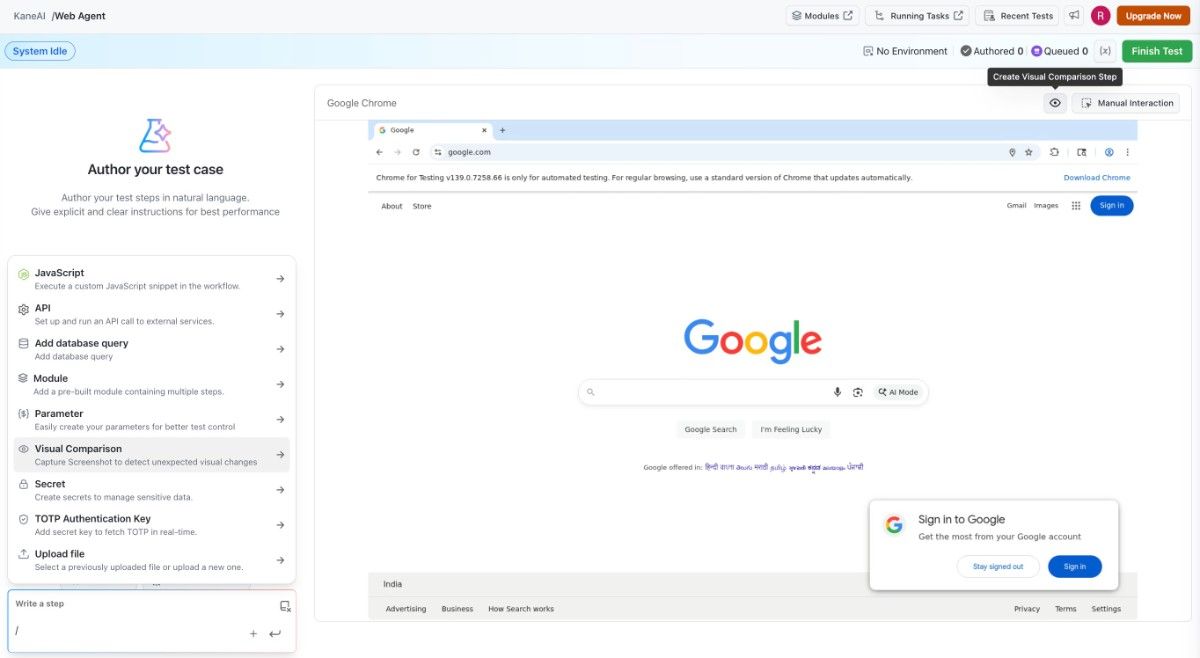
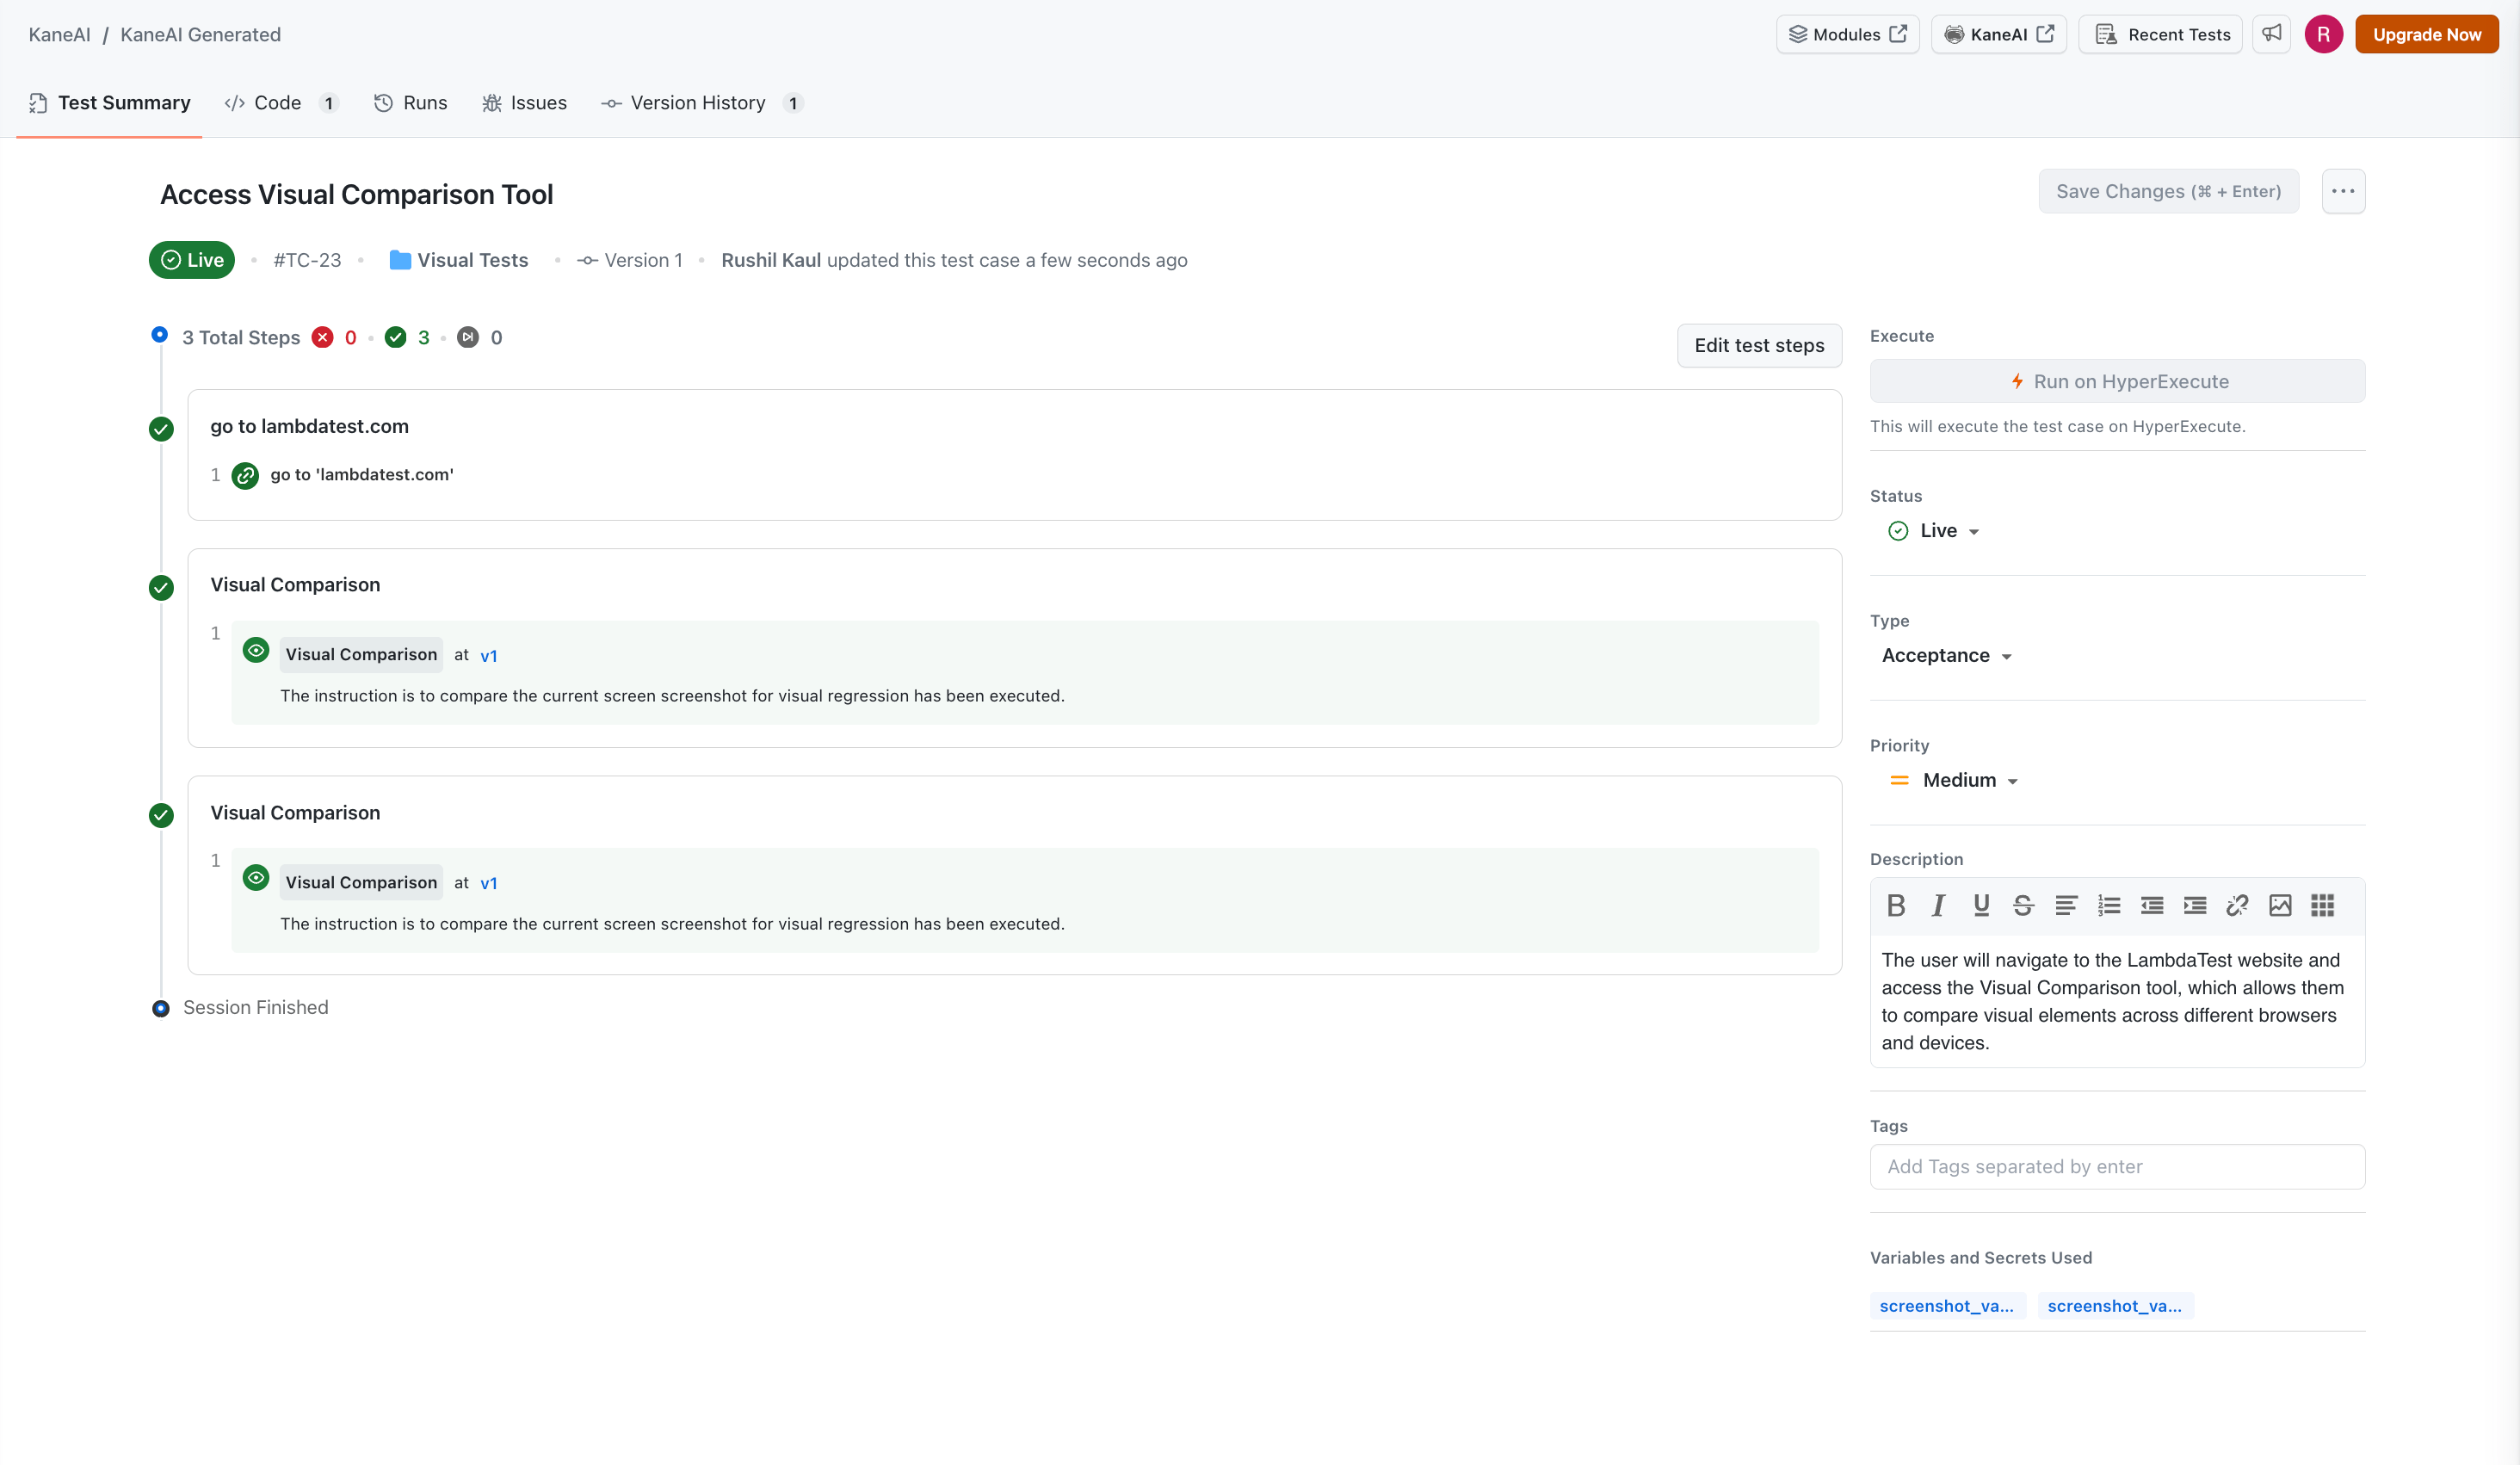
Author your test by writing steps in plain language, such as go to lambdatest.
To add a visual test step, type / in the "Write a step" editor and select Visual Comparison from the command menu. You may also use the Eye Icon on the dashboard for quick access.
Configure Your Screenshot
A configuration modal will appear for your screenshot.
- Screenshot Name (Required): You must provide a descriptive name for the screenshot.
- Mis-Match Threshold (Optional): Set an acceptable percentage of difference below which changes are auto-approved. The default is 0%.
- Screenshot Type (Optional): Choose between View Port (default) or Full Page.
Click Create to add the step to your test flow.

Analyzing Baselines and Regressions
Establish the Baseline
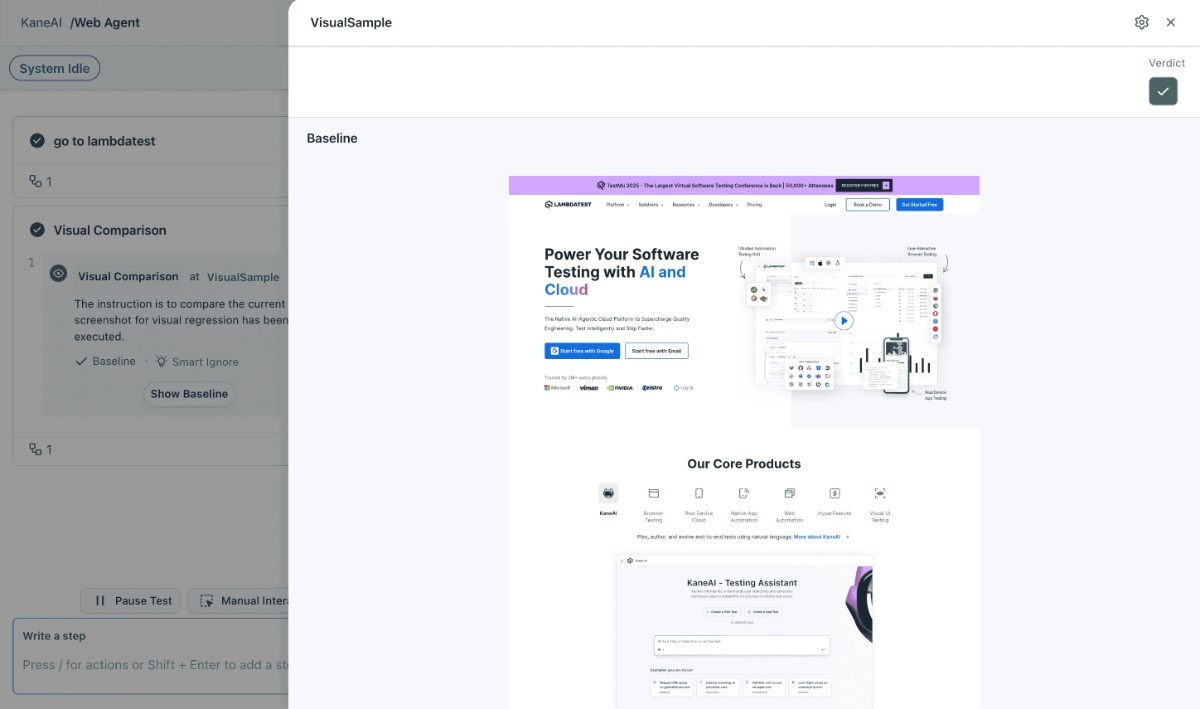
The first time the test is executed, it captures an initial screenshot that becomes the Baseline for all future comparisons. You can view this image by clicking Show Baseline.
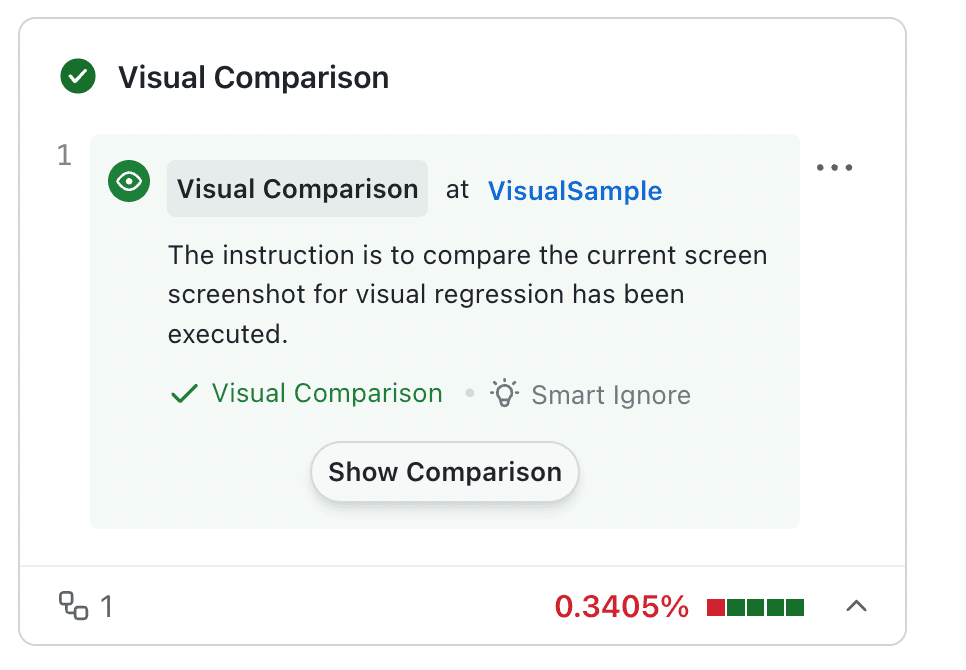
Rerun and Analyze the Comparison
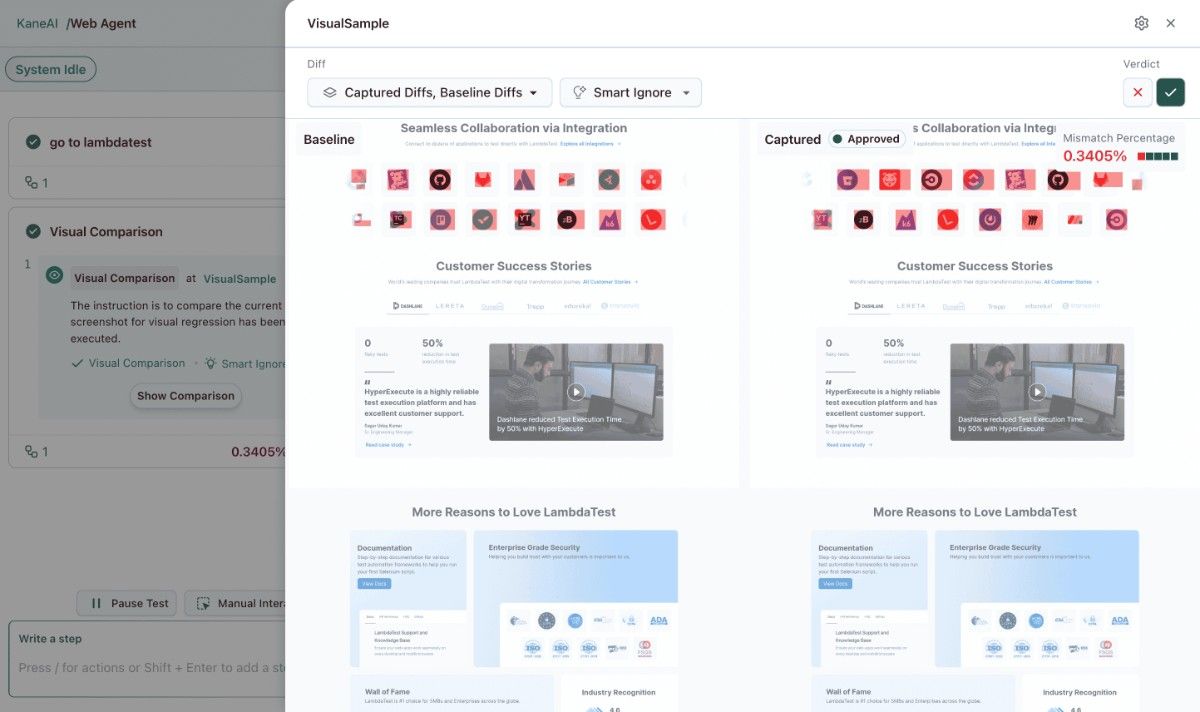
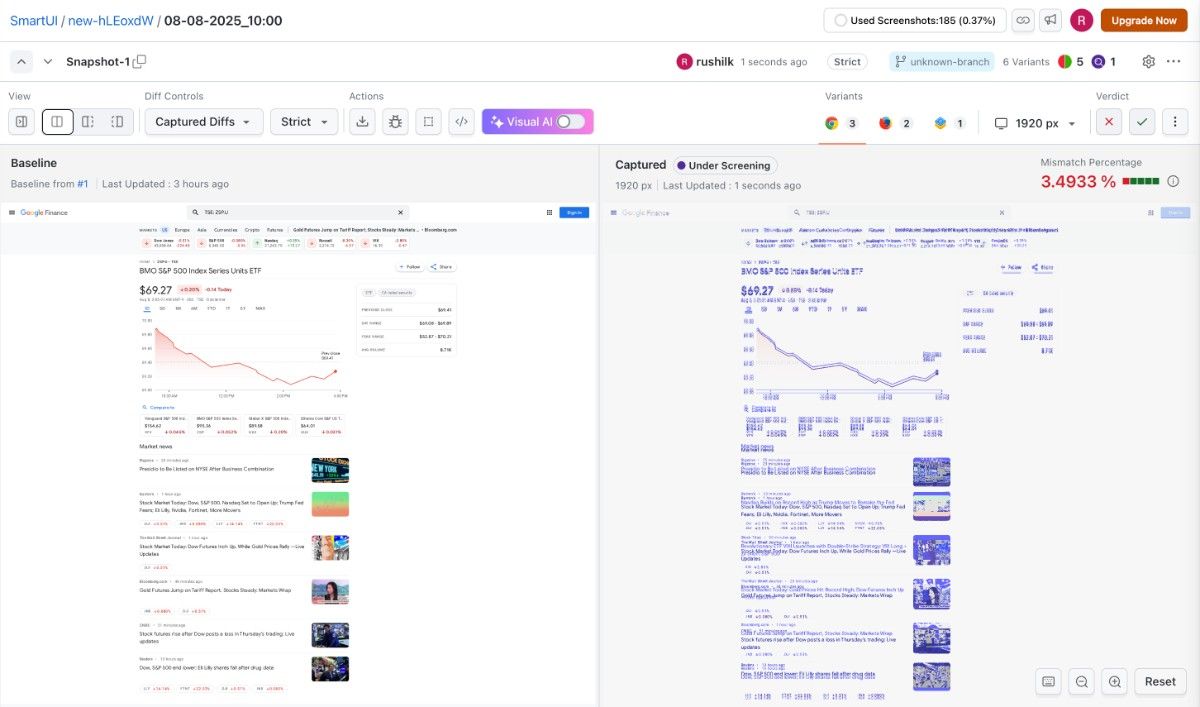
When the test case is replayed or re-run during authoring, a new screenshot is captured and compared against the baseline. Click Show Comparison to open the SmartUI view. This interface highlights any visual differences found between the two images.
Approve or Reject Changes
Within the comparison view, you can review the changes and decide on a verdict.
- Reject Screenshot: If the changes are unintended defects, you may reject the comparison.
- Approve Screenshot: If the changes are intentional, you may accept the comparison. This will update the baseline with the new image.
You can also adjust project settings like Compare Type and Mis-Match Threshold directly from this view.
Saving and Automating Your Visual Test
Save Your Test Case
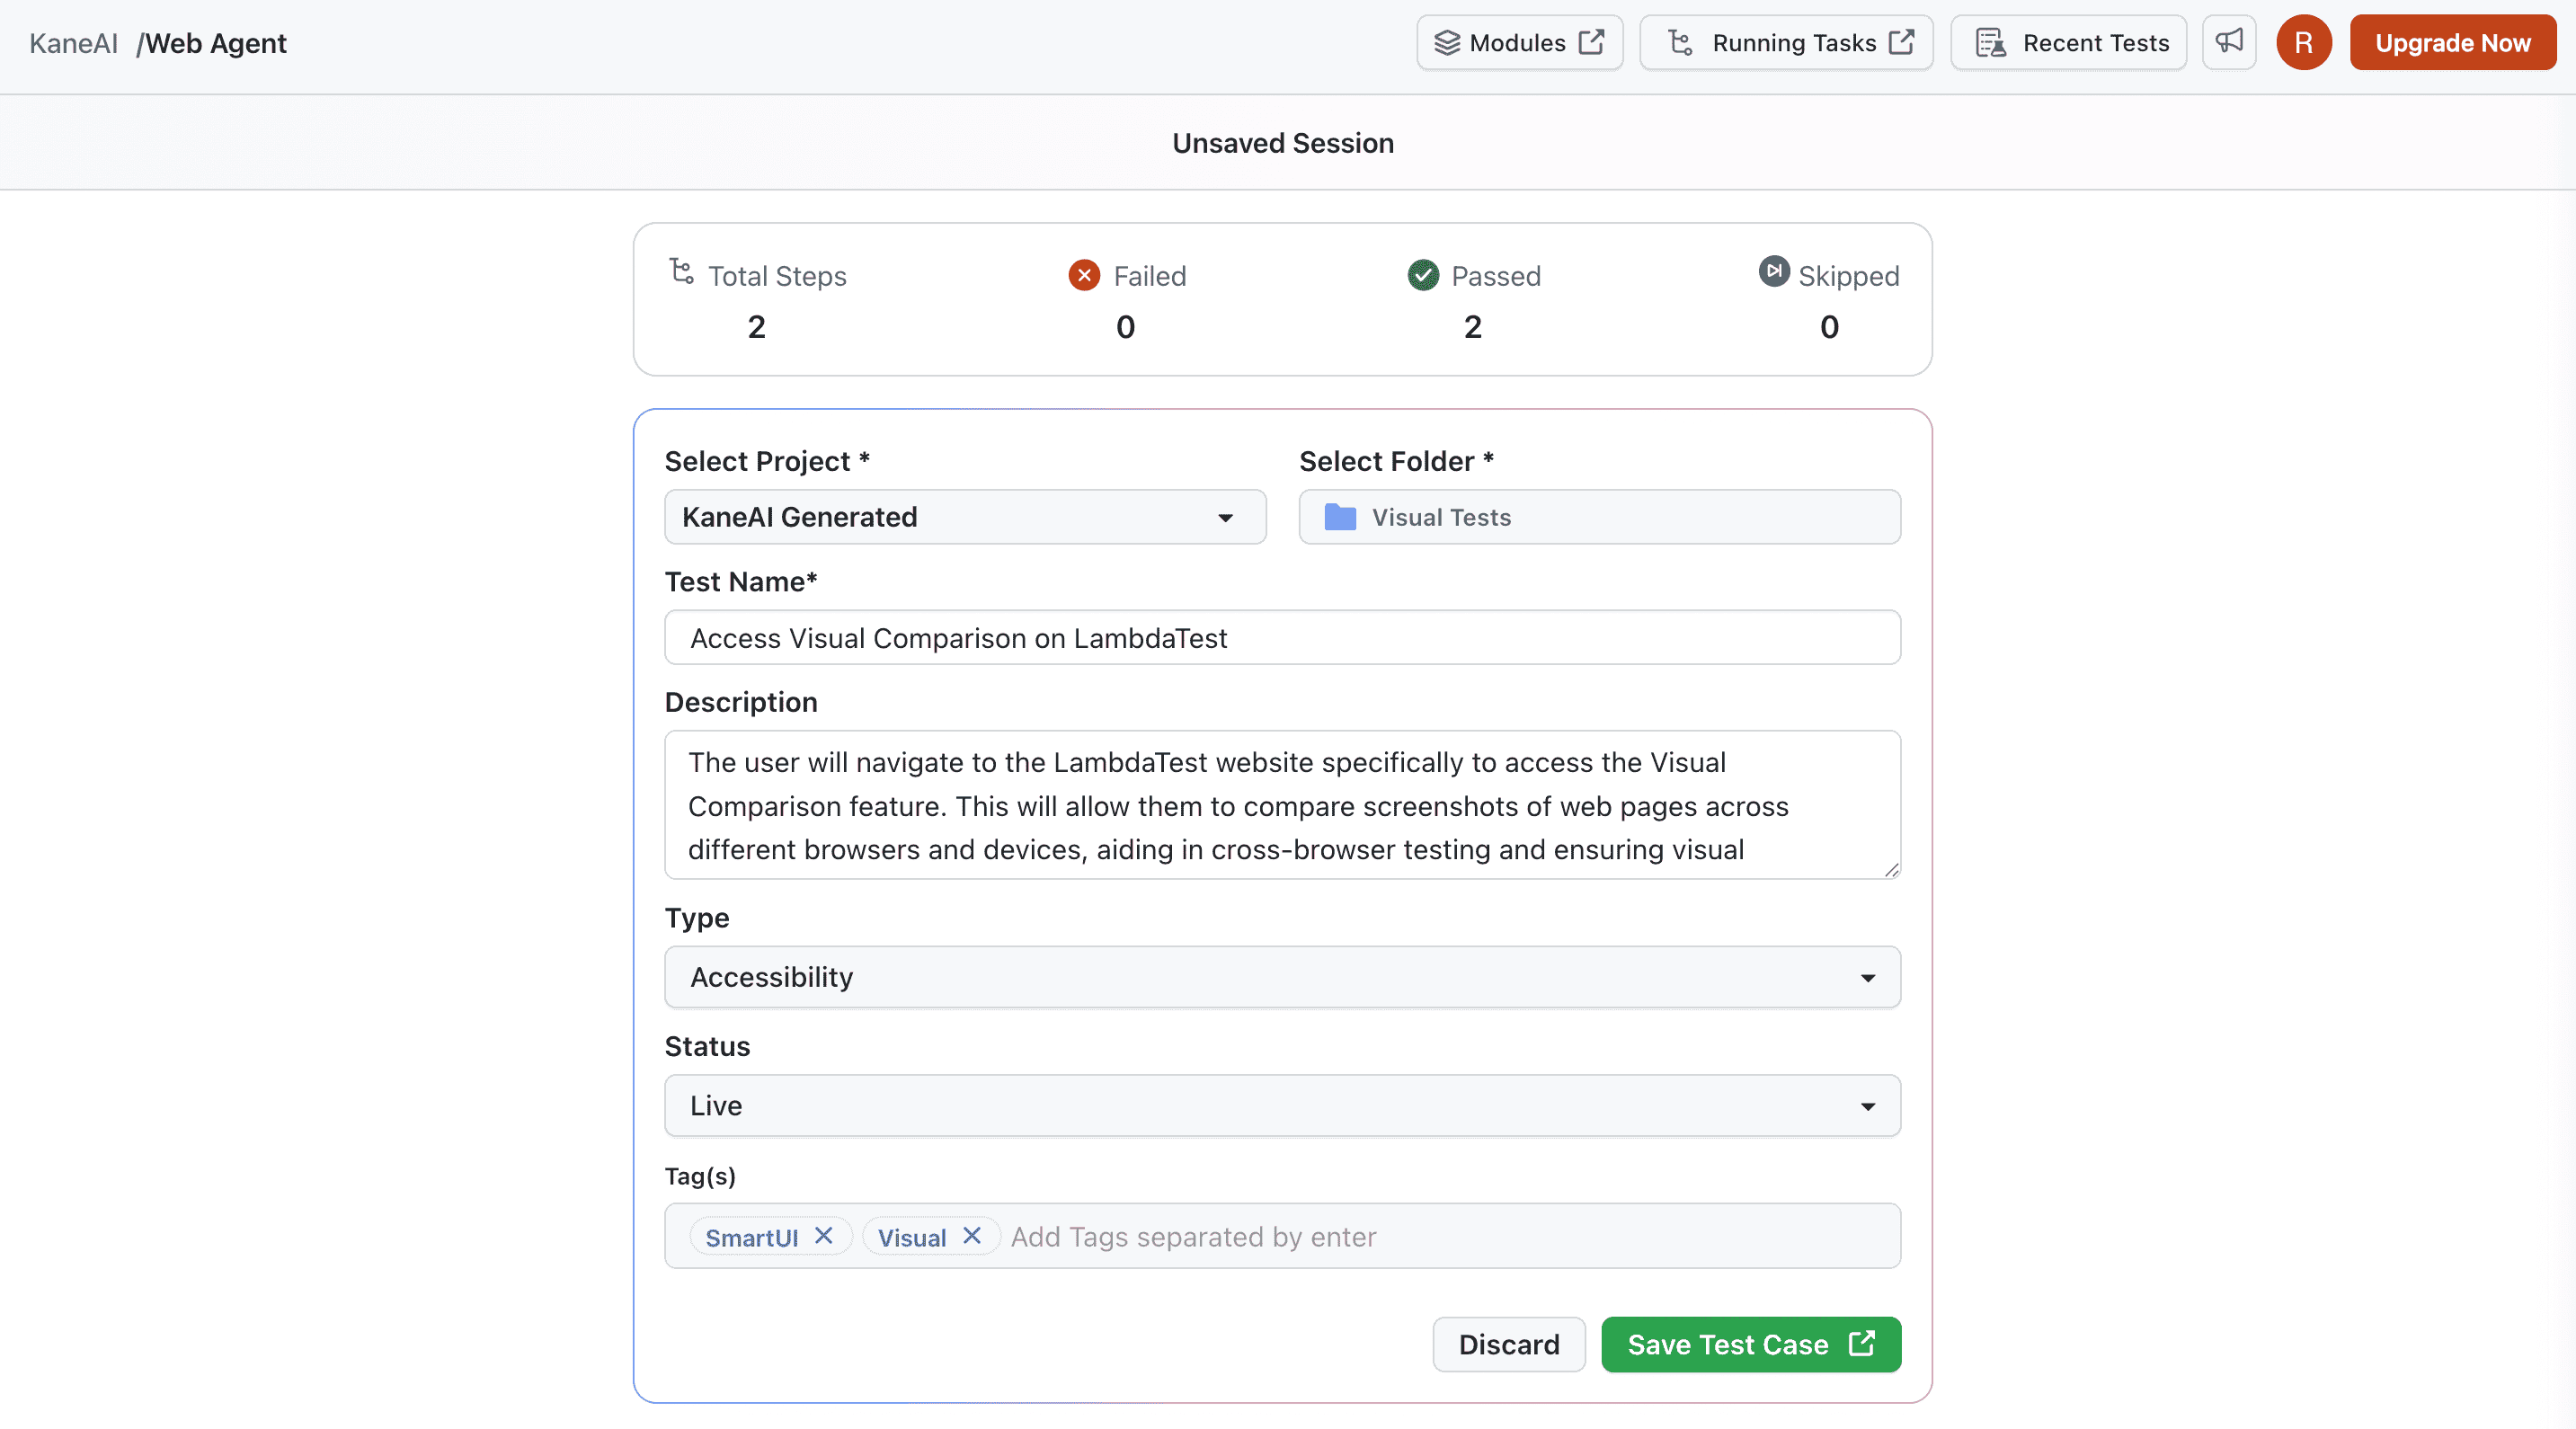
Once your test flow is complete, click Finish test. You will be prompted to save the session, where you can define the Project, Folder, Test Name, and Description.
Execution and Scheduling
Once your test case is saved, navigate to the Test Runs tab to configure and launch its execution. For a complete guide on the initial setup, refer to our documentation on Test Run Execution.
You can execute your test using one of two methods:
- Run Instance Now This option triggers an immediate, one-time execution of your test. It is ideal for quick validations or debugging a specific change.
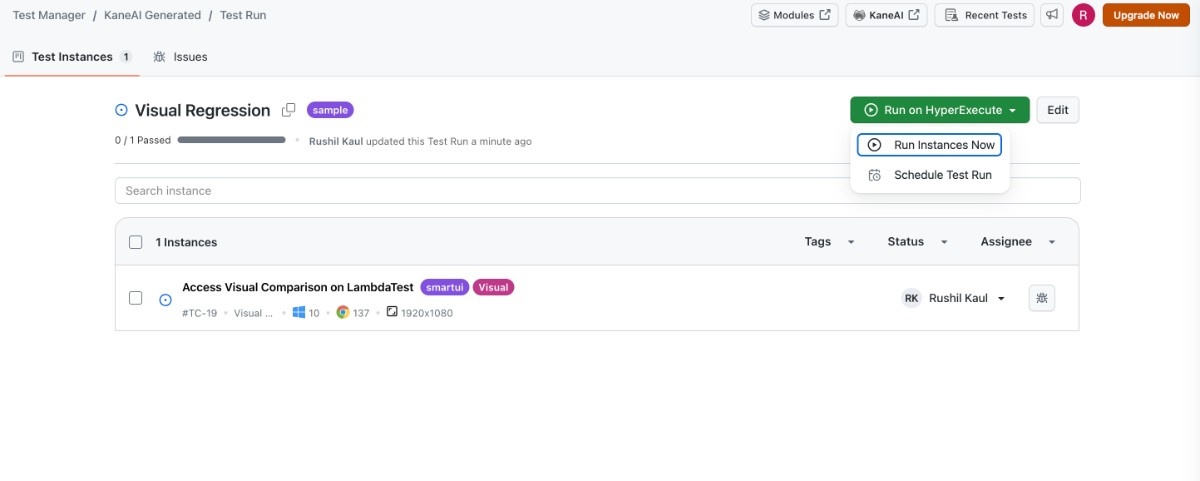
- Schedule Test Run This option allows you to automate your visual regression testing by setting up a recurring schedule. Learn more in our guide to Scheduled Test Runs.

Using Advanced Configurations for Visual Regression
While running Run Instances Now user can access Visual Regression settings via Advanced Configurations
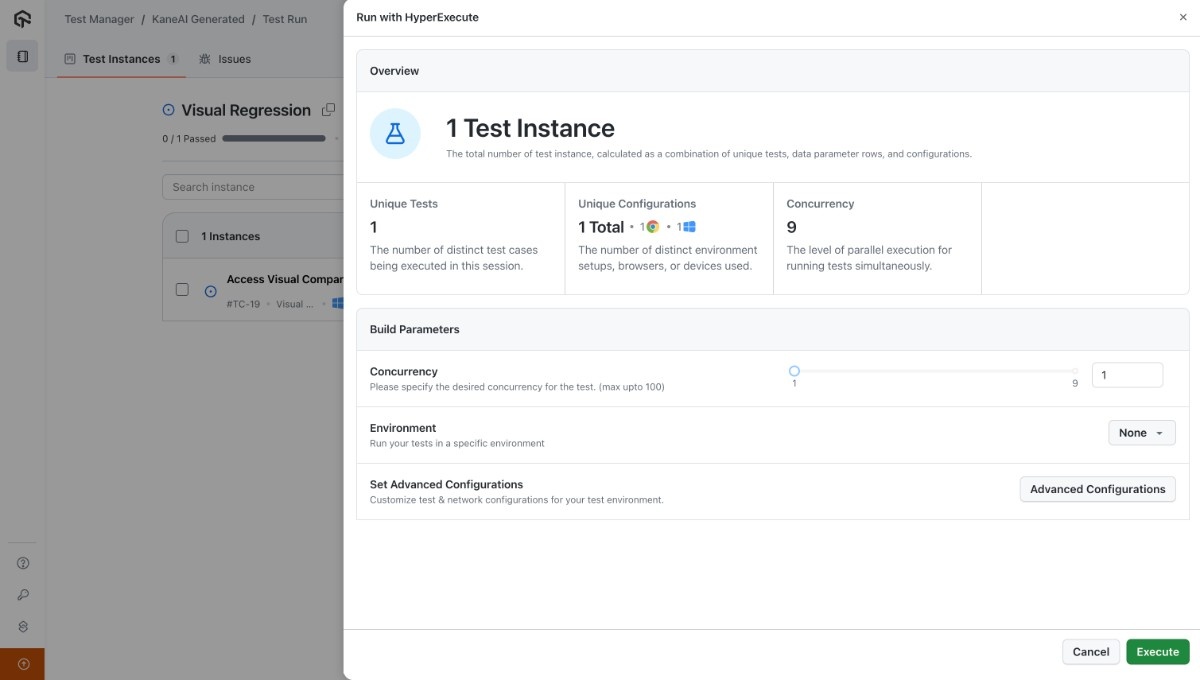
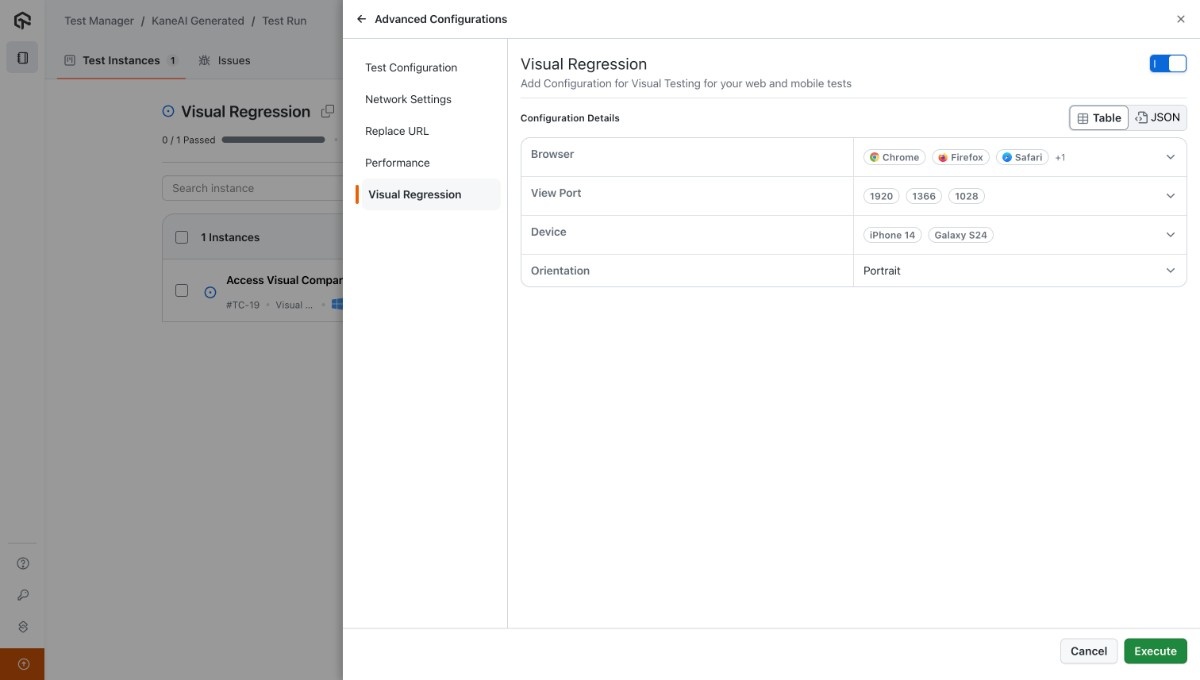
Here users can enable Visual Regression settings to use the advanced configurations:
- Custom Browsers (upto 4)
- Custom Viewports (upto 5)
- Custom Devices (upto 2) with Orientation (Portrait and Landscape)
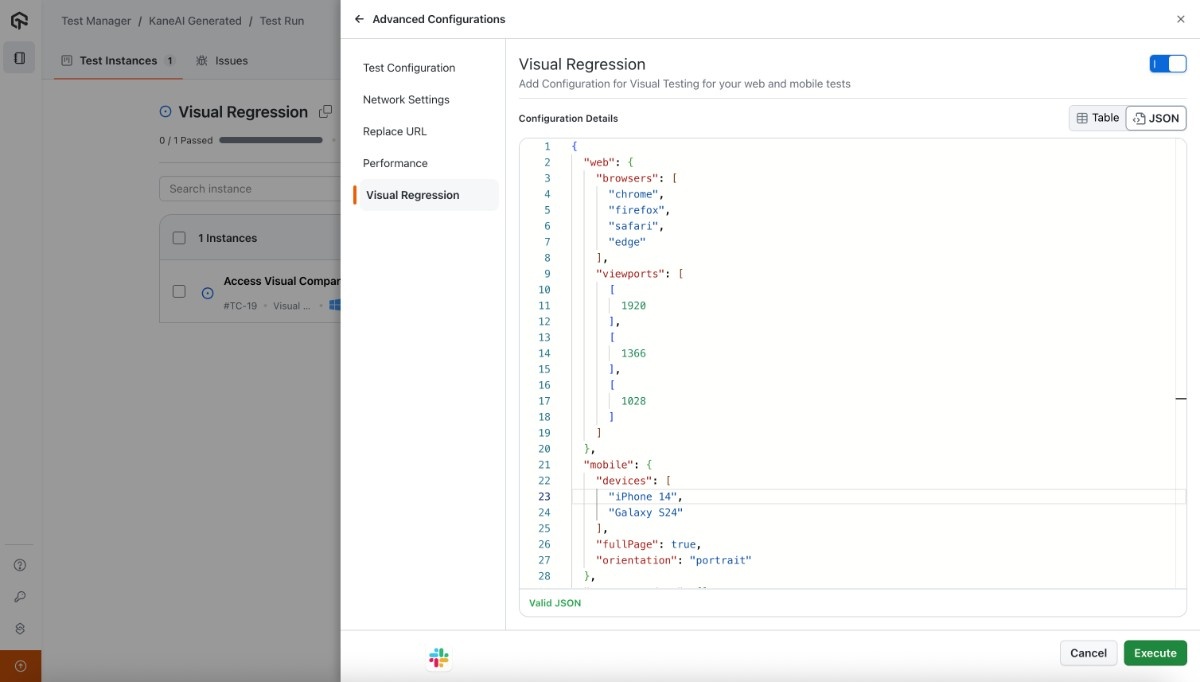
For a more flexible usage you may use the JSON tab where you can set your own parameters and configuration.
View Your Visual Test Results on SmartUI
After the Test Run job is finished, all screenshots captured using the /Visual Comparison command via KaneAI will be available in your SmartUI project for review.
- Navigate to the SmartUI Dashboard.
- Select your project and the most recent build.
- Here, you can compare screenshots against the baseline, highlight differences, and approve or reject changes. You can use features like Smart Ignore to mask dynamic areas for more stable comparisons.
