GitHub App Integration with SmartUI
This is the guide to setup your GitHub Repos with SmartUI projects and run your CI along with visual regression testing.
Prerequisites
- An account with GitHub with valid permission to install new applications to your repositories.
- Basic understanding of Continuous Integration tools (CI) is required.
- Should have setup the SmartUI suite, else please read this
The following steps will guide you in running your first Visual Regression test on TestMu AI SmartUI platform using GitHub App-
Step 1: Integrate the your TestMu AI Account with GitHub App
The following are the steps to integrate your account with GitHub App:
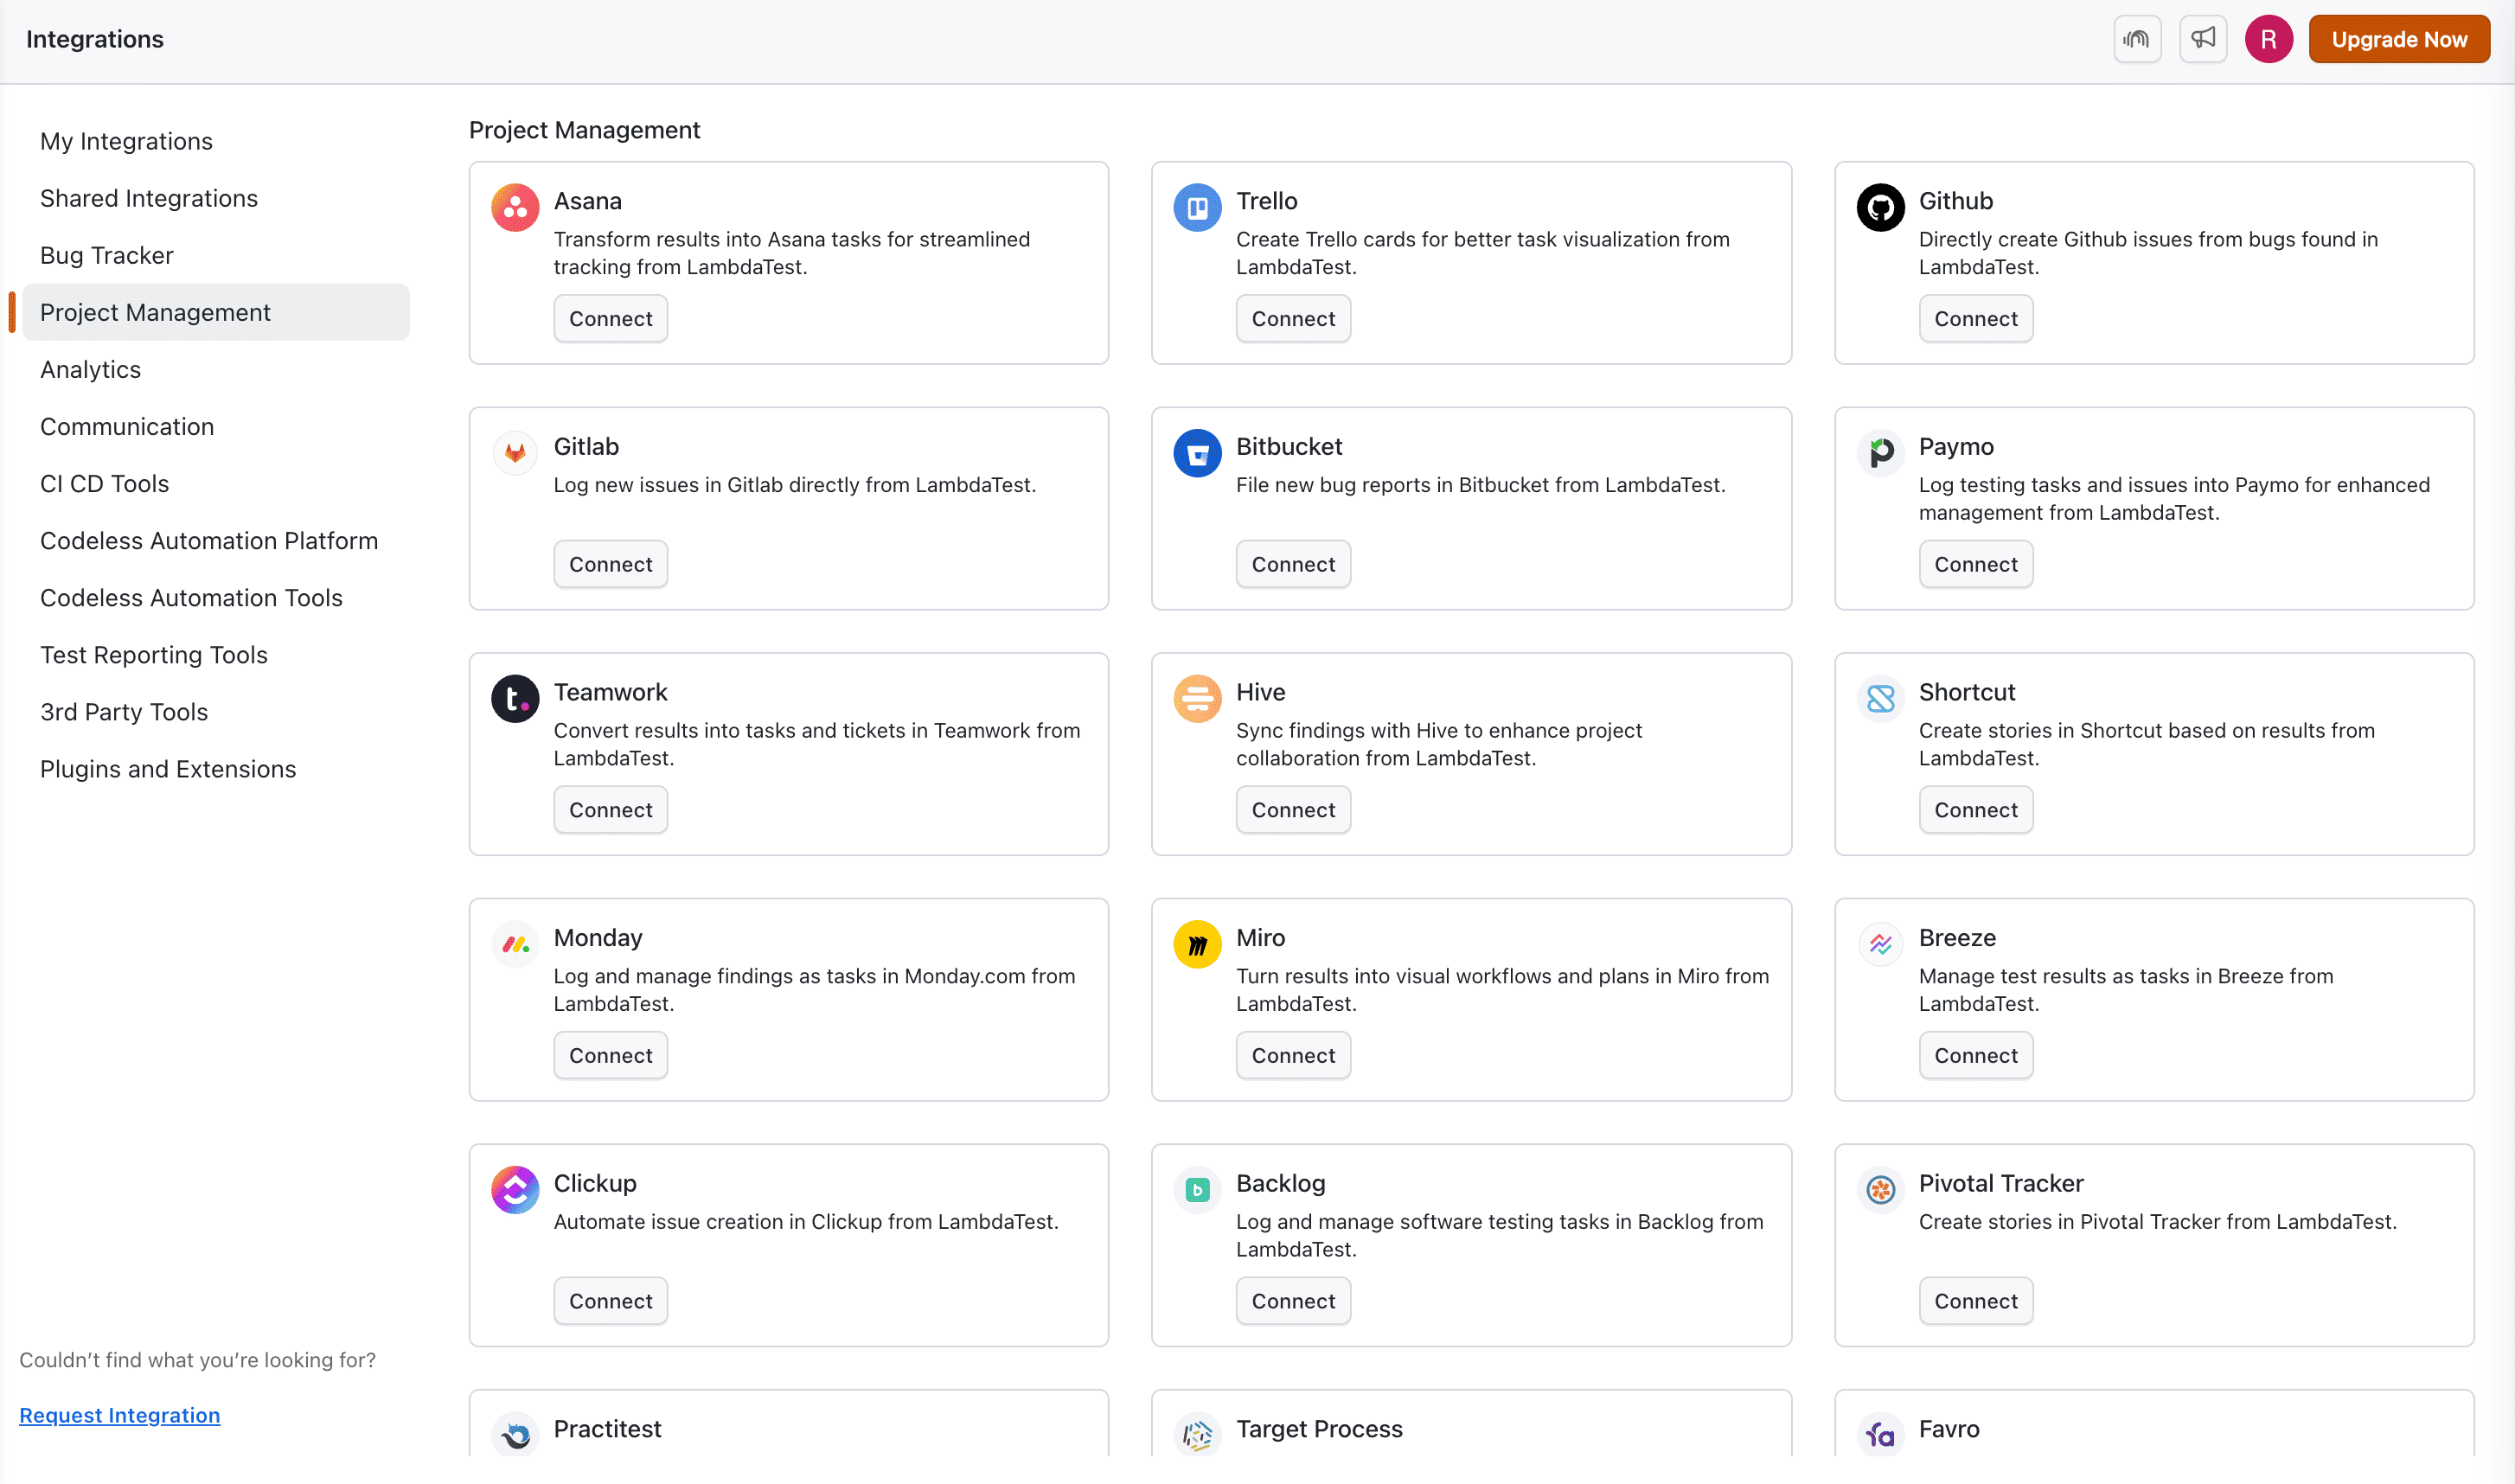
- Go to Integrations page
- Search for GitHub App and select the integration.
- Click on the
OAuthas your preferred authentication. - Click on Install.
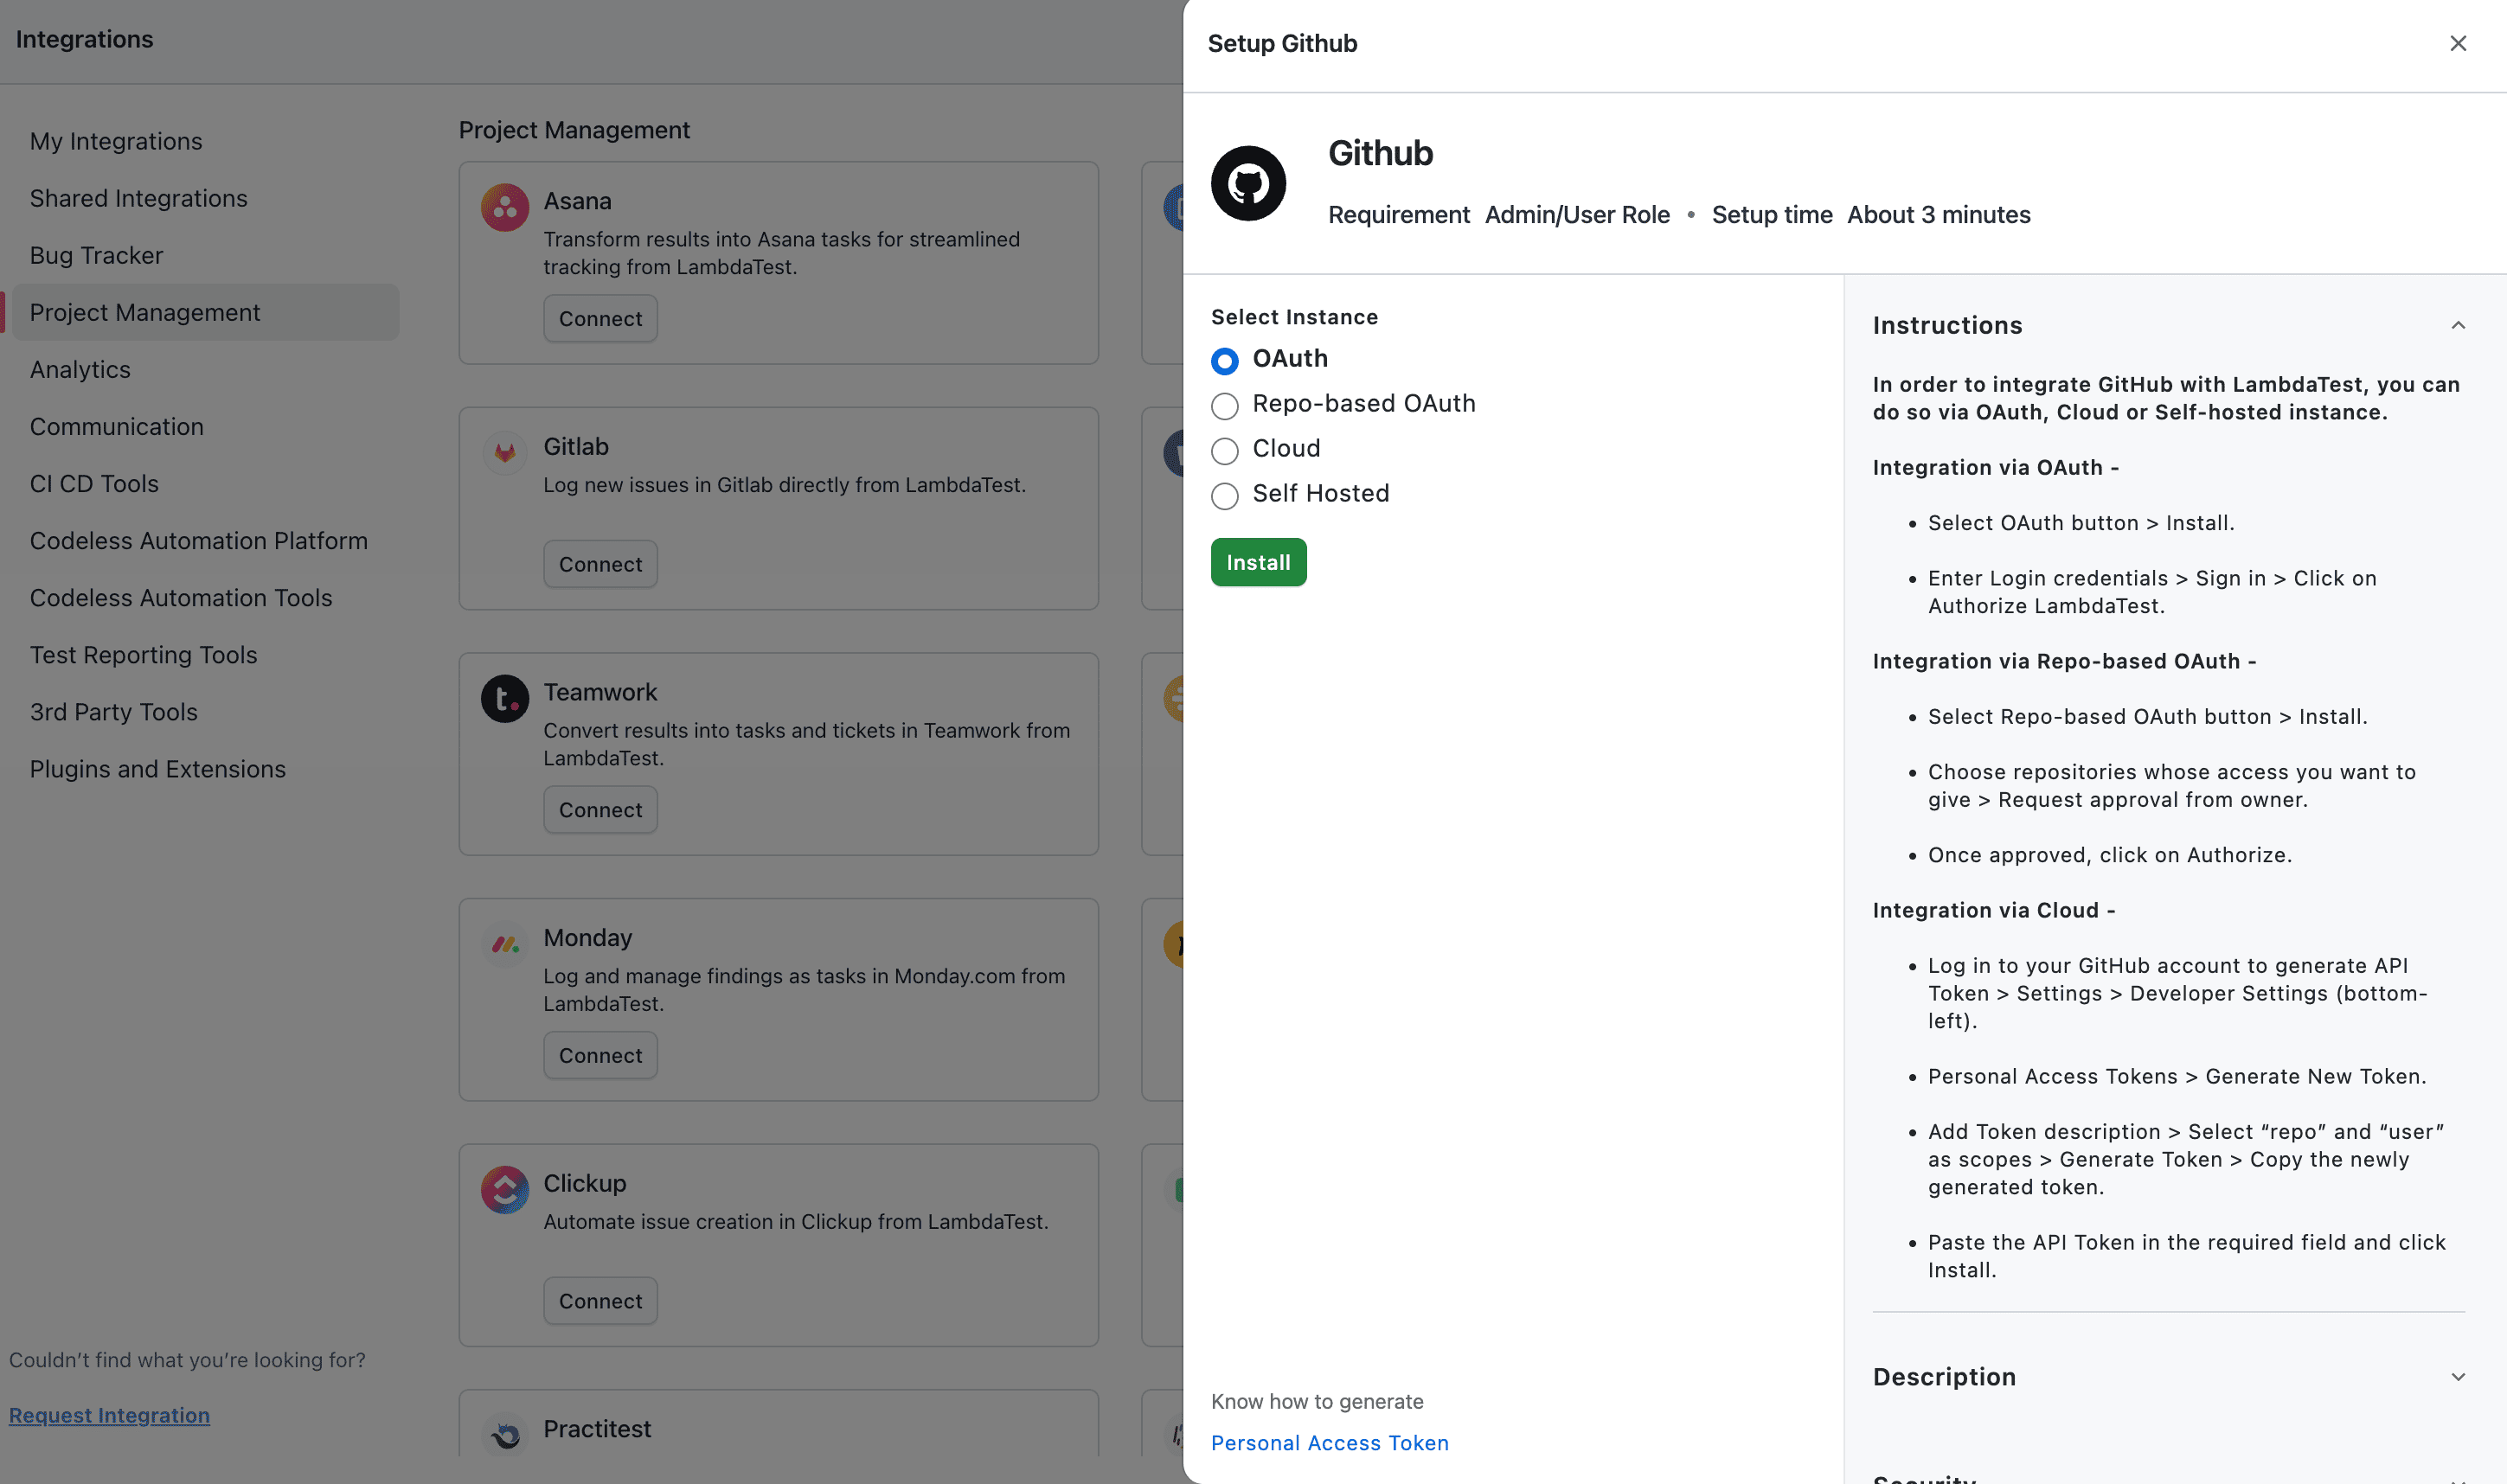
- You will be redirected to the GitHub Authentication page to confirm the permissions required for the application to be installed.
- Click on Confirm button to all the authentication requirements from your GitHub Account.
- After successful authentication, you can refresh the Integrations page to view the GitHub App installed.

Now, after the successful installation of the GitHub Integration, please follow the below steps to configure to your project repo:
Step 2: Select your GitHub repository
Go to your GitHub repository where you want to configure your SmartUI project.
Please check out GitHub sample here: https://github.com/LambdaTest/smartui-node-sample
Step 3: Configure your test suite
Add the GitHub capability to your current test configuration:
const capabilities: {
  platform: "Windows 10",
  browserName: "chrome",
  version: "latest",
  "smartUI.project": "SmartUI sample test",
   github: {

    "url": process.env.GITHUB_URL  // Mandatory
    //GitHub URL format-https://api.github.com/repos/OWNER/REPO/statuses/commitId

   }
}
Step 4: Setting up your CI configuration
Setting up your CI workflow to execute on GitHub. Here is an example setup with GitHub Actions:
Go to .github/workflows/<your_ci_file>.yml
    name: Execute SmartUI Test with GitHub App Integration
    runs-on: ubuntu-latest
    steps:
    - uses: actions/checkout@v1
      with:
        fetch-depth: 10

    - name: Step for push event
      run: |
        echo "This is a push event!"
        echo "The latest commitId $(git log -1 --format='%H')"
        echo "COMMIT_ID=$(git log -1 --format='%H')" >> $GITHUB_ENV
      if: github.event_name == 'push'

    - name: Step for pull_request event
      run: |
        echo "This is a pull_request event!"
        git log -n 5 --format="%H %an %s" | while read line; do echo "$line"; done
        echo "The latest commitId $(git log -n 2 --format='%H' | tail -n 1)"
        echo "COMMIT_ID=$(git log -n 2 --format='%H' | tail -n 1)" >> $GITHUB_ENV
      if: github.event_name == 'pull_request'

    - name: Create GitHub URL
      run: |
        API_HOST=https://api.github.com
        echo "The latest commitId is $COMMIT_ID"
        GITHUB_URL=$API_HOST/repos/$GITHUB_REPOSITORY/statuses/$COMMIT_ID
        echo "GITHUB_URL: $GITHUB_URL"
        echo "GITHUB_URL=$GITHUB_URL" >> $GITHUB_ENV
We also support other Continuous Integrations (CI) tools to execute the similar process as well.
Step 5: Execute your test suite with CI
After the setup is completed, you can now execute your test suite with the Continuous Integration (CI) pipeline with any tool of your choice.
If your current pipeline is set to GitHub Actions then you can configure your workflow to trigger the test suite by committing the changes to the GitHub Repo or on raising a Pull Request to merge any changes to the branch as per your branch rules.
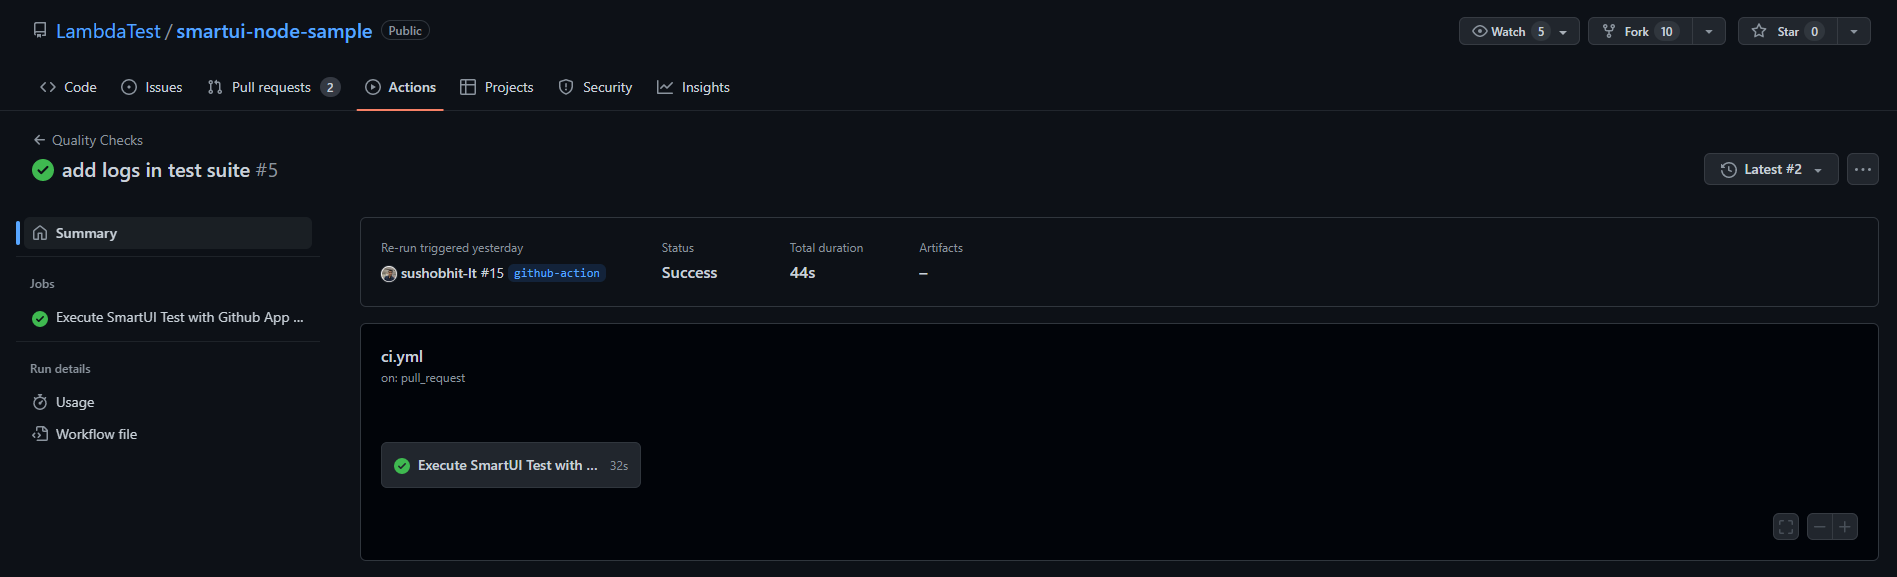
GitHub App Feedback State
Here is an example of Successful feedback app state:

Here is an example of Failed feedback app state:

You can click on Details link which will redirect the user to the build of the SmartUI test to view the results
To understand more about the GitHub Actions, setup please read this article : https://docs.github.com/en/actions/quickstart
