LambdaTest SCIM Auto User Provisioning with Okta
Prerequisites
Integrate SCIM With LambdaTest:
- You will need an Enterprise plan with LambdaTest.
- SSO must be already integrated. Please complete LambdaTest SSO & Okta Integration
Integrating SCIM with Okta
Step 1: Sign in to your LambdaTest account. Don't have an account, register for free.
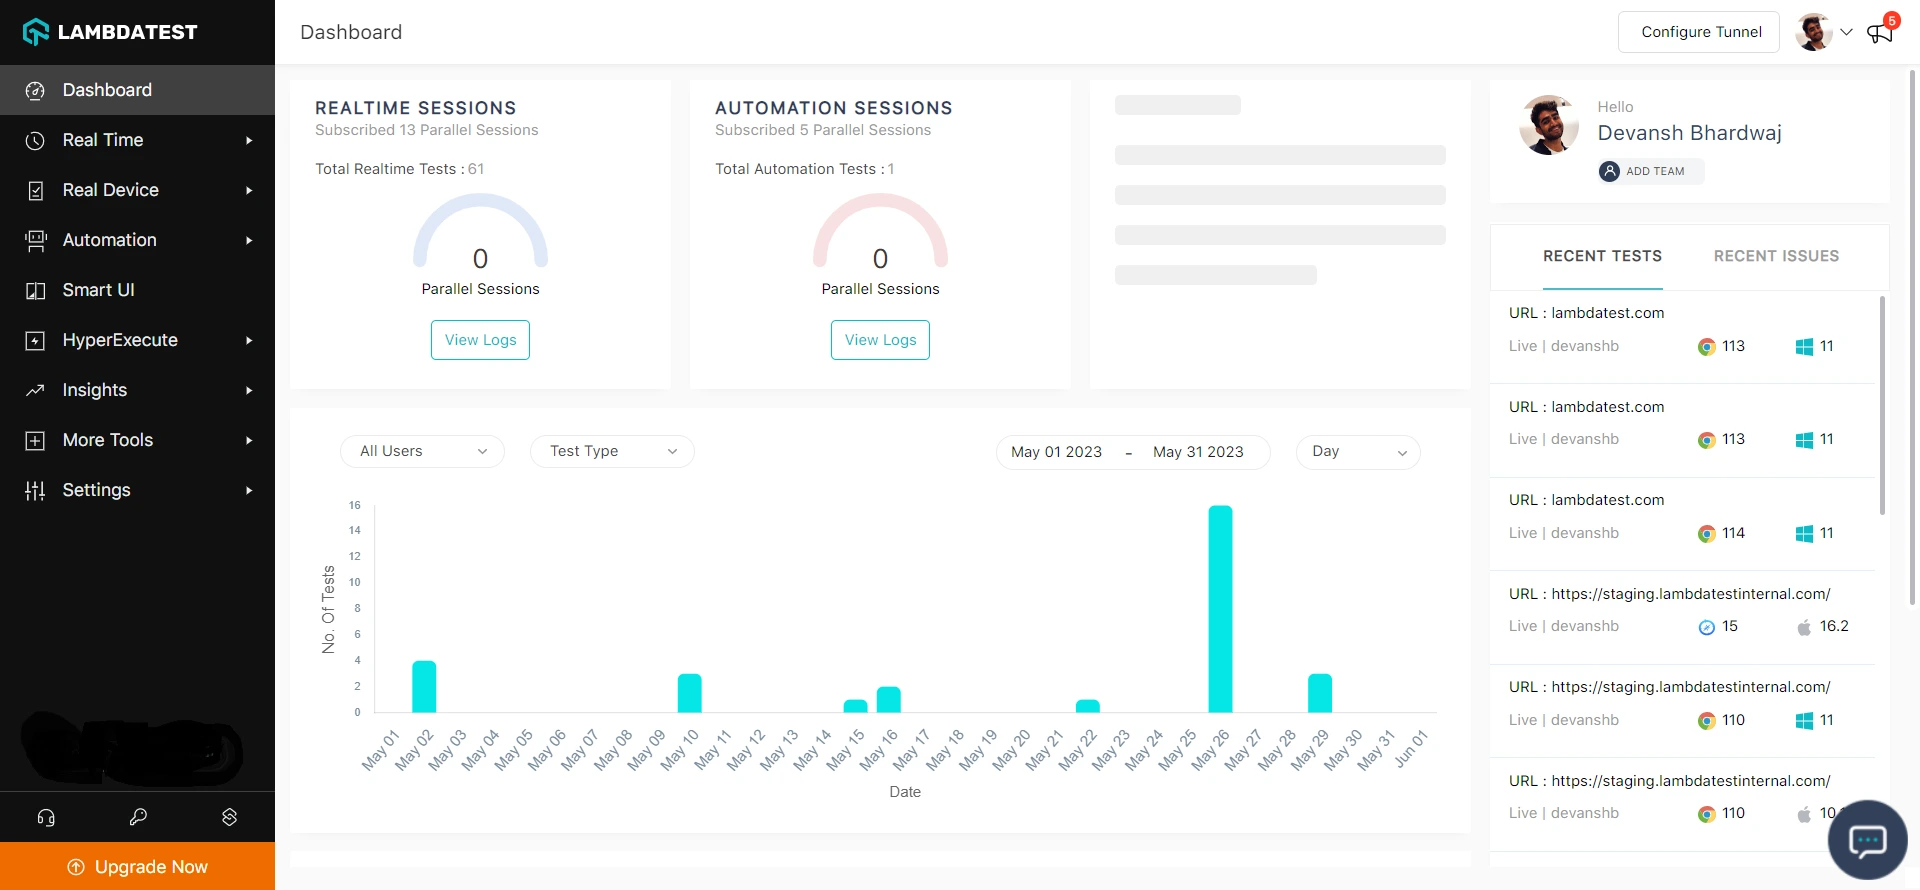
Step 2: Head to Settings and select Organization Settings from the dropdown.
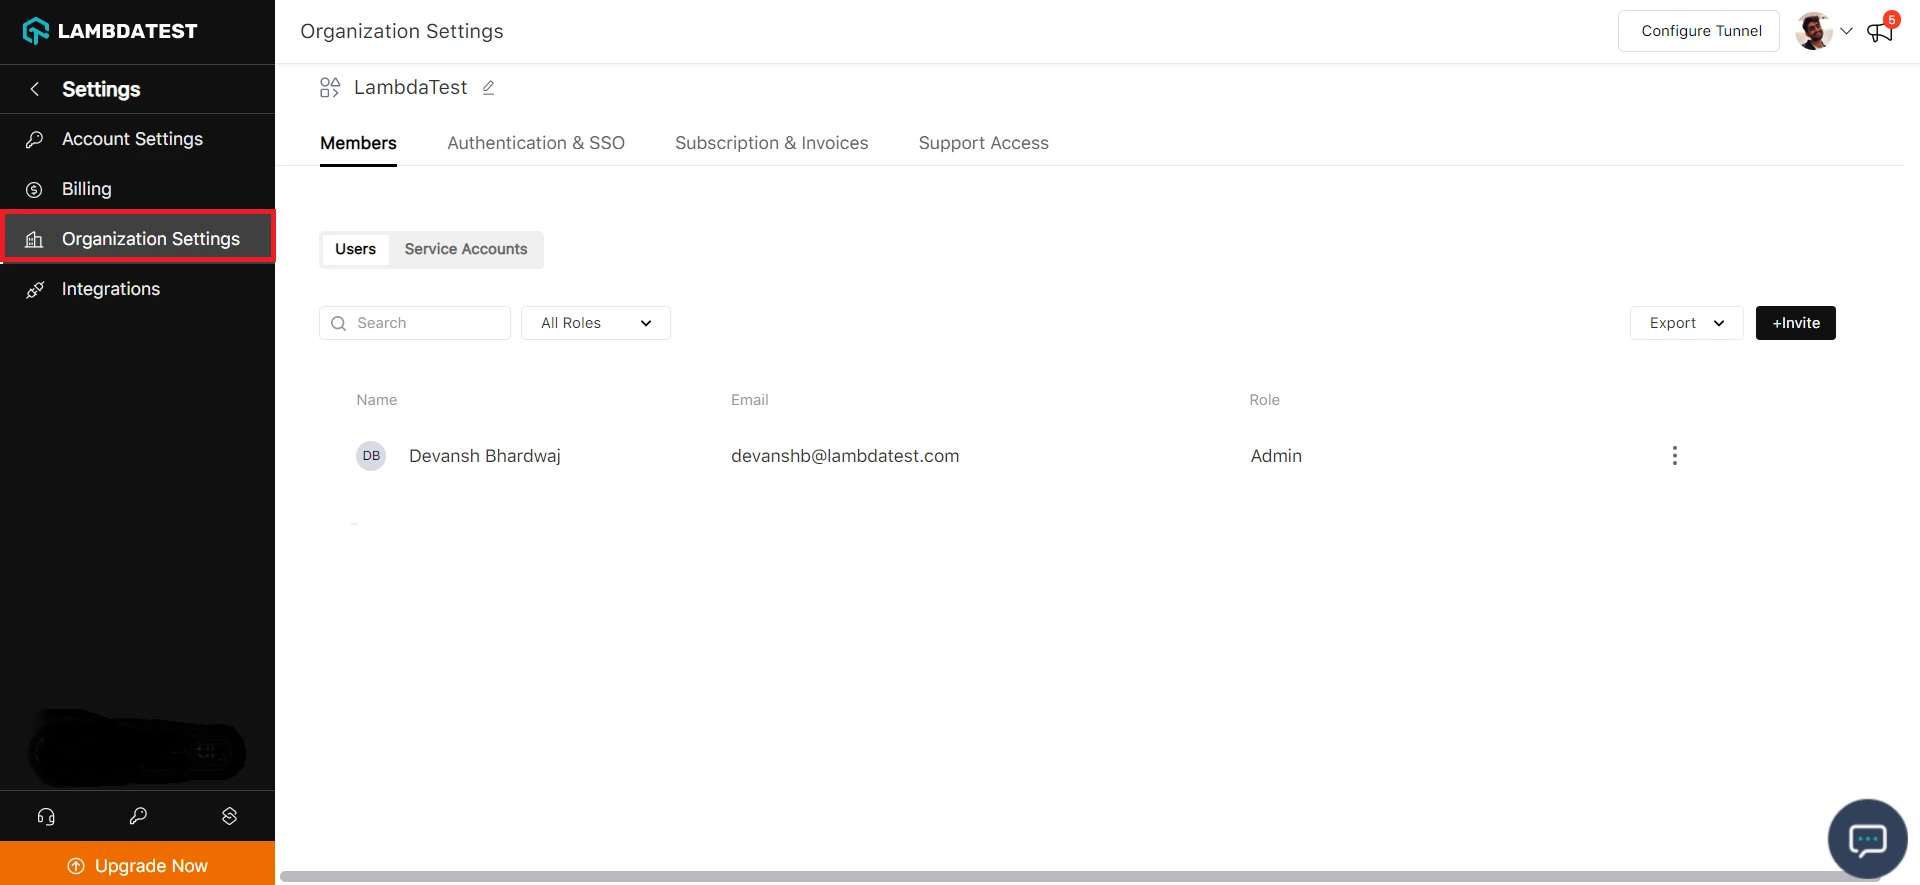
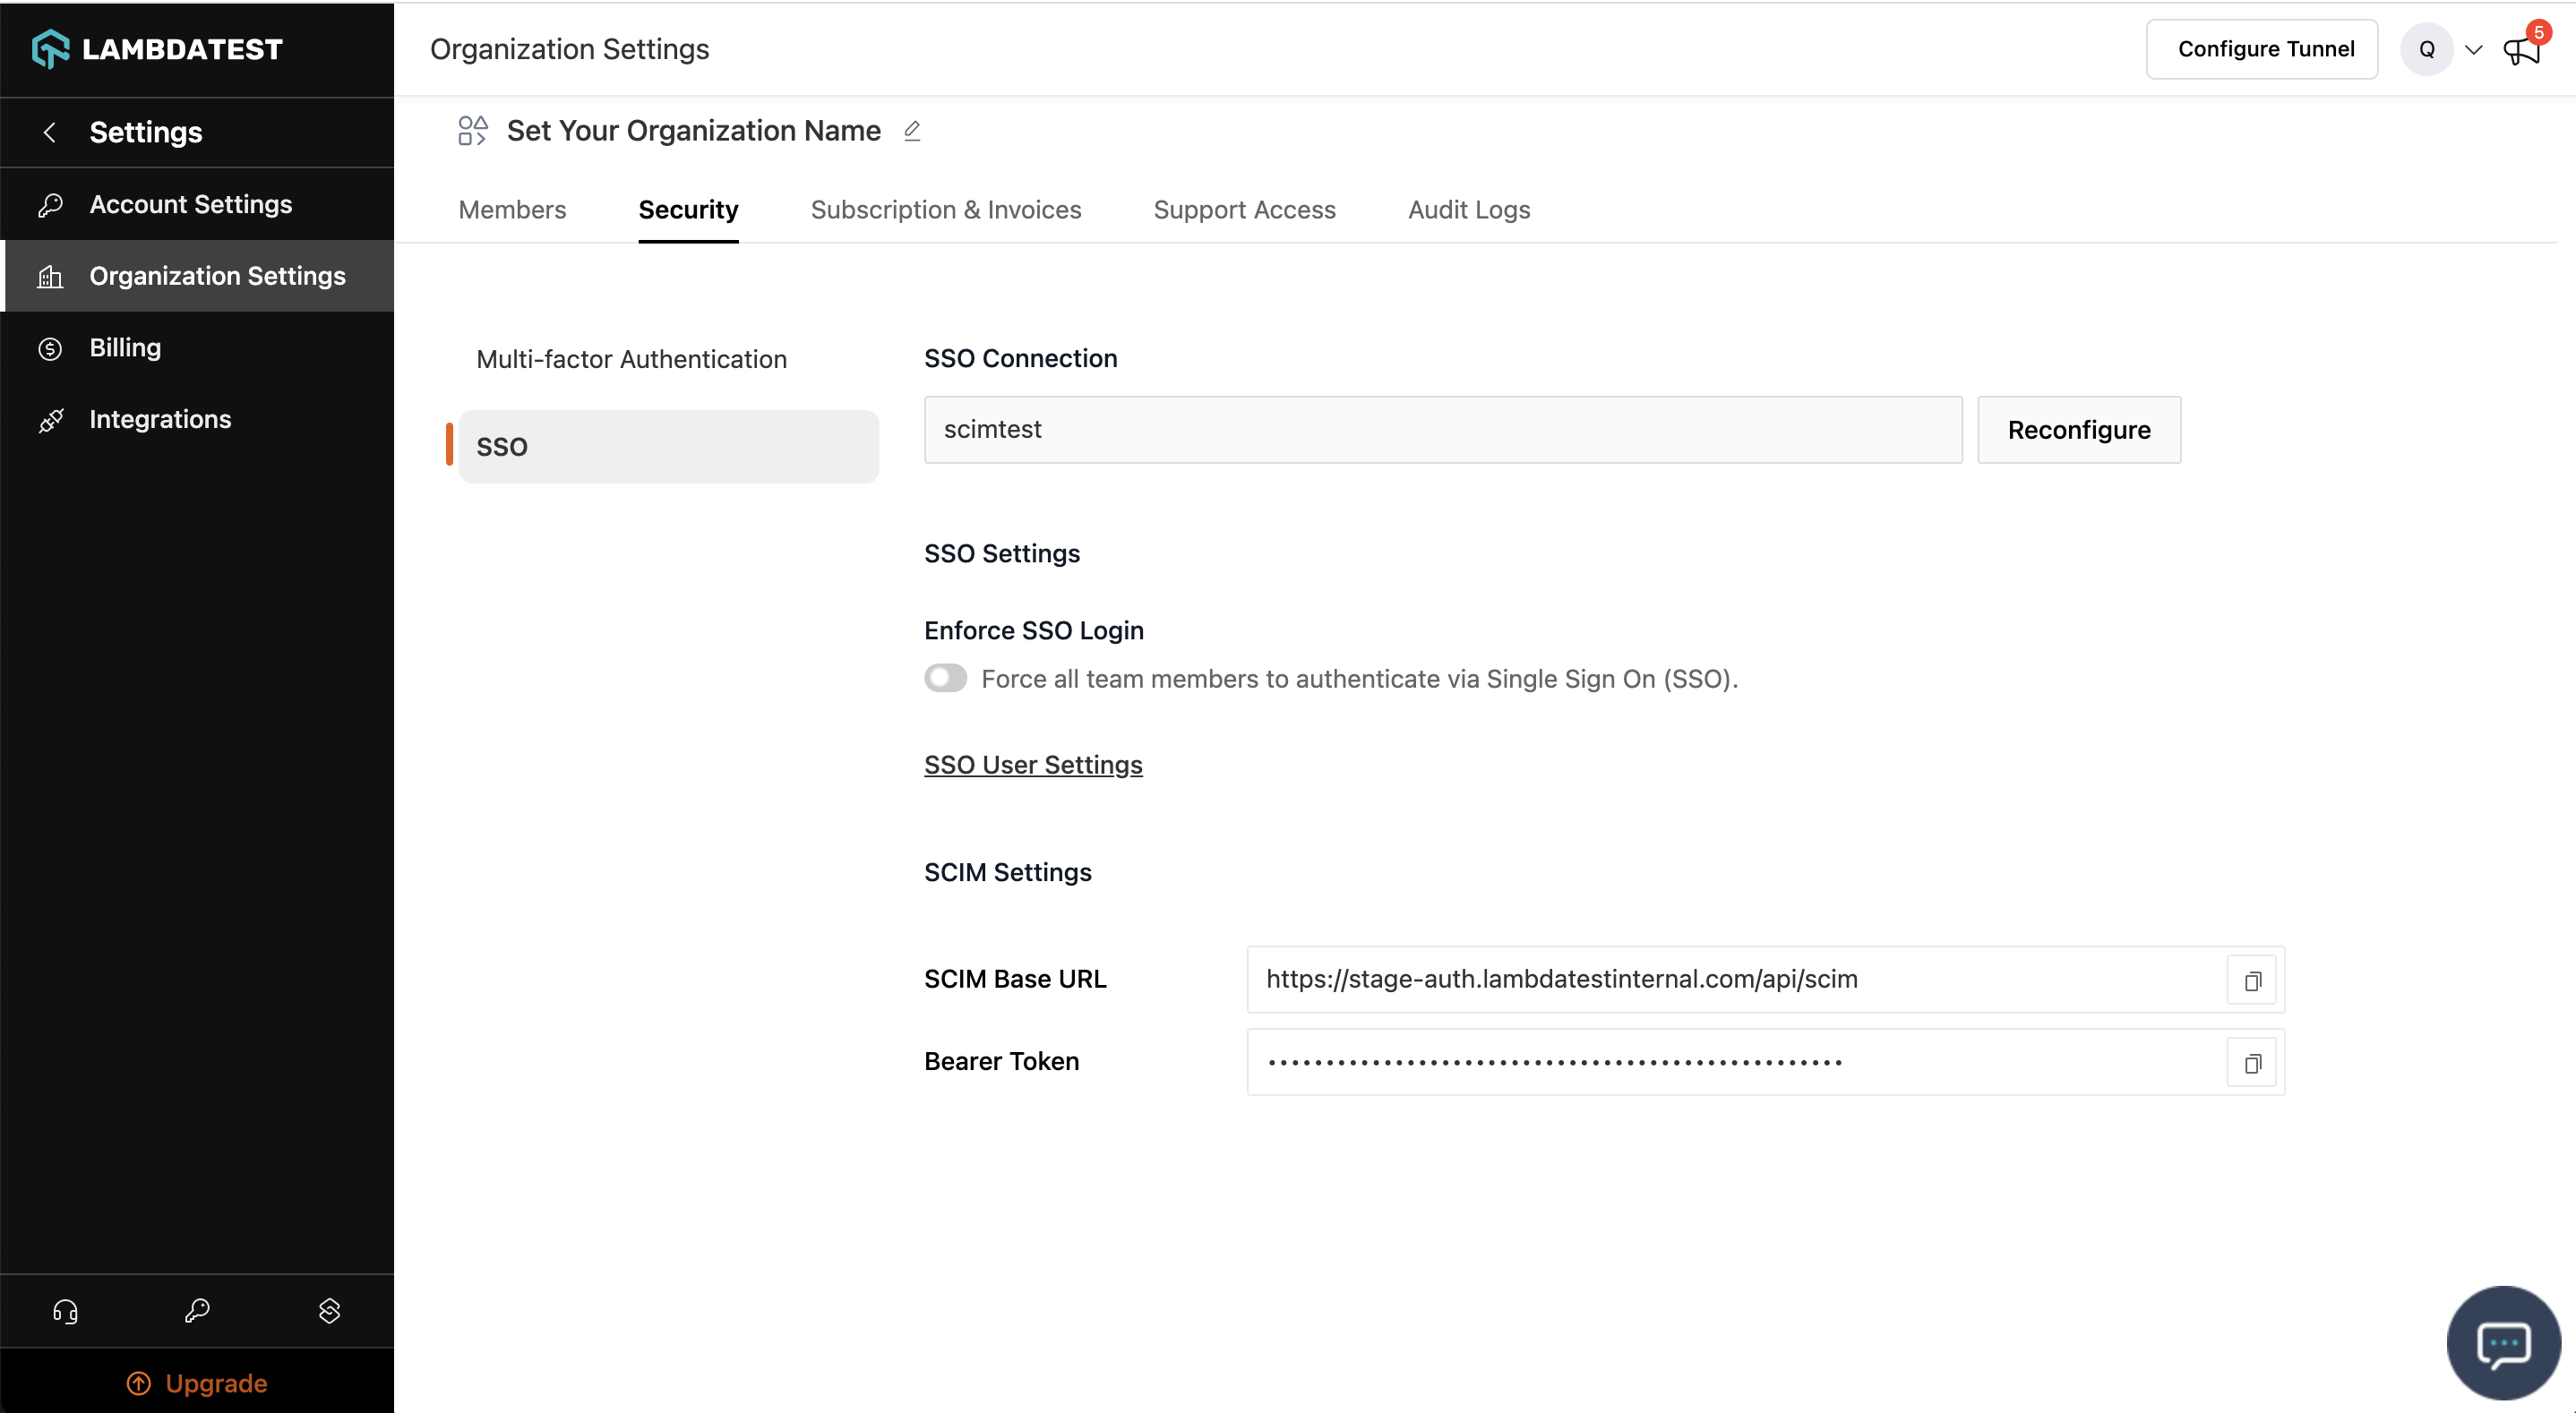
Step 3: Head to the Authentication and SSO tab and click and copy the SCIM Base URL and Bearer Token option.
Step 4: Sign in to the Okta. Select Enterprise Applications, then select Applications tab.
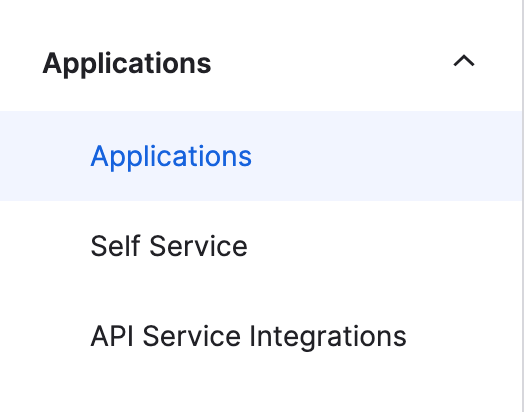
Step 5: In the applications list, select application used for LambdaTest SSO setup
Step 6: Select the Provisioning tab.

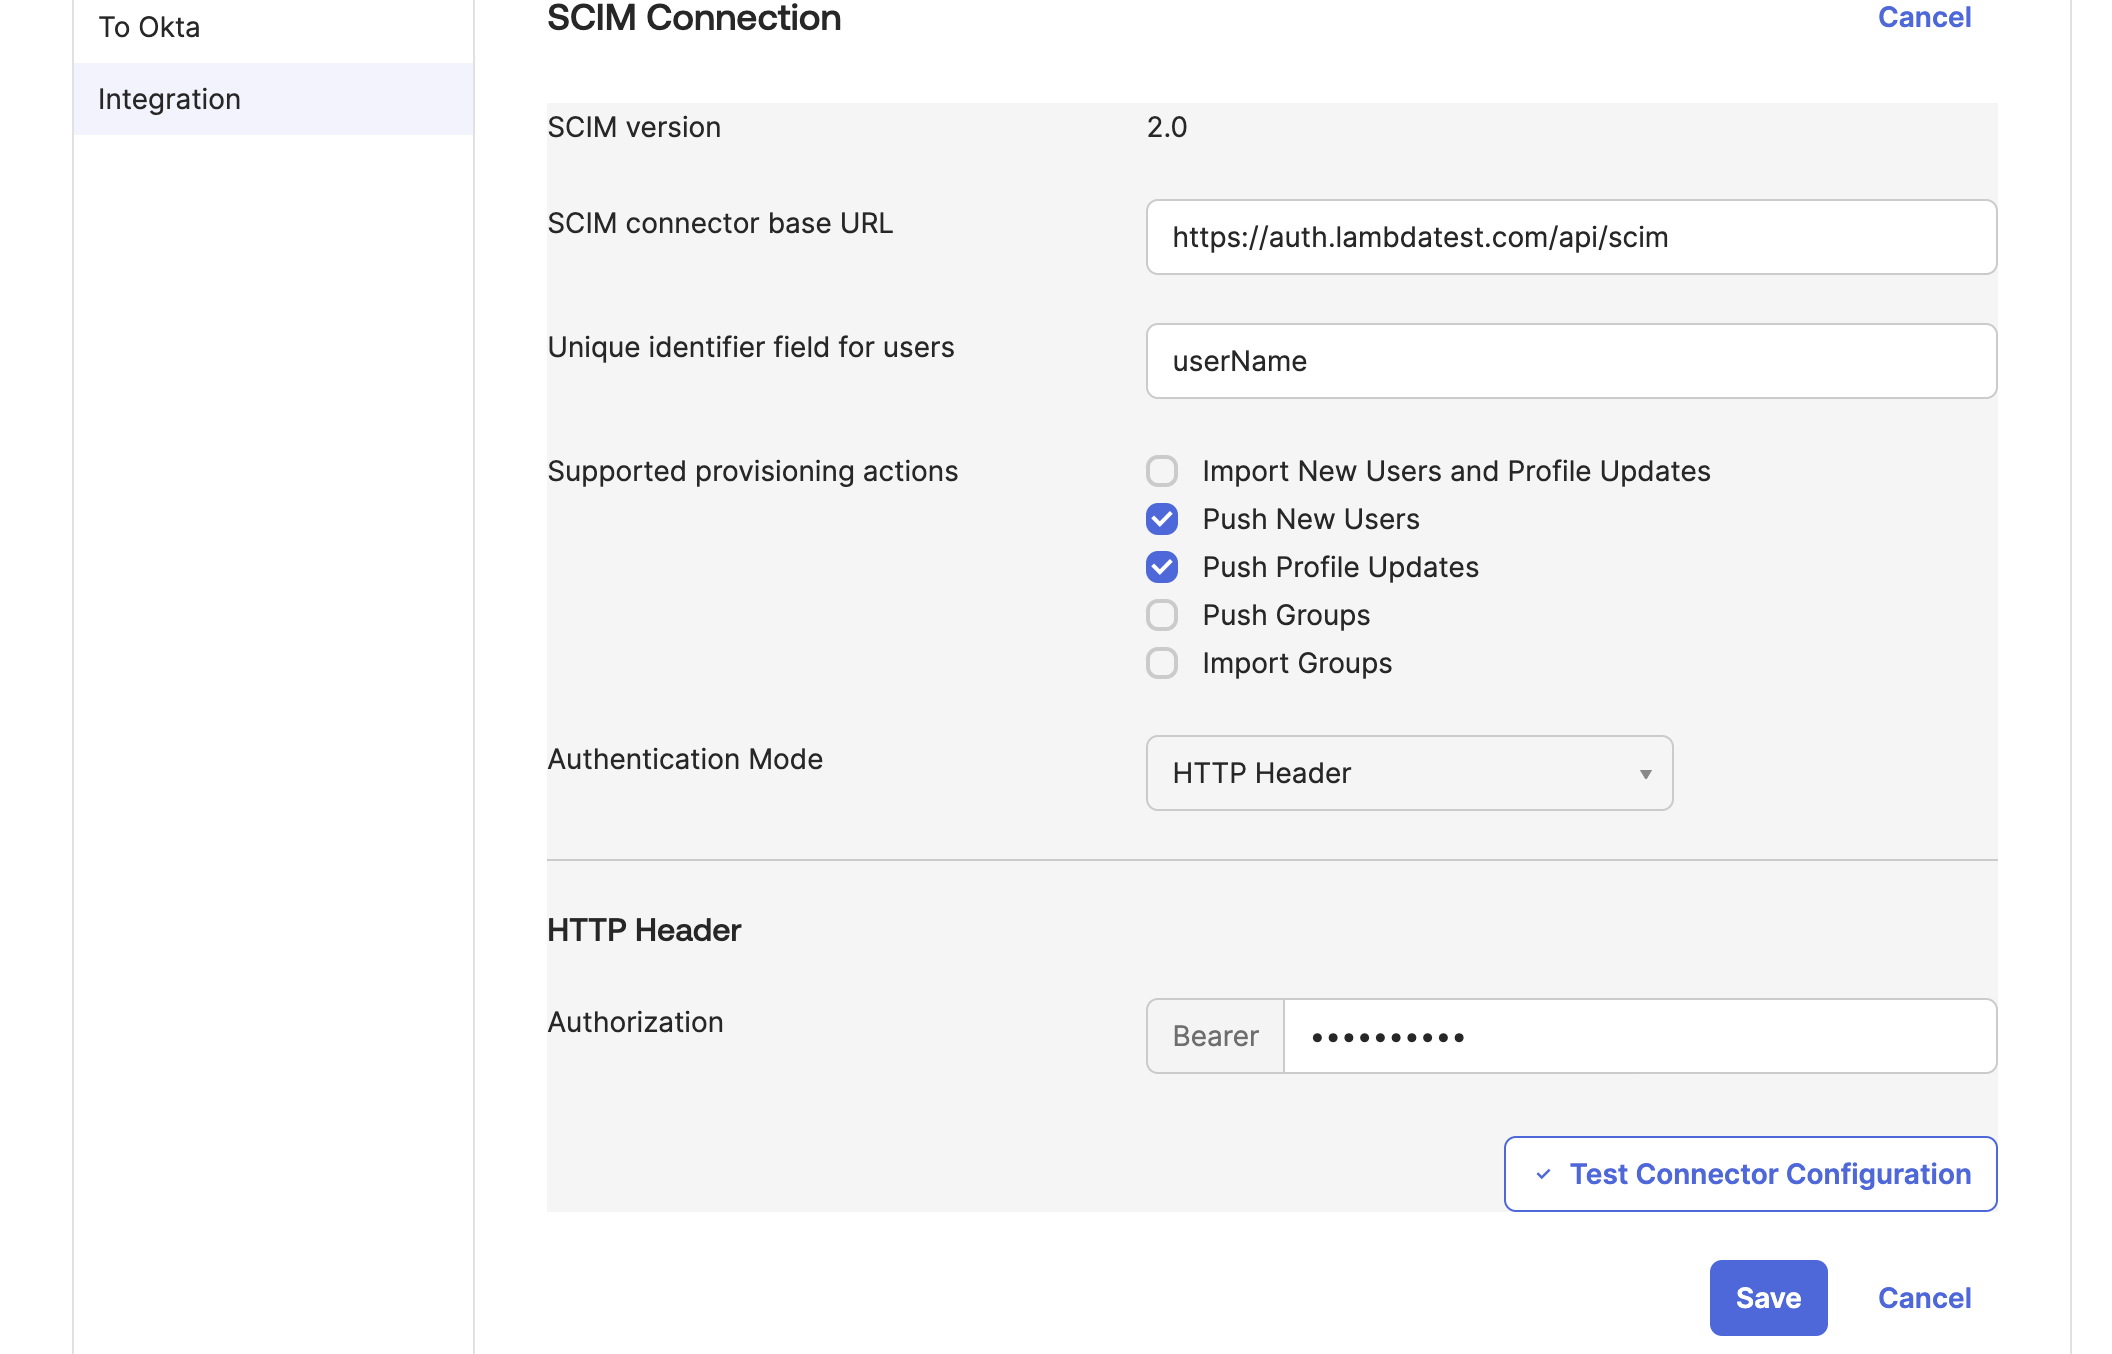
Step 7: Under the Integration section, input your LambdaTest SCIM Base URL-https://auth.lambdatest.com/api/scim and Bearer Token retrieved earlier in Step 3.
Unique identifier field for users field must be set to userName Click Test Connection to ensure Okta can connect to LambdaTest. If the connection fails, ensure your LambdaTest account has Admin permissions and try again.
Step 8: Now navigate to App tab
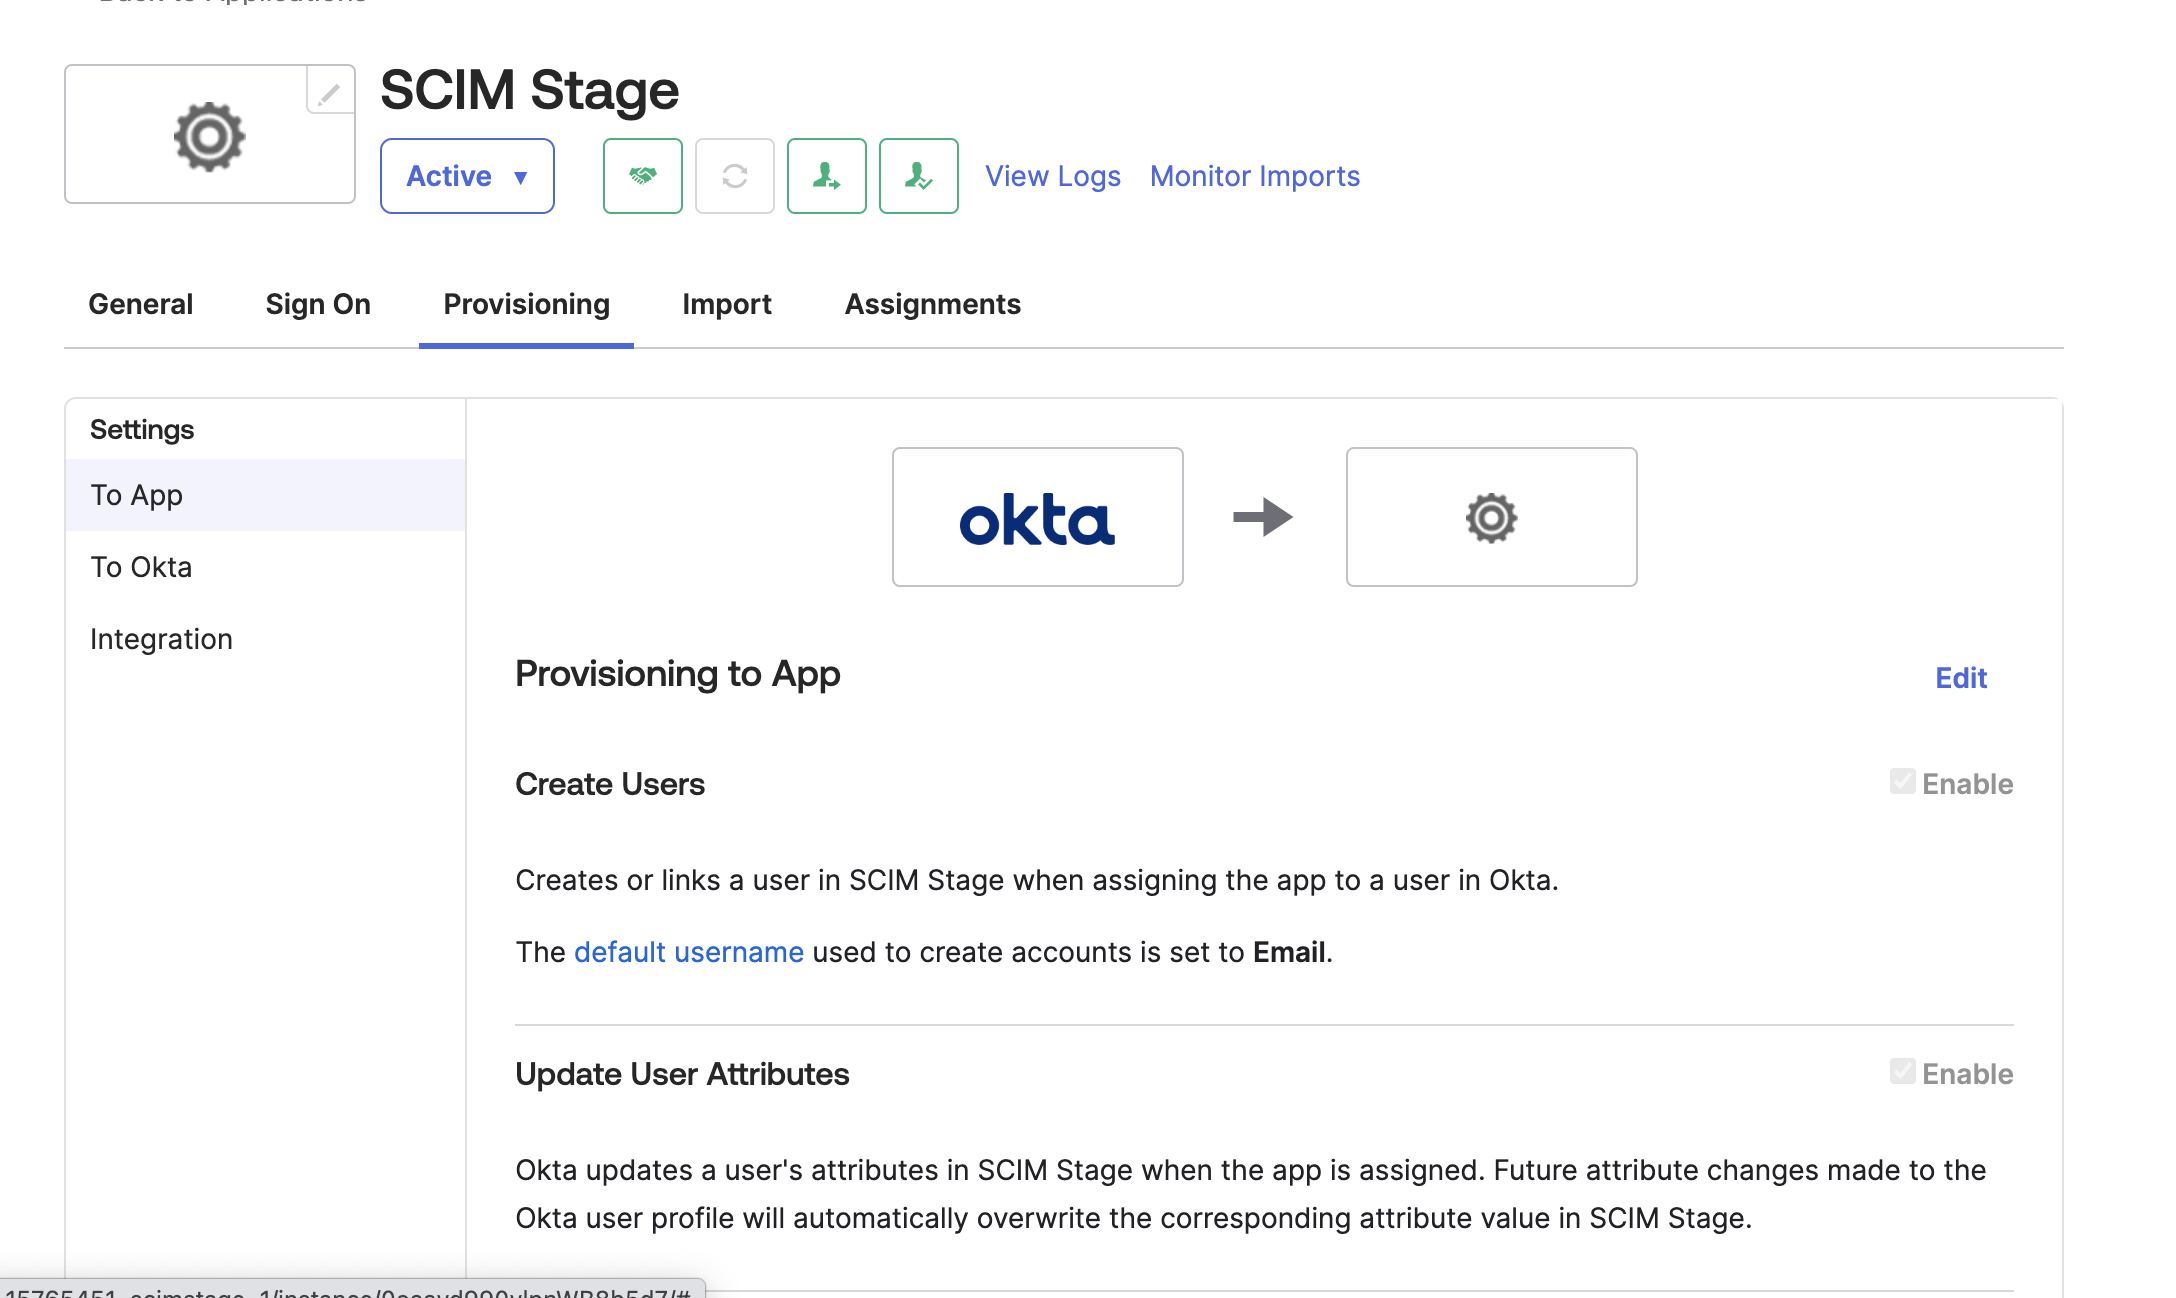
Step 9: Review the User Attribute mappings:
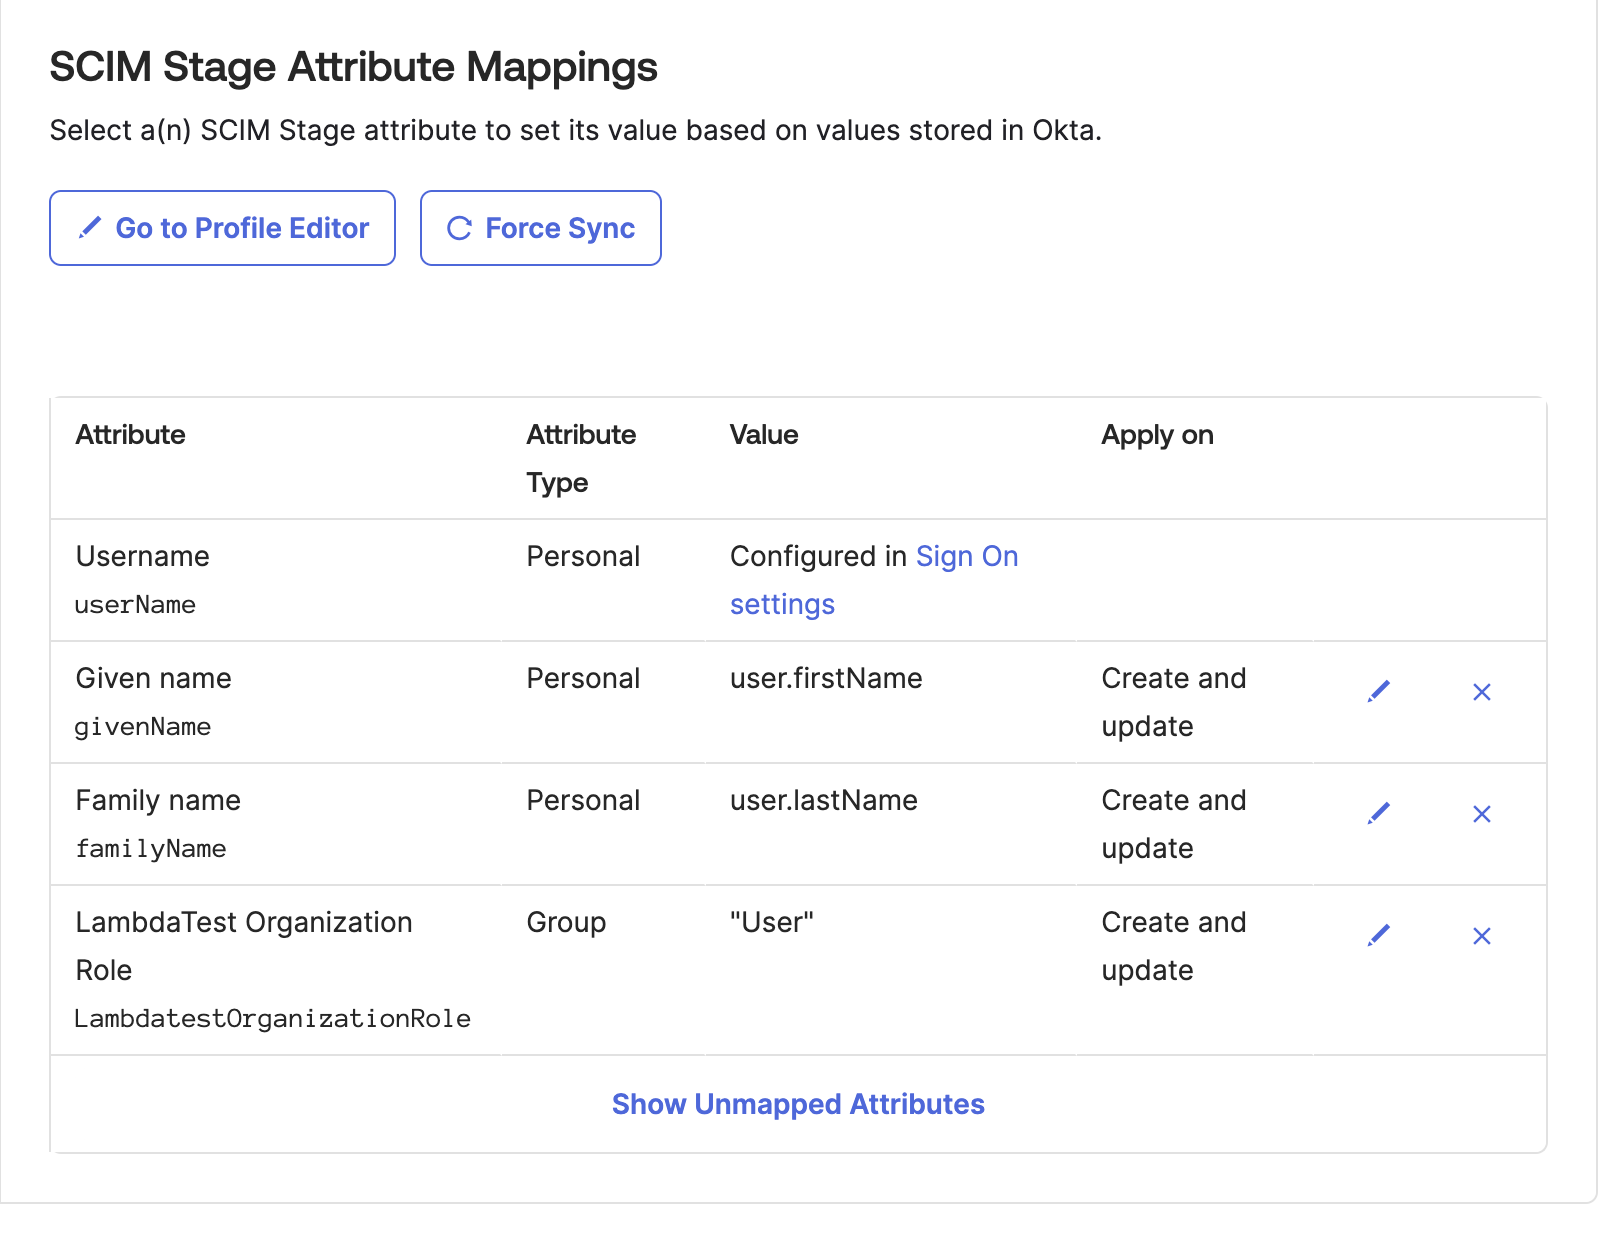
userName, Active, name.givenName, name.familyName are required attributes
urn:ietf:params:scim:schemas:extension:LambdaTest:2.0:User:OrganizationRole: Custom attribute used to set LambdaTest Organization Role for Users, If this attribute is not mapped User role would be set by default. Allowed values are (Admin/Guest/User)
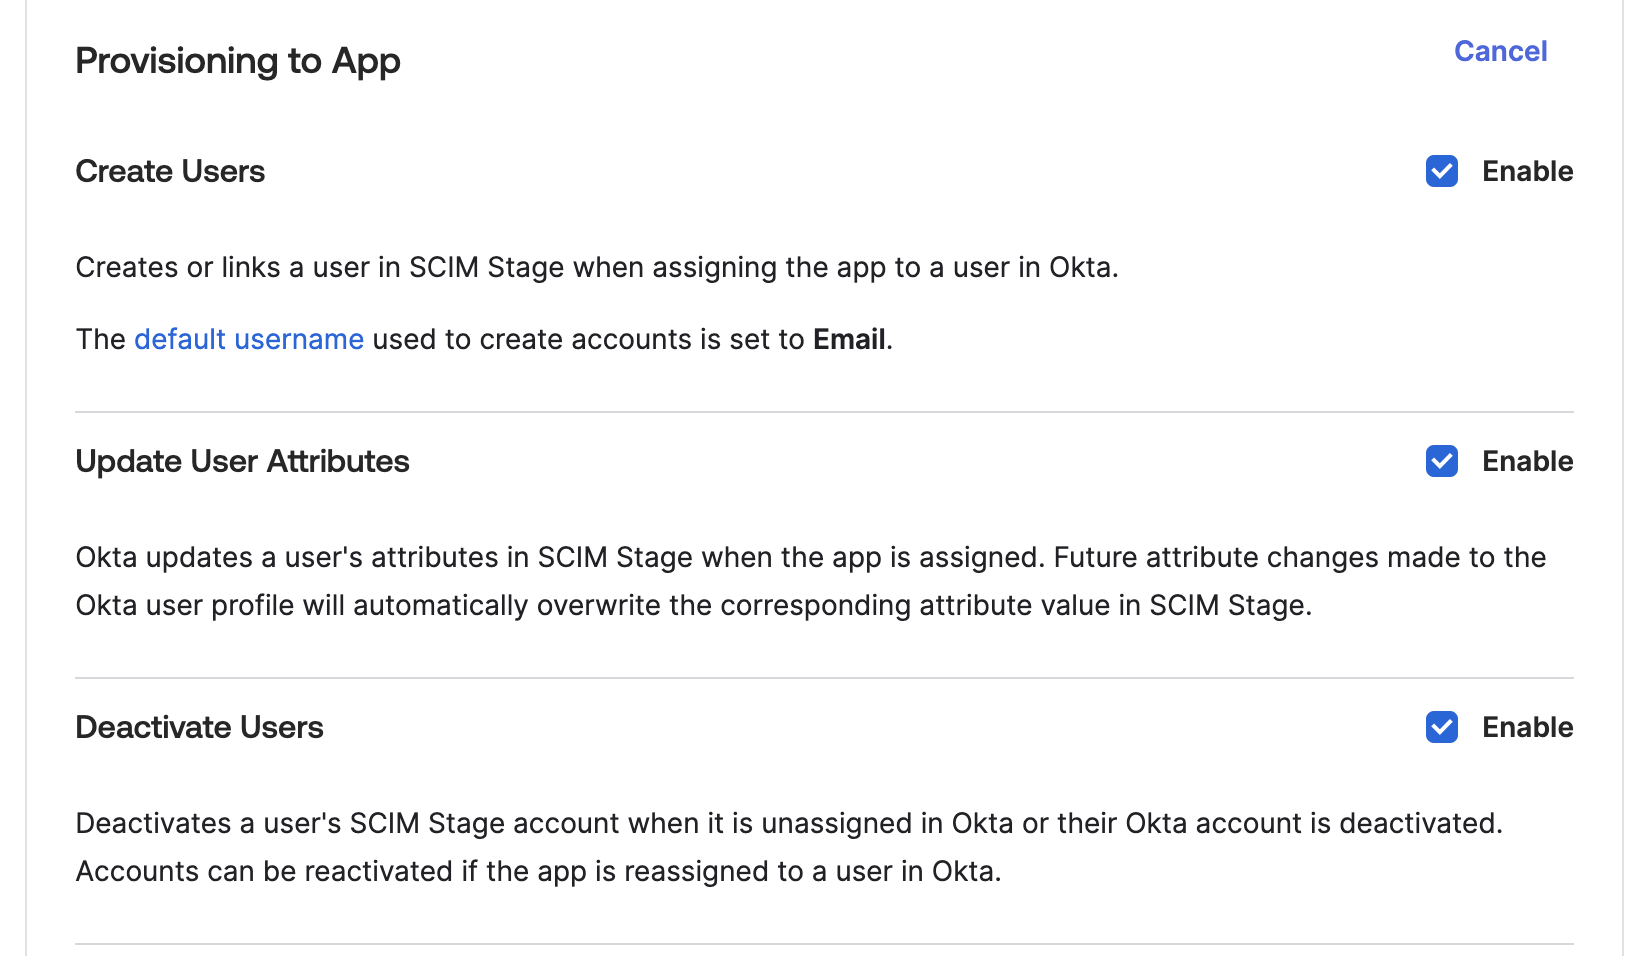
Step 10: To enable the Okta provisioning service for LambdaTest, set Create Users, Update User Attributes and Deactivate Users to enabled
That's all you need to know about LambdaTest SCIM Auto User Provisioning with Okta. In case you have any questions please feel free to reach out to us via the 24/7 chat support or email us over support@lambdatest.com.