Appium Inspector Integration on TestMu AI
This post will help you in integrating Appium Inspector to interact with TestMu AI's Real Devices.
Introduction
A GUI inspector for mobile apps and more, powered by a (separately installed) Appium server. Appium Inspector is an Appium client (like WebdriverIO, Appium's Java client, Appium's Python client, etc) with a User Interface. We can use the interface for specifying Appium Server Version, Setting Capabilities. Once the Appium Server is up & running with the App, we can interact with elements and run other Appium Commands.
By the end of this topic, you will be able to:
- Upload your Application to TestMu AI Server & Receive the Unique App URL.
- Run the Test using the Unique App URL.
Please download the latest version of Appium Inspector - 🔗 Official Appium Inspector.
Starting an Appium Session
Step 1: Upload your Application.
Upload your iOS application (.ipa file) or android application (.apk file) to the TestMu AI servers using our REST API. You need to provide your Username and AccessKey in the format Username:AccessKey in the cURL command for authentication. Make sure to add the path of the appFile in the cURL request. Here is an example cURL request to upload your app using our REST API:
Using App File:
- Linux / MacOS
- Windows
curl -u "undefined:undefined" \
--location --request POST 'https://manual-api.lambdatest.com/app/upload/realDevice' \
--form 'name="Android_App"' \
--form 'appFile=@"/Users/macuser/Downloads/proverbial_android.apk"'
curl -u "undefined:undefined" -X POST "https://manual-api.lambdatest.com/app/upload/realDevice" -F "appFile=@"/Users/macuser/Downloads/proverbial_android.apk""
Using App URL:
- Linux / MacOS
- Windows
curl -u "undefined:undefined" --location --request POST "https://manual-api.lambdatest.com/app/upload/realDevice" --header "Content-Type: application/x-www-form-urlencoded" --data-urlencode "url=:https://prod-mobile-artefacts.lambdatest.com/assets/docs/proverbial_android.apk" --data-urlencode "name=Proverbial_App"
curl --location --request POST "https://manual-api.lambdatest.com/app/upload/realDevice" -u "undefined:undefined" --header "Content-Type: application/x-www-form-urlencoded" --data-urlencode "url=https://prod-mobile-artefacts.lambdatest.com/assets/docs/proverbial_android.apk" --data-urlencode "name=test" --data-urlencode "custom_id=my_app"
- If you do not have any .apk or .ipa file, you can run your sample tests on TestMu AI by using our sample 🔗 Android app or sample 🔗 iOS app.
- Response of above cURL will be a JSON object containing the
App URLof the format -lt://APP123456789123456789and will be used in the next step.
Step 2: Start a Session on Appium Inspector
Start the Appium Inspector & Select TestMu AI from the list of Cloud Test Providers.
Step 3: Configure your Credentials
Enter in your UserName & Access Key. You may find the credentials available on TestMu AI Dashboard
Step 4: Configure Desired Capabilities & Start the Session
Configure TestMu AI capabilities in the desired capabilities tab on Appium inspector. Use the unique app URL obtained in Step 1 to set the app capability Value.For more details, please refer to our guide on Desired Capabilities in Appium.
Alternatively, we can also go to our capabilities generator and generate the Capability Representation using GUI.
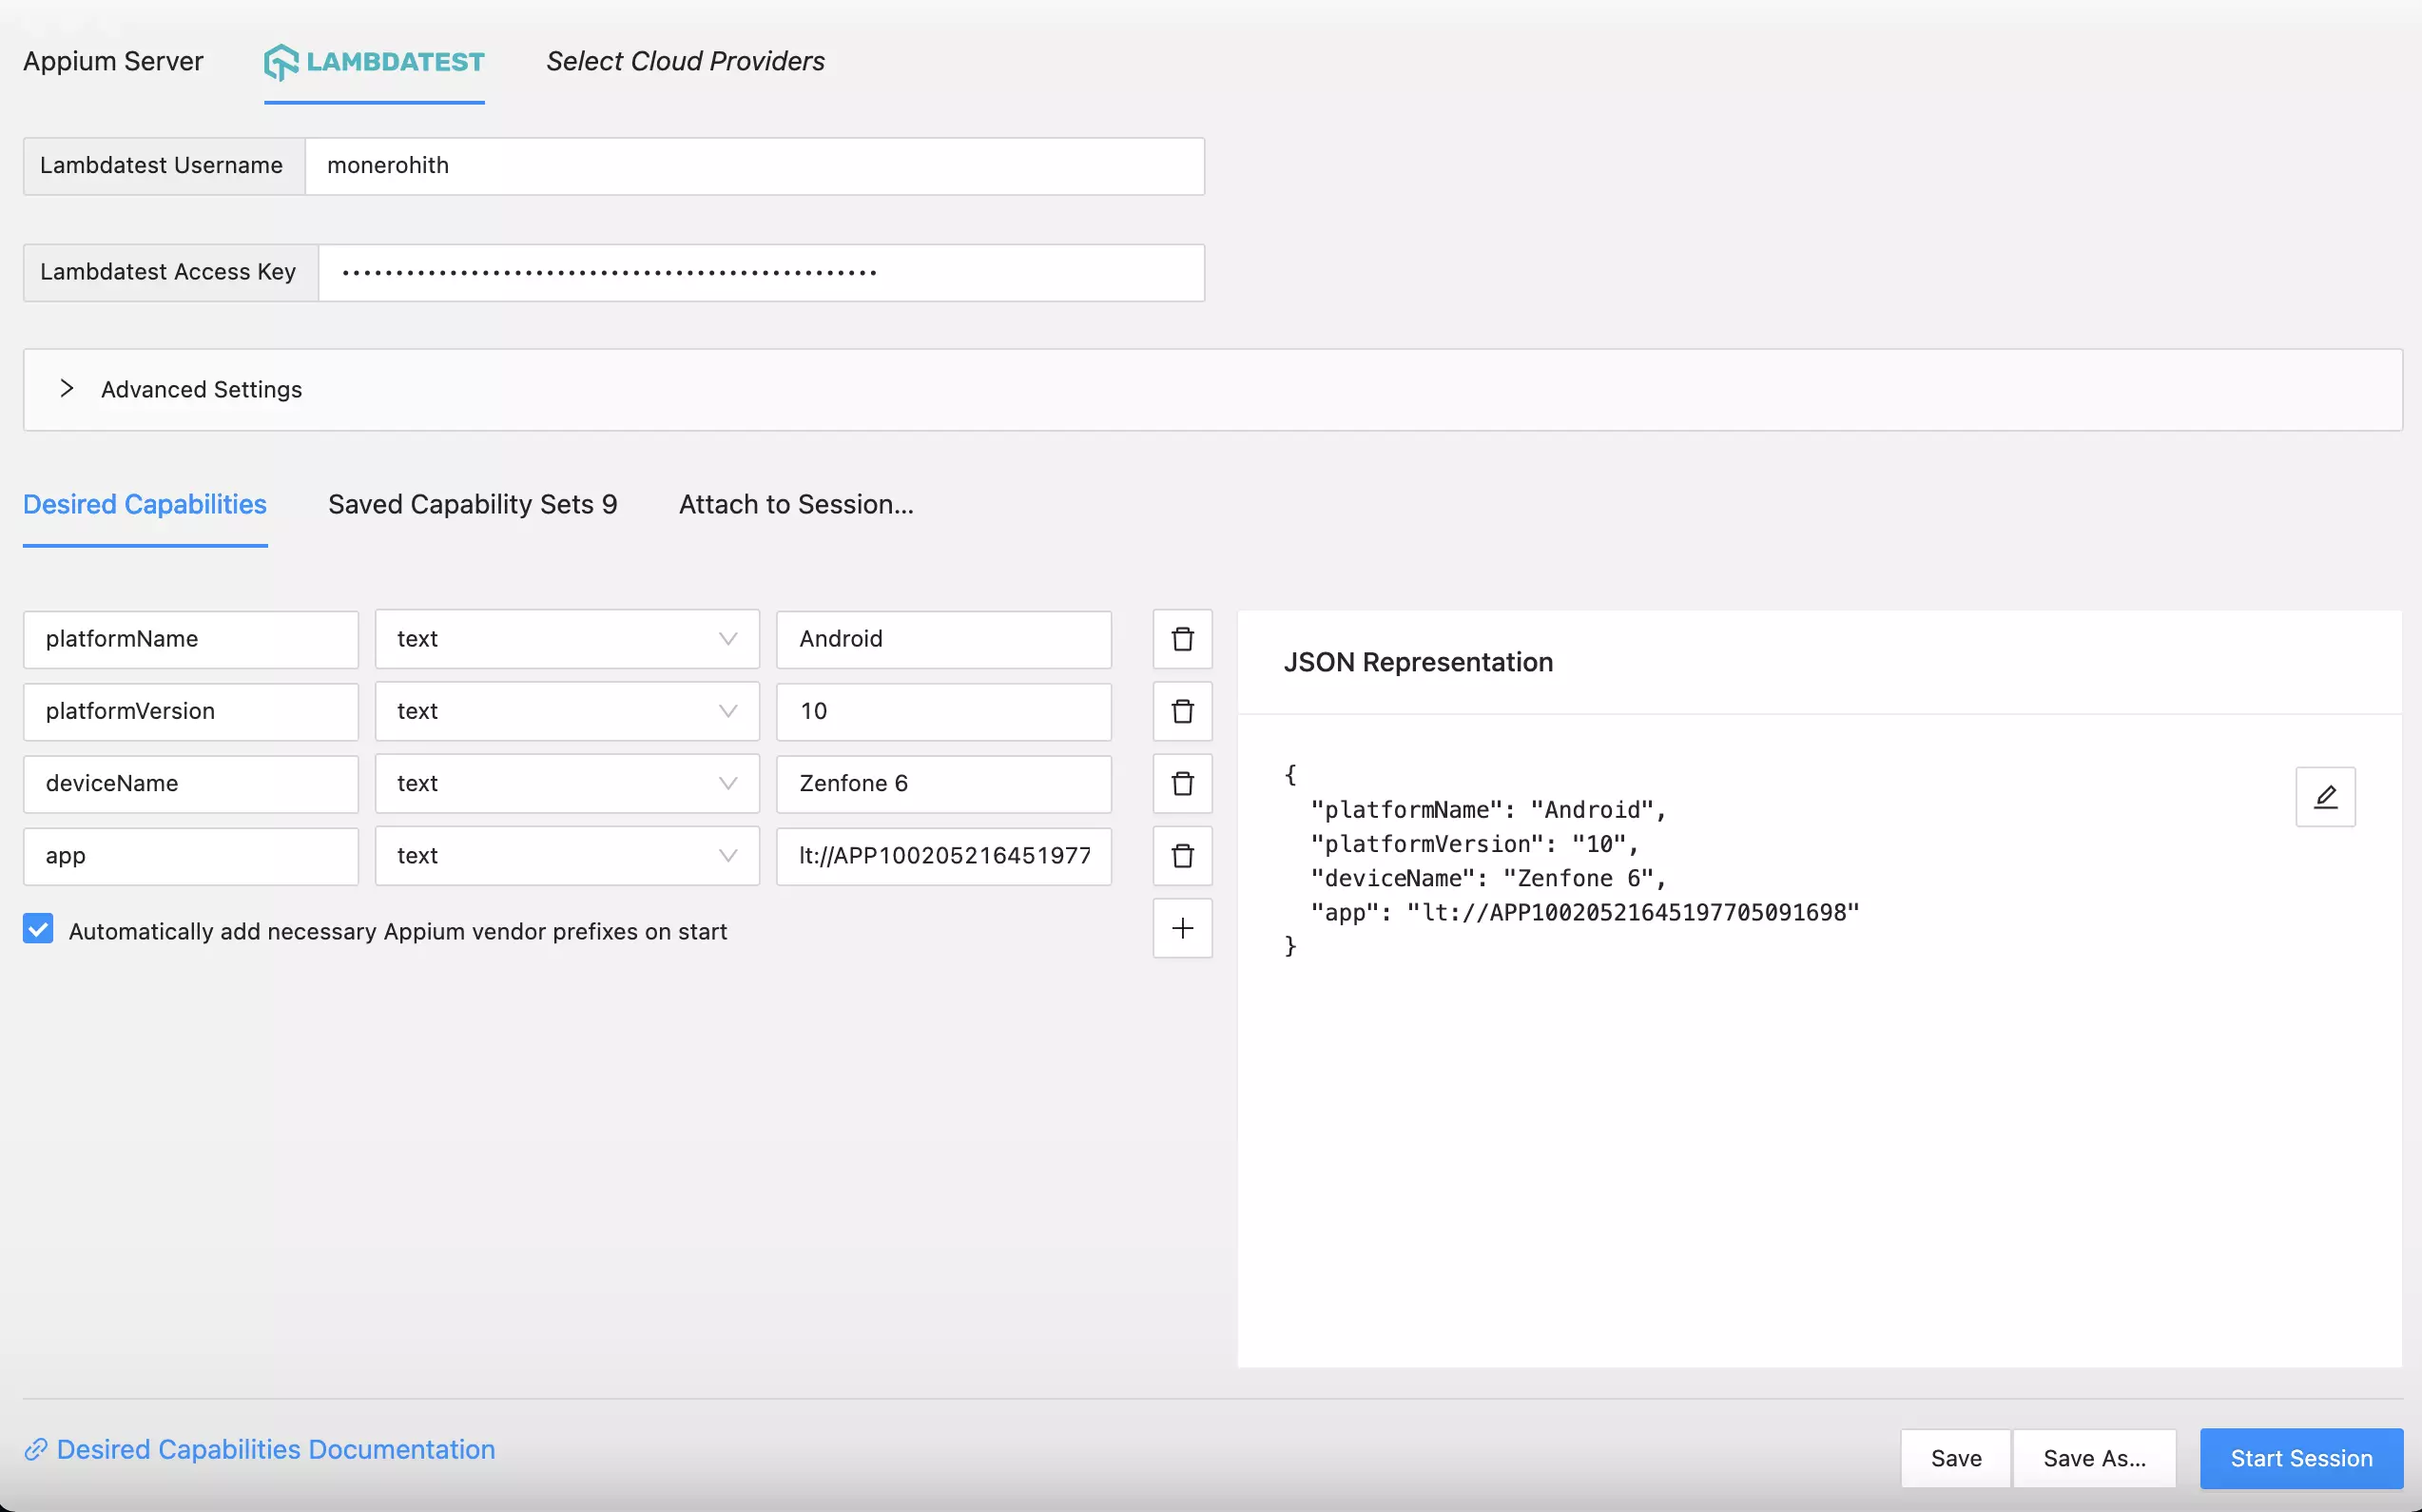
Once this is complete, you can now run the test by clicking on start session. Once you start the session, a video recording along with detailed information and logs of the test run will be available on the TestMu AI Dashboard.

Attaching to a running session in Appium Inspector
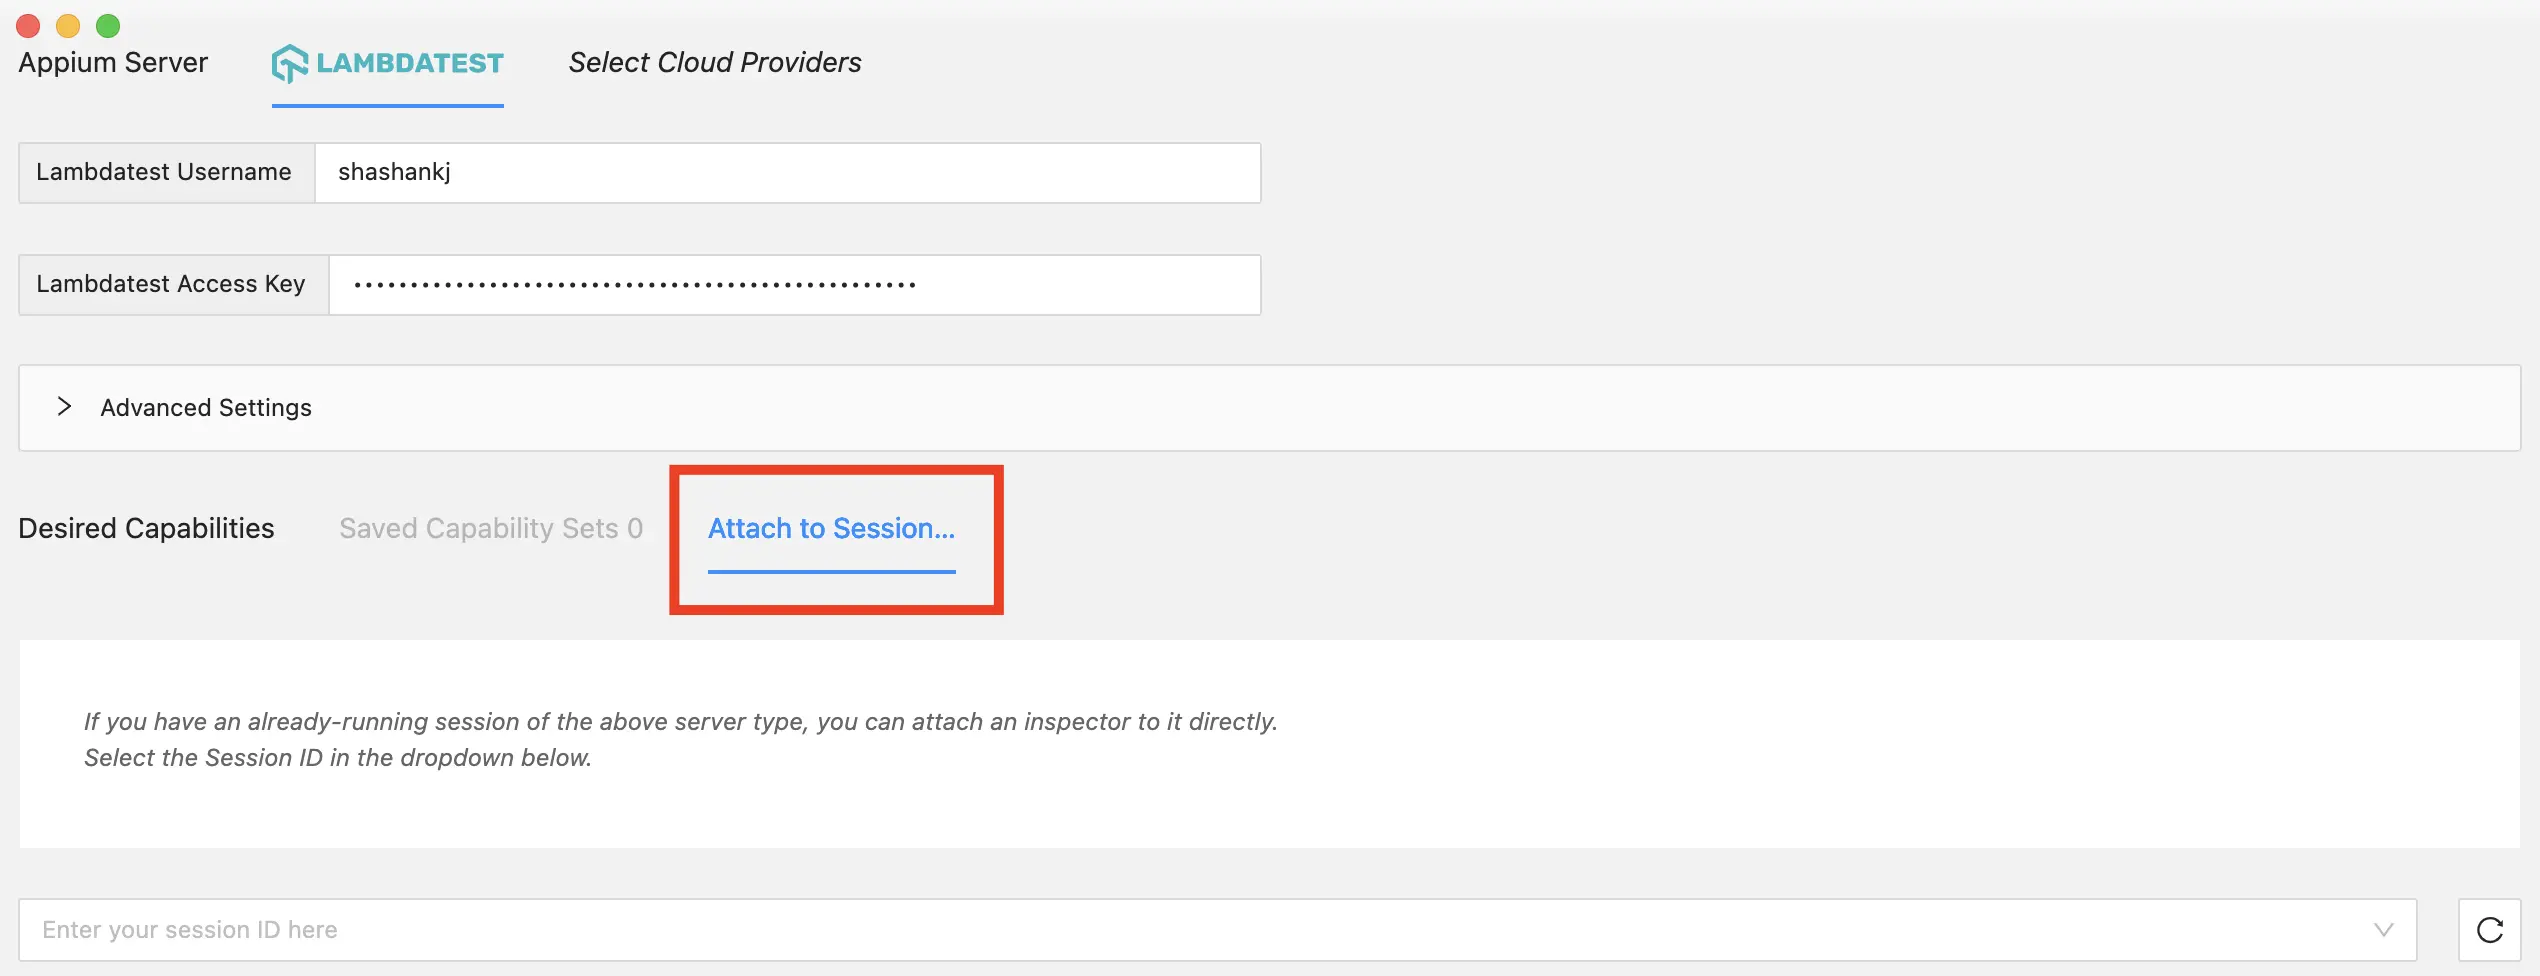
Step 1: Configure your Credentials
After you have added your credentials from Step 2 of Starting an Appium Session, click on Attach to Session.
Step 2: Run a session
Start an App Automation that you'd like to attach to.
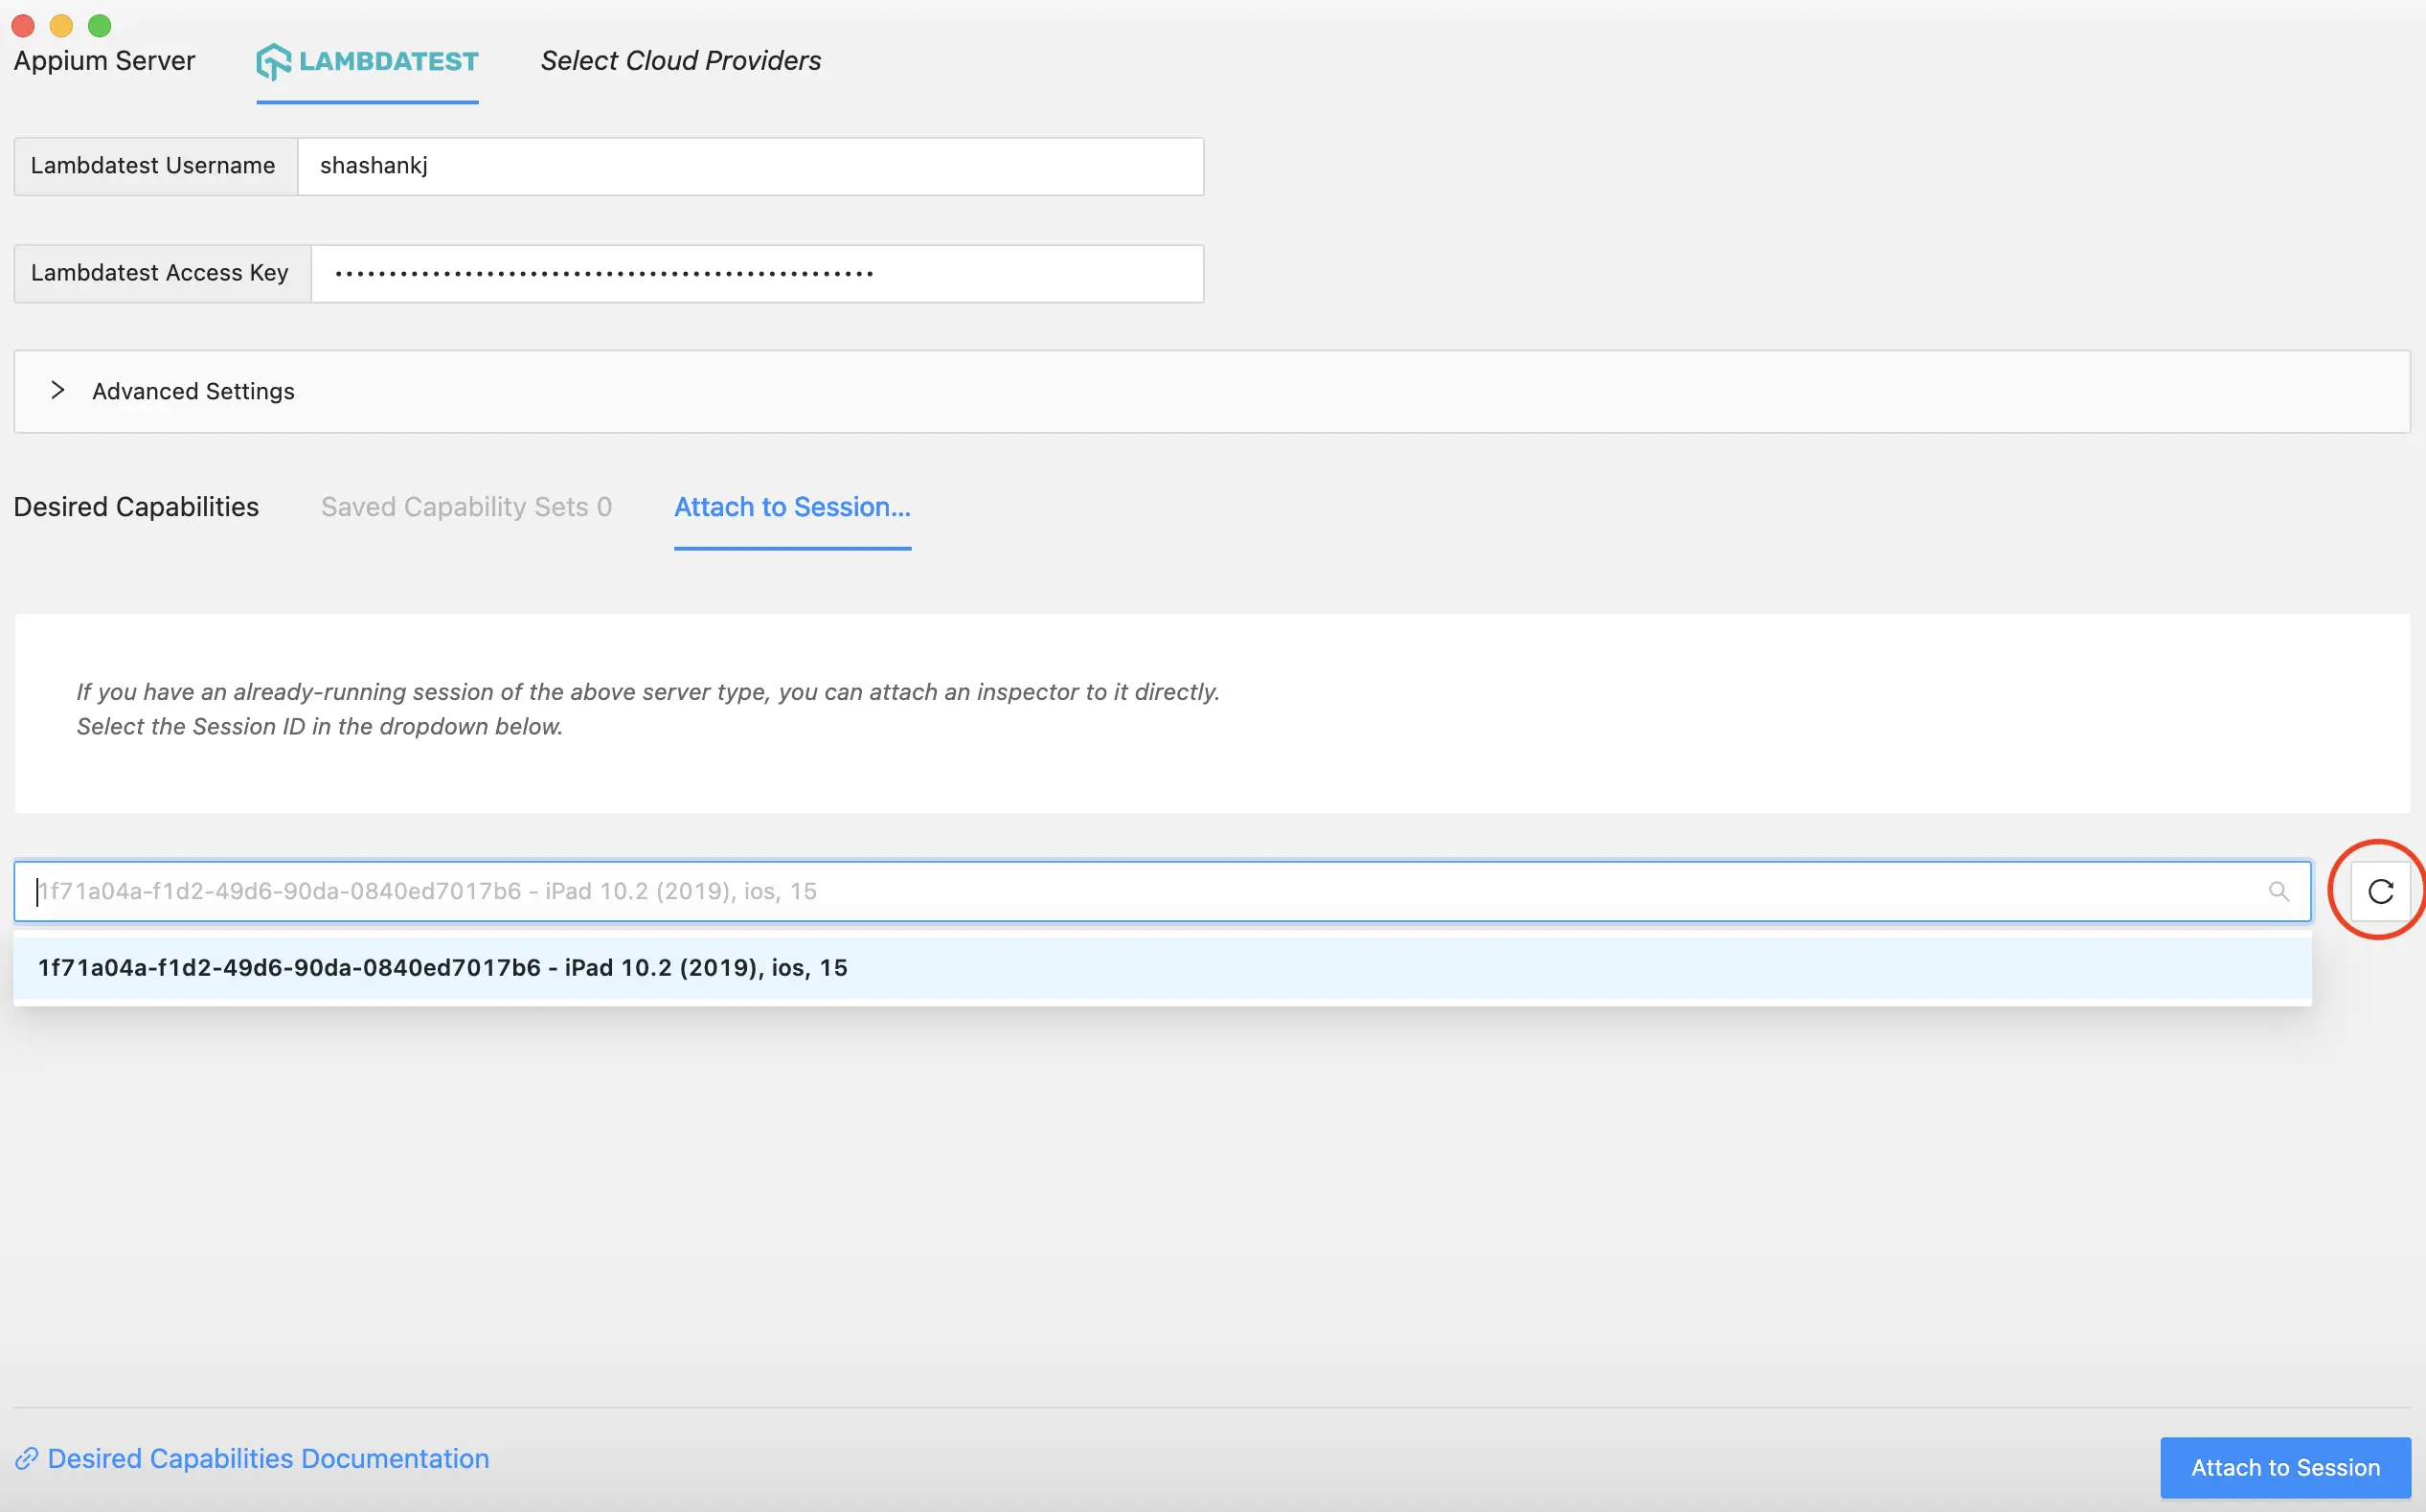
Step 3: Choose the session to attach
Click on the refresh button and choose a session to attach to.
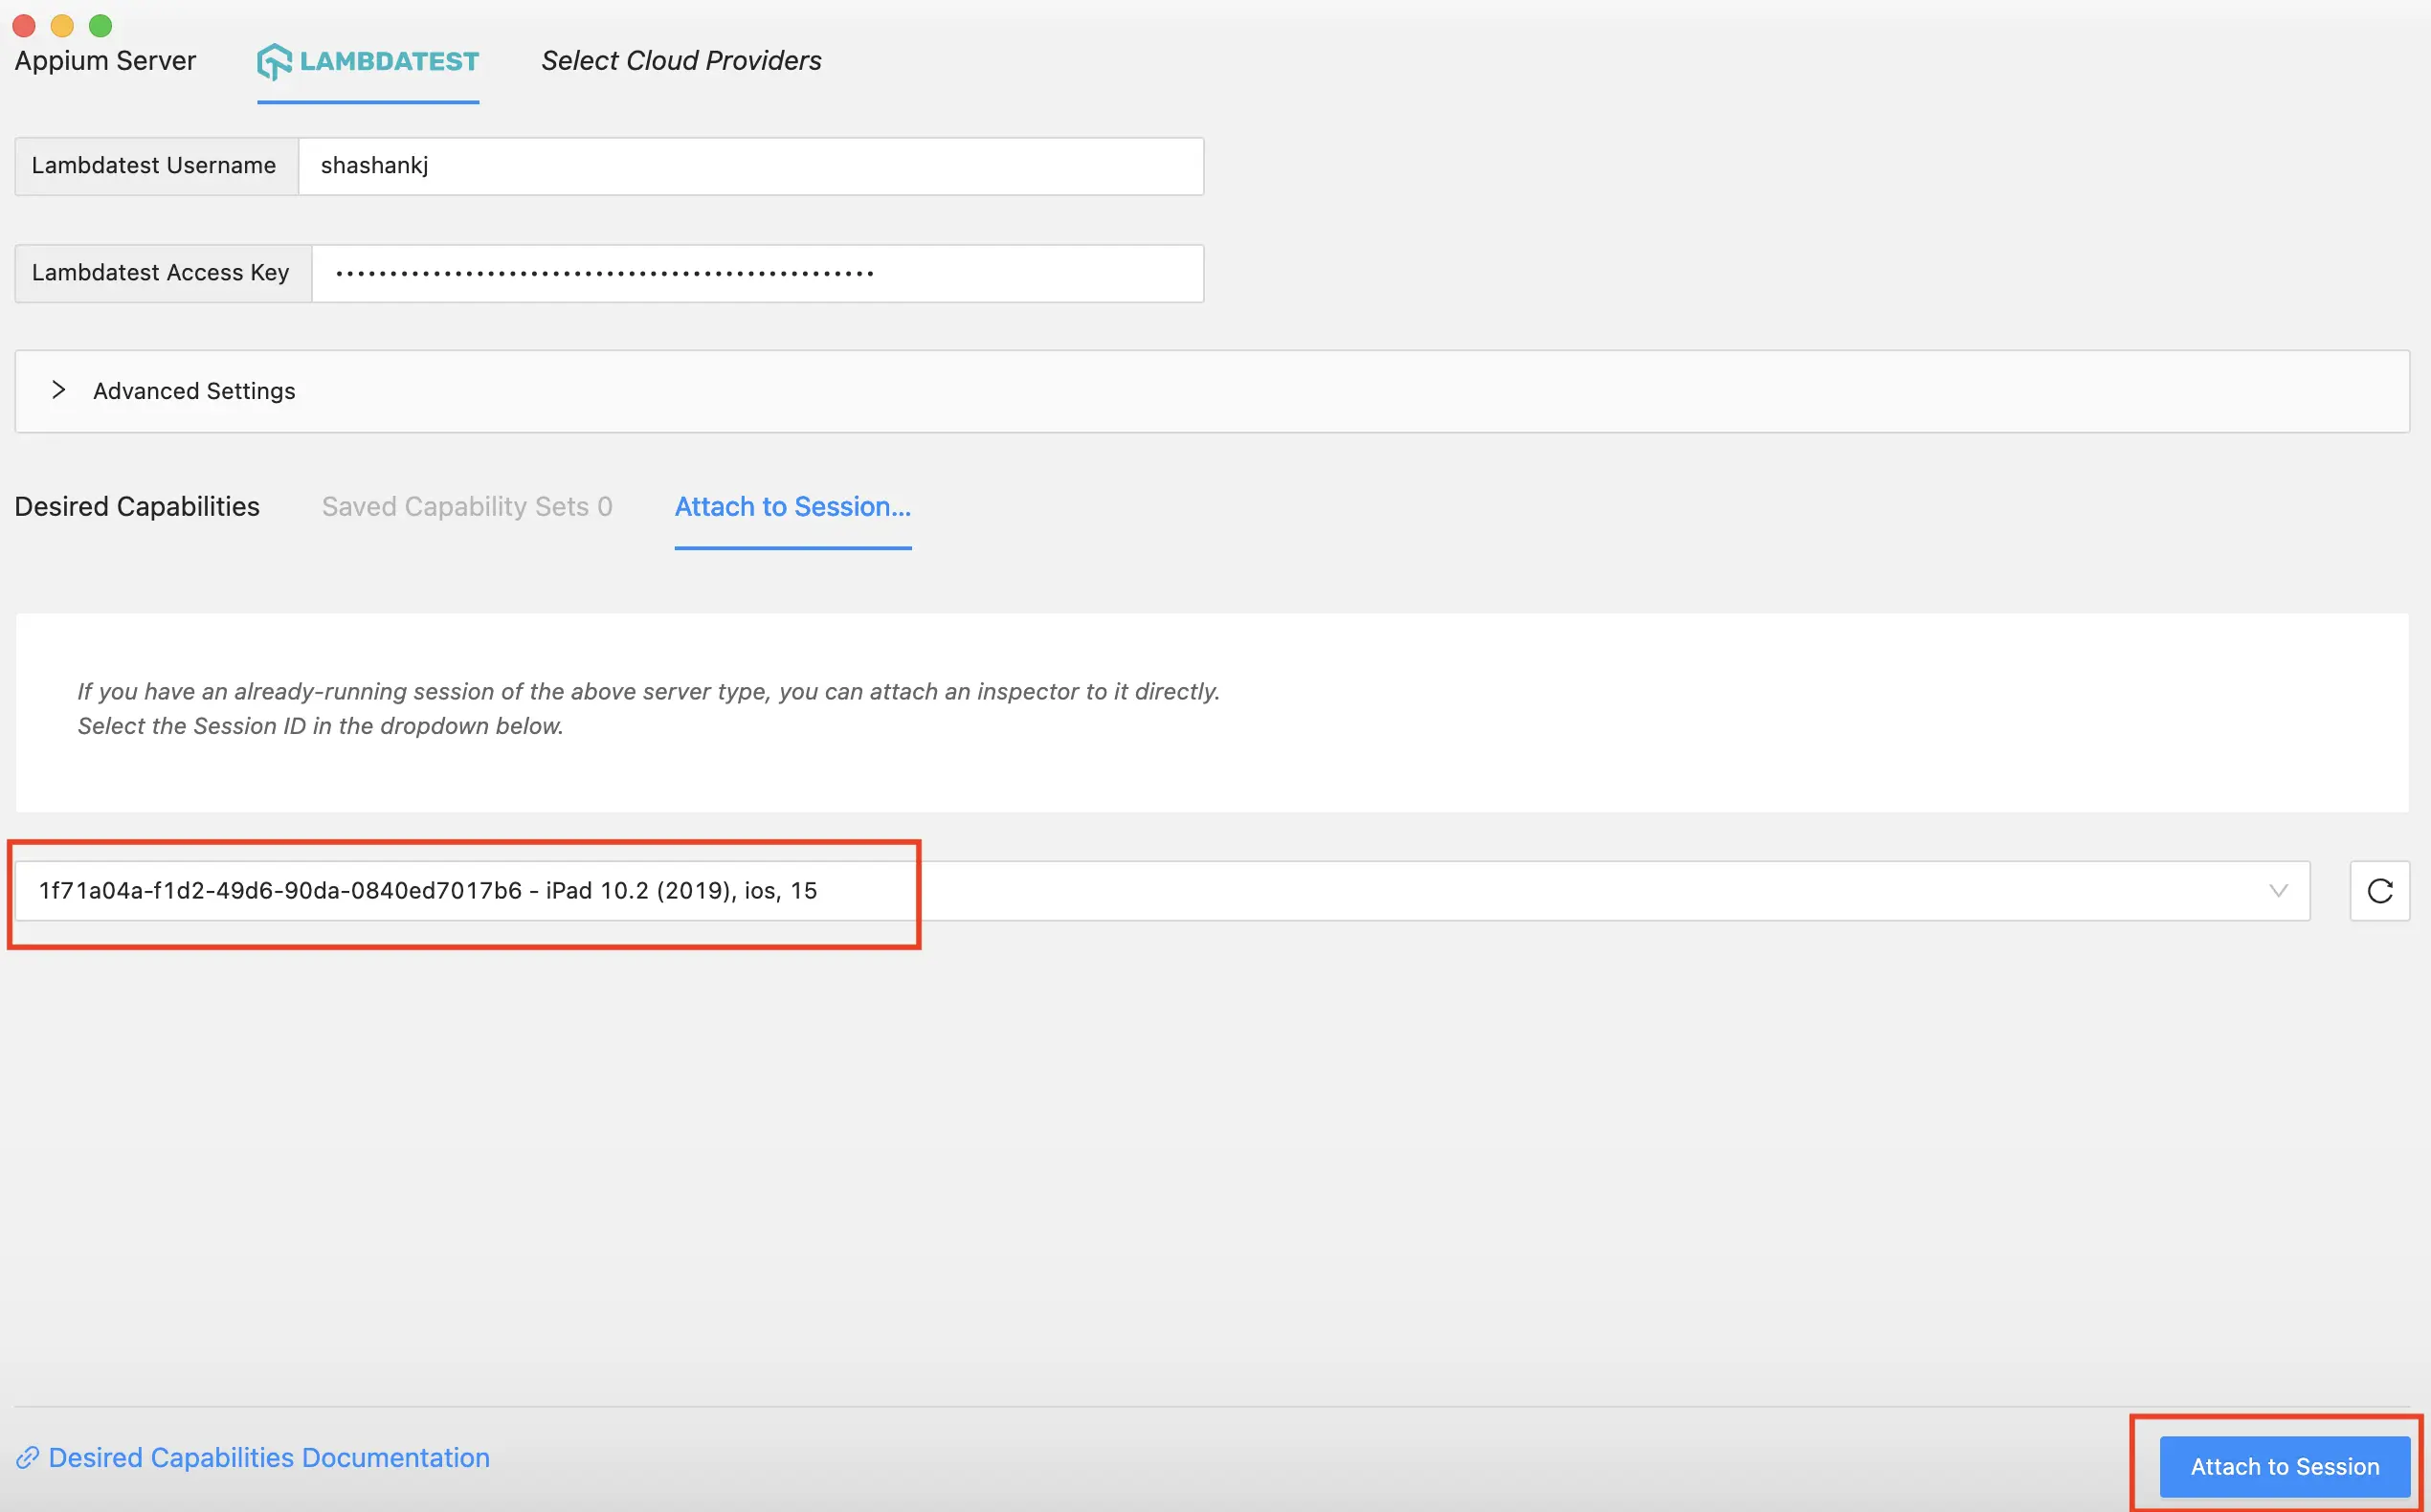
Step 4: Attach to Session
Once you have selected a session, click on Attach to Session.
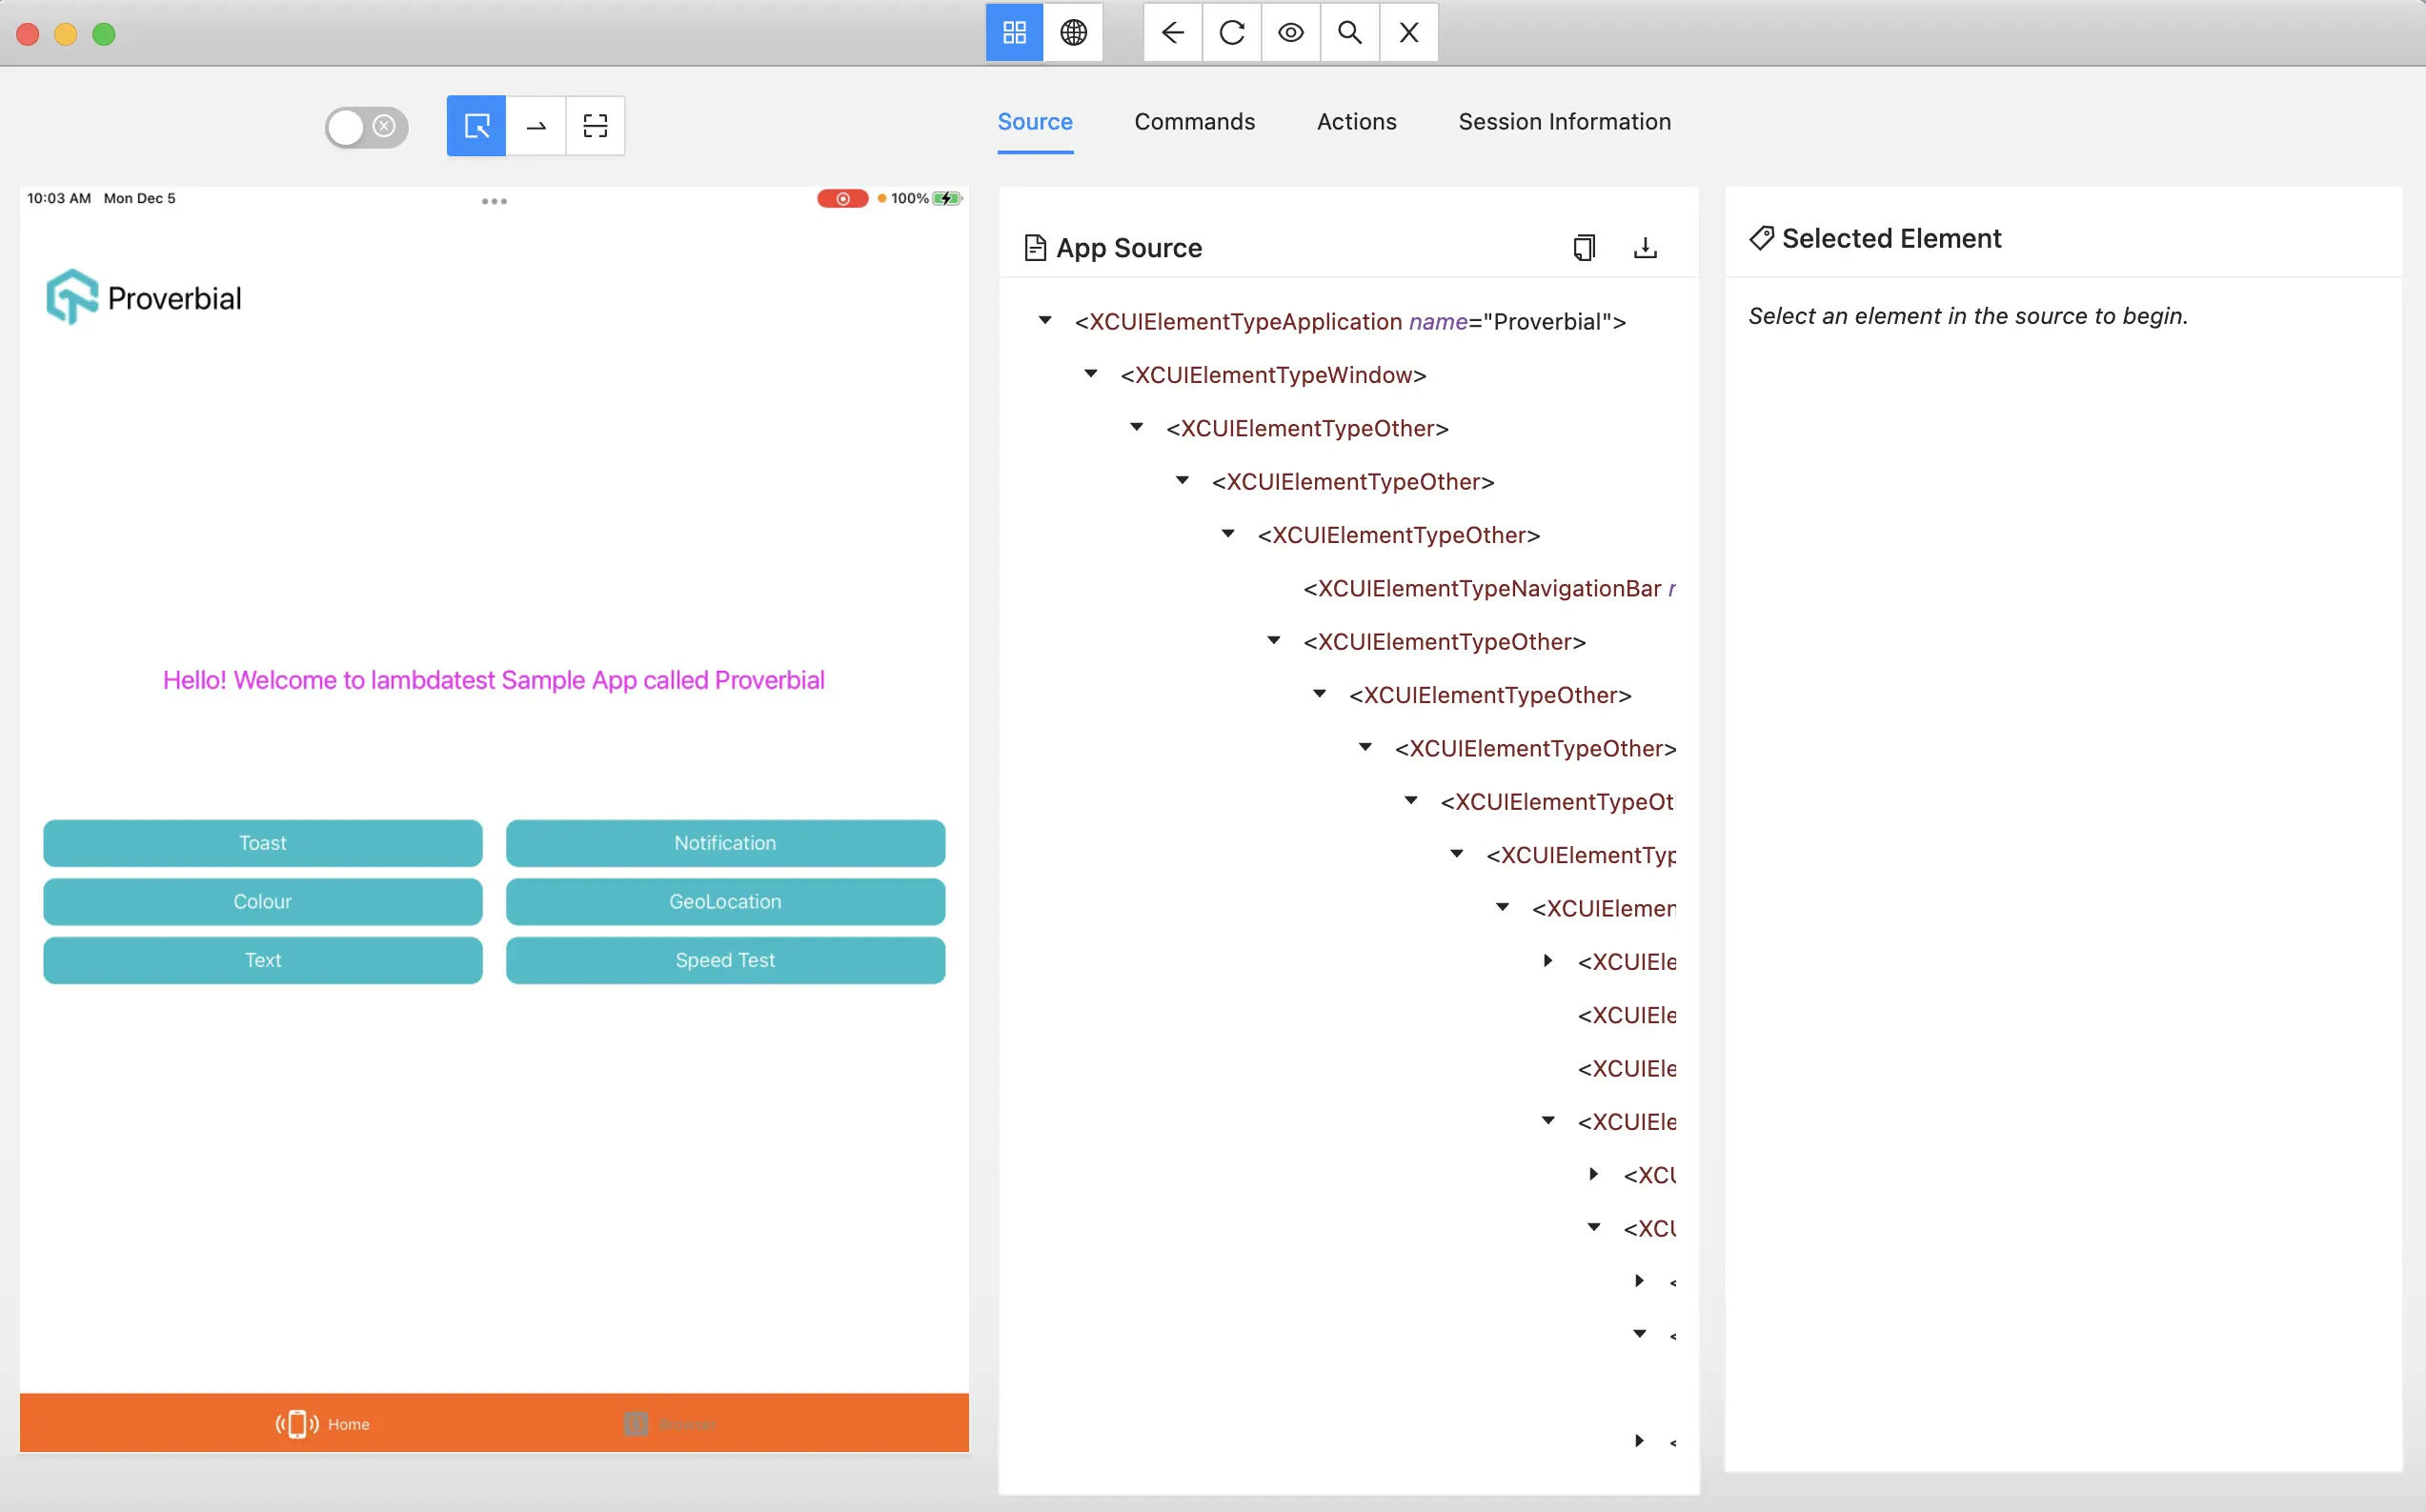
Step 5: Viewing the session
We have now successfully attached to the session and can see & perform operations as well.
Got any questions?
Please reach out at our 24x7 Chat Support or you could also mail us at support@testmuai.com.
