Setting Up the Build Inactivity Time [Build Splitting]
Build Splitting (Build Inactivity Time) lets you organize tests more efficiently. Track your progress by identifying tests that run at specific intervals. Set a time interval after which the system waits for the defined time and marks the build as completed. Any new builds you run after this time period are created as a new build.
How It Works
Build Splitting separates tests into distinct builds based on inactivity time.
Previously, when you ran a build on TestMu AI, all tests merged into the same build, making it difficult to identify tests that ran at specific intervals. Build Splitting logic helps you organize your tests better.
Build Splitting requires you to set Build Inactivity Time. For instance, if the Build Inactivity Time is set to 5 minutes, the system waits 5 minutes after the last test completes before marking the build as complete. If you run a test before the inactivity time, it runs in the existing build. If you run a test (even with the same name) after the specified inactivity time (i.e., 5 minutes), it appears under a new build.
How to Set the Build Inactivity Time
Follow these steps to configure Build Inactivity Time for your account.
- By default, the build inactivity time is six hours.
- Every user within the organization can set their own build inactivity time.
-
Log in to your TestMu AI account. Don't have an account, sign up for free.
-
From the top-right corner, click on the Profile avatar, and navigate to Profile > Product Preferences.
-
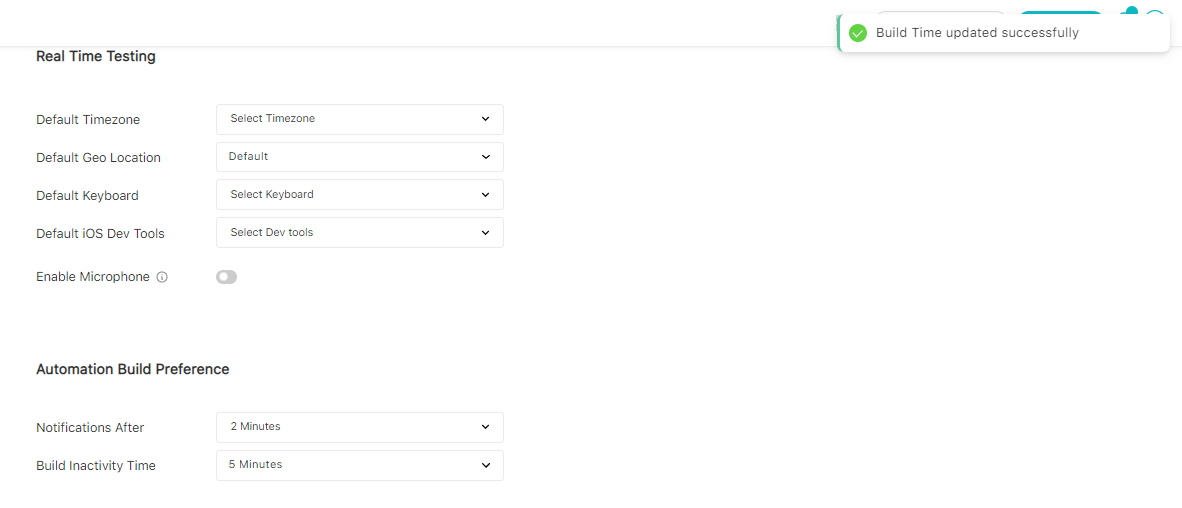
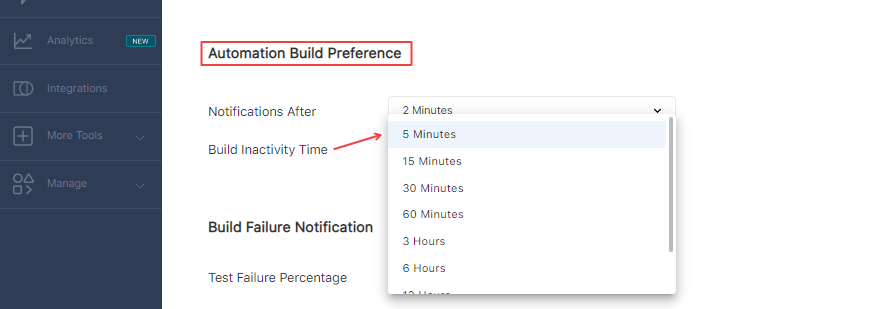
Under the Automation Build Preference, select the Build Inactivity Time to choose your preferences.
Once you set the build inactivity time, a confirmation notification appears: Build Time updated successfully.