Puppeteer Testing With CodeceptJS
Learn how to run your Puppeteer tests with CodeceptJS across 40+ real browsers and operating systems on the TestMu AI platform.
Prerequisites
Note: All the code samples in this documentation can be found in the TestMu AI's Repository on GitHub. You can either download or clone the repository to quickly run your tests.
View on GitHub
- Clone the puppeteer-sample repository on your system and navigate to the
pytest-pyppeteerdirectory.
cd pytest-pyppeteer
- Create a virtual environment using the following commands:
virtualenv venv
source venv/bin/activate
- Install the necessary configurations.
poetry install
- Install the necessary dependencies
pip install - r requirements.txt
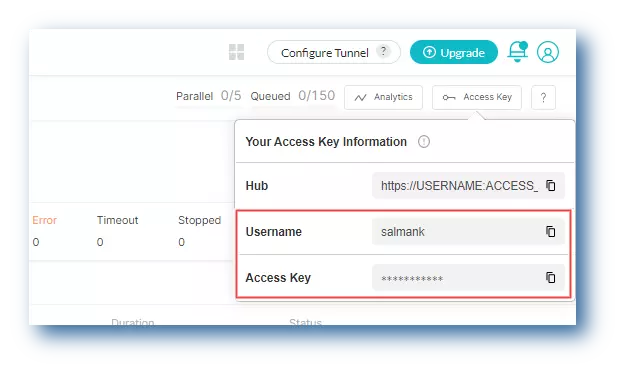
- In order to run your pyppeteer tests, you will need to set your TestMu AI username and access key in the environment variables. Click the Access Key button at the top-right of the Automation Dashboard to access it.
Windows
set LT_USERNAME="YOUR_LAMBDATEST_USERNAME"
set LT_ACCESS_KEY="YOUR_LAMBDATEST_ACCESS_KEY"
macOS/Linux
export LT_USERNAME="YOUR_LAMBDATEST_USERNAME"
export LT_ACCESS_KEY="YOUR_LAMBDATEST_ACCESS_KEY"
Running Your First Pyppeteer Test
The first test script navigates to DuckduckGo and searches for TestMu AI. The second test script navigates to Brave search and searches for TestMu AI. Both the tests are executed using Chrome (latest) on Windows 11.
Once you are done with the steps 1 thru' 5, you can initiate your first Pyppeteer test on TestMu AI.
Run the following command on the terminal to run the Pyppeteer tests in parallel.
pytest --verbose --capture=no -s -n 2 tests/test_pytest_pyppeteer_1.py \
    tests/test_pytest_pyppeteer_2.py
View your Pyppeteer test results
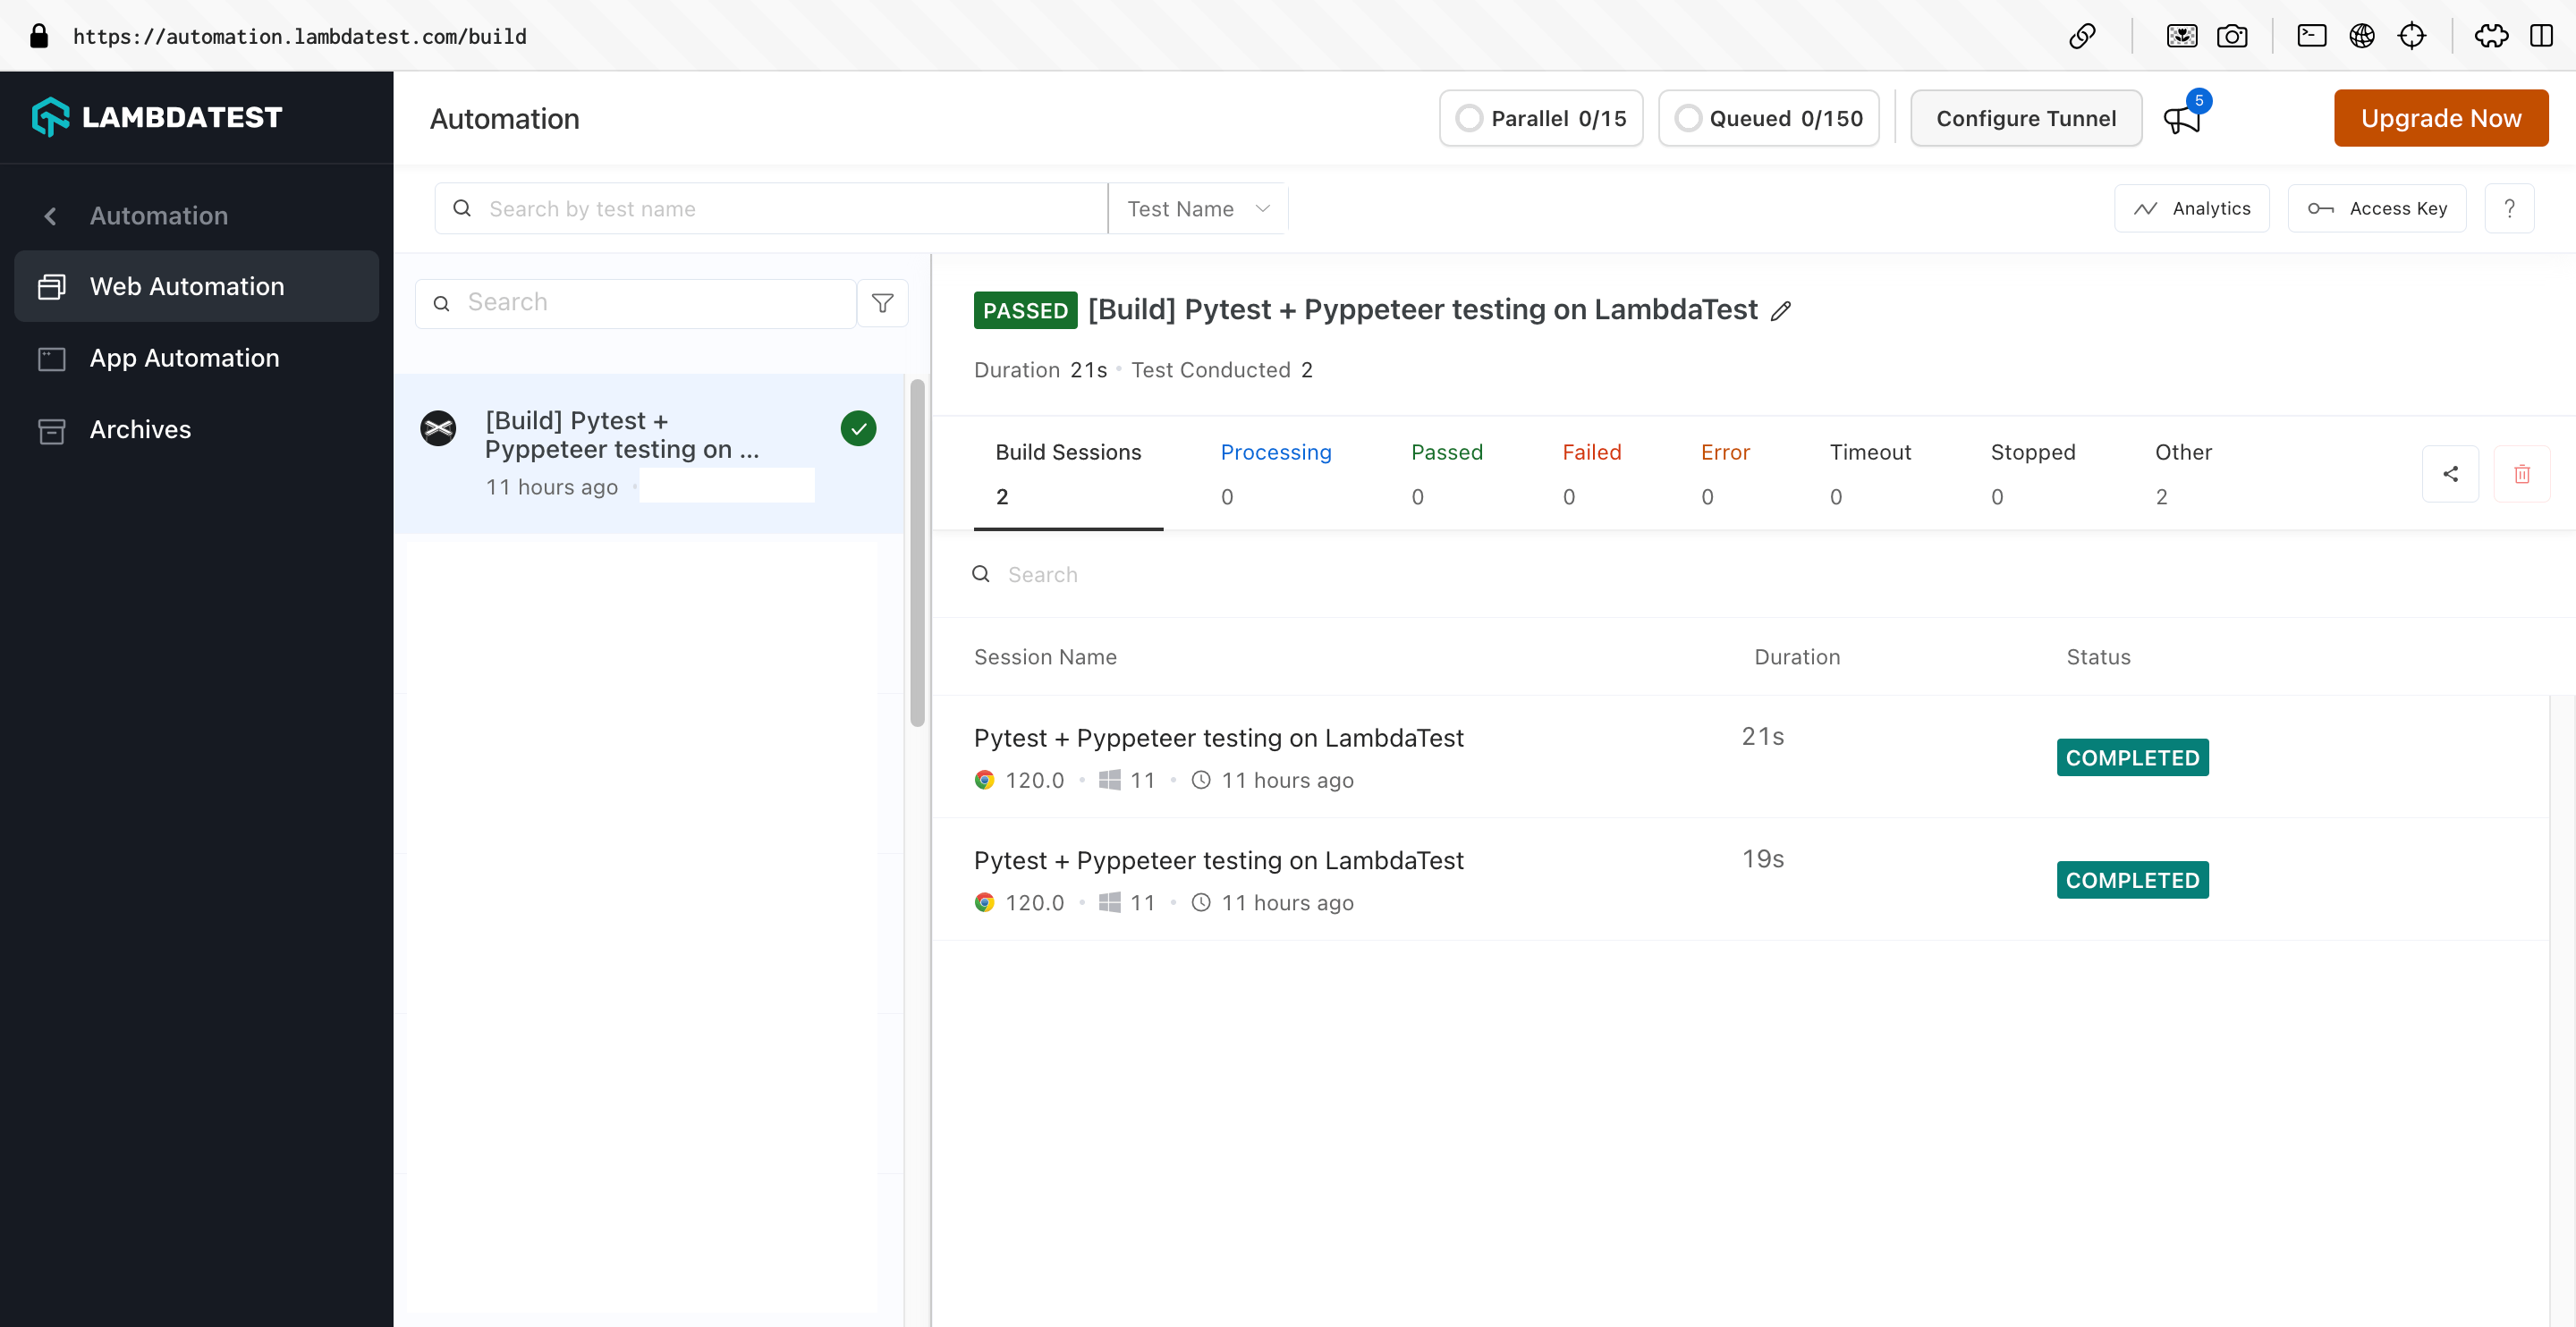
The TestMu AI Automation Dashboard is where you can see the results of your Pyppeteer tests after running them on the TestMu AI platform.
The below screenshot of TestMu AI Automation Dashboard shows the pyppeteer build on the left and the build sessions associated with the selected build on the right.
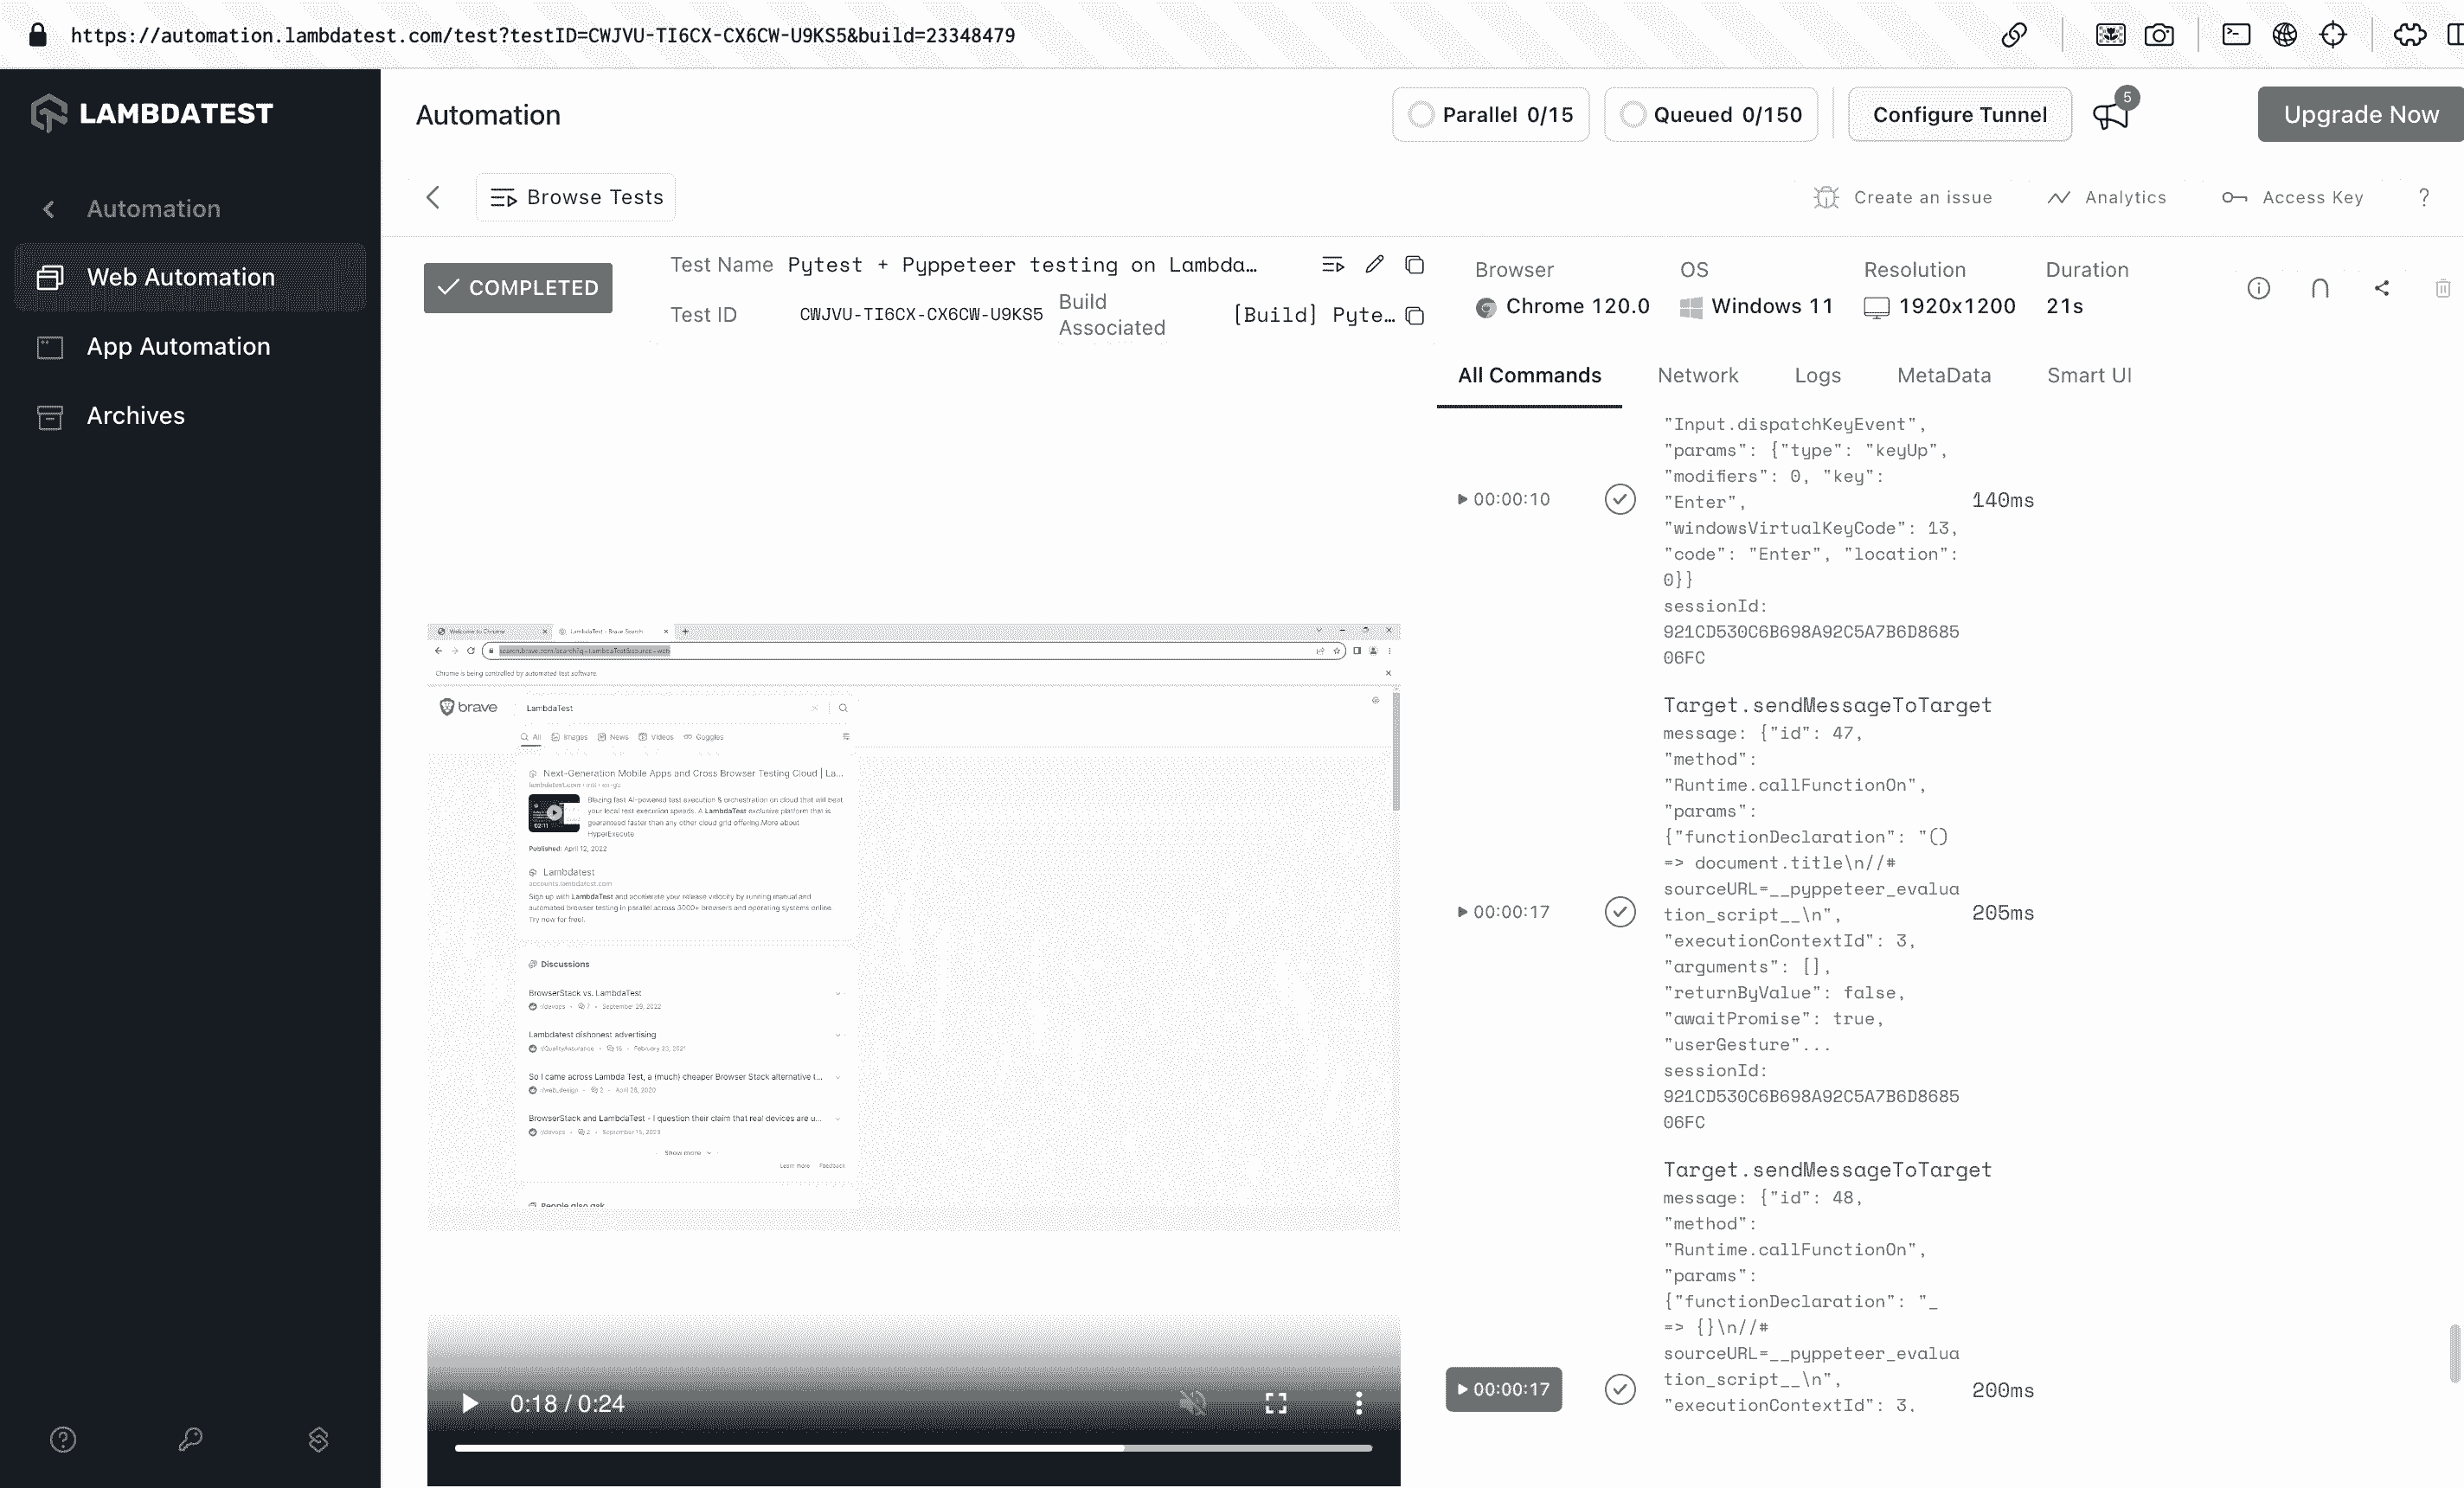
On clicking the session name of the respective test, you can view the details of pyppeteer test session that you just executed. For example, the below screenshot shows a test execution details of pyppeteer test like Test Name, Test ID, selected configurations, test logs, basic info, input config, and test session video.
Run Pyppeteer Tests In Gitpod
Select the button below to try this demo in Gitpod

- After the Gitpod session launches, navigate to the terminal and run the following commands to save your TestMu AI Credentials to Gitpod as environment variables:
eval $(gp env -e LT_USERNAME=******)
eval $(gp env -e LT_ACCESS_KEY=******)
- Click the following link if you're unsure how to access your TestMu AI credentials.. Also, if you start a new terminal in Gitpod, you have to run the following command to reset environment variables:
eval $(gp env -e)
Using the Pytest Agent Skill with TestMu AI
The pytest-skill is a part of TestMu AI Skills that guide AI coding assistants in generating production-ready test automation.
The pytest-skill package includes:
pytest-skill/
├── SKILL.md
└── reference/
    ├── playbook.md
    └── advanced-patterns.md
It provides structured guidance for:
- Project structure and setup
- Dependency configuration
- Local execution
- TestMu AI cloud execution
- Debugging patterns
- CI/CD integration
Installing Pytest Agent Skill
Install a Pytest Agent Skill using the command below:
# Clone the repo and copy the skill you need
git clone https://github.com/LambdaTest/agent-skills.git
cp -r agent-skills/pytest-skill .claude/skills/

# Or for Cursor / Copilot
cp -r agent-skills/pytest-skill .cursor/skills/
Note: If you prefer installing all available framework skills instead of only pytest-skill, clone the repository directly into your tool's skills directory (for example, .claude/skills/, .cursor/skills/, .gemini/skills/, or .agent/skills/).
