WebView Testing In Android Online In Real Time
WebView, in Android, is the feature which allows any app to display a webpage as a part of its own activity, instead of opening it on a separate browser. This not only allows the app to retain the users within itself but also increases the user-experience multifold. As a result, WebView Testing is one of the most widely in-demand testing techniques around the world as of today.
TestMu AI now allows you to perform your WebView Testing using its online cloud-based Selenium Grid, which gives you 3000+ combinations of browsers, operating systems, and mobile devices. You will be able to test WebViews of your app, interact with it in realtime, mark bugs, and much more, with just a click, on the TestMu AI platform. In this article, we will see how to perform WebView Testing in Android using Selenium Grid on TestMu AI.
Note: This is not our primary offering, as of now. Hence you need to launch WebView manually, using the steps mentioned in this doc.
How To Perform WebView Testing On TestMu AI
Step 1: You will need an account on TestMu AI. If you already have an account on TestMu AI, you can directly skip to the next step. If you don't have an account yet, you can register for free.
Step 2: Login to your TestMu AI account using this link.
Step 3: Navigate to "Real Time Testing" from the left navigation menu. 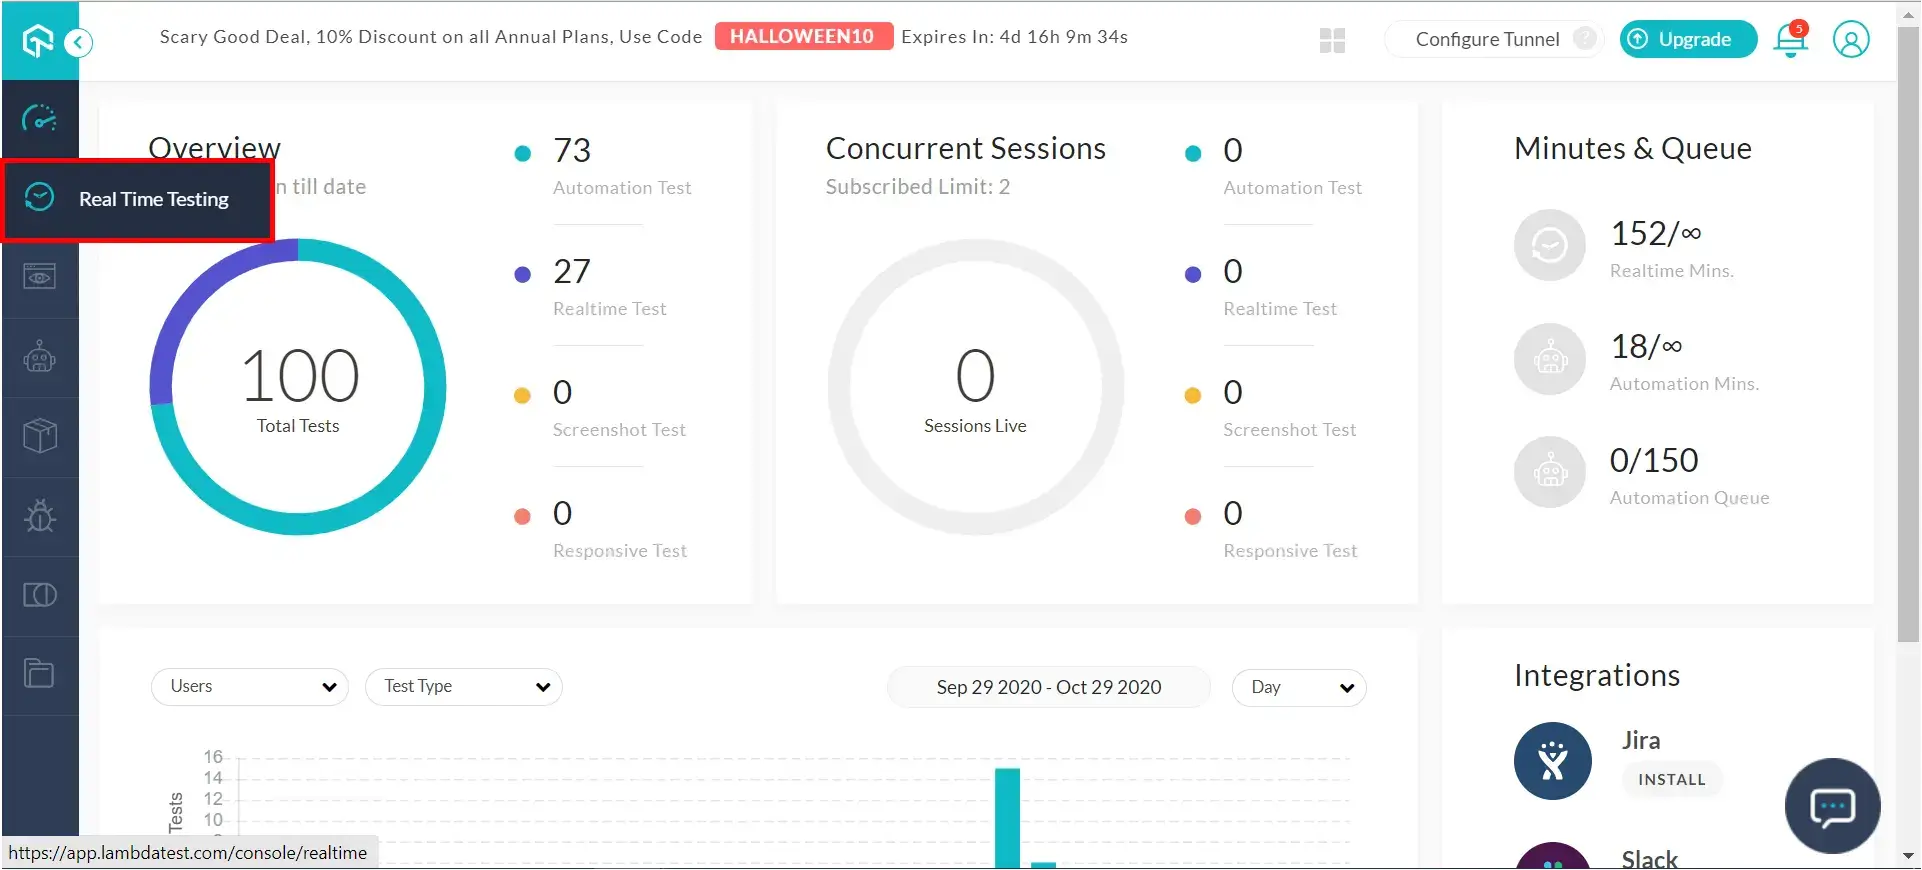
Step 4: Inorder to launch an Android device, select the Mobile icon from the Device options, followed by Android icon from the OS options. Then you can select the Brand, Screen size along with Android version and Browser as per your choice. For this demo purpose, we have selected Samsung + Galaxy Note 10 with Android 9.0 + Chrome browser, as shown in the image below: 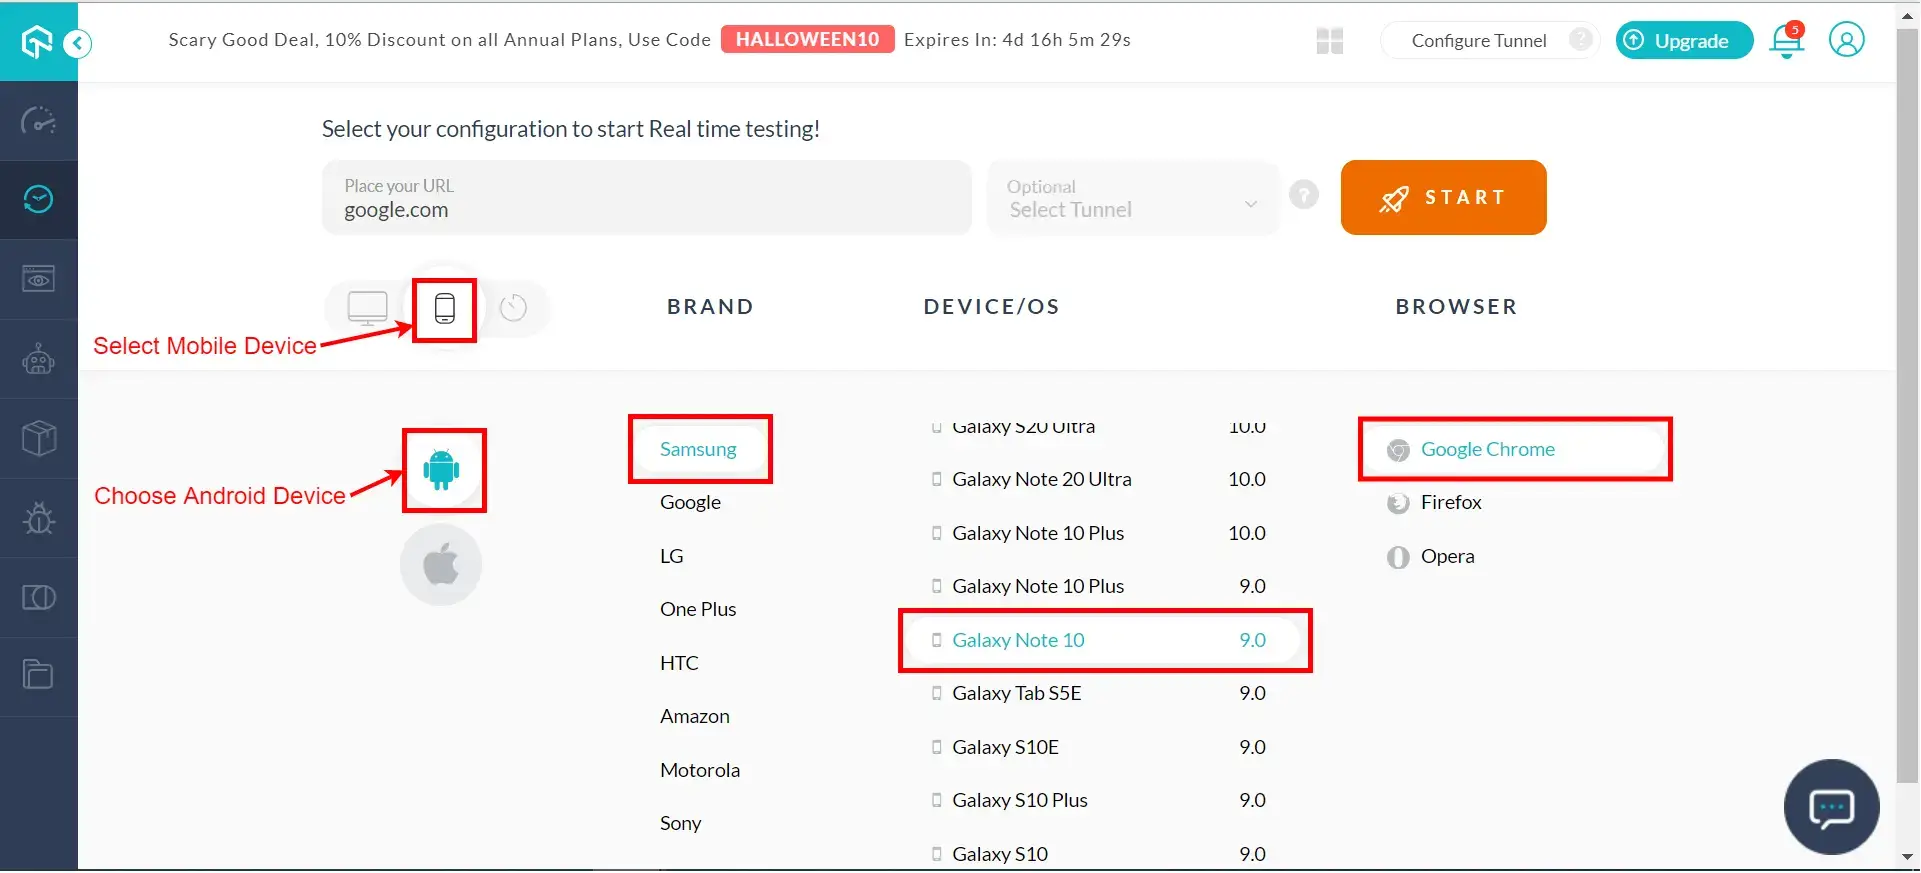
Please note that we allow WebView Testing as of now in devices with Android version 9.0 and below.
Step 5: Once you have selected the desired options for the virtual machine, click on Start to launch it. 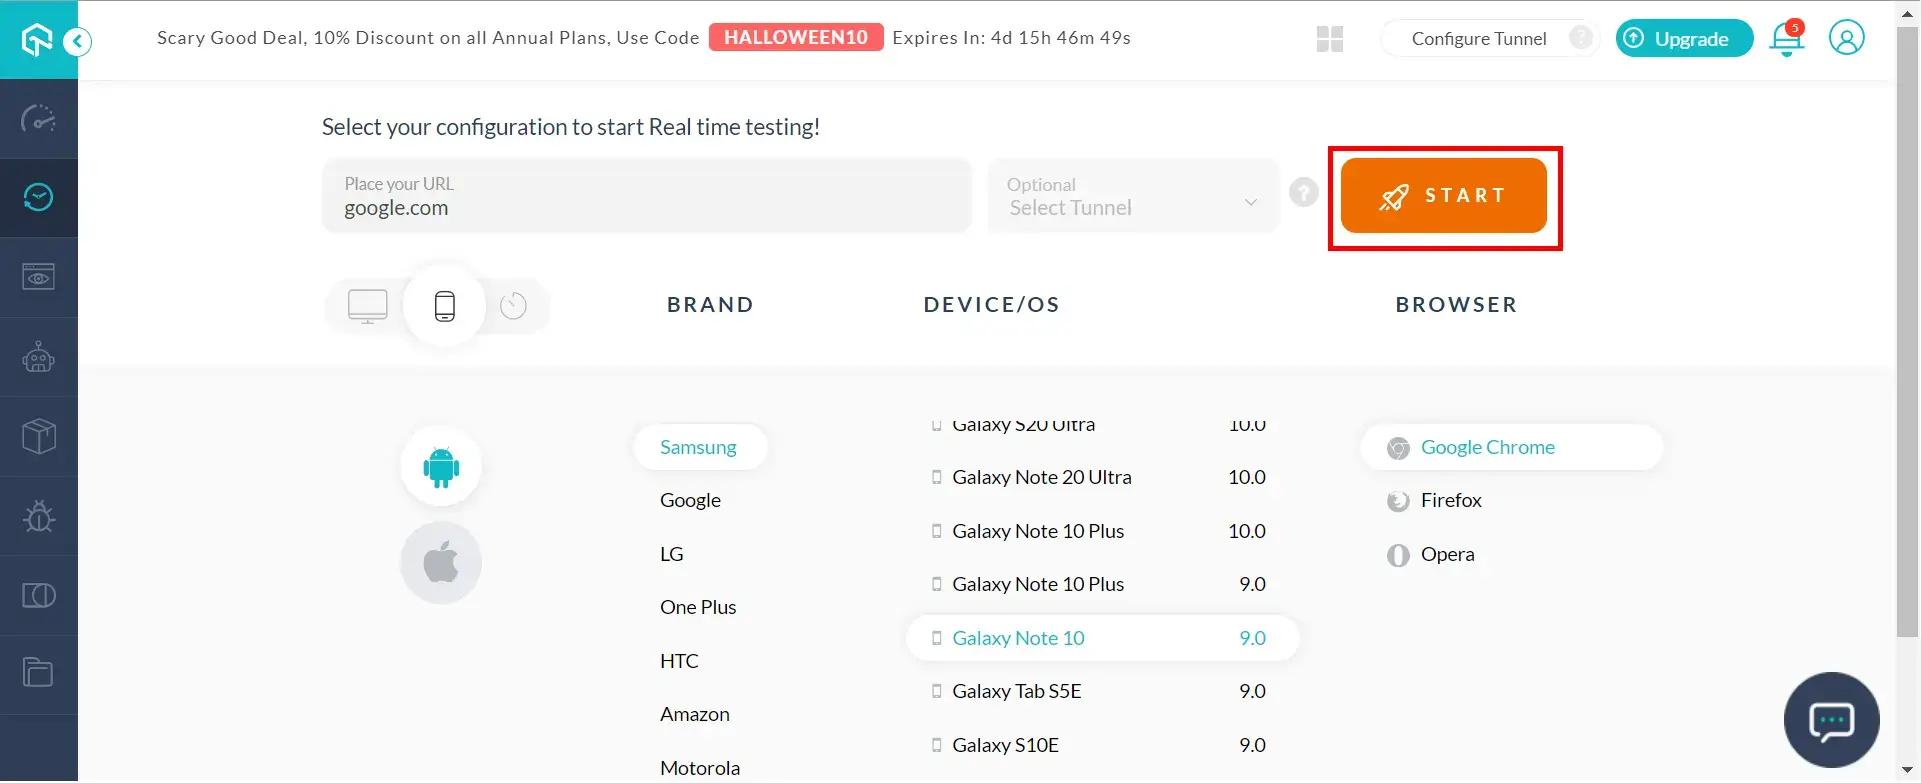
Step 6: Wait for the VM to be launched. It might take few seconds. 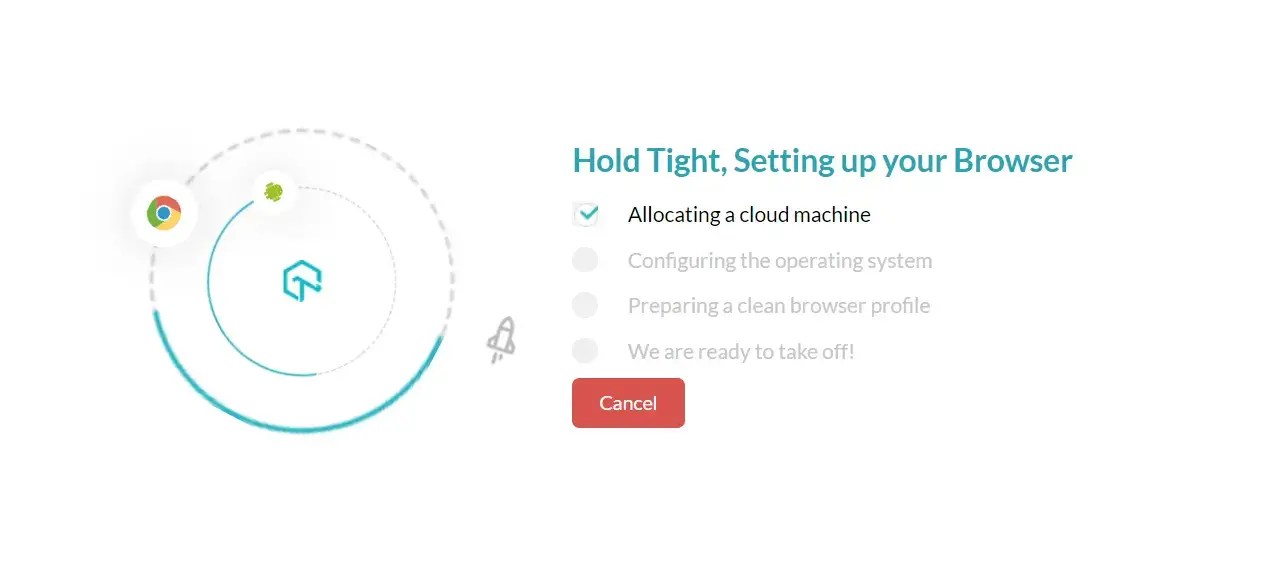
Step 7: Once the VM has launched successfully, an Android device, as per the chosen configuration will open on your screen. 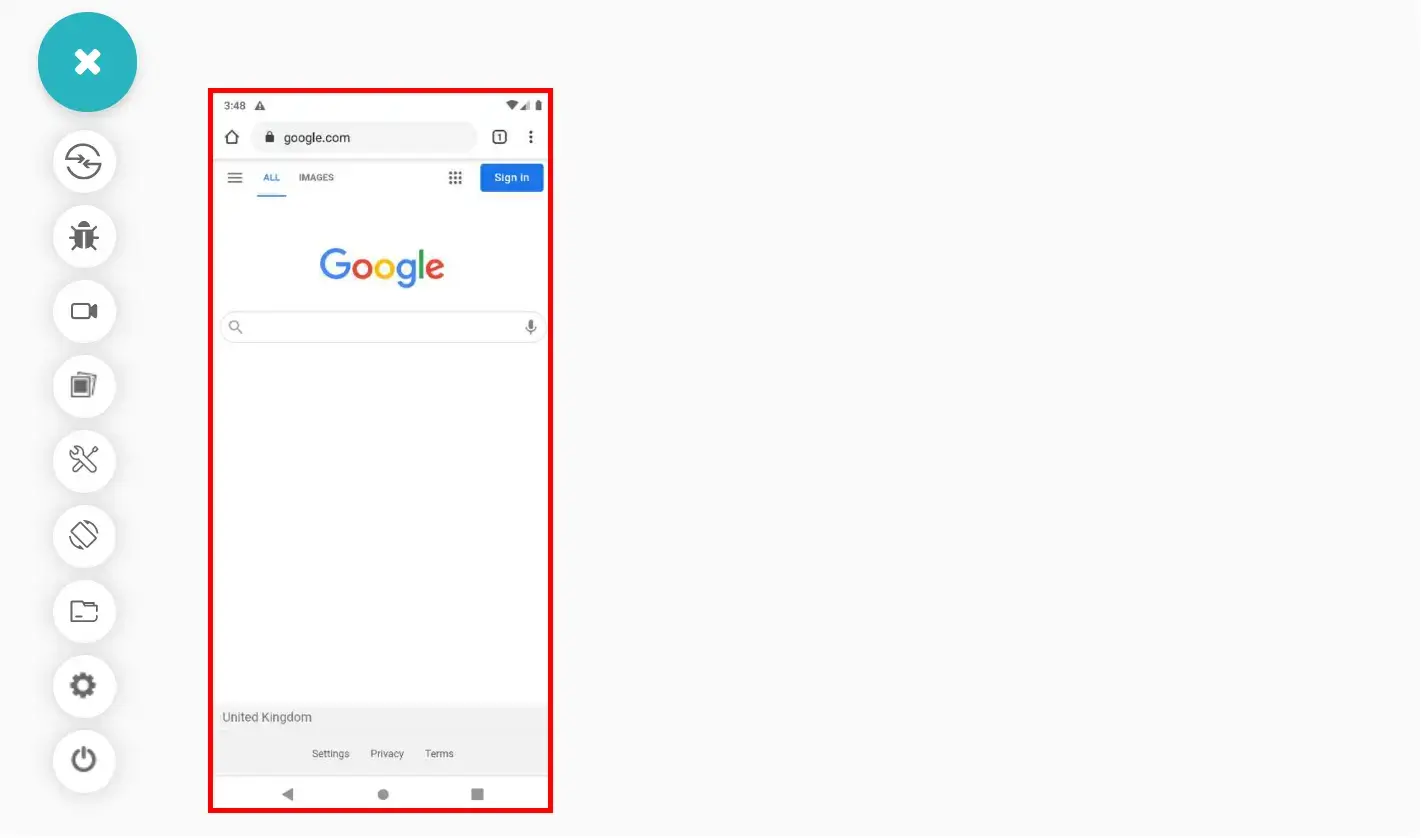
Step 8: Then press the home button at the bottom center of the device to go the device's home screen. 
Step 9: In order to perform the WebView Testing, on the home screen, press the Android icon to open the device's WebView Browser Tester. 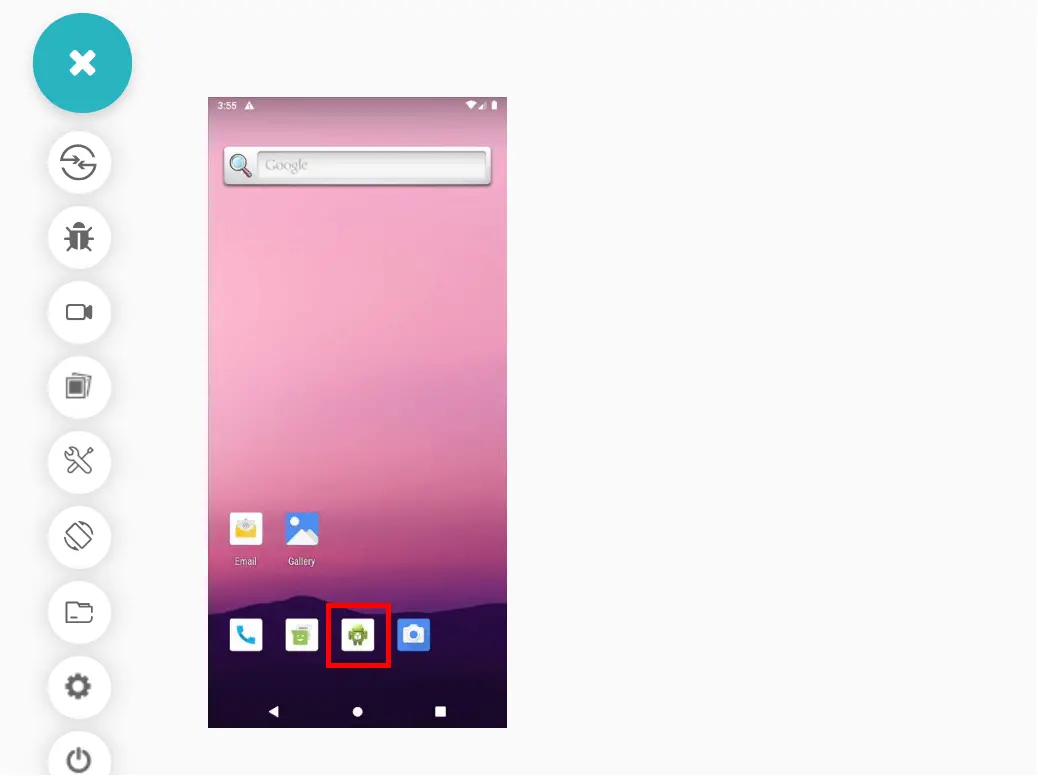
Step 10: Once the WebView Browser Tester is open, you can perform your WebView Testing as per your requirement. 
How To Mark Bug While Performing WebView Testing On TestMu AI
Step 1: Open the WebView Browser Tester as per the steps given above.
Step 2: Enter the desired URL upon which you want to perform the WebView Testing. 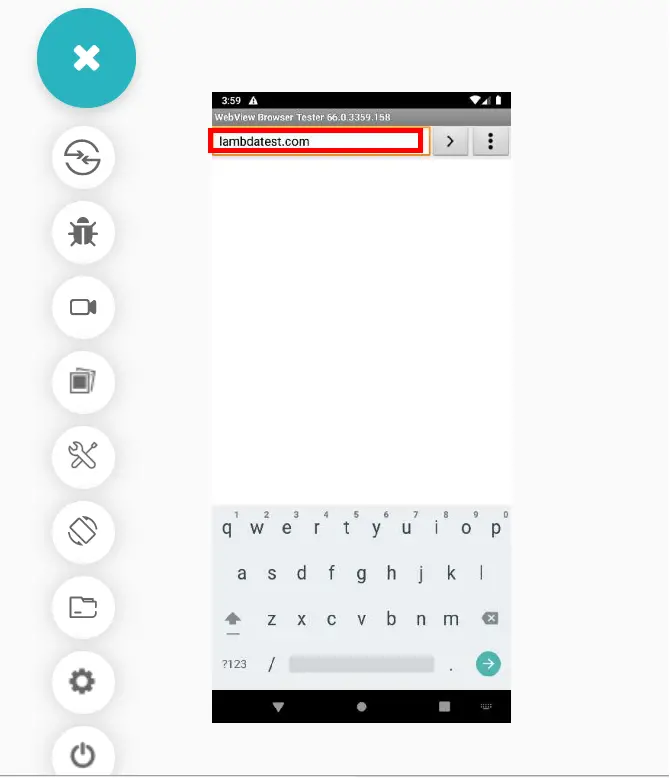
Step 3: Once the webpage loads and you find a bug, select the Mark as bug option from the left toolbar. 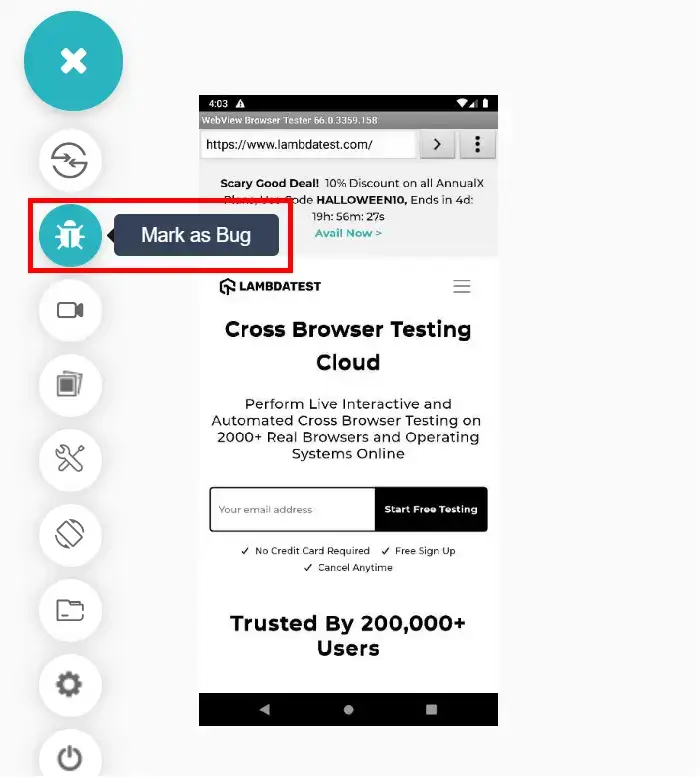
Step 4: A window will appear on your screen with several options to highlight the bug and mark it. 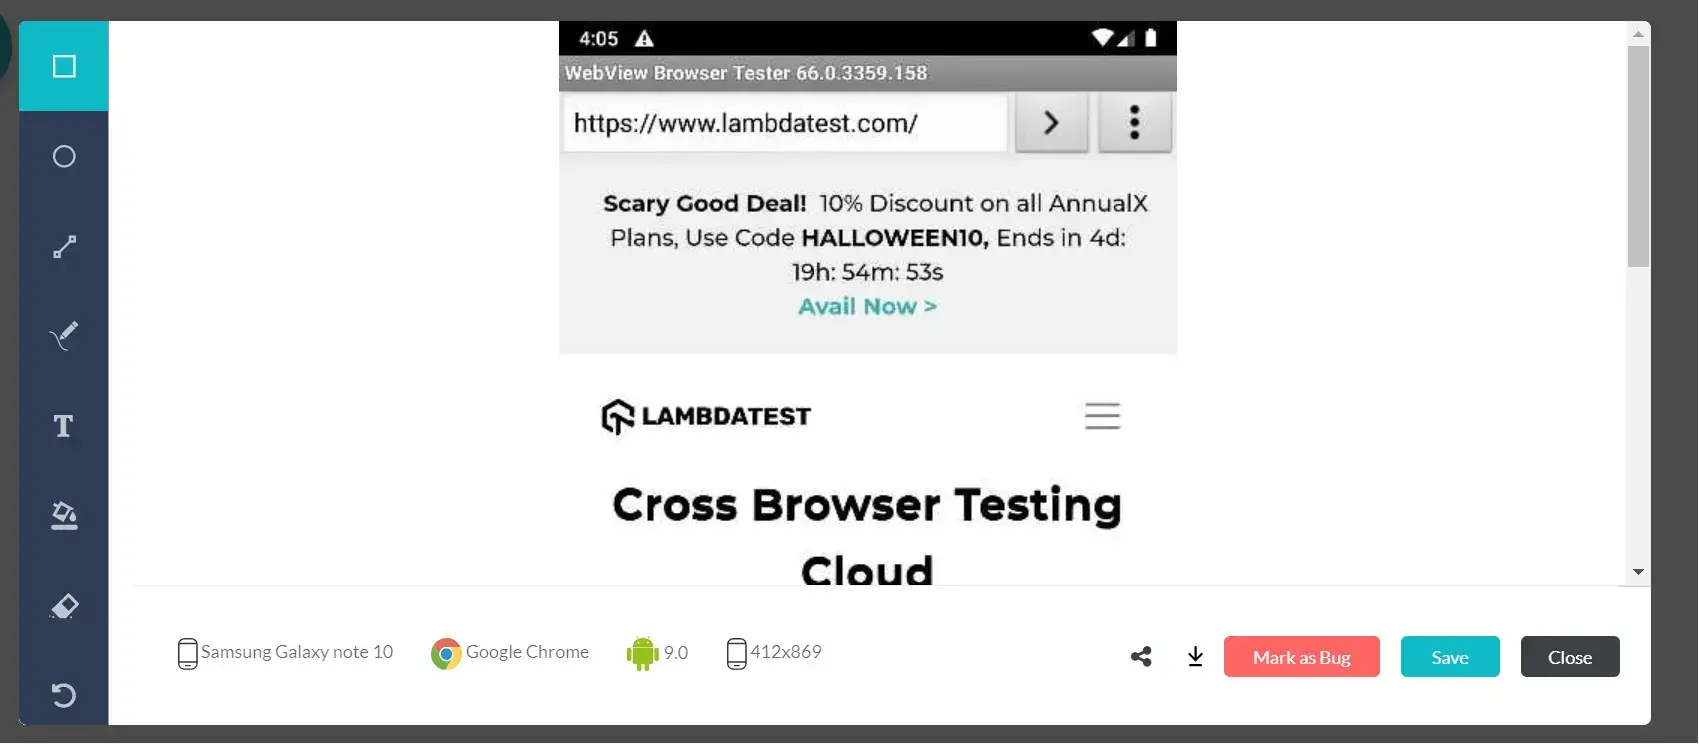
Step 5: Scroll the are of the screen where you have found a bug. Highlight it using designs, texts, colors, etc from the options available on the left toolbar. Once you have completed the highlight, you can click on the Mark as bug button on the bottom right of the window. 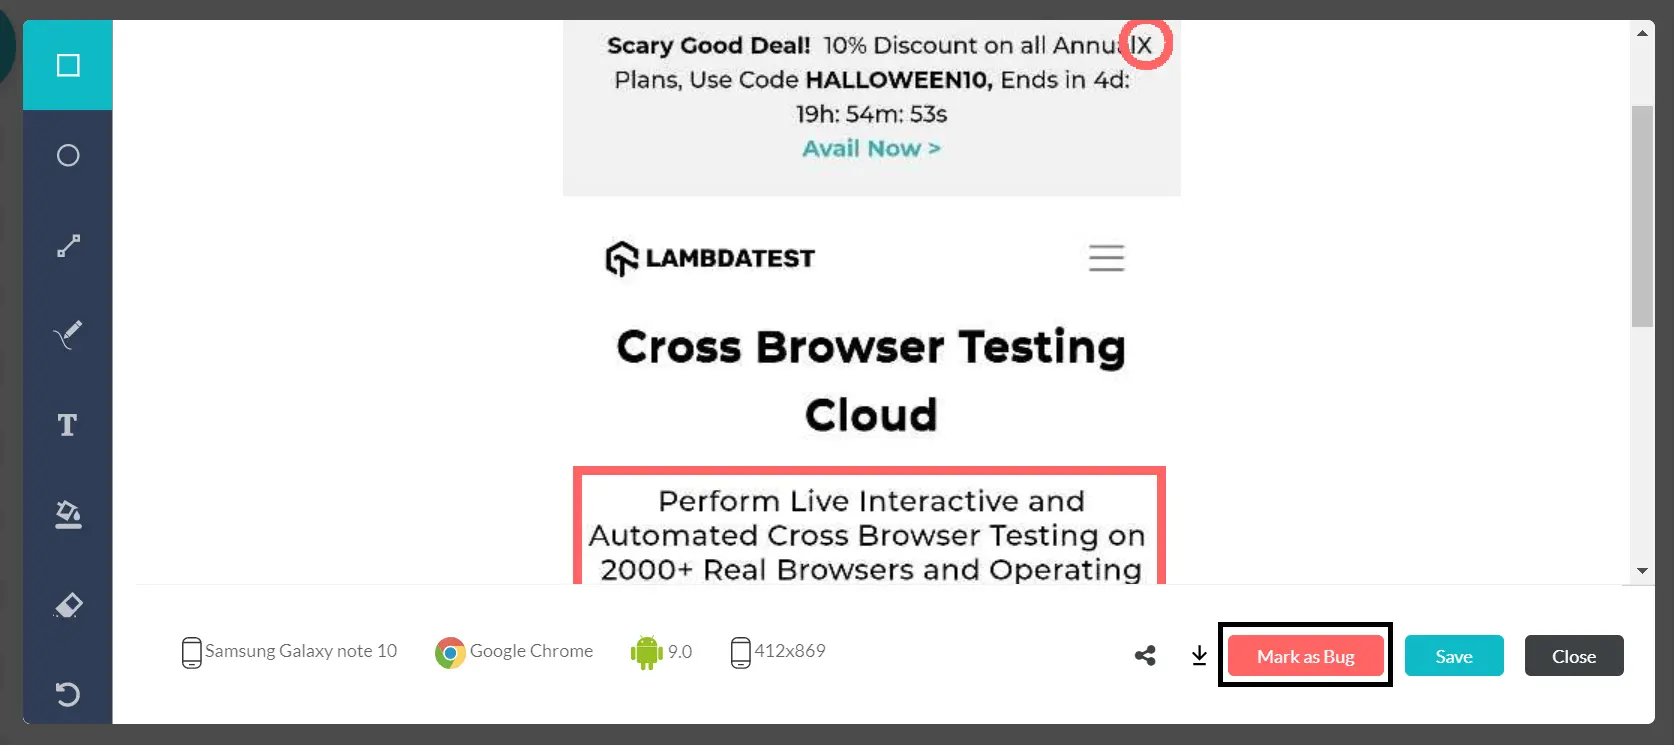
Step 6: A dialog box will appear on the screen asking you to fill required details about the bug, such as:
- Assignee: Assign the person to whom you want to transfer the responsibility of the bug.
- Issue Type: Select the type of the issue, whether it is a bug or a task.
- Priority: Set the priority of the bug, from Lowest to Highest, as per your convenience.
- Summary: Set the summary of the bug as per your choice. It will help the assignee to know about the bug in one read.
- Description: This is an optional section, in which you can describe the bug in detail and include other relevant information, as per your choice.
For this demo purpose, we have set the required details as shown in the image below. Once you have filled the details, press Create Issue at the bottom to create the issue. 
These steps will mark the bug successfully. You can a message appearing on your top right screen showing you that the bug has been marked successfully. 
To know more about the bug marking in TestMu AI, you can refer to this article.
You can even integrate 3rd party apps in your account from our vast list of integrations to send the bug directly on your desired workspace. You can also track your issues using our Issue Tracker directly, and much more.
That's all to get started for performing WebView Testing in Android on TestMu AI. We are constantly adding more features and integrations to increase your productivity through our testing environment. If you still have any doubts or questions, please don't hesitate to contact us. Our experts are available on 24/7 chat support. You can also drop us a mail at support@testmuai.com.
Happy testing!
