HyperExecute Private Cloud Setup with Azure
Follow the steps below to understand how to setup HyperExecute Private Cloud via the Azure Marketplace.
Prerequisites
-
Resource Provider : The following resource providers must be registered to install HyperExecute successfully. If you do not have them registered, follow the steps on this page;
Microsoft.Compute,Microsoft.OperationsManagement -
CPU Quotas : In order to successfully deploy HyperExecute, we need to increase VM-family vCPU quotas. If you want to increase the quotas of your VM-family vCPU, follow the steps on this page.
- Standard DSv3 Family vCPUs. vCPU core count - 80
- Standard FSv2 Family vCPUs. vCPU core count - 8 * number of parallel licenses.
-
Dedicated Resource Group.
-
A user with Admin Access who would be running the ARM script as certain resources like resource group, UAMI and related operations would require elevated access for creation.
IP Ranges
By default the setup creates its own network with IP range 10.26.0.0/16. if in case the customer needs customised environment than minimum 2 subnets are required to accommodate the resources.
- /24 subnet for test execution machines
- /22 subnet for Kubernetes
NOTE: These requirements vary if the licences are increased more than 100.
Steps to Setup HyperExecute Private Cloud
Step 1: Sign in to your Azure Marketplace account. Alternatively, you can create a new account if you don’t already have one.
Step 2: You can access the HyperExecute Private Cloud in two ways, by searching for it on Azure Marketplace, or by directly accessing the HyperExecute’s Azure Marketplace listing and click on Get It Now button.
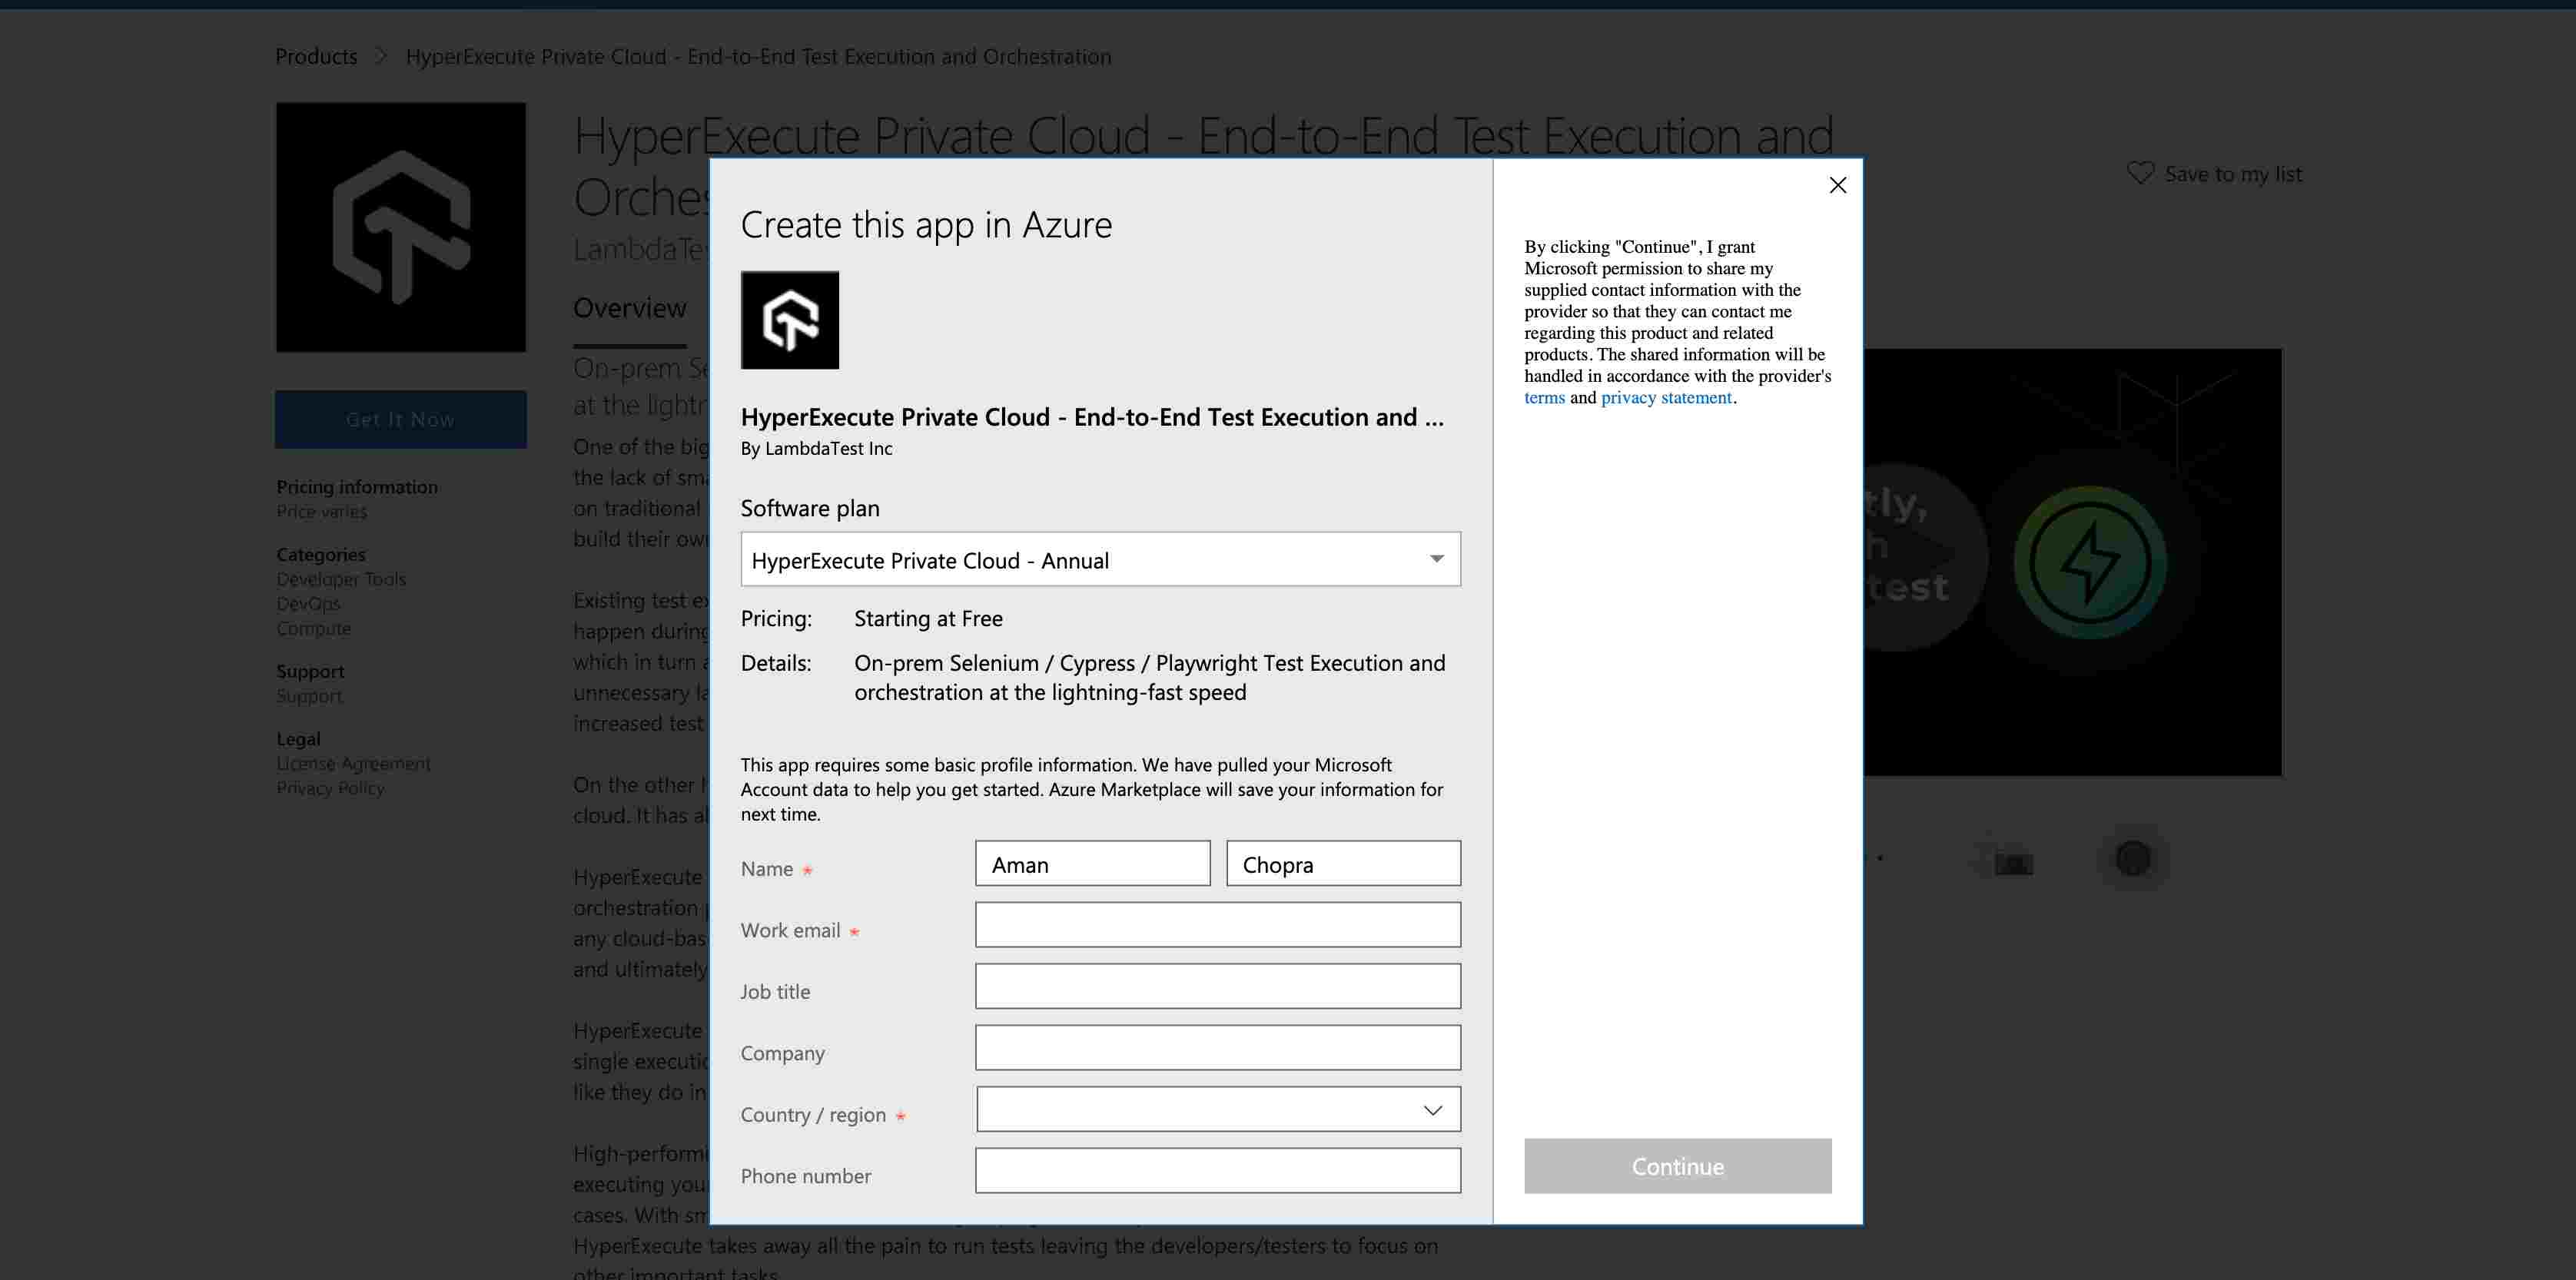
- Fill your details in the pop-up, and select a plan between HyperExecute Private Cloud - Monthly or HyperExecute Private Cloud - Annual. Click on Continue to proceed.
Step 3: You will be redirected to HyperExecute Private Cloud listing page. Click on Create to proceed.

Step 4: You will be redirected to the Basics page where you have to configure your plan for HyperExecute Private Cloud. Configure the fields as per your requirements, and click on Review + create to proceed further.
- Subscription: The Azure subscription where the resource will be billed.
- Resource Group: Choose a unique name for this new Resource group, or allot it to an older resource group of your choice.
- Select Location: Select the location where you want to deploy HyperExecute Private Cloud.
- App Insight Retention Period: Select the retention period for application insights (in this case HyperExecute Private Cloud) in days.
- Email ID: The Email ID associated with your Azure account.
- Select Parallel Tests: The number of parallel test executions that you need. You can also check HyperExecute’s pricing plans by clicking on the link below the field.
- Managed Application Name: Choose a unique name for your application.
- Ingress Type: Choose between Private or Public to determine if you want a private endpoint or a public endpoint.
- Managed Resource Group: This field will be automatically filled, and you do not need to change it.

Step 5: You can review all of your entries and then select the checkbox under Co-Admin Access Permission, indicating that you agree to the Terms and Conditions listed above. Click on Create and you will have successfully set up the HyperExecute Private Cloud.

Running HyperExecute Private Cloud
Now that you have set up your HyperExecute Private Cloud application, you can access it by visiting https://dashboard.hyperexecute.cloud. However, before you do that, you need to ensure that you are connected to the same provisioned network where your HyperExecute application is deployed.
To do this, you can either perform VNet peering or VNet linking, or run HyperExecute Private Cloud on a JumpHost virtual machine. You can go through the pages below to understand how to do that.
VNet Peering and VNet Links
Running HyperExecute on a JumpHost VM
If you have more questions regarding HyperExecute Private Cloud, reach out to us at hyperexecute-privatecloudsupport@testmuai.com.
