LocalStack Integrates With TestMu AI
LocalStack is a tool that acts as a drop-in replacement for AWS on your local machine. It works on your laptop or in your CI environment. With LocalStack, you can run your AWS applications or Lambdas on your own computer without needing to connect to a remote cloud provider!
LocalStack and TestMu AI have partnered to create a special combination that makes your tests run faster. Using LocalStack's local cloud emulation abilities and TestMu AI's smart AI solutions, developers and testers can speed up their work and get products out quickly. This collaboration helps you test things faster and bring your products to market sooner.
With this integration, teams can perform tests at an impressive speed without constant internet connectivity. By leveraging the advanced AI solutions from TestMu AI, teams can enjoy an unmatched experience when it comes to executing tests. This results in enhanced productivity and efficiency throughout the development and testing lifecycle.
Prerequisites
- A TestMu AI account. Don't have an account, register for free.
- A LocalStack account. Don’t have an account, you can create one here.
Installing LocalStack CLI
The easiest way to begin using LocalStack is by using the LocalStack CLI. This handy tool allows you to start LocalStack directly from your command line. However, before you start, ensure your machine has Docker pre-installed, and you can start your Docker engine.
You can refer to the LocalStack support documentation for installing LocalStack CLI per your system requirements.
Generating LocalStack API Key
In this section, we will set up out LocalStack account to generate our API keys.
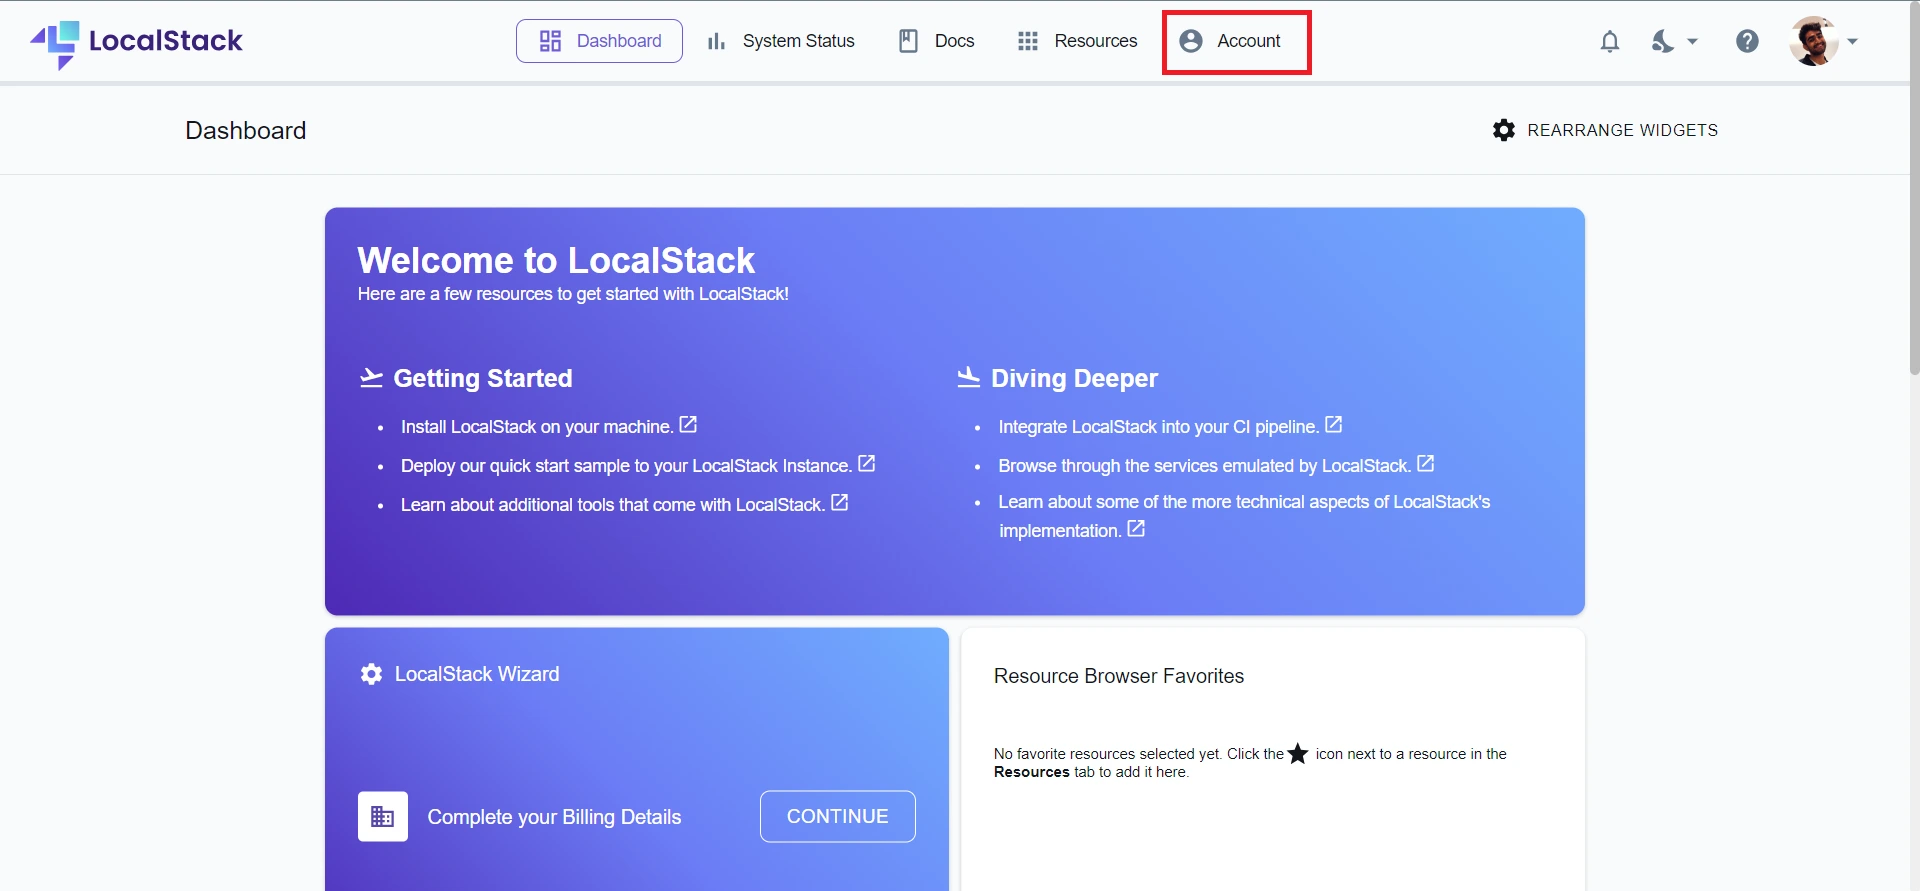
Step 1: To get generate your API key, head to Account.
Step 2: Select the API Keys tab.
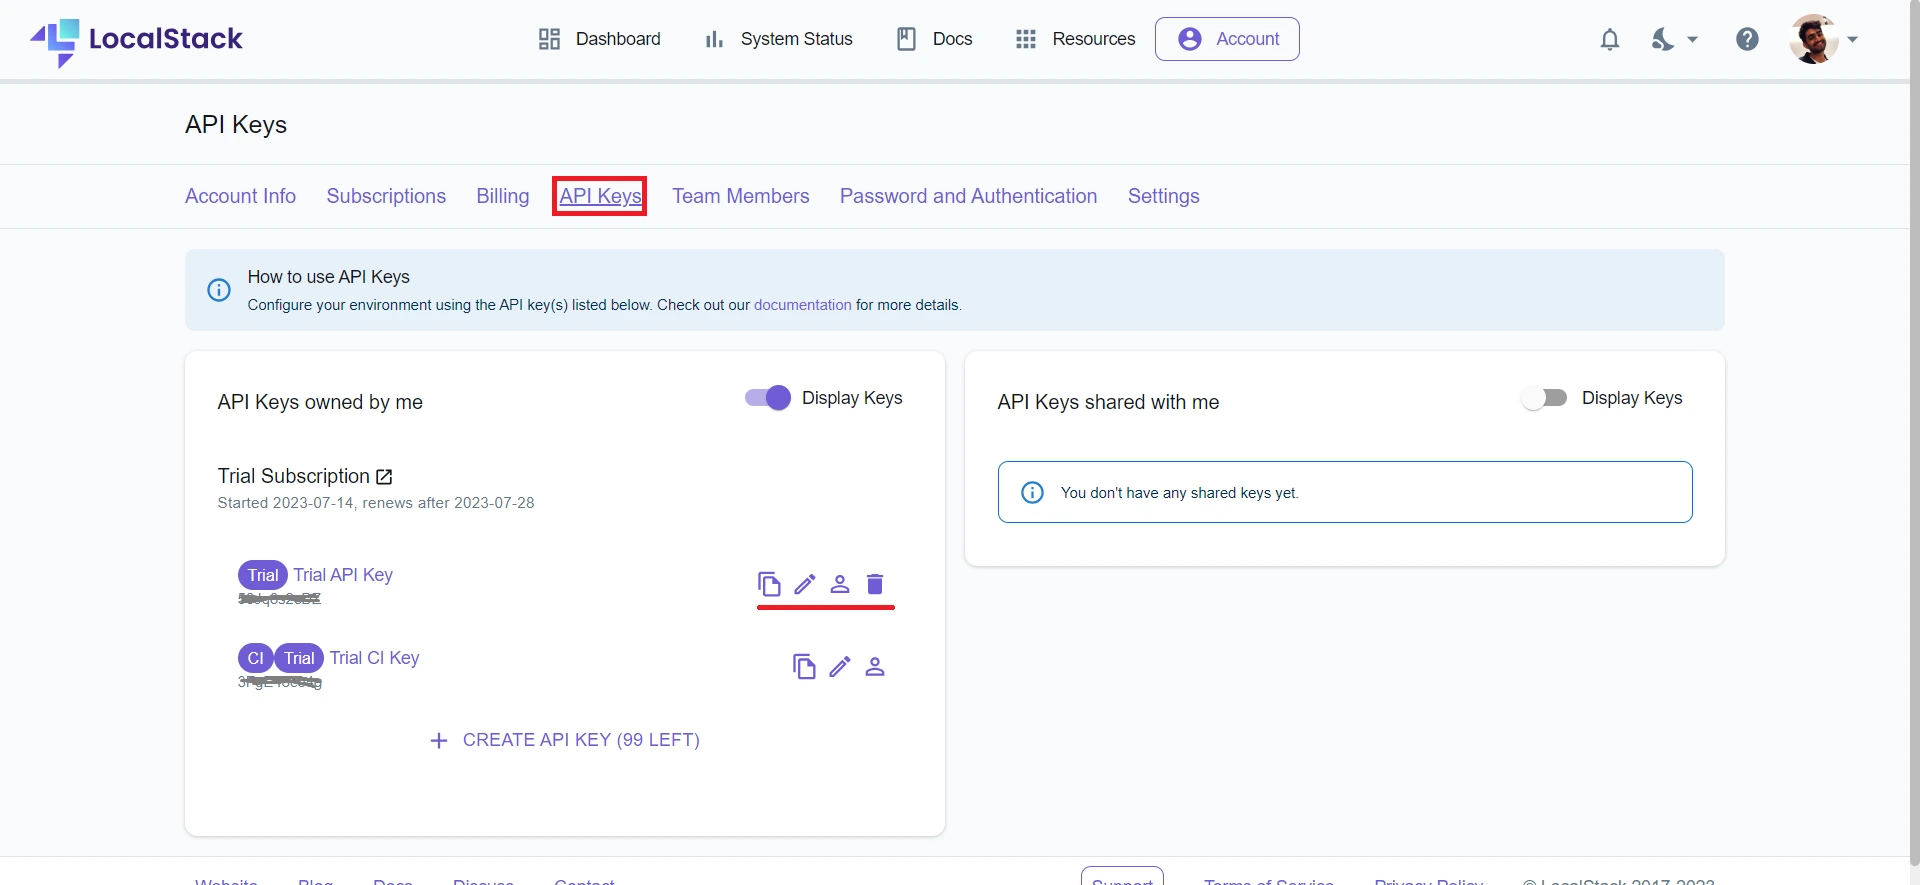
Step 3: Generate and copy your API Key.
Starting LocalStack CLI
To ensure LocalStack functions properly, your API key must be available in the environment variable called LOCALSTACK_API_KEY. You have two options for setting this variable: define it beforehand in your environment or set it while starting LocalStack using the LocalStack CLI.
For macOS/Linux:
export LOCALSTACK_API_KEY=<YOUR_API_KEY>
localstack start -d
For Windows:
$env:LOCALSTACK_API_KEY=<YOUR_API_KEY> localstack start -d
Running LocalStack Test Cases on Your Local Machine
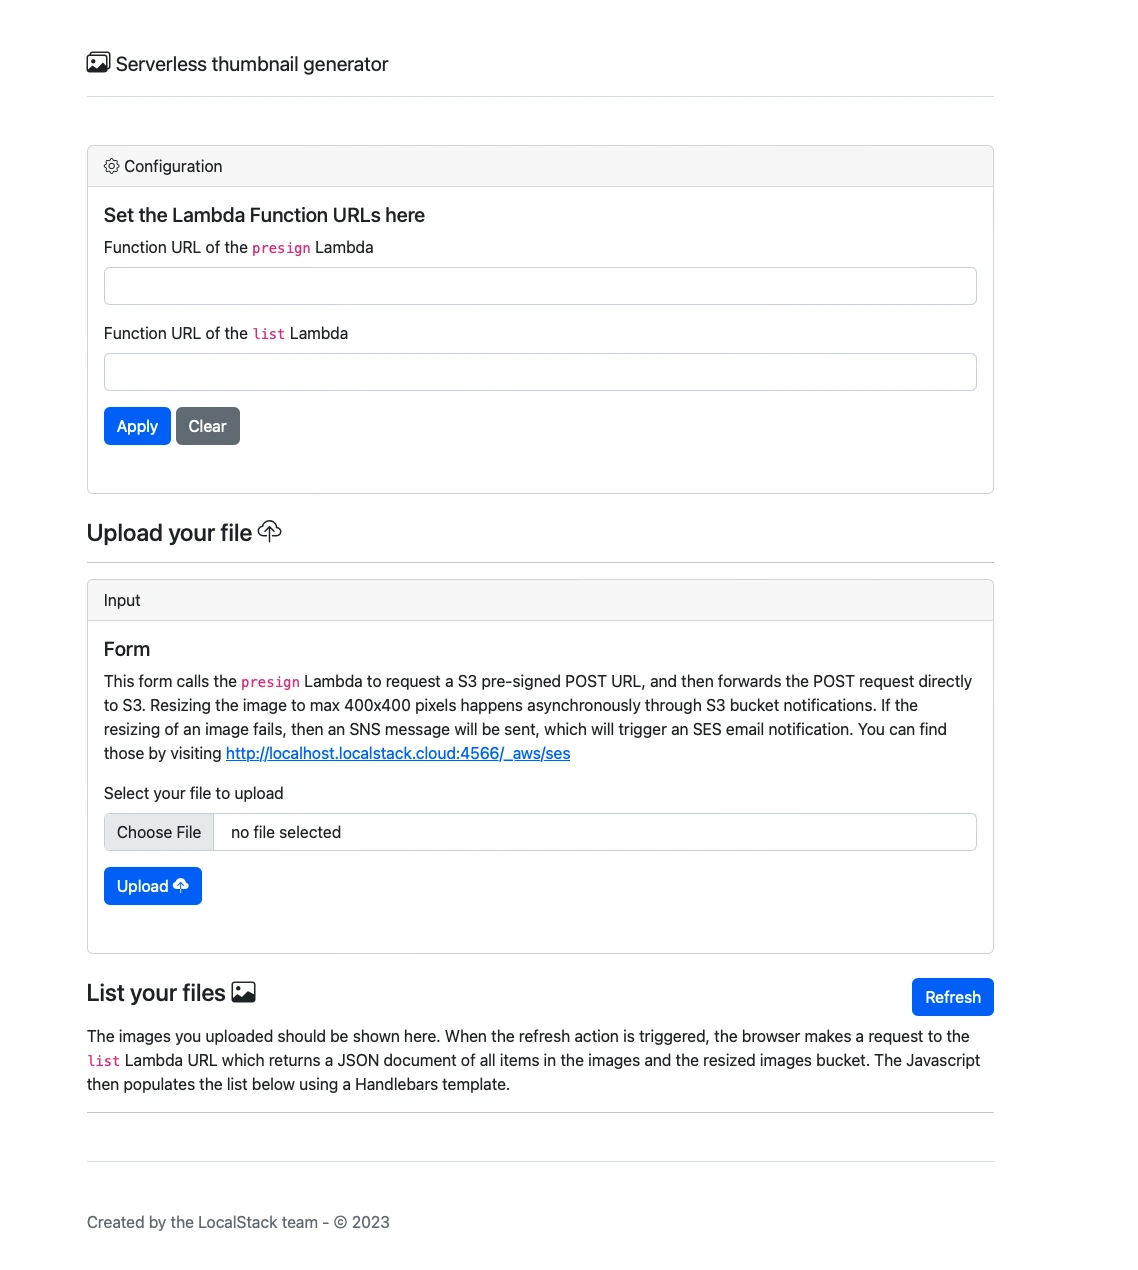
To showcase how you can run LocalStack on your local machine and execute your tests, we will showcase a sample solution to resize images uploaded to a local S3 through a serverless application. The solution will feature a simple web user interface that uses local Lambda functions to generate S3 pre-signed URLs allowing the S3 bucket notifications to trigger a Python Lambda that runs image resizing.
Note: The code for the solution in this post is located in this repository on GitHub. You can clone this repository and install its local dependencies by executing the following commands in your terminal:
git clone
git@github.com:localstack-samples/sample-serverless-image-resizer-s3-lambda.git
cd sample-serverless-image-resizer-s3-lambda
python -m venv .venv
source .venv/bin/activate
pip install -r requirements-dev.txt
The above commands will create a Python virtual environment inside the project directory, activate the virtual environment, and install the Python dependencies. To mock the AWS commands against LocalStack, you can use awslocal, our wrapper around the AWS CLI.
Step 1: Install it using pip.
pip install awscli-local
Step 2: After the installation of awslocal, you can create the AWS infrastructure on LocalStack by running the following command:
bin/deploy.sh
The above command will create the S3 buckets, put the bucket names into the parameter store, create the DLQ Topic for failed Lambda invokes, create the Lambda functions, connect the S3 bucket to the resizer lambda, and create the web application.
Note: You can visit webapp.s3-website.localhost.localstack.cloud:4566 on your web browser and paste the function URL of the pre sign Lambda function you created earlier.
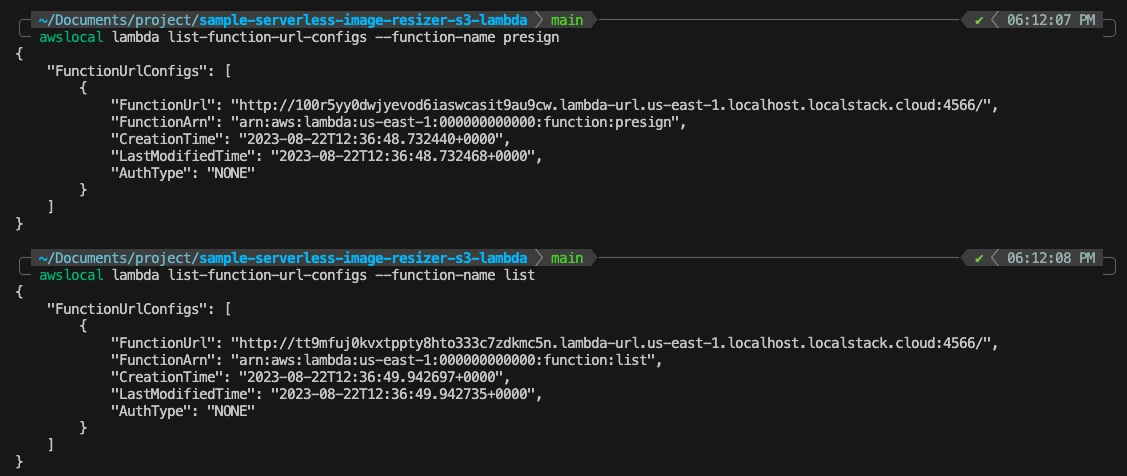
Step 3: You can fetch the function URL by running the following commands:
awslocal lambda list-function-url-configs --function-name presign
awslocal lambda list-function-url-configs --function-name list
Step 4: You can now upload an image file and download the resized file from the localstack-thumbnails-app-resized bucket.
Step 5: To run the automated integration tests, use pytest. Run the following command to execute the tests for your application:
pytest tests/
Now that you have successfully set up an AWS Serverless application on our local machine, executed integration tests, and created local AWS resources, you can look into how to accelerate your testing over HyperExecute to achieve agile & nimble test-driven development.
Running LocalStack Test Cases On Your HyperExecute
One way to run LocalStack test cases on HyperExecute is by leveraging GitHub Actions, the in-built continuous integration, and continuous delivery (CI/CD) platform provided by GitHub. To setup HyperExecute on GitHub Actions, we will create two files:
- A GitHub Action workflow located at .github/workflows/main.yml downloads the HyperExecute CLI binary and sets it up.
- A HyperExecute file located at he.yml declares the workflow of the pipeline execution via a YAML configuration.
Step 1: Navigate to the root directory and click on Add File button. Name the file he.yml and add the following configuration:
version: "0.1"
runson: linux
autosplit: true
parallelism: 2
concurrency: 2
scenarioCommandStatusOnly: true
runtime:
  language: python
  version: 3.9.16
pre:
  - pip install -r requirements-dev.txt
  - LOCALSTACK_API_KEY=${{ .secrets.LOCALSTACK_API_KEY }} localstack start -d
  - localstack wait -t 60
  - bin/deploy.sh
testDiscovery:
type: raw
mode: remote
command: pytest --co -q tests | sed '$d'
testRunnerCommand: pytest $test
sourcePayload:
  platform: git
  link: https://github.com/macnev2013/sample-serverless-image-resizer-s3-lambda
  ref: main
  accessToken: ${{ .secrets.PAT }}

Step 2: Commit the he.yml file on your repository. Ensure that the LOCALSTACK_API_KEY secret has been configured in your GitHub repository as a secret.
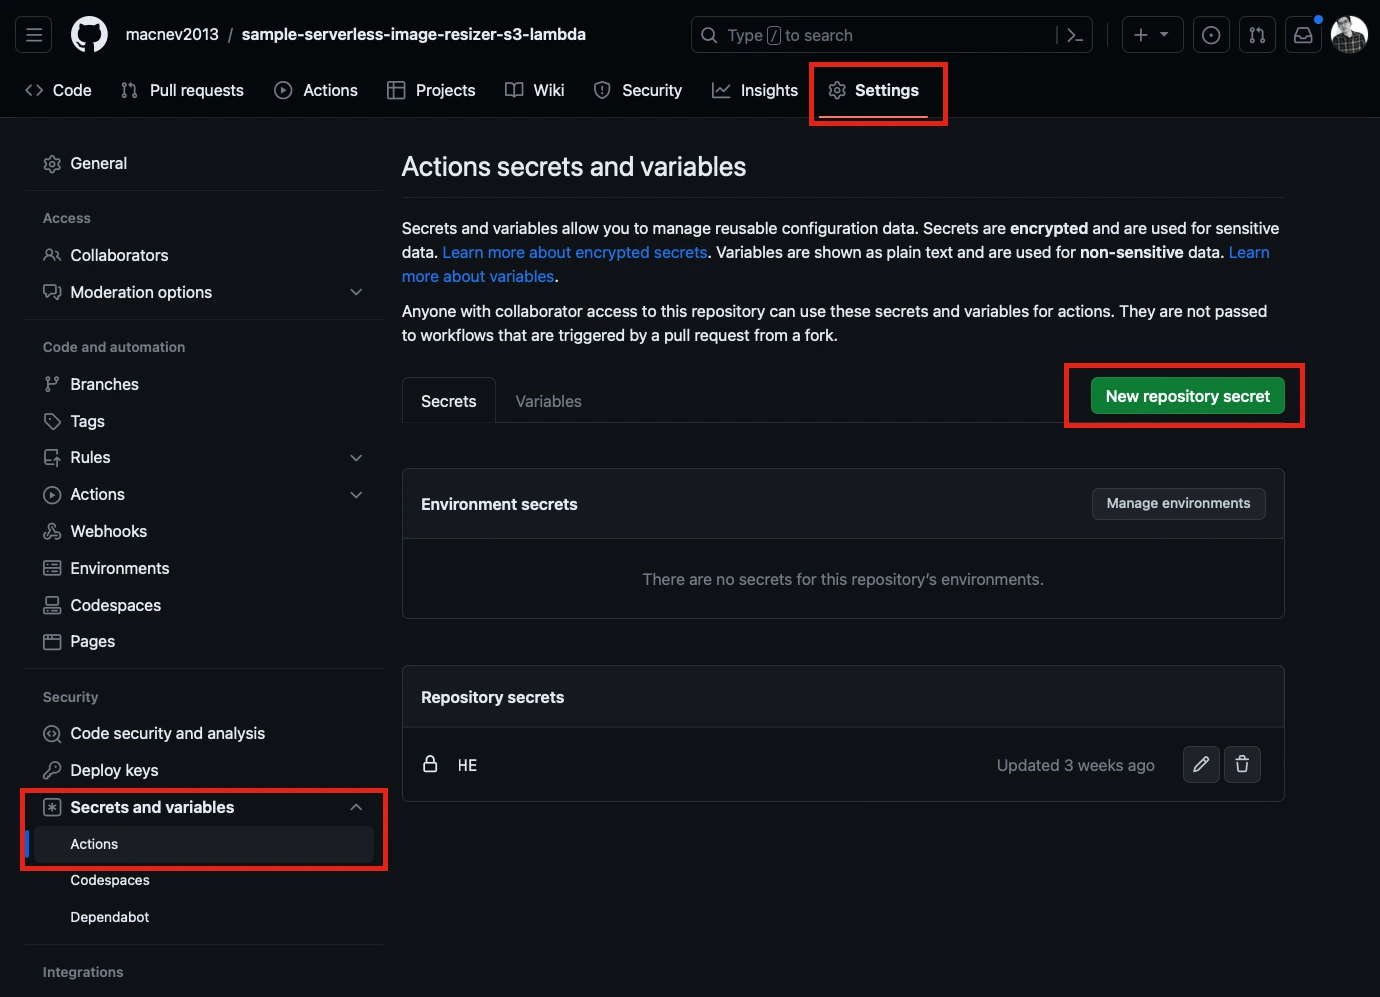
Step 3: Navigate to the Settings page of the repository, and from the sidebar, click Secrets and Variables. Click Actions and click the New Repository Secret button to add the HE. LOCALSTACK_API_KEY. This key is added to the HyperExecute Portal.
Step 4: To create the GitHub Actions pipeline YAML file, navigate to the repository where your code is available. In this example, you can assume that we are adding this to the previous code sample that we demonstrated.
Step 5: Under your repository name, click Actions. In the left sidebar, click the New Workflow button. Add the following YAML configuration to the workflow:
name: HyperExecute
on:
  push:
    branches:
      - main
jobs:
  HE:
    runs-on: ubuntu-latest
    steps:
      - uses: actions/checkout@v2
      - run: |

wget https://downloads.lambdatest.com/hyperexecute/linux/hyperexecute
          chmod +x hyperexecute
          ./hyperexecute --user nevil.macwan --key ${{ secrets.HE }}
--config he.yaml
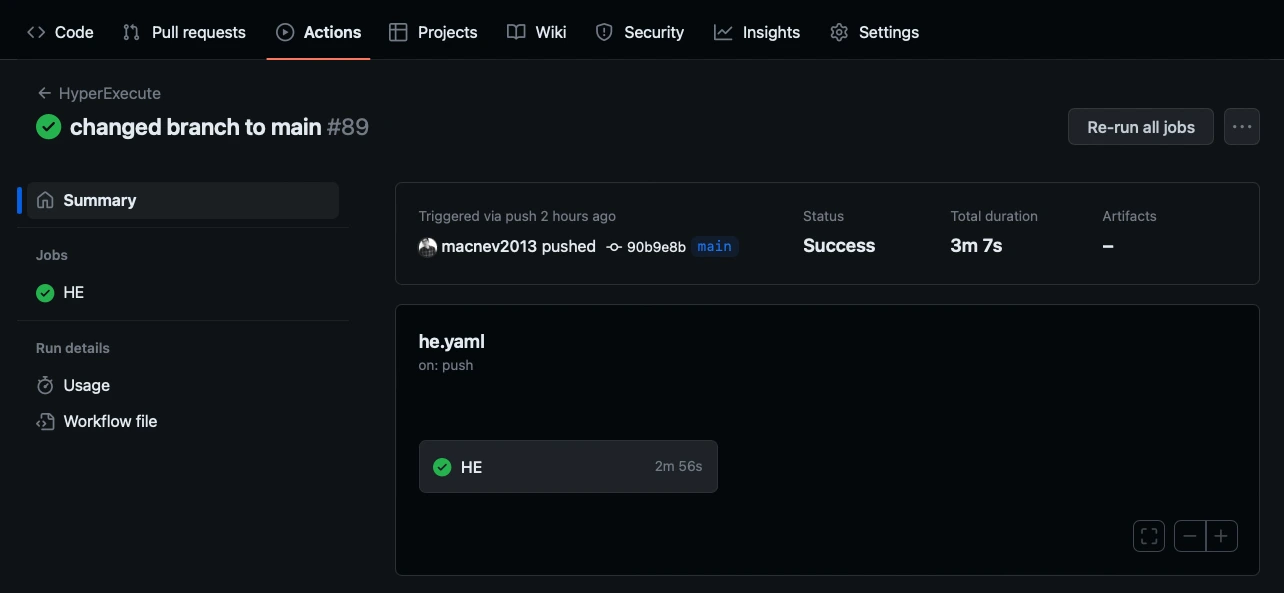
Step 6: Save the configuration in your GitHub Actions pipeline. Below is an example of how a test that is run on the GitHub Actions pipeline gets executed:
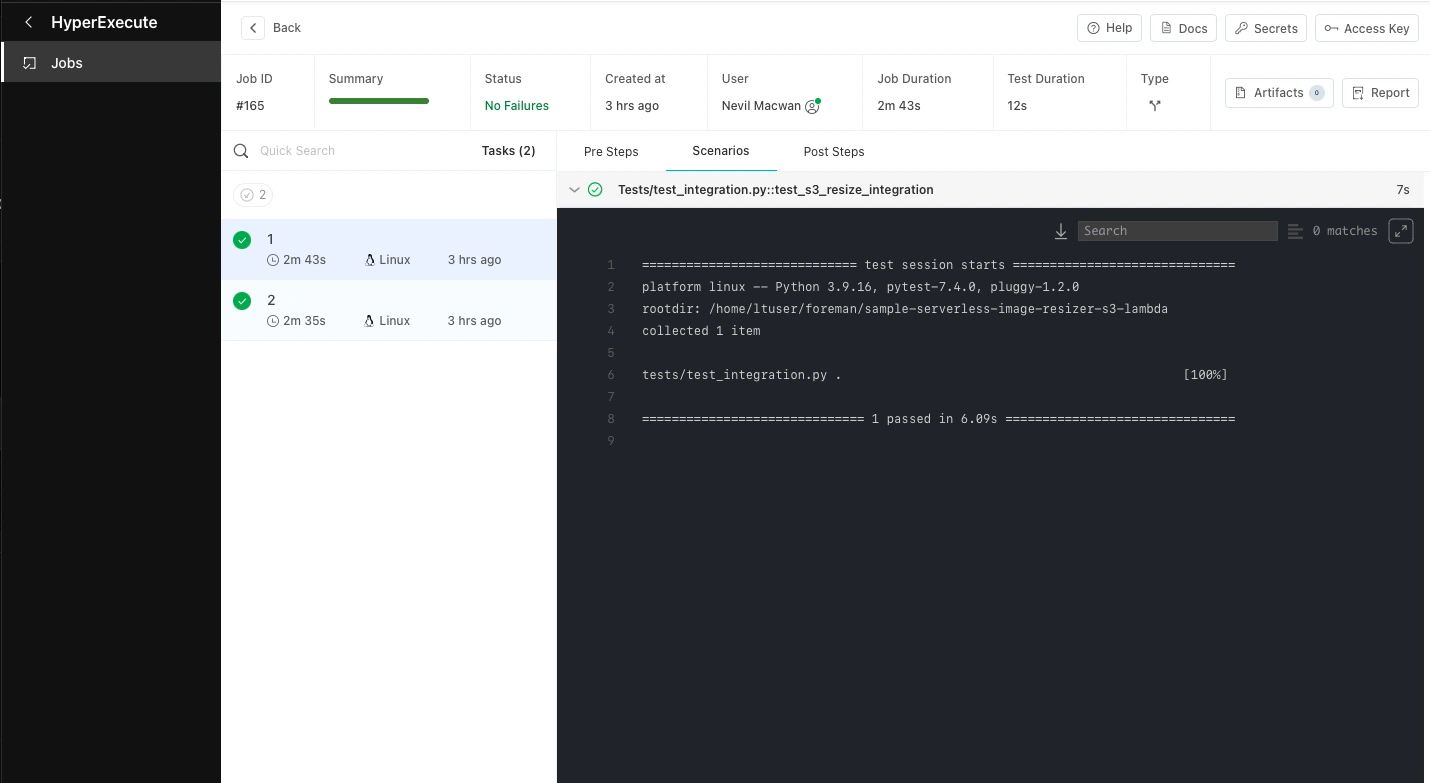
Below is an example of a HyperExecute job that was triggered through the above pipeline:
That was all you need to know for TestMu AI + LocalStack Integration. Increase your productivity with our integrations. If you still have any questions for us, please feel free to let us know. Our experts are always available on chat to help you out with any roadblock regarding our product. Happy testing!
