Getting Started With Visual Regression Testing Using Appium On SmartUI Real Devices (NodeJS)
Using the LambdaTest platform, perform regression testing in just one click and find Visual UI Regression bugs easily with the help of Smart Testing. This documentation will act as your step-by-step guide in performing successful Visual Regression tests.
Pre-requisites for SmartUI with App Automation
- Basic understanding of appium and remote WebDriver is required.
- Go to
LambdaTest SmartUIand login along with your credentials. - Access your Hub for your appium remote connection instance at
@mobile-hub.lambdatest.com/wd/hub. - Copy
LT_USERNAMEandLT_ACCESS_KEYcredentials fromAccess Keybutton on the top right of the dashboard.
- MacOS/Linux
- Windows
export LT_USERNAME="YOUR_USERNAME"
export LT_ACCESS_KEY="YOUR ACCESS KEY"
set LT_USERNAME="YOUR_USERNAME"
set LT_ACCESS_KEY="YOUR ACCESS KEY"
The following steps will guide you in running your first Visual Regression test on LambdaTest platform -
Step 1: Create a SmartUI Project
The first step is to create a project with the application in which we will combine all your builds run on the project. To create a SmartUI Project, follow these steps:
- Go to Projects page
- Click on the
new projectbutton - Select the platform as Real Device
BETAfor executing yourAppiumtests. - Add name of the project, approvers for the changes found, tags for any filter or easy navigation.
- Click on the Submit.
Step 2: Upload your application
Upload your iOS application (.ipa file) or android application (.apk file) to the LambdaTest servers using our REST API. You need to provide your Username and AccessKey in the format Username:AccessKey in the cURL command for authentication. Make sure to add the path of the appFile in the cURL request. Here is an example cURL request to upload your app using our REST API:
Using App File from System:
curl -u "undefined:undefined" -X POST "https://manual-api.lambdatest.com/app/upload/realDevice" -F "appFile=@"/Users/macuser/Downloads/proverbial_android.apk"" -F "name="proverbial_app""
Using App URL:
curl -u "undefined:undefined" -X POST "https://manual-api.lambdatest.com/app/upload/realDevice" -F "url=:https://prod-mobile-artefacts.lambdatest.com/assets/docs/proverbial_android.apk" -F "name=Proverbial_App"
- If you do not have any .apk or .ipa file, you can run your sample tests on LambdaTest by using our sample 🔗 Android app or sample 🔗 iOS app.
- Response of above cURL will be a JSON object containing the
APP_URLof the format -lt://APP123456789123456789and will be used in the next step.
Step 3: Clone the sample project
Clone the LambdaTest’s 🔗 LT-appium-nodejs repository and navigate to the code directory as shown below:
git clone https://github.com/LambdaTest/LT-appium-nodejs
cd LT-appium-nodejs
Step 4: Set up your authentication
Make sure you have your LambdaTest credentials with you to run test automation scripts on LambdaTest. To obtain your access credentials, purchase a plan or access the Automation Dashboard. Then, set LambdaTest Username and Access Key in environment variables with following commands.
- Linux / MacOS
- Windows
export LT_USERNAME=undefined \
export LT_ACCESS_KEY=undefined
set LT_USERNAME=undefined `
set LT_ACCESS_KEY=undefined
Step 5: Configure your test with Appium Desired Capabilities
To view and generate more capabilities for your appium application test suite, please see the capability generator here: https://www.lambdatest.com/capabilities-generator/
Once you have created a SmartUI Project, you can generate screenshots by running automation scripts. Edit the required capabilities for your test suite as shown in the below sample code snippet:
let capabilities = {
  deviceName: "iPhone 12", // Configure your Device for appium test (Mandatory)
  platformName: "ios", // Configure your OS for appium test (Mandatory)
  platformVersion: "14", // Configure your OS Version for appium test (Mandatory)
  isRealMobile: true, // Configure if you want to test in a real-device (Mandatory)
  app: "APP_URL", // Set your uploaded App URL for testing (Mandatory)
  visual: true, // Configure your Capture screenshot  for appium test (Mandatory)
  name: "testing app session ", // Name of the test for appium (Recommended)
  build: "Real Device App Build", // Name of the build for appium (Recommended)
  "smartUI.project": "<Your Project Name>", // Replace the name of project with the new project name (Mandatory)
  "smartUI.build": "<Your Build Name>", // Replace the name of Build with the new Build name (Optional)
  "smartUI.baseline": false, // Enable if you want to update to a new baseline build (Optional)
};

// Connecting to the Lambdatest appium Cloud Grid with Smart UI
let gridUrl =
  "https://" +
  "<Your Username>" +
  ":" +
  "<Your Access Key>" +
  `@mobile-hub.lambdatest.com/wd/hub`;

// Here is your Remote WebDrive Connection
let driver = await new webdriver.Builder()
  .usingServer(gridUrl)
  .withCapabilities(capabilities)
  .build();
It is important that the visual:true is set your capabilities configuration for capturing the screenshots to SmartUI - Visual Regression tests and add into the build for comparison. If this capability is not added then the build status will be shown as Error.
- Webhook for taking the screenshot - This part of the code needs to be attached below the required segment of appium script of which we would like to take the screenshot to test on.
driver.execute("smartui.takeScreenshot=<Name of your screenshot>");
Appium with SmartUI is currently only supports the viewport based screenshot comparisons.
- Execute your test suite as per the execution command depending on your framework or language.
npm i && node your_test_script.js
- You can check the executed builds over at LambdaTest SmartUI.
Smart Crop With SmartUI
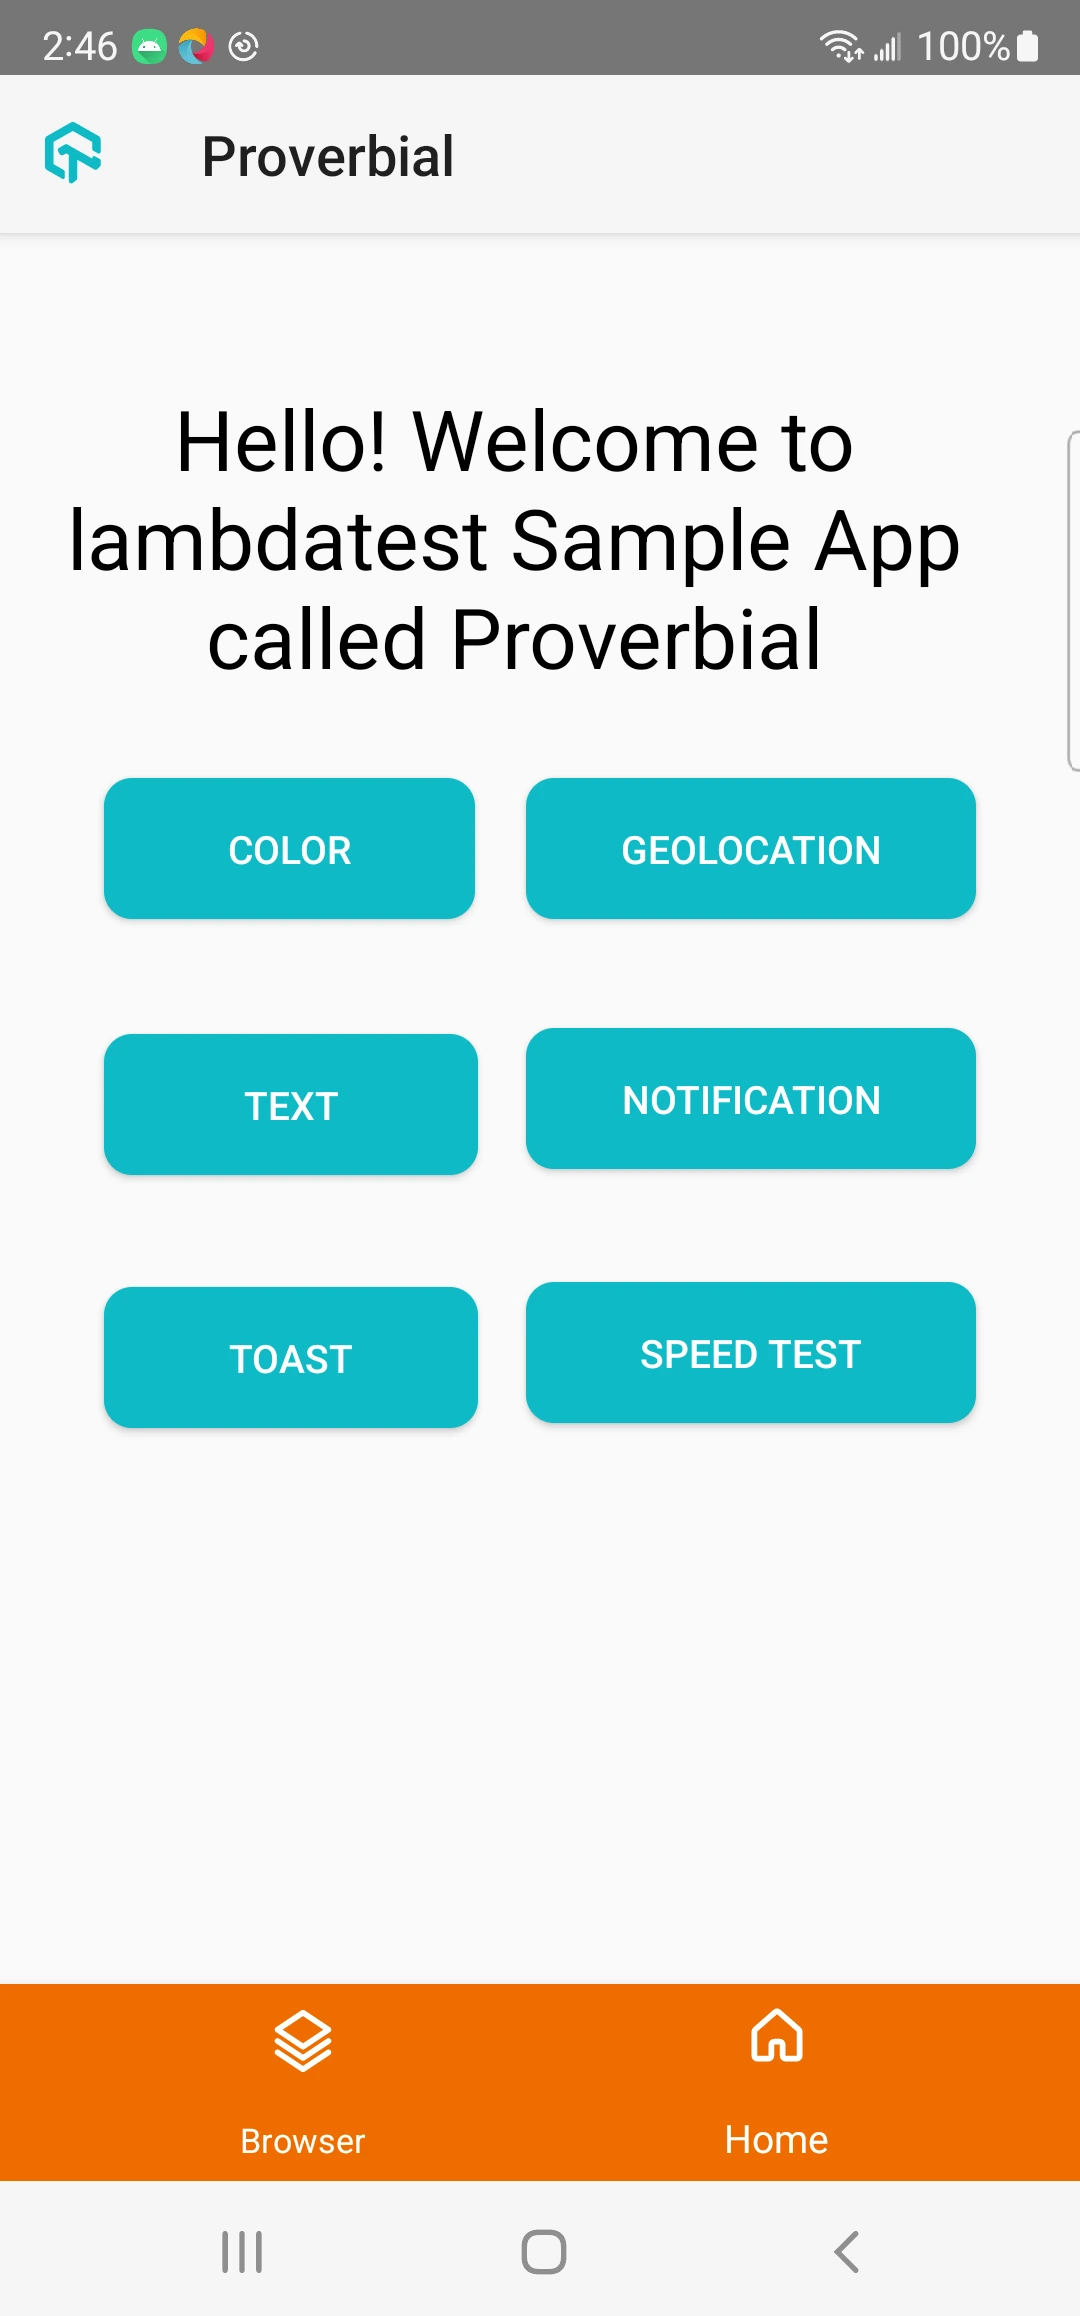
The all-new Real Device mobile notification status bar crop feature in SmartUI allows you to take your visual regression testing workflows to the next level. With Smart Crop, you can crop the status bar from screenshots, enabling them to focus solely on the core UI elements during visual comparisons.
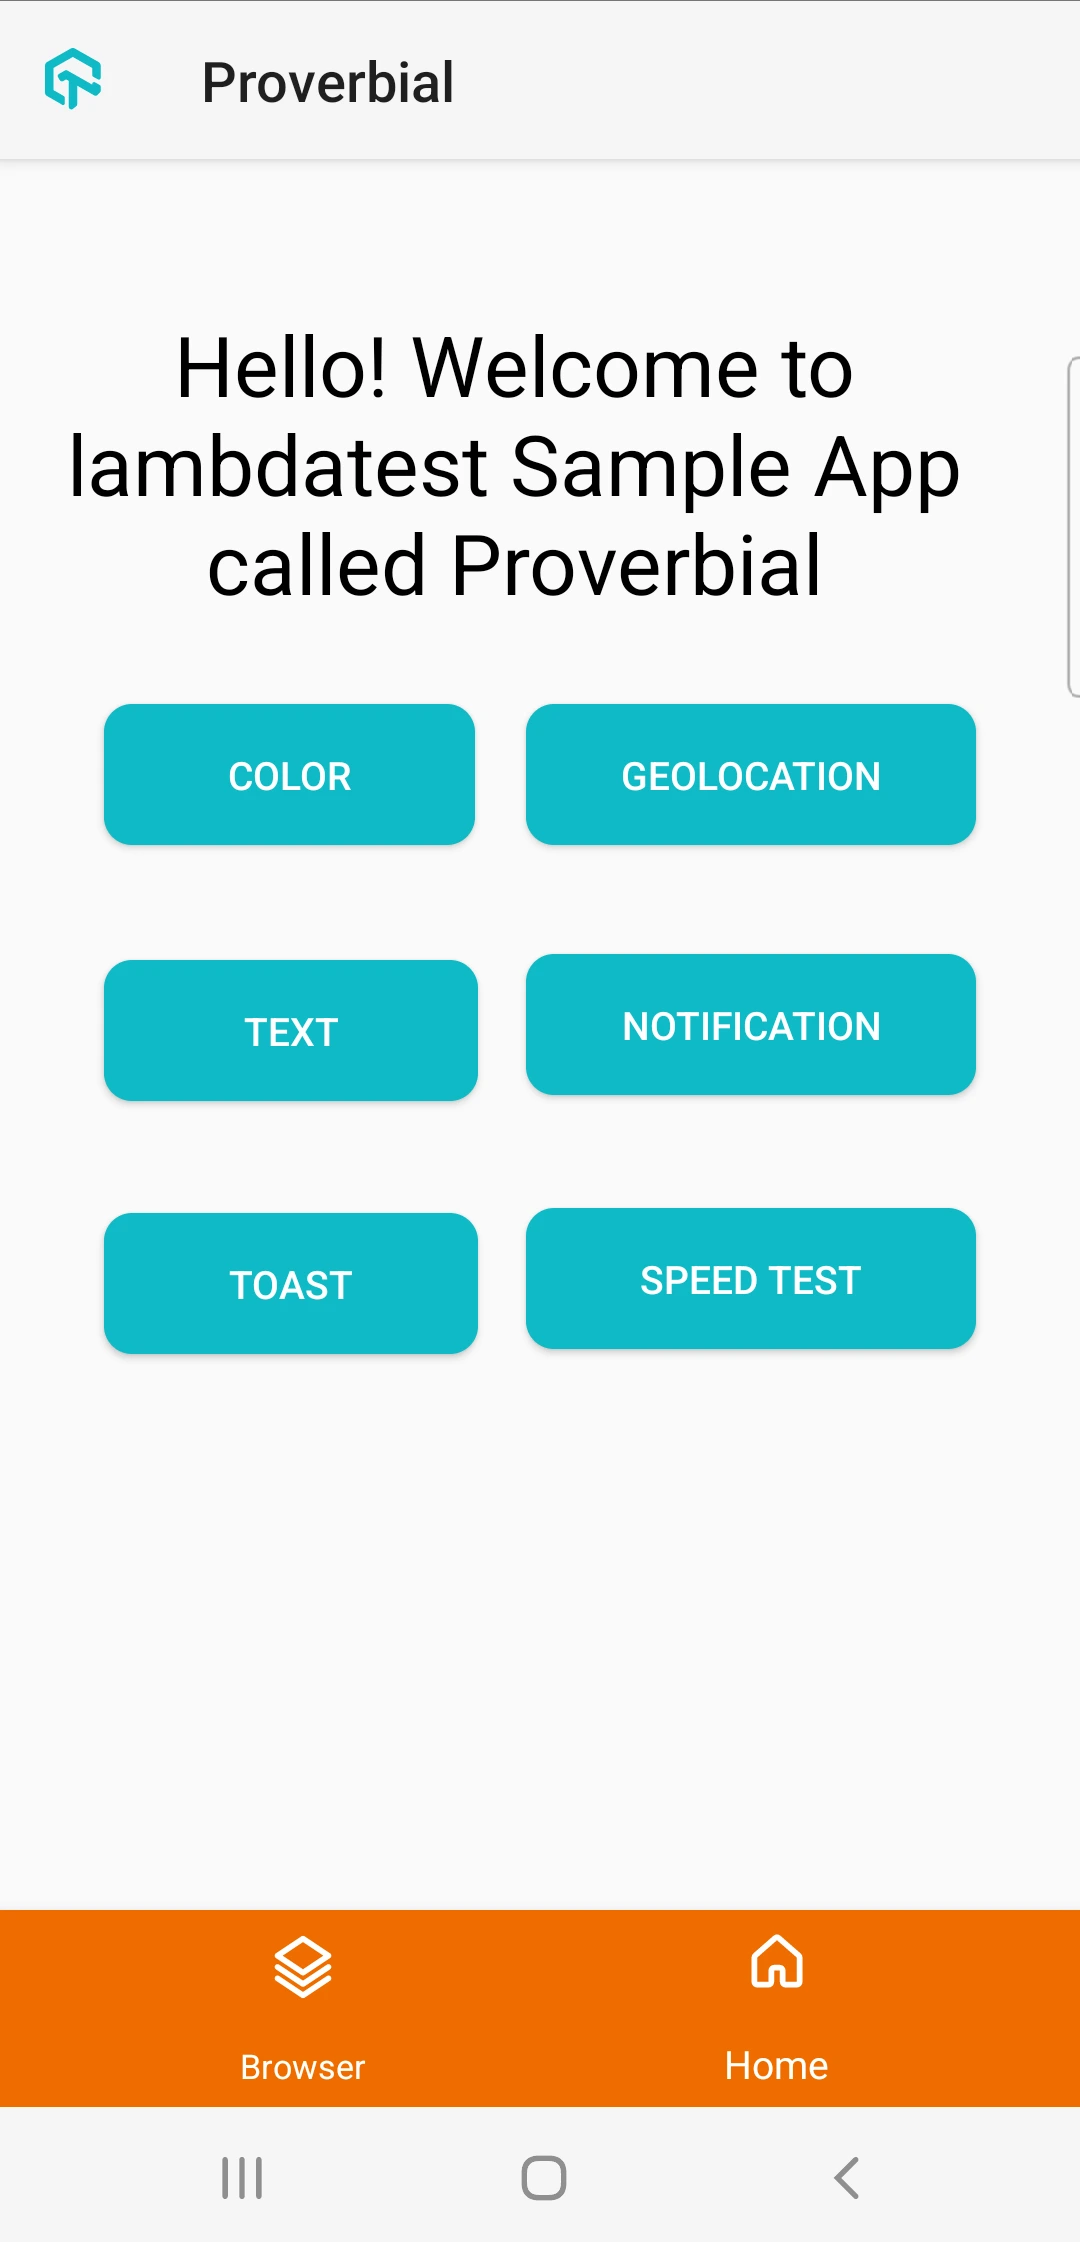
By leveraging machine learning algorithms, it accurately detects and crops the status bar from screenshots. With precise image processing techniques, SmartUI precisely identifies the location of status bar elements. By excluding it from visual comparisons, the focus is solely on critical UI elements.
Original Screenshot:
Cropped Screenshot:
Running Tests on Other Languages and Frameworks
In this module we discussed about running smart visual tests on NodeJS, here we will know more about running those tests for any language or framework with appium.
In a similar way, we can run visual tests for other languages and frameworks using their corresponding script executing commands. To understand better, we provided the commands for some of the popular languages and frameworks:
For taking viewport screenshot
This part of the code needs to be attached below the required segment of selenium script of which we would like to take the screenshot to test on.
- NodeJS
- Python
- Ruby
- C#
- Java
driver.execute("smartui.takeScreenshot=<Name of your screenshot>");
driver.execute("smartui.takeScreenshot=<Your Screenshot Name>")
driver.execute("smartui.takeScreenshot=<Your Screenshot Name>")
driver.Execute("smartui.takeScreenshot=<Your Screenshot Name>");
((JavascriptExecutor)driver).execute("smartui.takeScreenshot=<Your Screenshot Name>");
For capturing full page screenshot in Native Apps BETA
You can capture the full page screenshot for apps which have a scrolling functionality on their application user interface for your Appium functional testing.
Add the following Webhook to your test cases where we need to capture the screenshot of your application.
- NodeJS
- Python
- Ruby
- C#
- Java
let config = {
  screenshotName: '<Name of your screenshot>',
  fullPage: true,
  pageCount: 15   // Enter the number of pages for the Full Page screenshot (Minimum 1, Maximum 20)
};
await driver.execute("smartui.takeScreenshot", config);
config = {
  'screenshotName': '<Your Screenshot Name>',
  'fullPage': True,
  'pageCount': 15 # Enter the number of pages for the Full Page screenshot (Minimum 1, Maximum 20)
}
driver.execute("smartui.takeScreenshot", config)
config = {
  'screenshotName' => '<Your Screenshot Name>',
  'fullPage': true,
  'pageCount': 15 # Enter the number of pages for the Full Page screenshot (Minimum 1, Maximum 20)
}
driver.execute("smartui.takeScreenshot", config)
var config = new Dictionary<string, string> {
  {"screenshotName", "<Your Screenshot Name>"},
  {"fullPage", true},
  {"pageCount", 15} // Enter the number of pages for the Full Page screenshot (Minimum 1, Maximum 20)
};
driver.Execute("smartui.takeScreenshot", config);
Map<String, Object> config = new HashMap<>();
config.put("screenshotName", "<Your Screenshot Name>");
config.put("fullPage", true);
config.put("pageCount", 15); // Enter the number of pages for the Full Page screenshot (Minimum 1, Maximum 20)
((JavascriptExecutor)driver).execute("smartui.takeScreenshot", config);
Please note that this webhook is only applicable to native app screenshots and has known limitations. You can use an optimized value of page count (between 1 and 20) to get the best results of your full page screenshots, according to your use case.
For additional information about appium framework please explore the documentation here