How to Get Started With Agent Assurance
TestMu AI Agent Assurance tests autonomous agents you own. These agents act by calling tools, writing files, and changing external state. This guide takes you from a clean machine to your first evidence-backed run: install and authenticate the rook CLI, then test a live agent from its PRD and a staging API.
You install only the rook CLI. You do not need to clone the source repository, build any code, start a controller, or bring your own model API key.
Install and authenticate the CLI
This section installs the packaged rook CLI. You do not clone the source repository, install its dependencies, start a controller, or build any code.
Prerequisites
- macOS or Linux.
- Node.js 20 or newer.
- A TestMu AI account with Agent Assurance access.
- The runtime needed by your own target agent. For example, a remote HTTP agent must be reachable and a local command agent must be installed on
PATH.
Check Node.js:
node --version
The major version must be 20 or newer.
Step 1: Install the packaged CLI
Run:
curl -fsSL https://raw.githubusercontent.com/LambdaTest/rook/main/install.sh | bash
The installer:
- Checks for Node.js 20 or newer.
- Finds the newest
rookrelease. - Downloads and verifies the release archive.
- Installs it below
~/.testmuai/rook/versions/<version>. - Links the
rookexecutable into a writable directory onPATH.
If the final message prints a PATH command, run that exact command and open a new terminal.
Step 2: Verify the CLI
rook --version
rook doctor
rook doctor checks the CLI version, Node.js, workspace, selected environment, controller reachability, authentication, and terminal support.
Step 3: Sign in
Start browser authentication:
rook login
Or start the interactive terminal and enter /login:
rook
After the browser flow, verify the account:
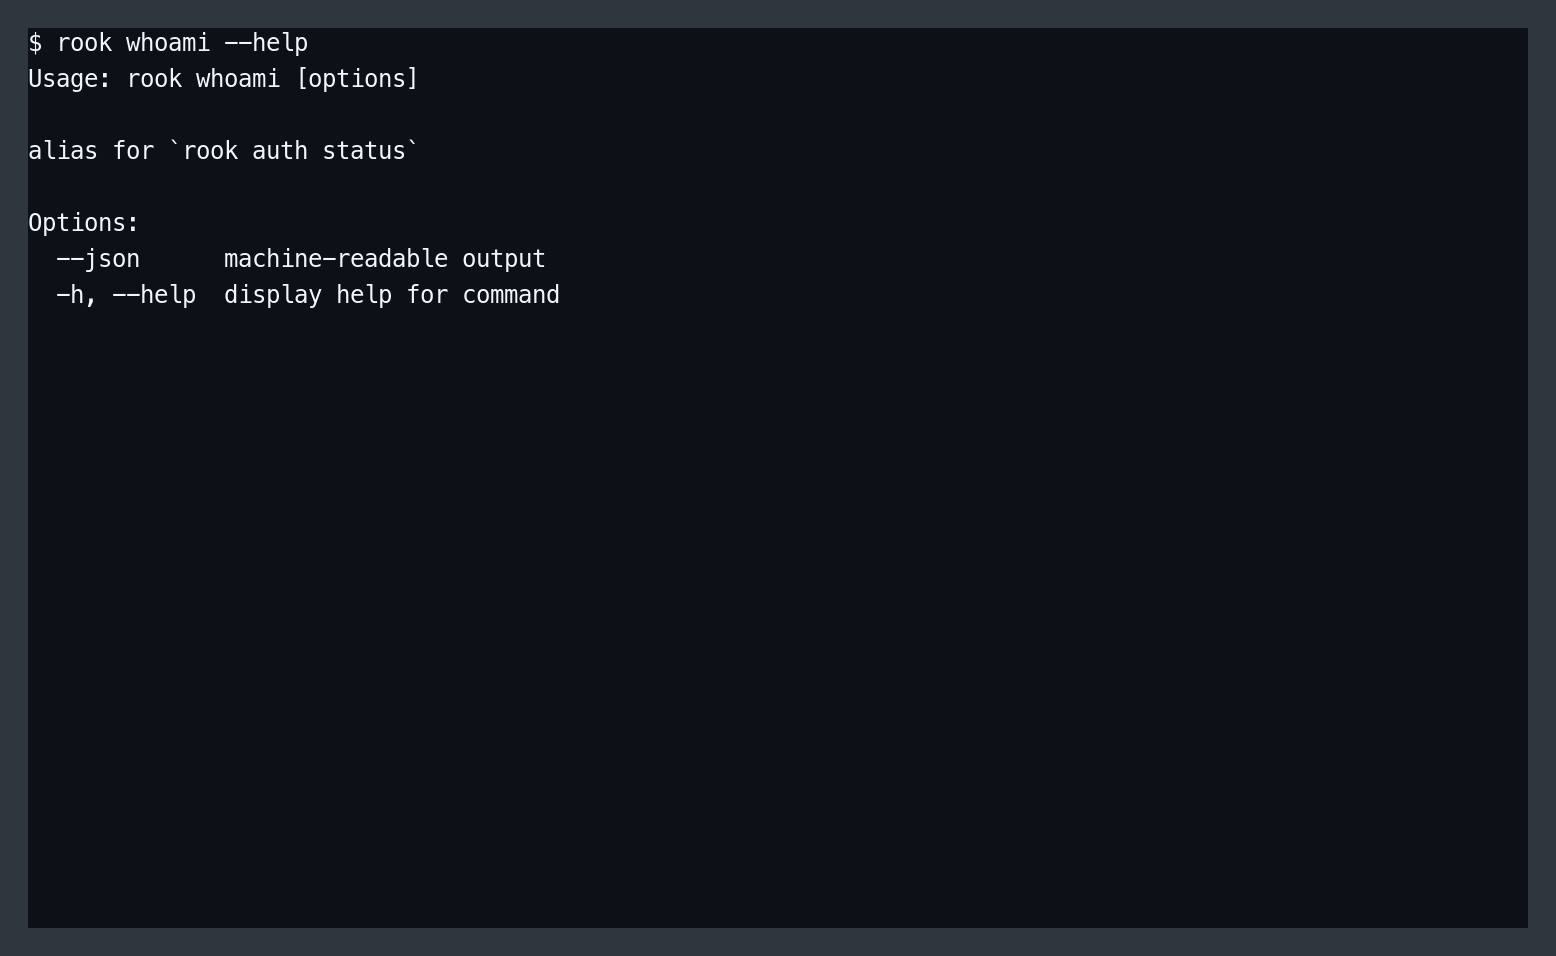
rook whoami
Authentication is global. Multiple rook sessions on the same machine use the credentials stored below ~/.testmuai/rook/.
Install a specific release
Release identifiers use a commit SHA. Pin a known version for CI or a controlled rollout:
export ROOK_VERSION="<commit-sha>"

curl -fsSL https://raw.githubusercontent.com/LambdaTest/rook/main/install.sh | bash
Installed versions remain side by side, so installing a new build does not overwrite the previous version directory.
Update the CLI
Run the same installer again, then verify the selected version:
rook --version
rook doctor
Troubleshooting the install
| Symptom | What to do |
|---|---|
rook: command not found | Run the PATH or link command printed by the installer, then open a new terminal. |
| Node.js version error | Install Node.js 20 or newer and rerun the installer. |
| Release asset connection resets | Retry outside the VPN or corporate proxy; the download uses GitHub's release asset CDN. |
| Agent Assurance account is not recognized | Run rook login, then rook whoami. |
Test your first agent
This walkthrough tests a refund agent from its PRD and a staging API. It represents a common setup: you have product requirements and access to a live endpoint, but the agent source code is not in your workspace.
Replace the example filenames, URL, token, and JSON fields with values from your own agent.
What you need
- The
rookCLI installed and authenticated (complete Install and authenticate the CLI above). - A local PRD or specification for the agent.
- A working staging cURL request.
- Test data that the agent is allowed to read or change.
Do not use a production refund endpoint for this walkthrough.
Step 1: Open the specification workspace
Open a terminal in the folder that contains your product materials:
refund-agent-test/
├── refund-agent-prd.md
└── knowledge/
    └── refund-policy.md
The folder does not need to contain agent code.
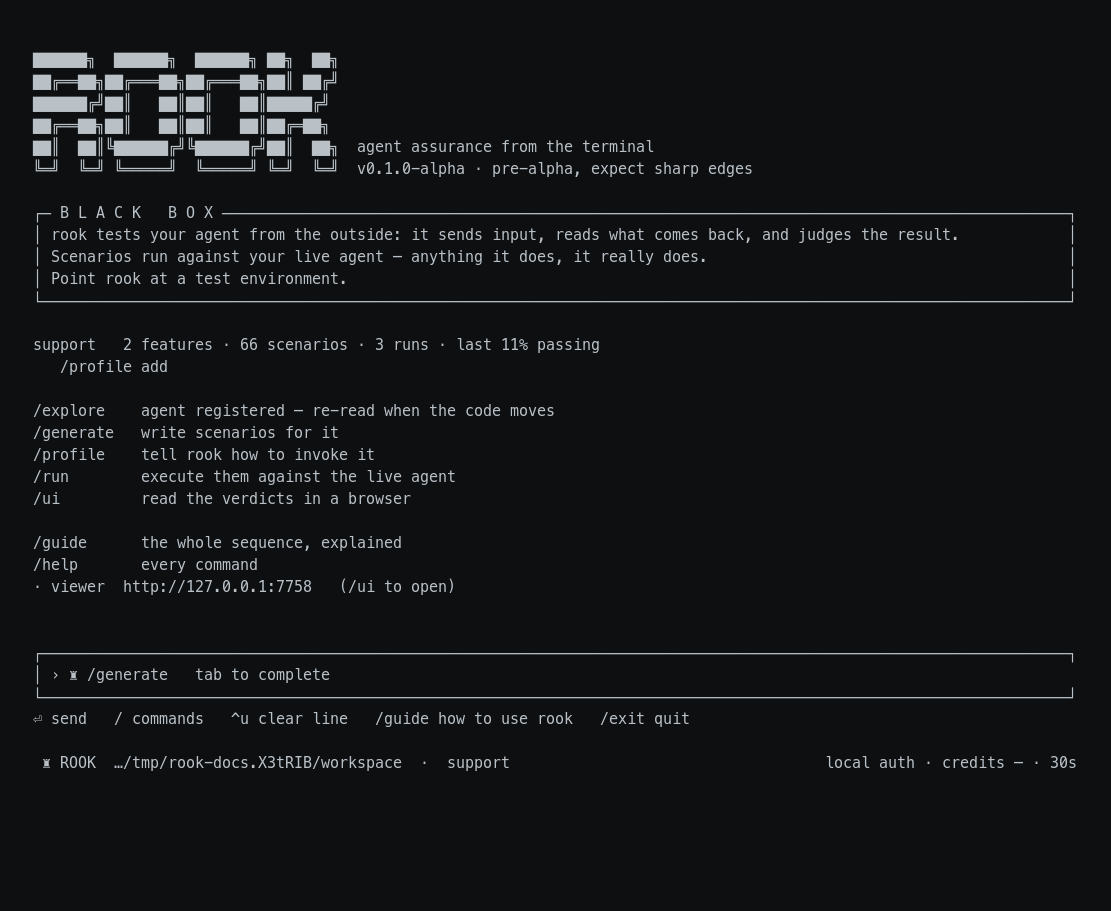
Start rook:
cd refund-agent-test
rook
Step 2: Explore the PRD and knowledge base
At the rook prompt, enter:
/explore . -- focus on refund-agent-prd.md and knowledge/refund-policy.md
For one standalone document, use:
/explore refund-agent-prd.md
Agent Assurance reads the selected local materials and proposes the agent it found. Confirm the agent only if the name, purpose, rules, and source files match your intended target.
The discovered record describes expected behavior. It does not prove the live service implements the PRD.
Step 3: Generate focused scenarios
Start with a small, reviewable set:
/generate --total 12 -- verify eligibility, required identity checks, duplicate requests, and receipt creation
List the scenarios:
/scenarios list
Review the exact order IDs, policy thresholds, and expected artifacts. Exclude a scenario that is unsafe for the current environment:
/scenarios exclude SC-009
Step 4: Add the staging profile and store its token
Enter:
/profile add
Name the profile refund-staging and paste a working request such as:
curl https://refund-agent.staging.example.com/v1/chat \
  -H 'content-type: application/json' \
  -H 'authorization: Bearer replace-with-your-token' \
  -d '{"message":"check refund status for order ORD-1042","session_id":"quickstart"}'
During setup, map:
messageto the scenario goal.session_idto the per-scenario conversation handle.- The actual response field, such as
$.reply.text, to the result.
Agent Assurance lifts the Authorization credential out of the profile, replaces it with ${ROOK_AGENT_TOKEN}, and prompts securely for the value. Run /env list afterward to confirm the generated variable name without printing the secret.
Agent Assurance then invokes the profile once with a harmless goal. Confirm the extracted answer only if it is the agent's real response, not a request ID or status field.
Inspect the saved profile:
/profile show refund-staging
/profile curl refund-staging
Step 5: Run one safe scenario
Choose one read-only scenario from /scenarios list:
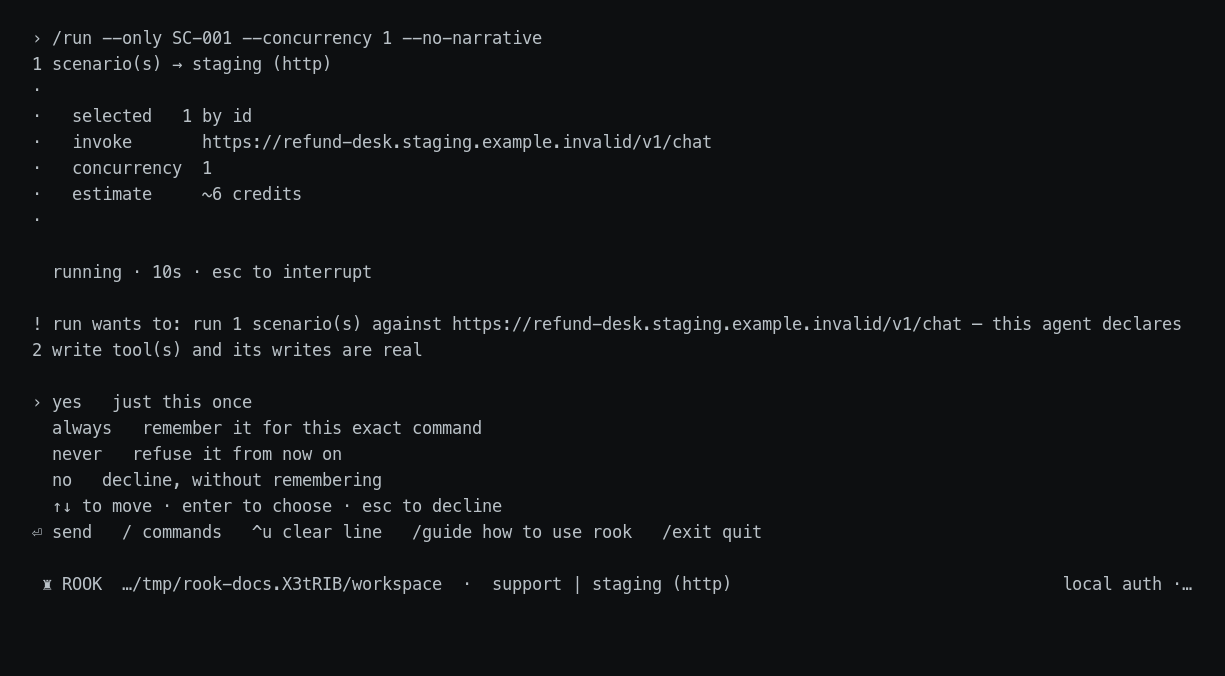
/run --only SC-001 --concurrency 1 --no-narrative
Before confirming, check:
- The selected agent and profile.
- The staging hostname.
- The scenario count.
- The estimated credits.
- Any warning about write-capable tools.
Agent Assurance cannot roll back a refund, message, ticket, or other action taken by the agent.
Step 6: Run the approved set
After the first scenario behaves correctly:
To repeat this workflow through your coding assistant, choose a client-specific Rook skill guide. To automate the reviewed suite, use GitHub Actions, Jenkins, or Argo CD.
Use rook status at any point to check the selected project, active agent, and local/upstream state. In the TUI, bare /project, /agent, and /profile open pickers; select with the arrow keys and Enter. In a shell, their bare forms list the available records.
Use concurrency 1 while scenarios share accounts, order records, or mutable state. Increase it only after the target and fixtures are isolated.
Press Esc to abort the active operation. Agent Assurance preserves completed scenario results, but it cancels the in-flight target call, which may already have produced an external effect. Inspect target state before retrying a write.
Step 7: Review evidence
Open the local viewer:
/ui
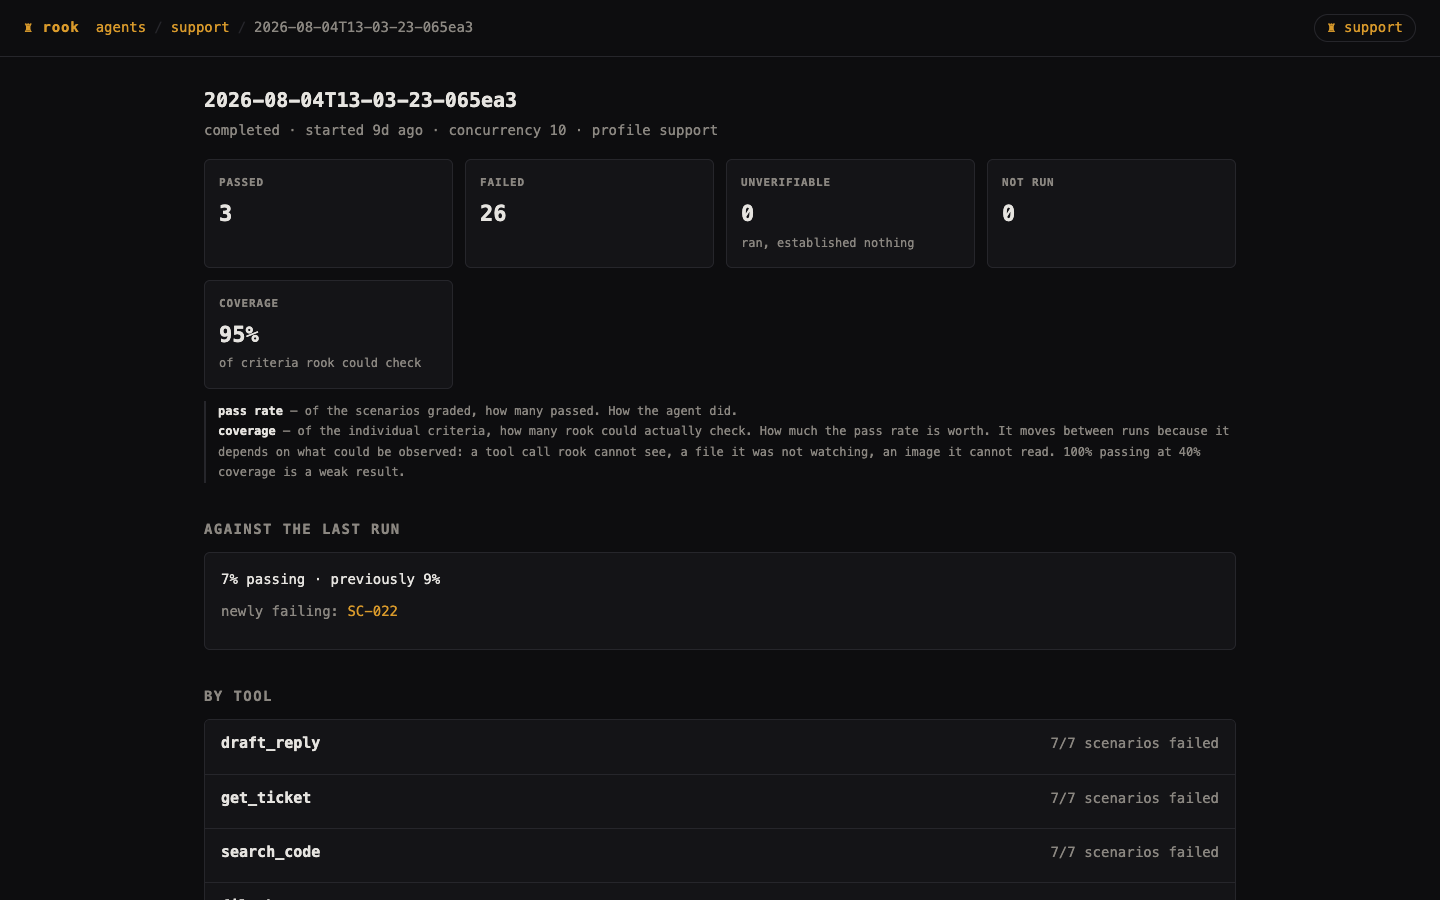
Open each failure or Unable to Verify result. Check the request, response, criterion evidence, artifacts, and verification gaps.
- Fail means a failed criterion was observed.
- Unable to Verify means the current profile did not expose enough evidence.
- A claim such as “refund issued” in the agent's text is not independent proof that the refund exists.
Add read-only MCP verification or another safe observation when state changes must be proven.
Step 8: End the session
/exit
Results remain below .testmuai/rook/ in your specification workspace.


 Chat with Us