Multi-Factor Authentication (MFA)
Multi-Factor Authentication (MFA) adds an extra verification step at login on top of your password. After entering your password, you also provide a code from an authenticator app (such as Authy, Google Authenticator, or Microsoft Authenticator) or a biometric factor. This significantly reduces the risk of unauthorized access, even if your password is compromised.
All steps below assume you are signed in to your TestMu AI account. If you don't have an account, register for free.
Enable User MFA
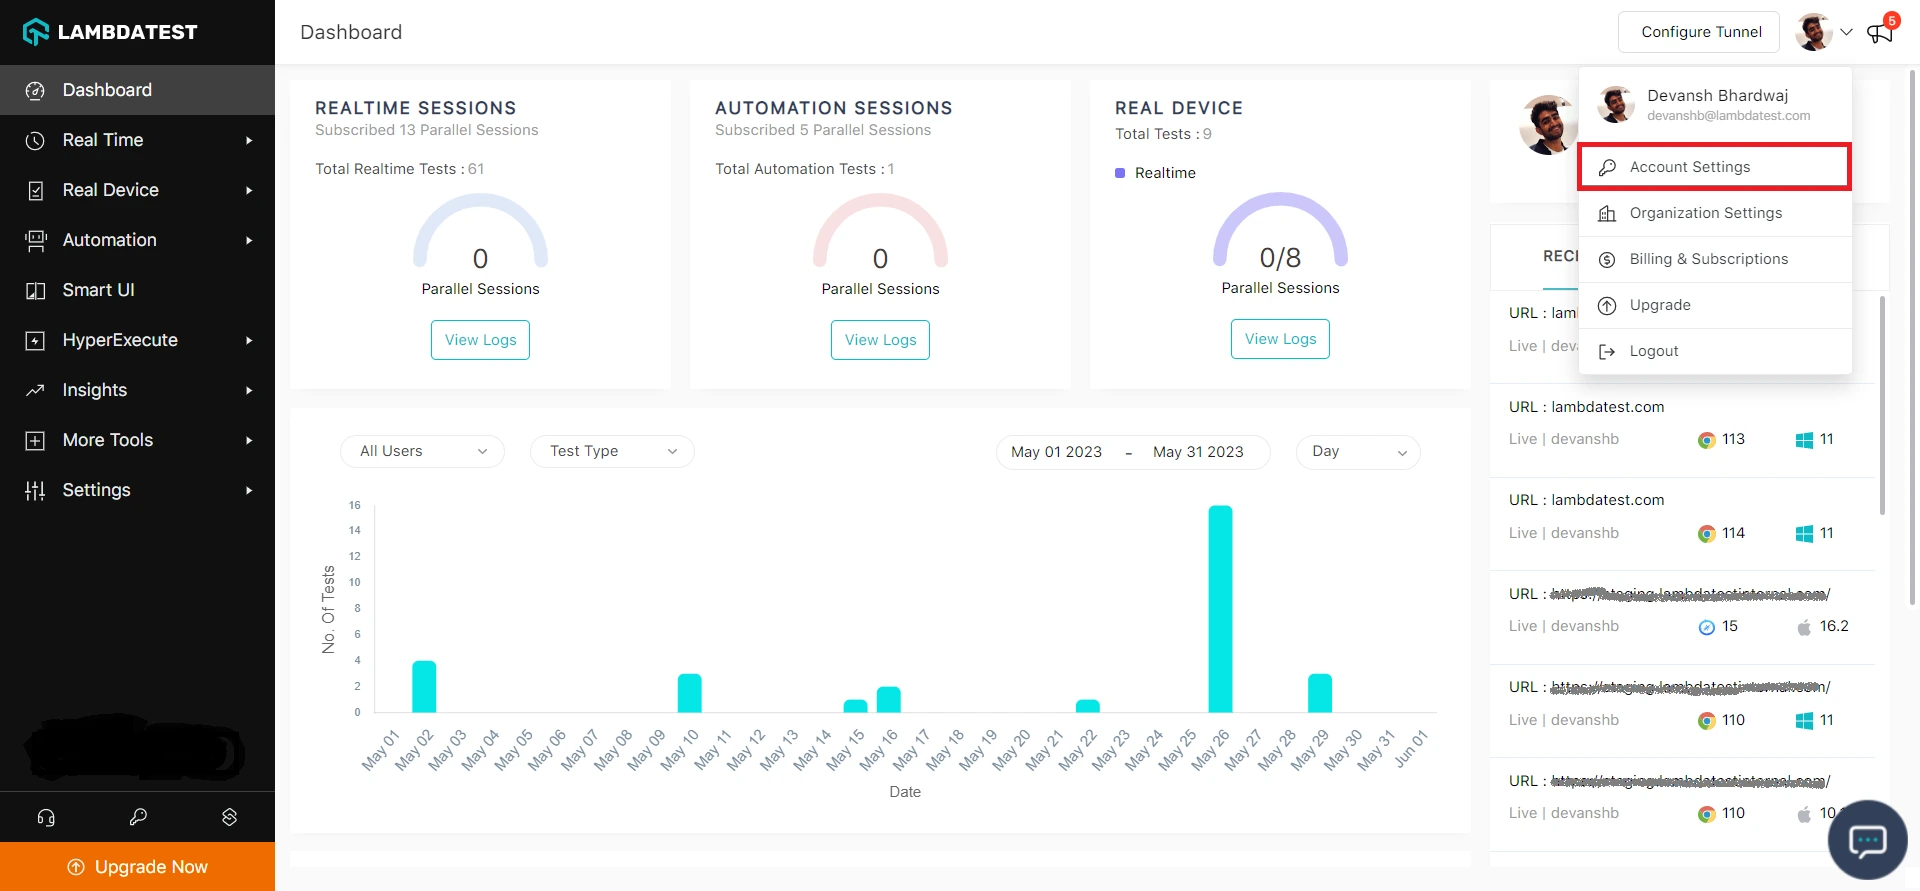
Step 1: From the Profile menu, select Account Settings.
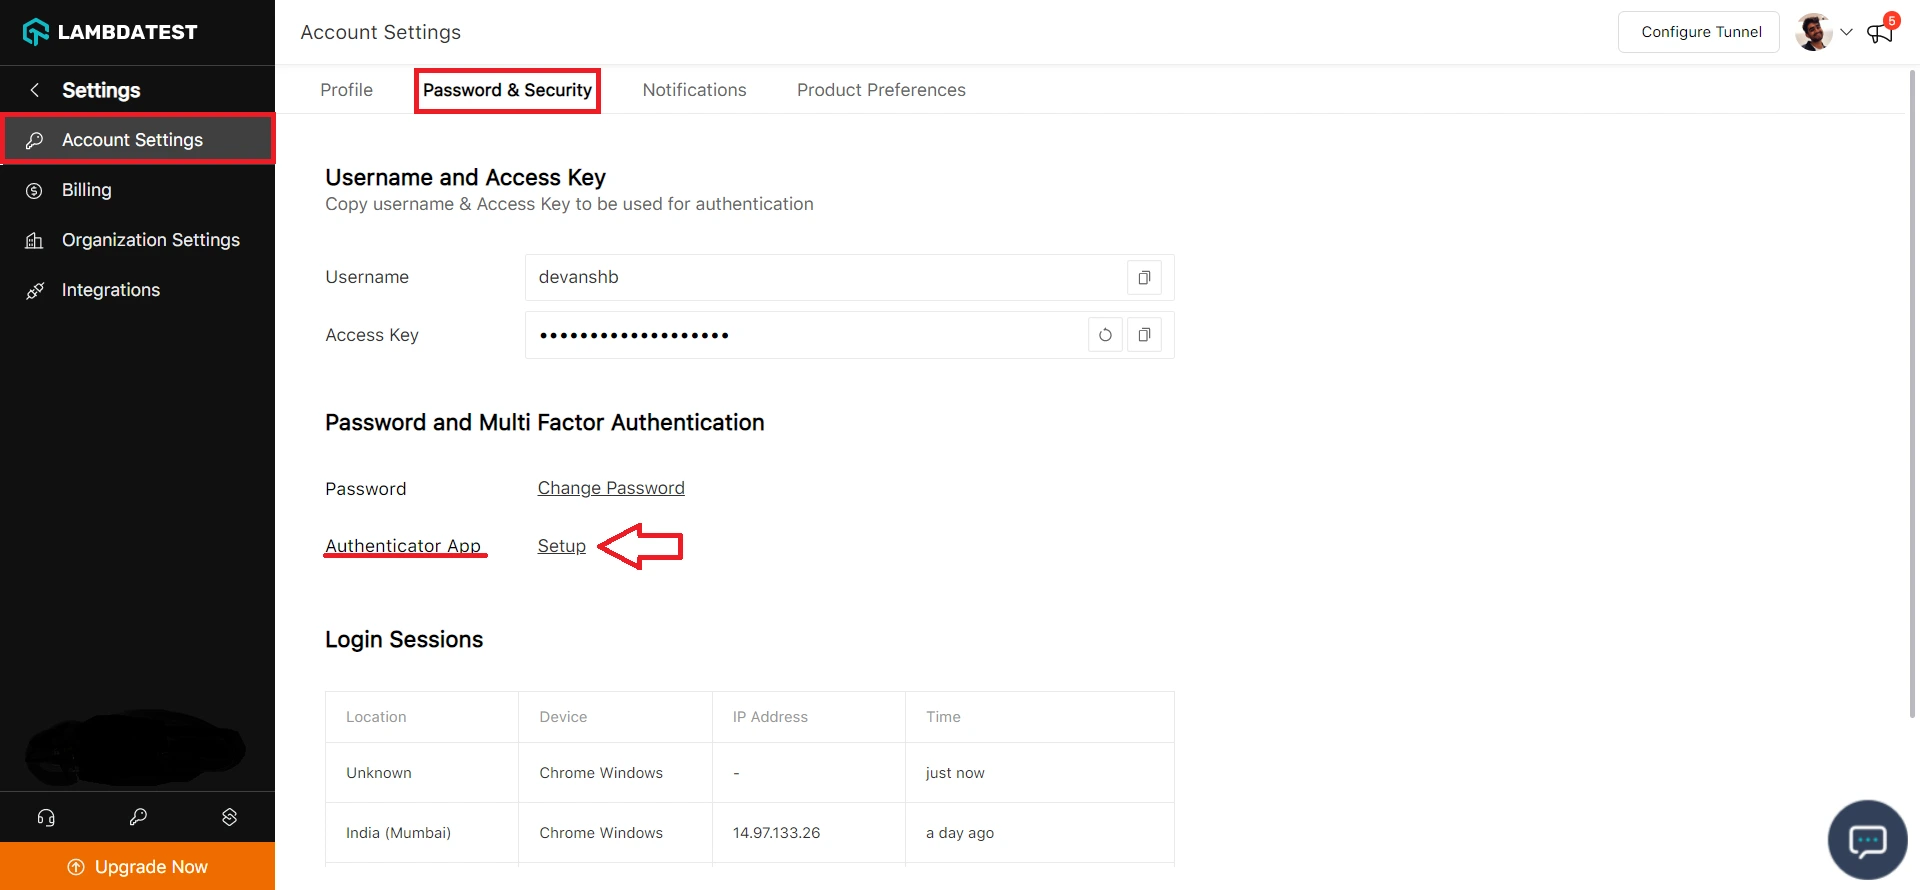
Step 2: Open the Passwords & Security tab and click Setup next to Authenticator App.
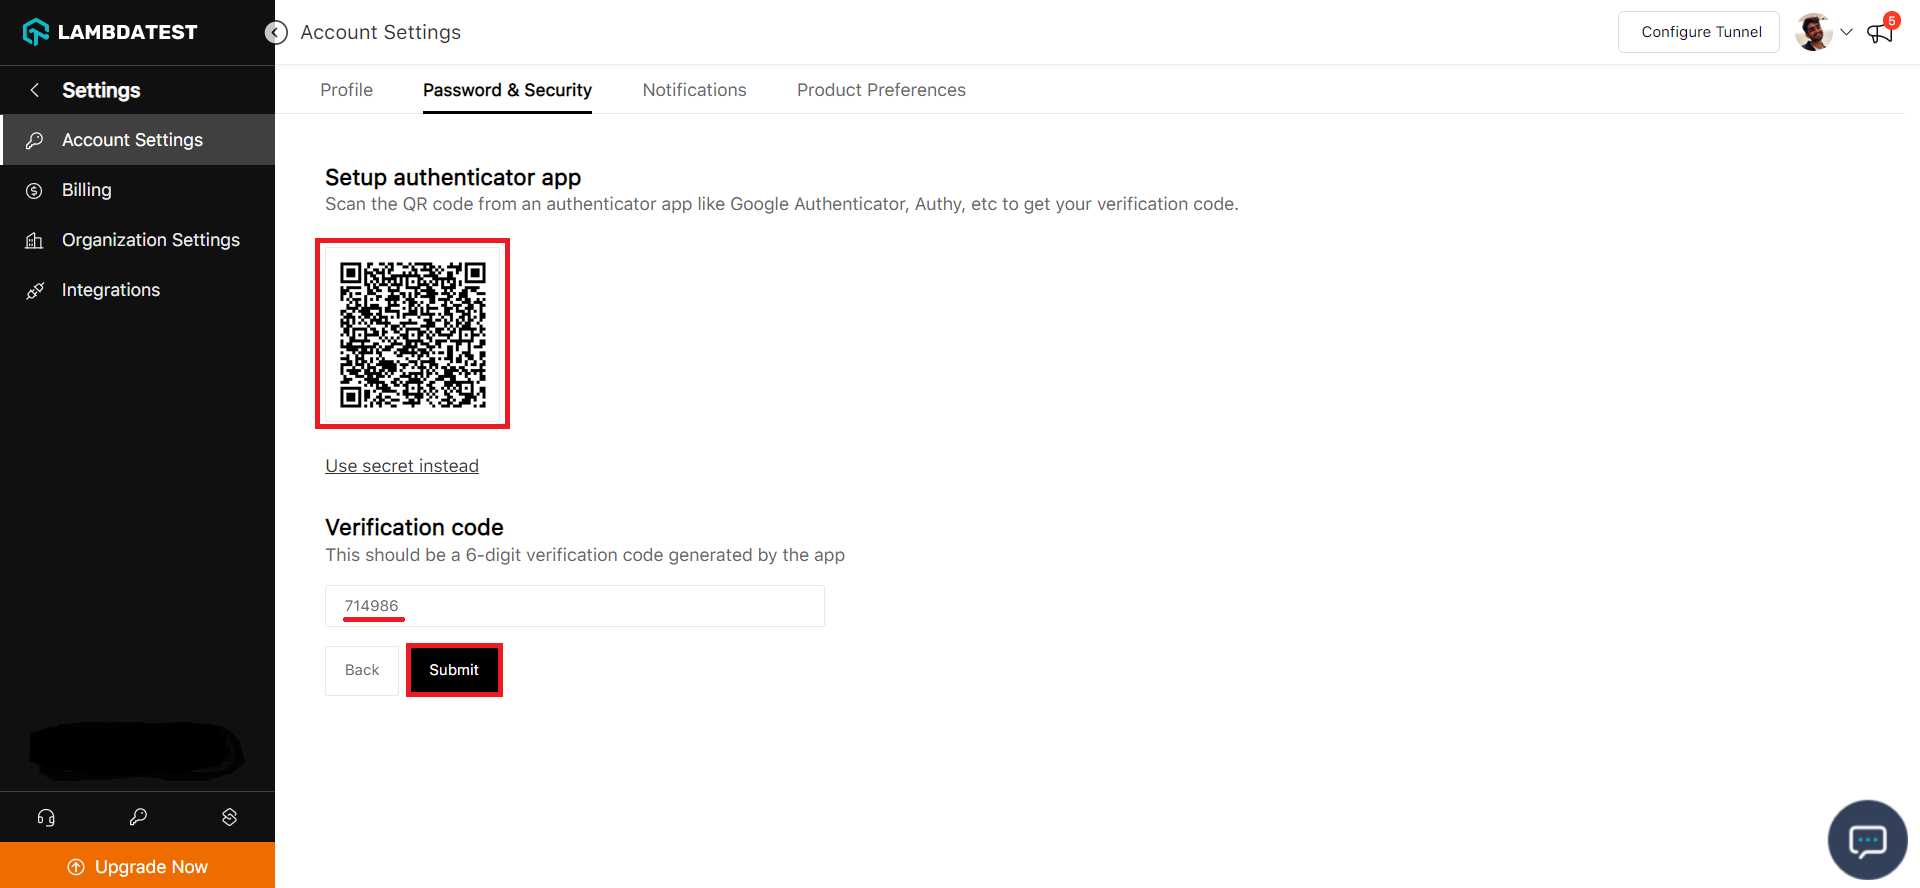
Step 3: Scan the generated QR code with your preferred authenticator app (such as Authy, Google Authenticator, or Microsoft Authenticator), and enter the code shown in the app.
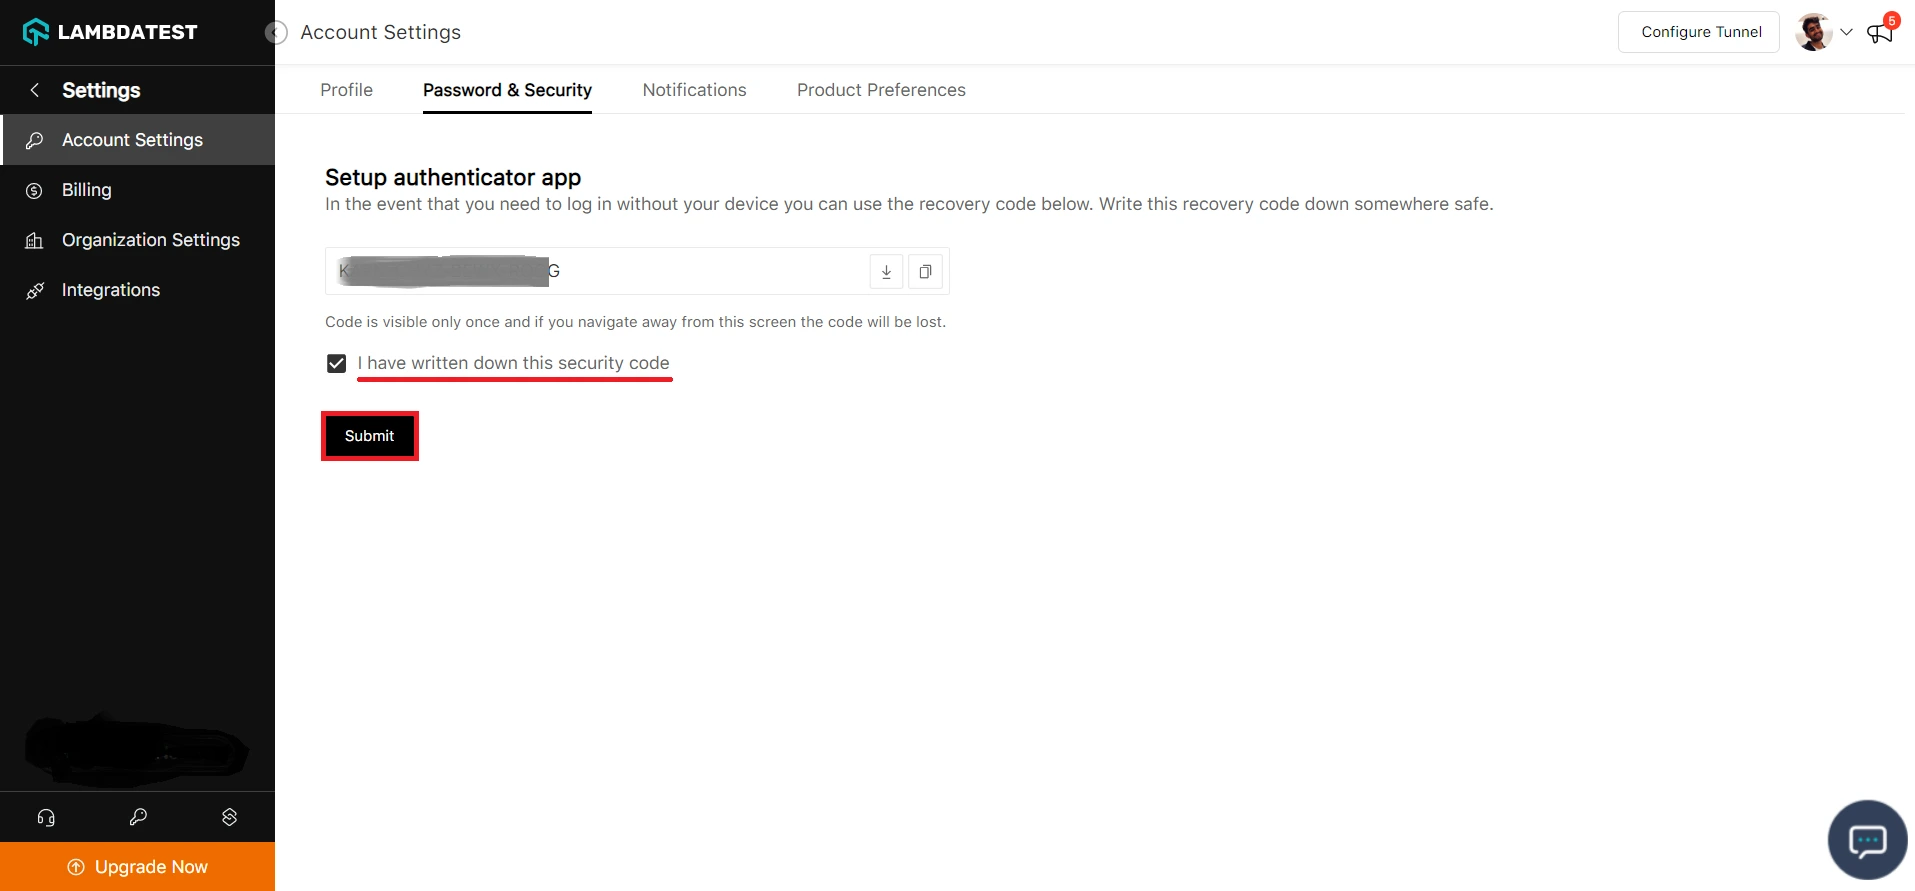
Step 4: Copy or download the recovery code, select I have written down this security code, and click Submit.
You will need the recovery code if you lose access to your authenticator app or delete it by mistake. Save it somewhere secure.
You have successfully enabled User MFA on your TestMu AI account.
Disable User MFA
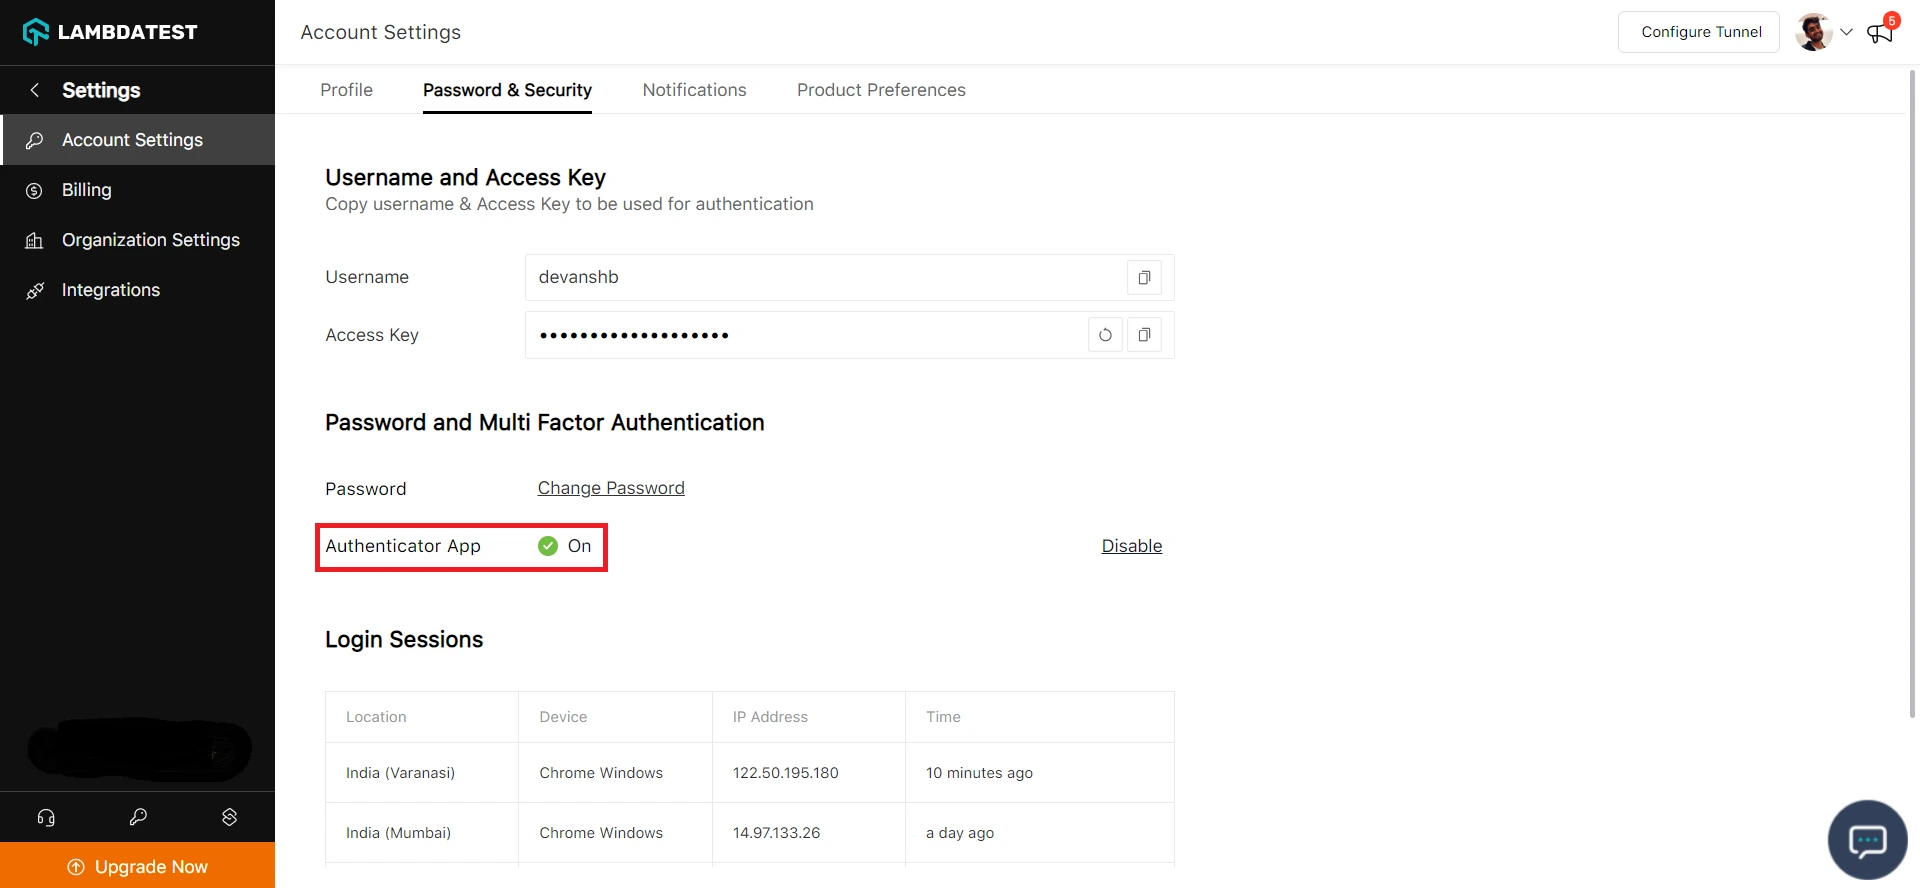
Step 1: From the Profile menu, select Account Settings.
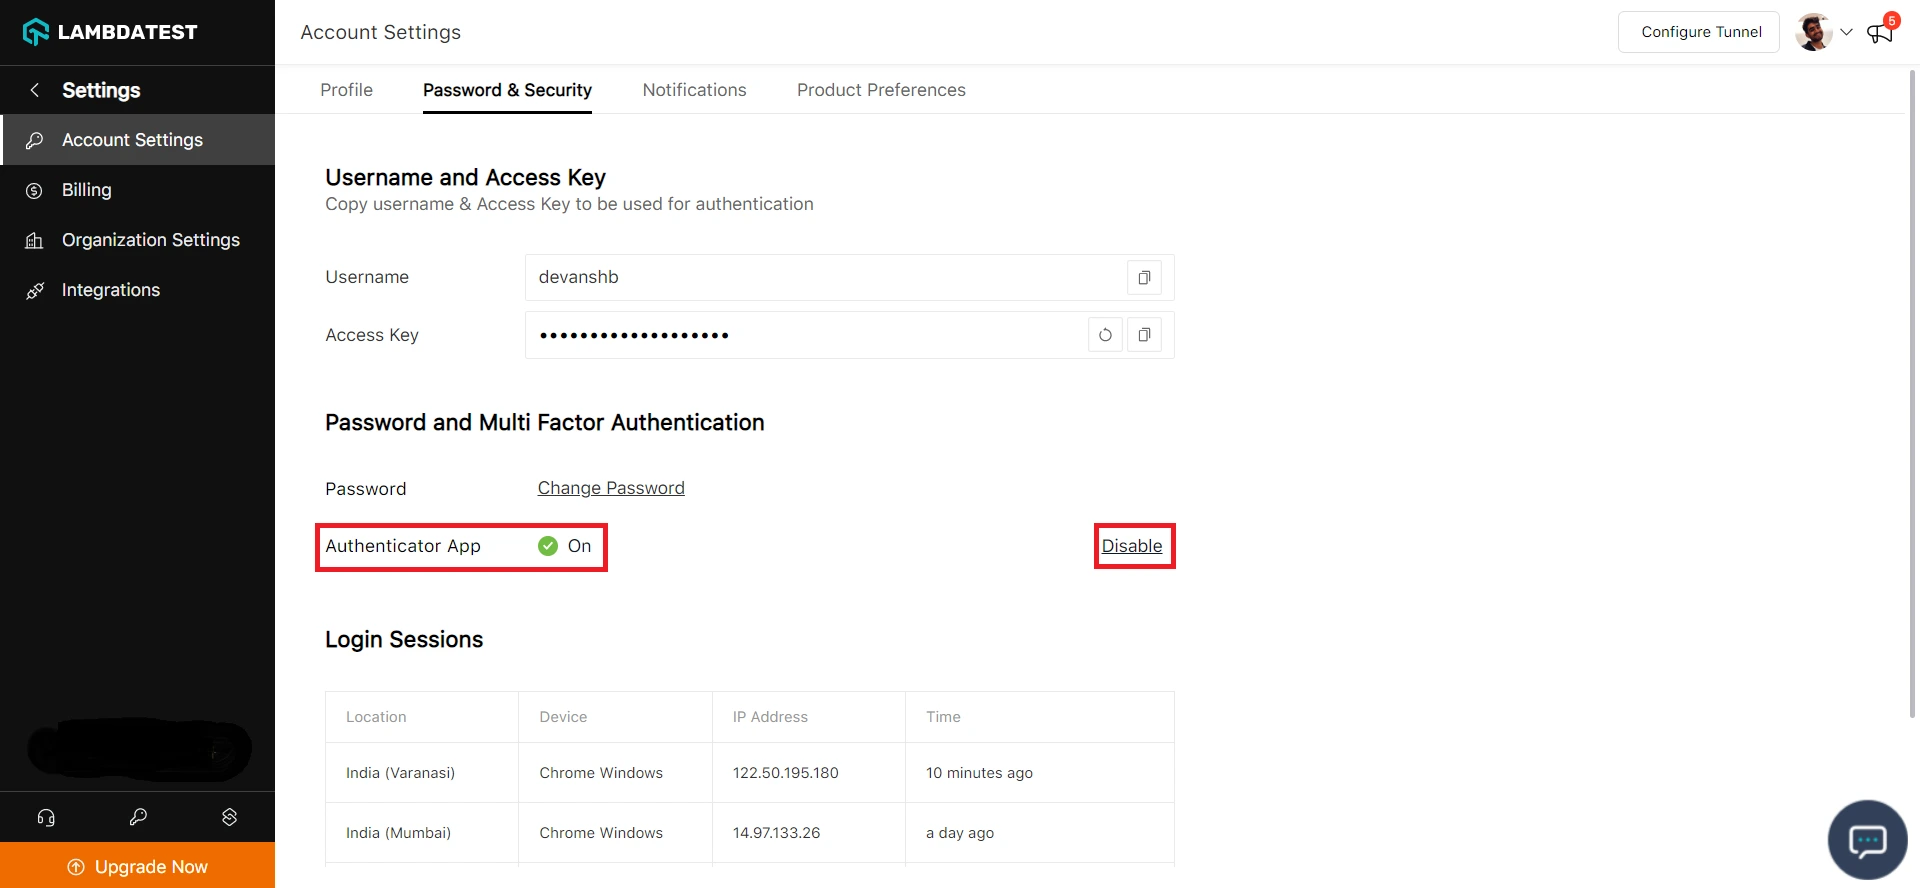
Step 2: Open the Passwords & Security tab and click Disable next to Authenticator App.
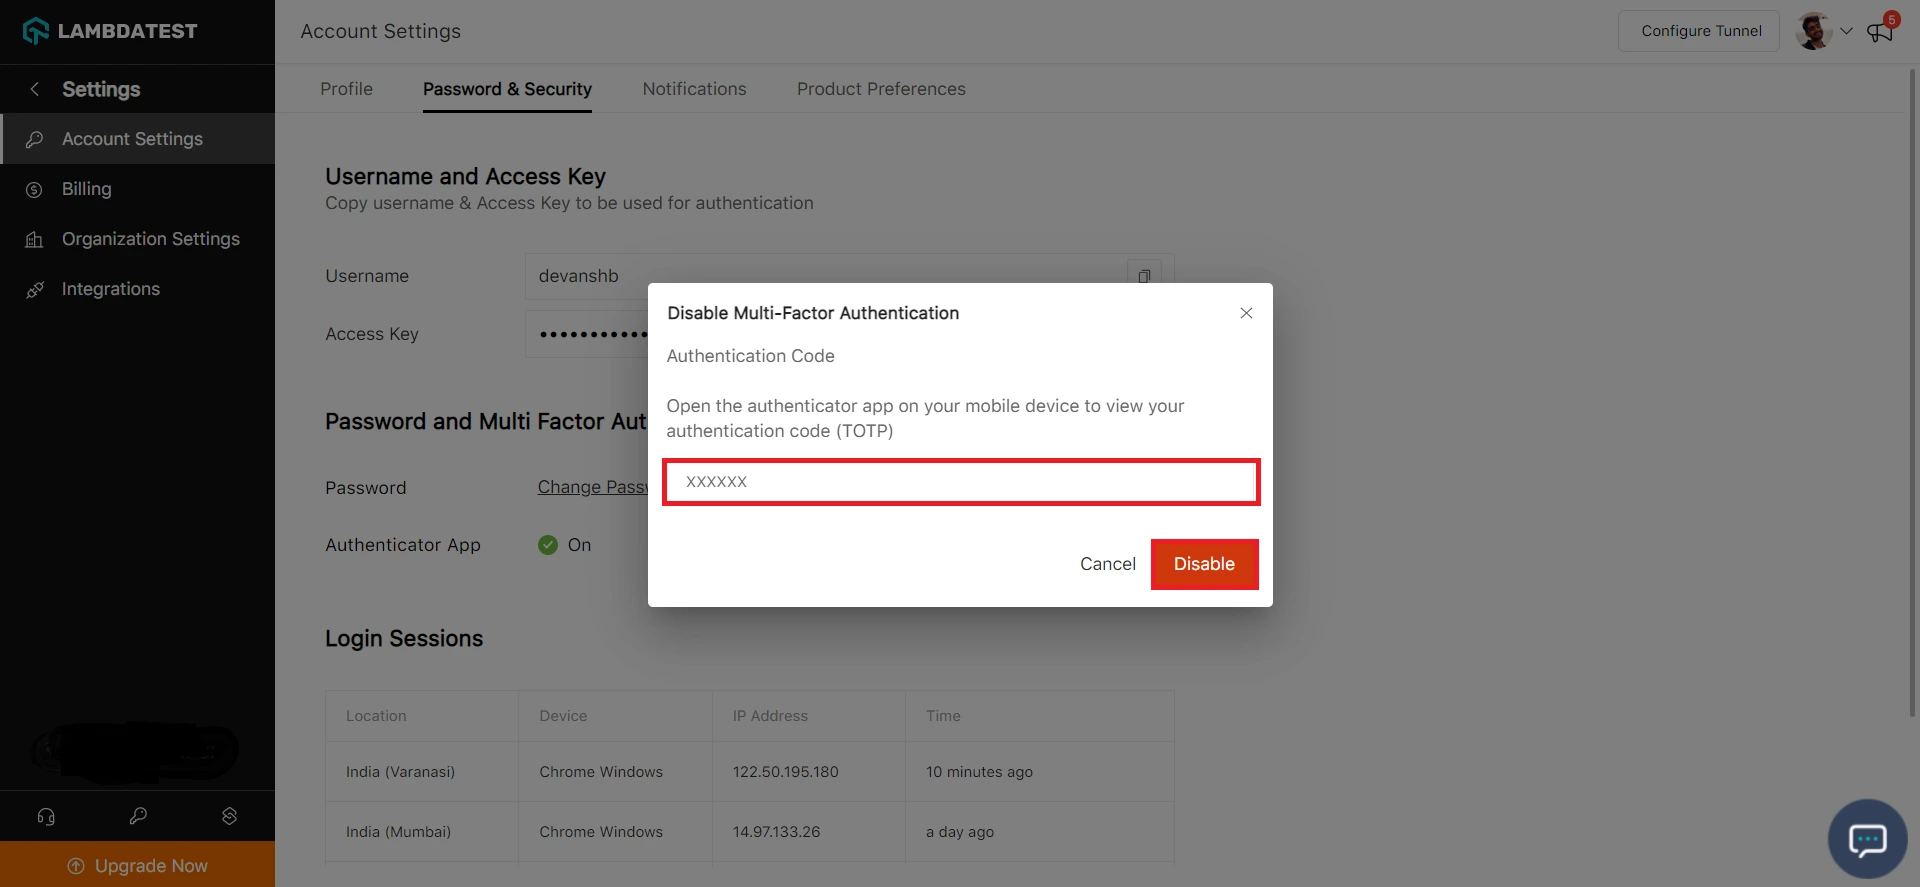
Step 3: Enter your account password to verify your identity.

Step 4: Enter the six-digit authentication code generated by your authenticator app.
MFA is now disabled on your account, and you will be redirected to the login page.
Enforce TestMu AI MFA for Your Organization
Step 1: Navigate to Settings and select Organization Settings from the dropdown.
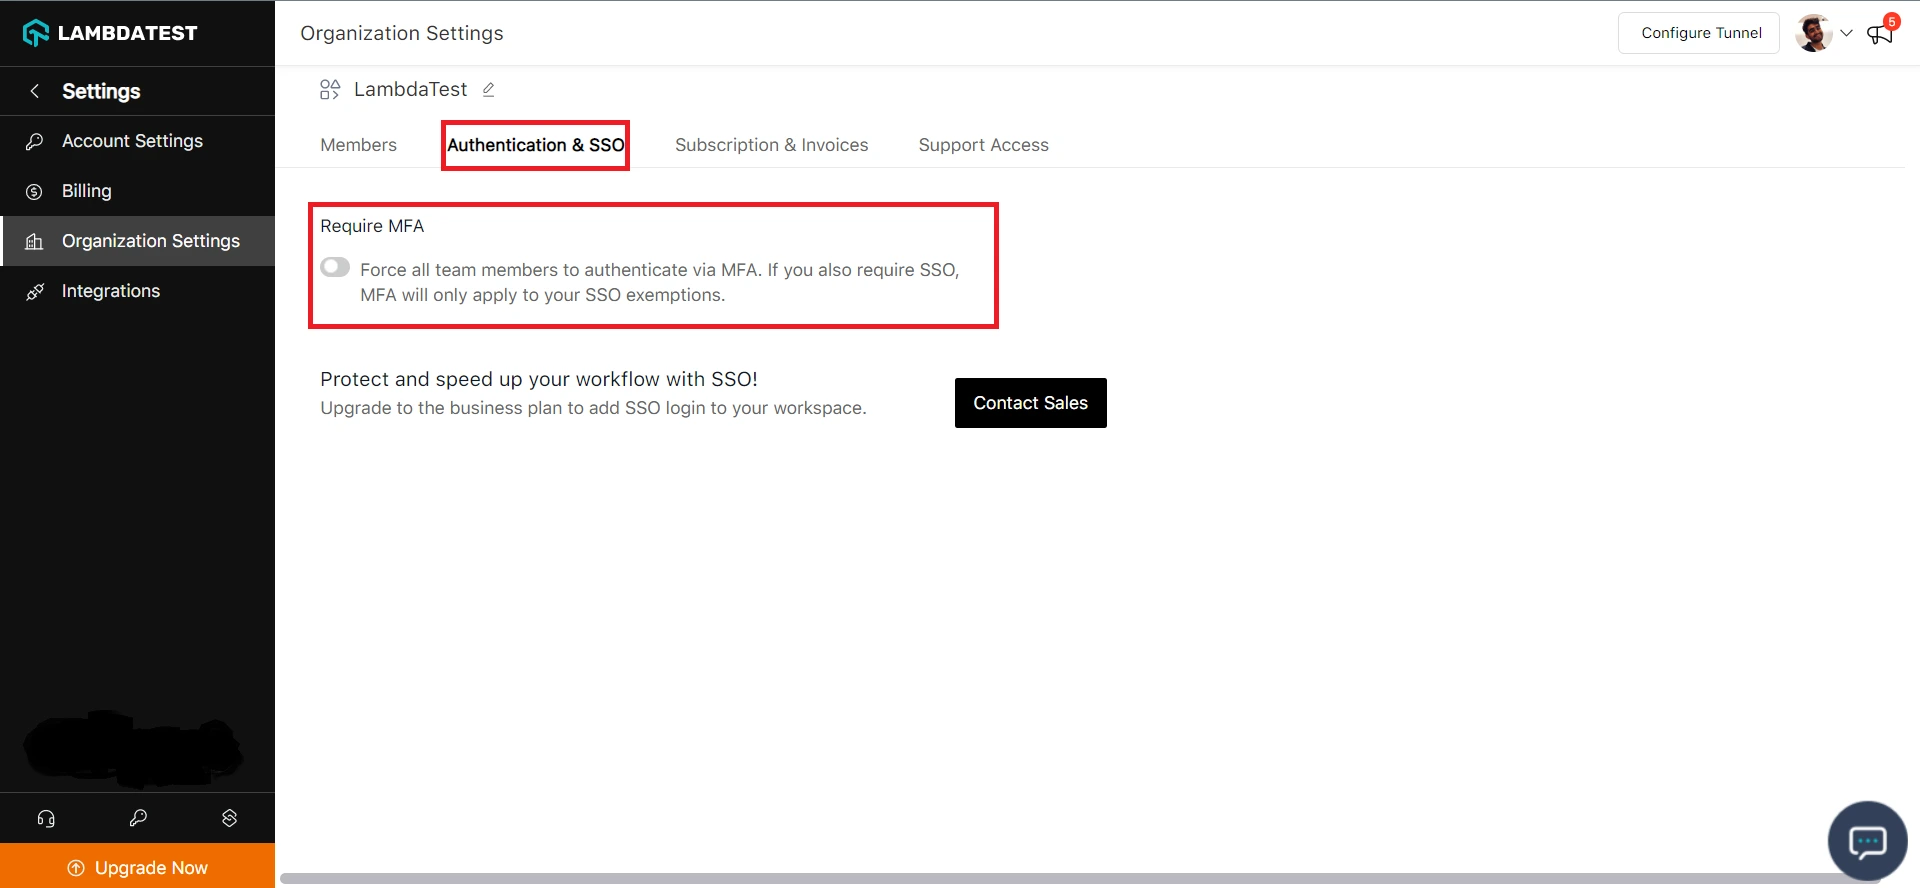
Step 2: Open the Authentication and SSO tab and toggle on the Require MFA option.
Users who have not set up MFA will be logged out immediately and asked to set up MFA the next time they sign in.

Step 3: Log in again to set up MFA.
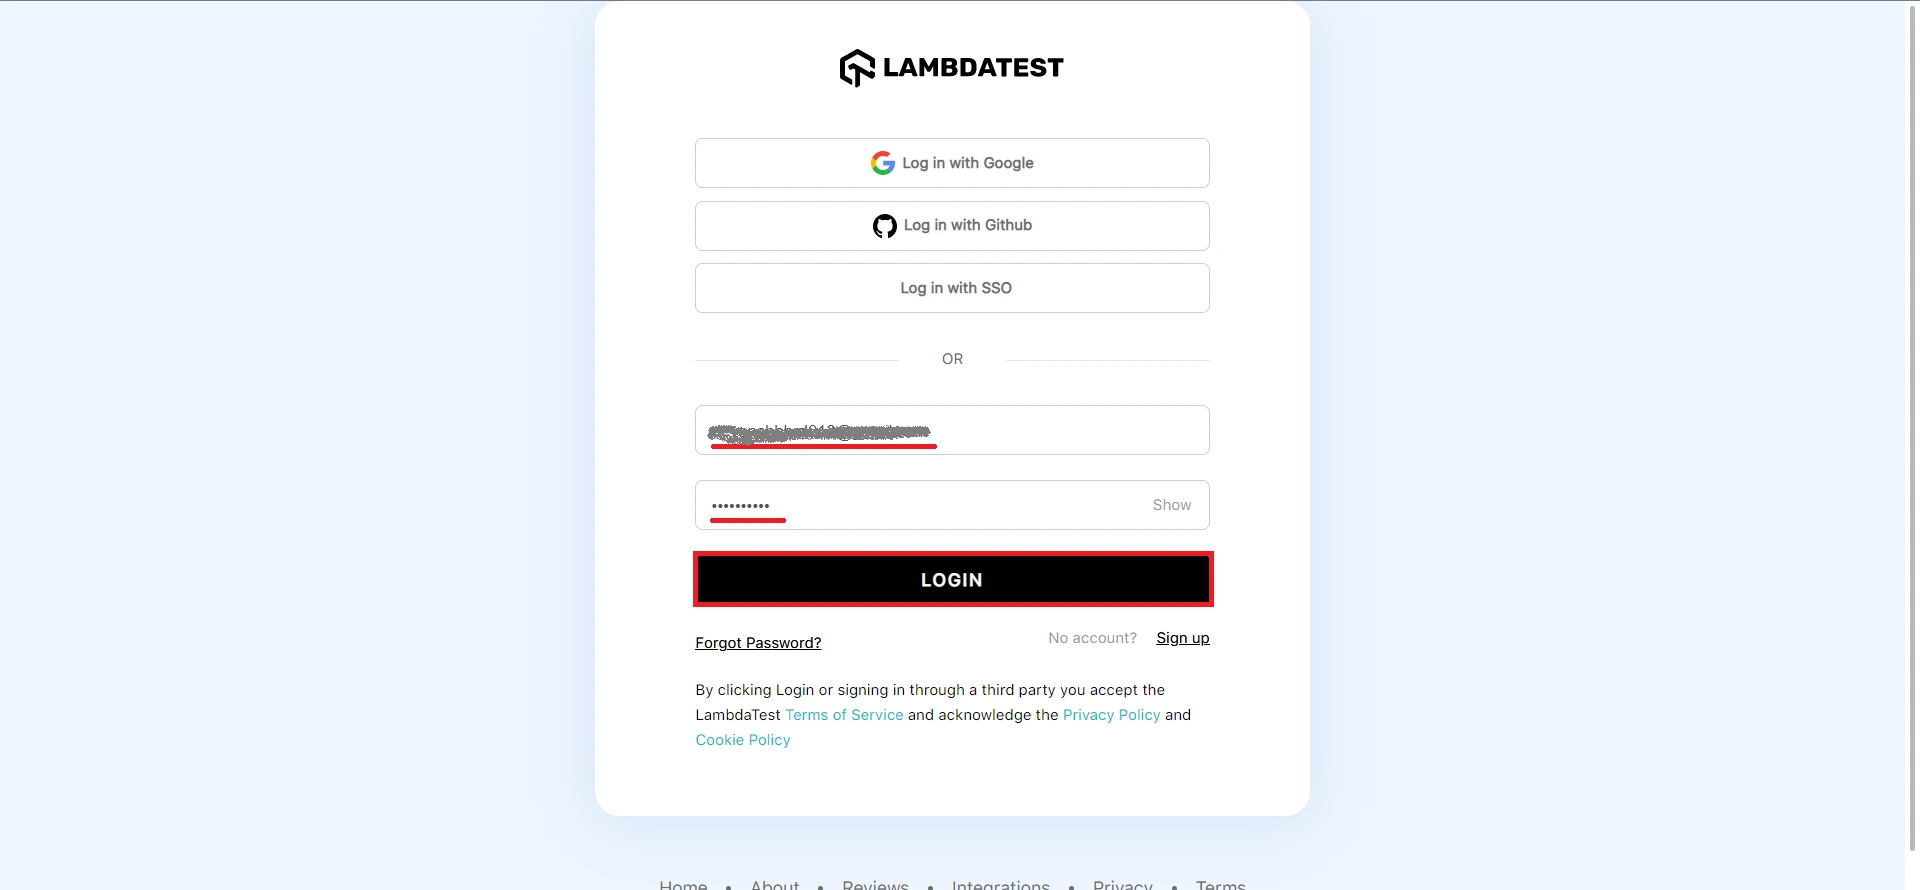
Step 4: Click Set Up MFA.

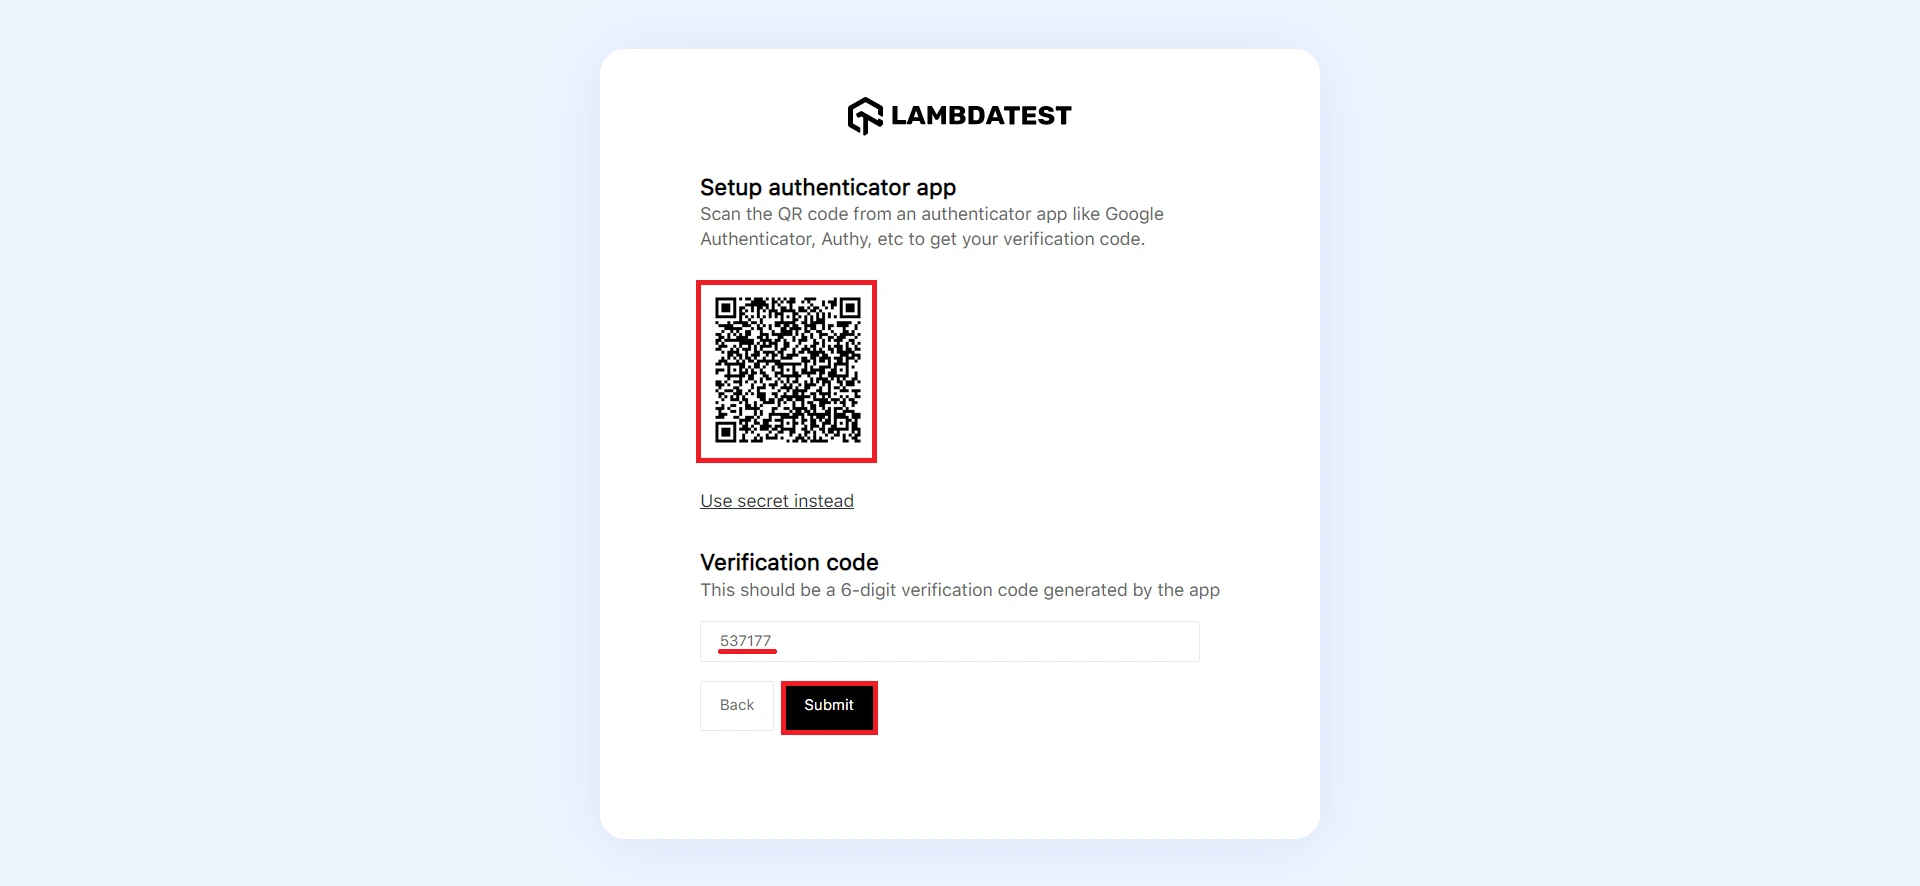
Step 5: Scan the generated QR code with your preferred authenticator app, enter the verification code shown in the app, and click Submit.
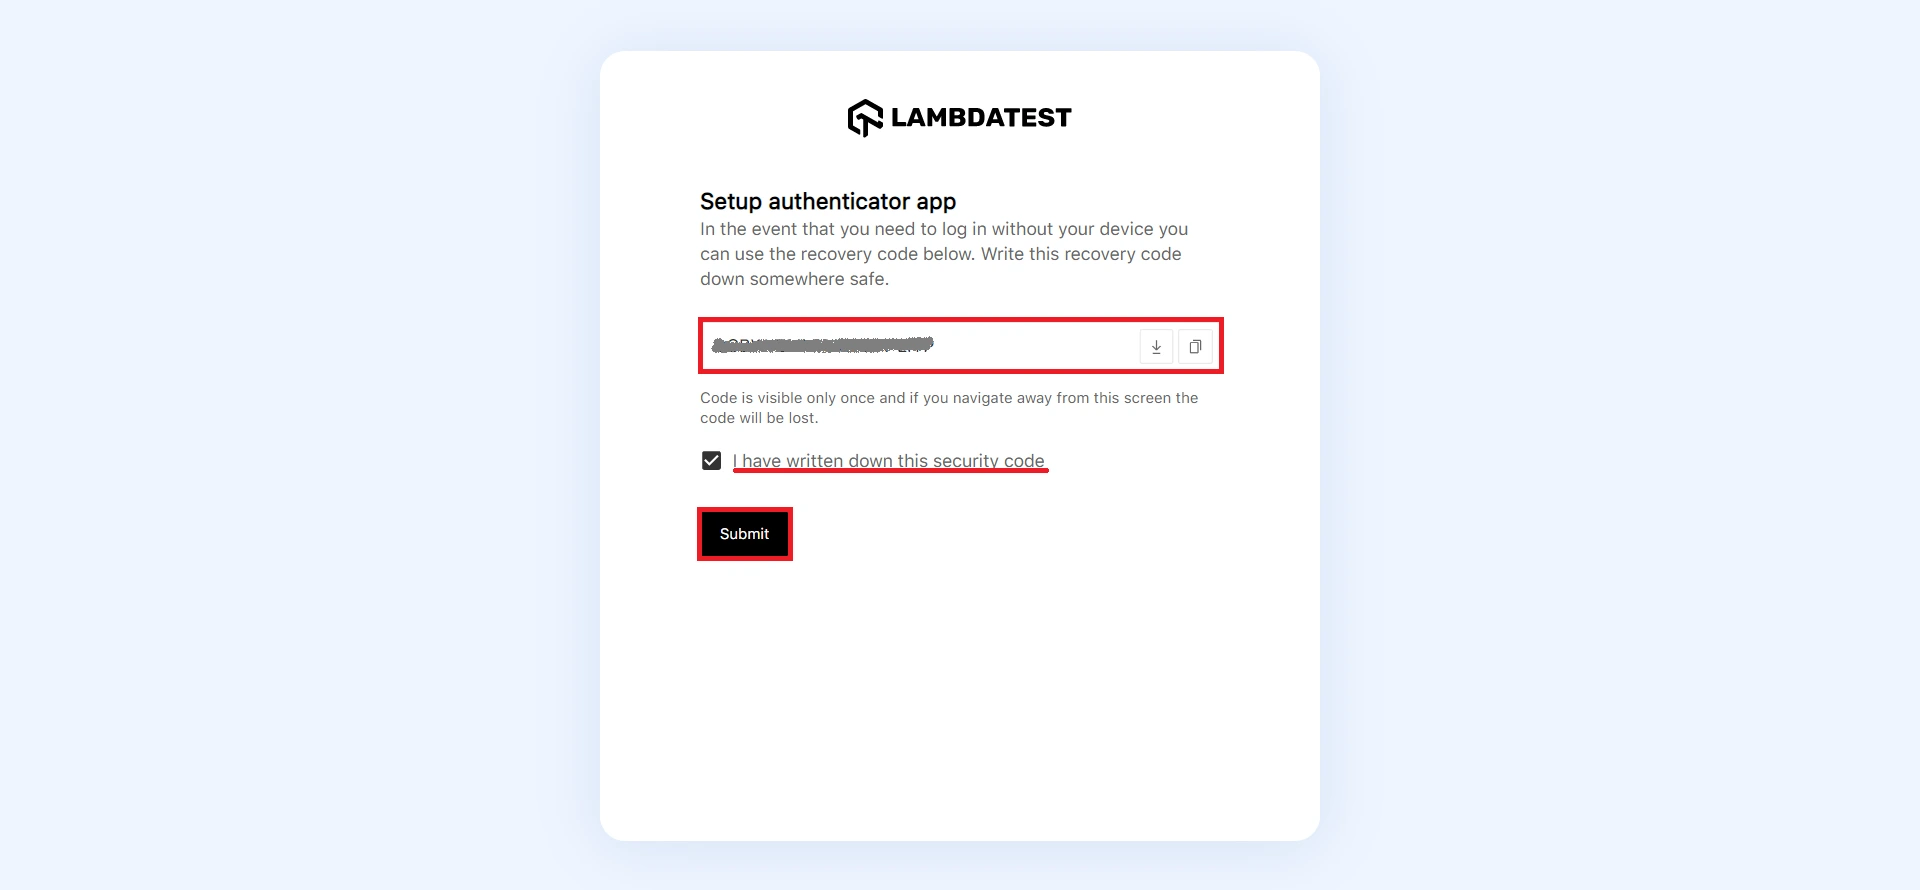
Step 6: Copy or download the recovery code, select I have written down this security code, and click Submit.
You will need the recovery code if you lose access to your authenticator app or delete it by mistake. Save it somewhere secure.
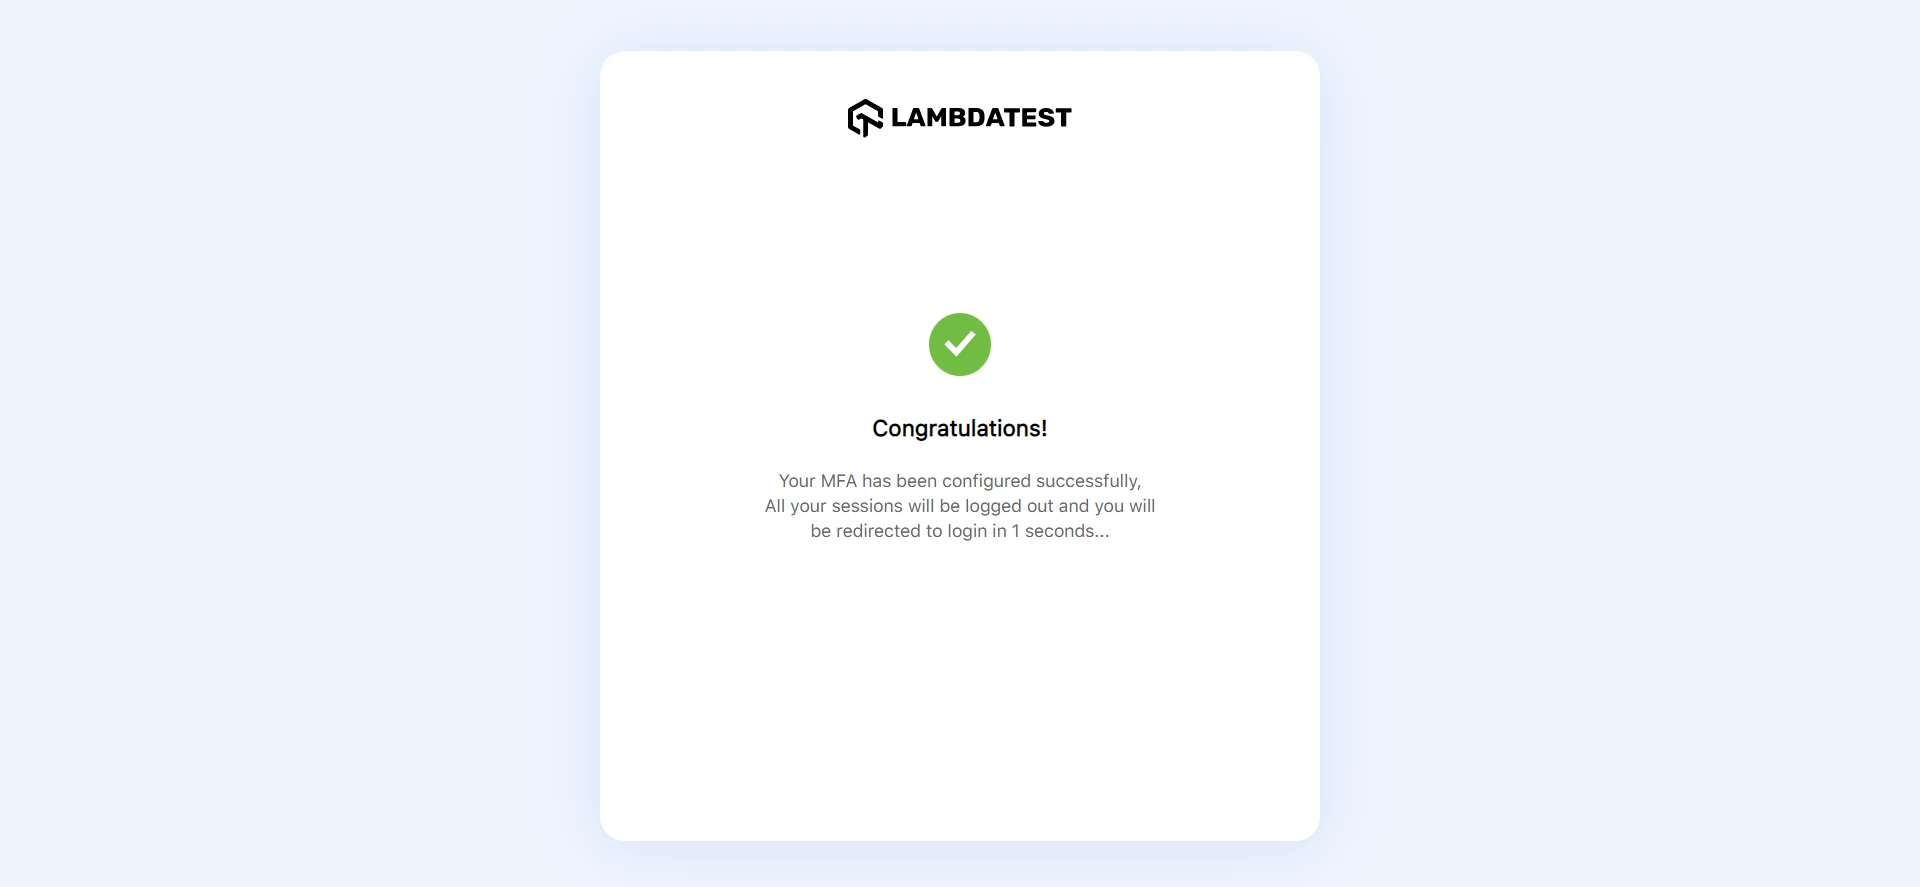
You have successfully set up MFA for your TestMu AI account.
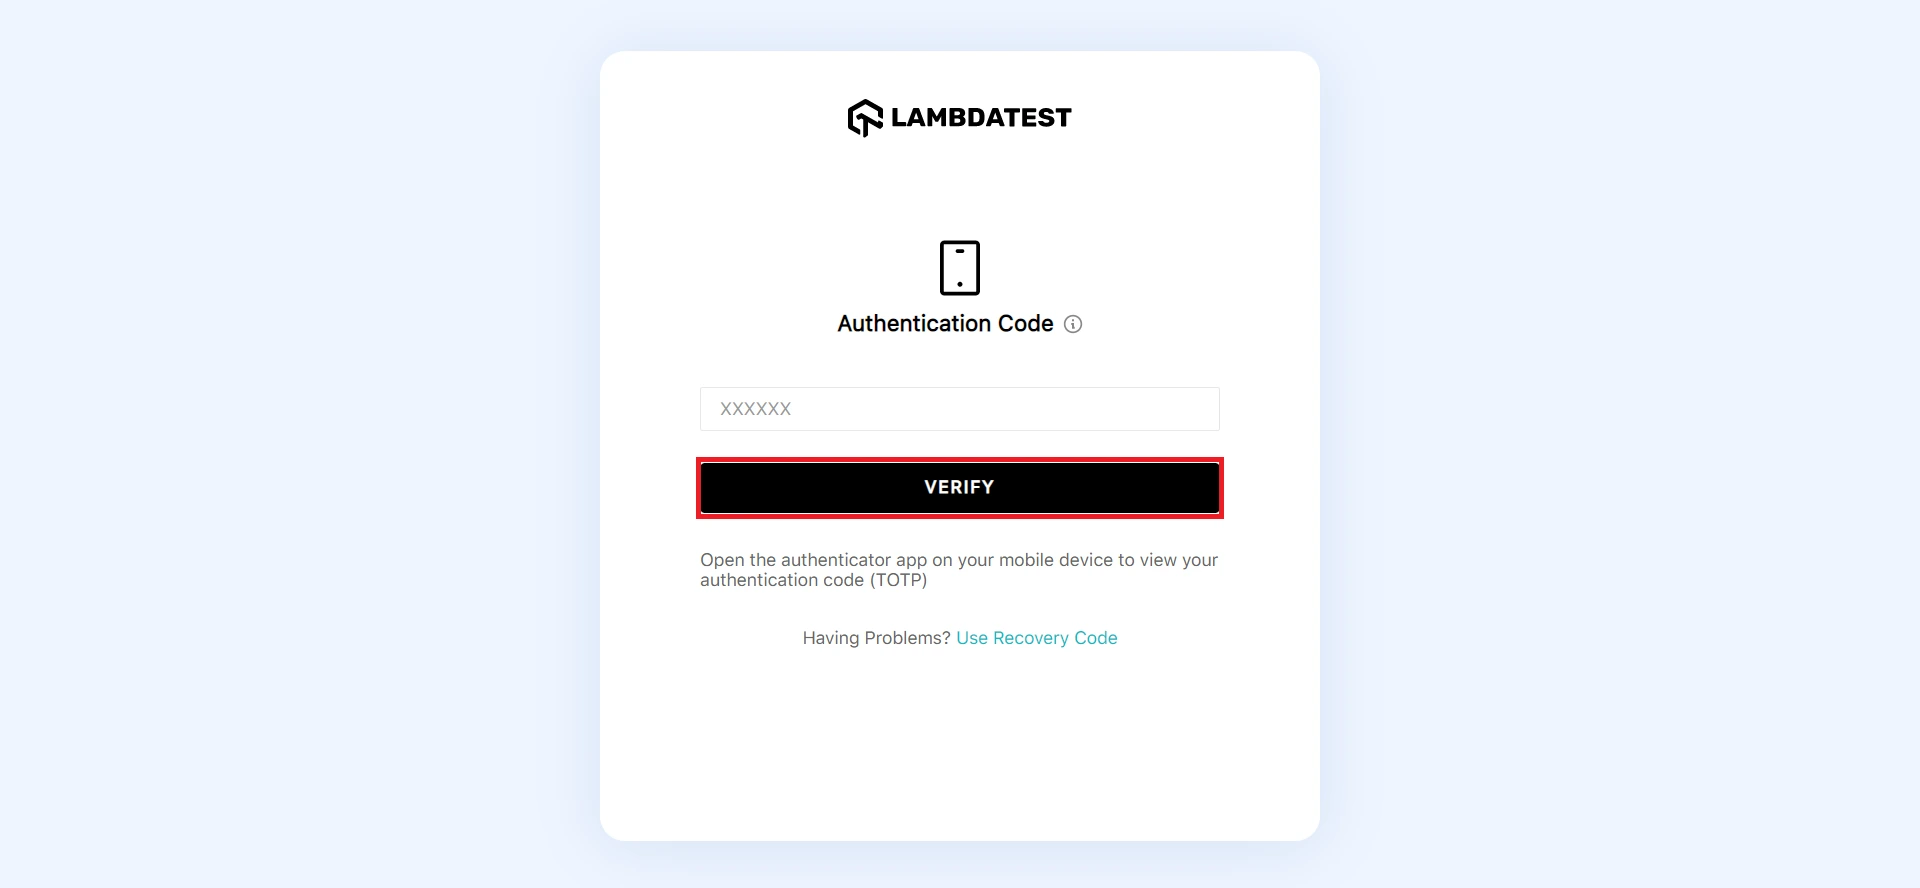
Step 7: Sign in again. Enter the newly generated authentication code from your authenticator app and click Verify.
Disable Enforced MFA for Your Organization
Step 1: Navigate to Settings and select Organization Settings from the dropdown.
Step 2: Open the Authentication and SSO tab and toggle off the Require MFA option.
Disable TestMu AI MFA for a User
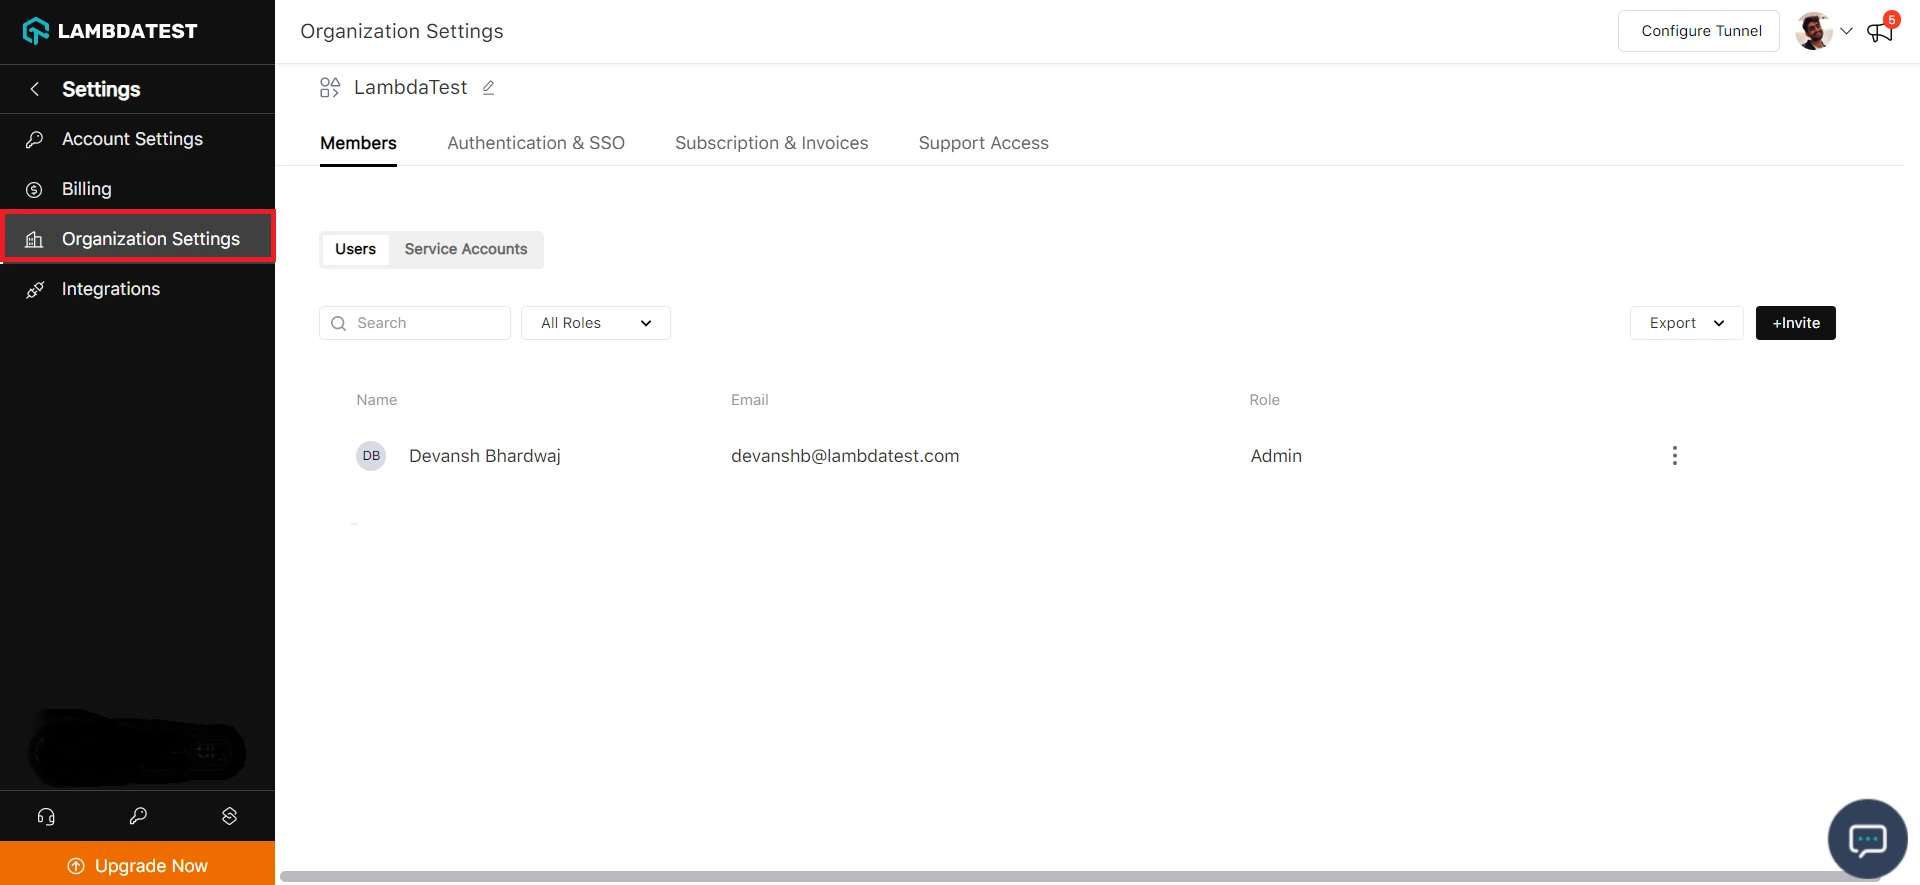
Step 1: Navigate to Settings and select Organization Settings from the dropdown.
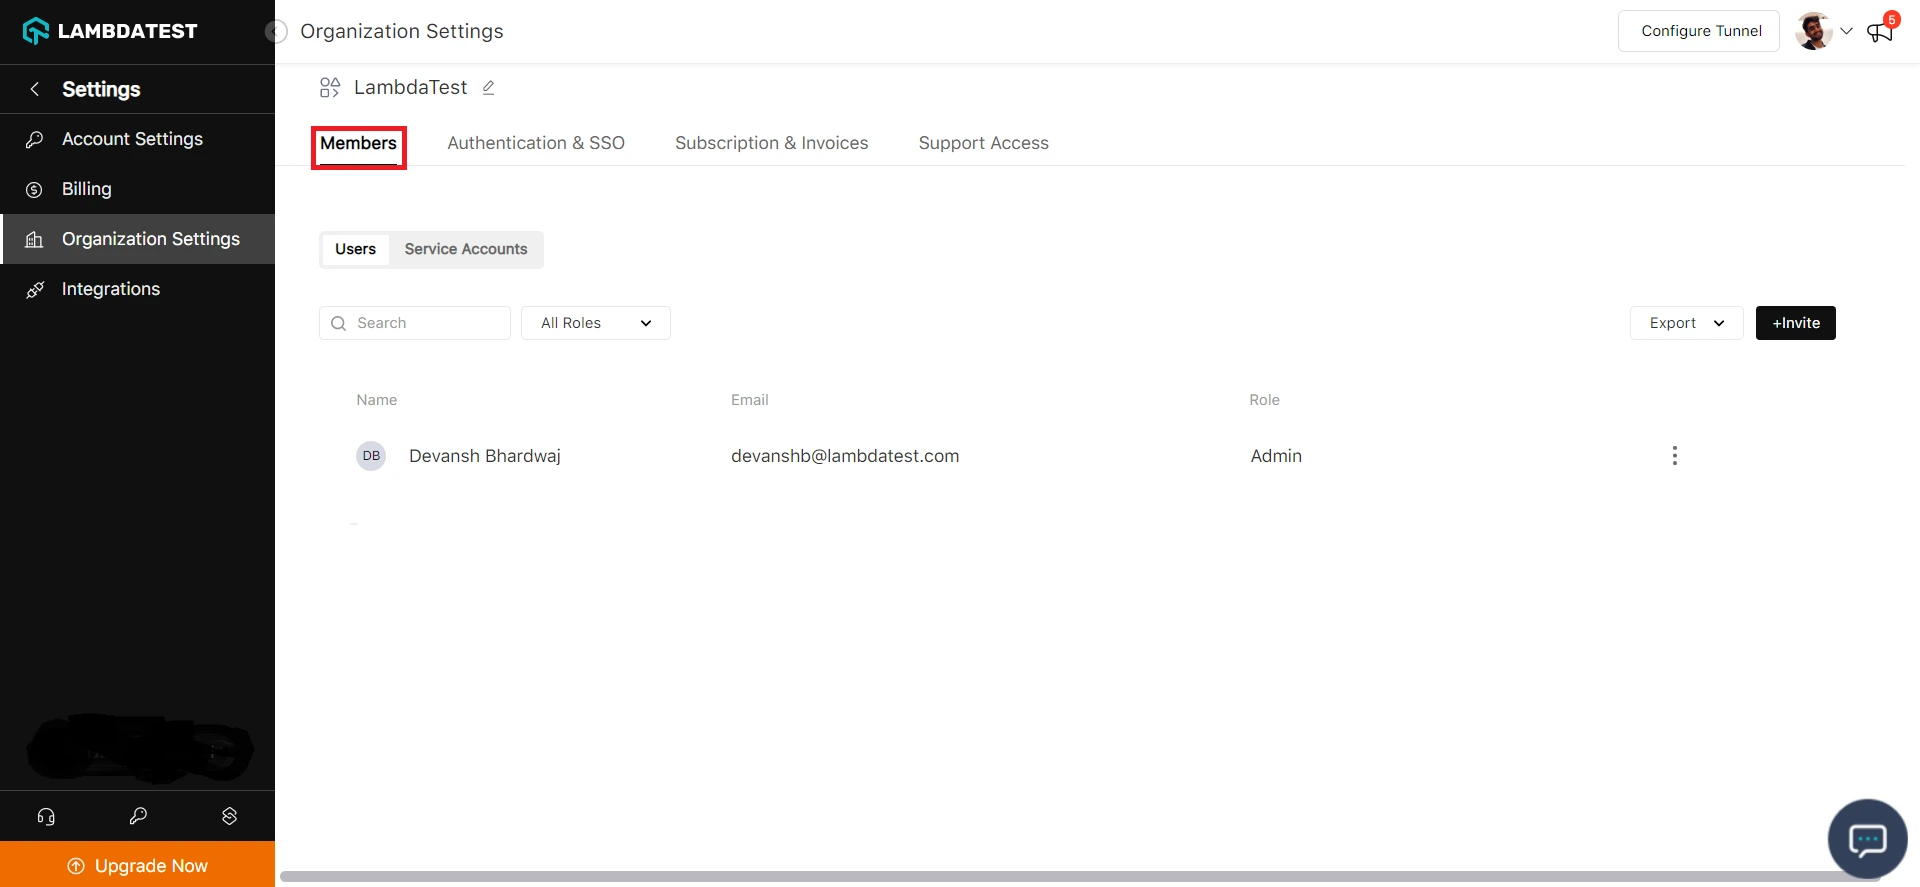
Step 2: Open the Members tab.
Step 3: Click the three-dot (⋮) menu next to the user's name and select Disable MFA.
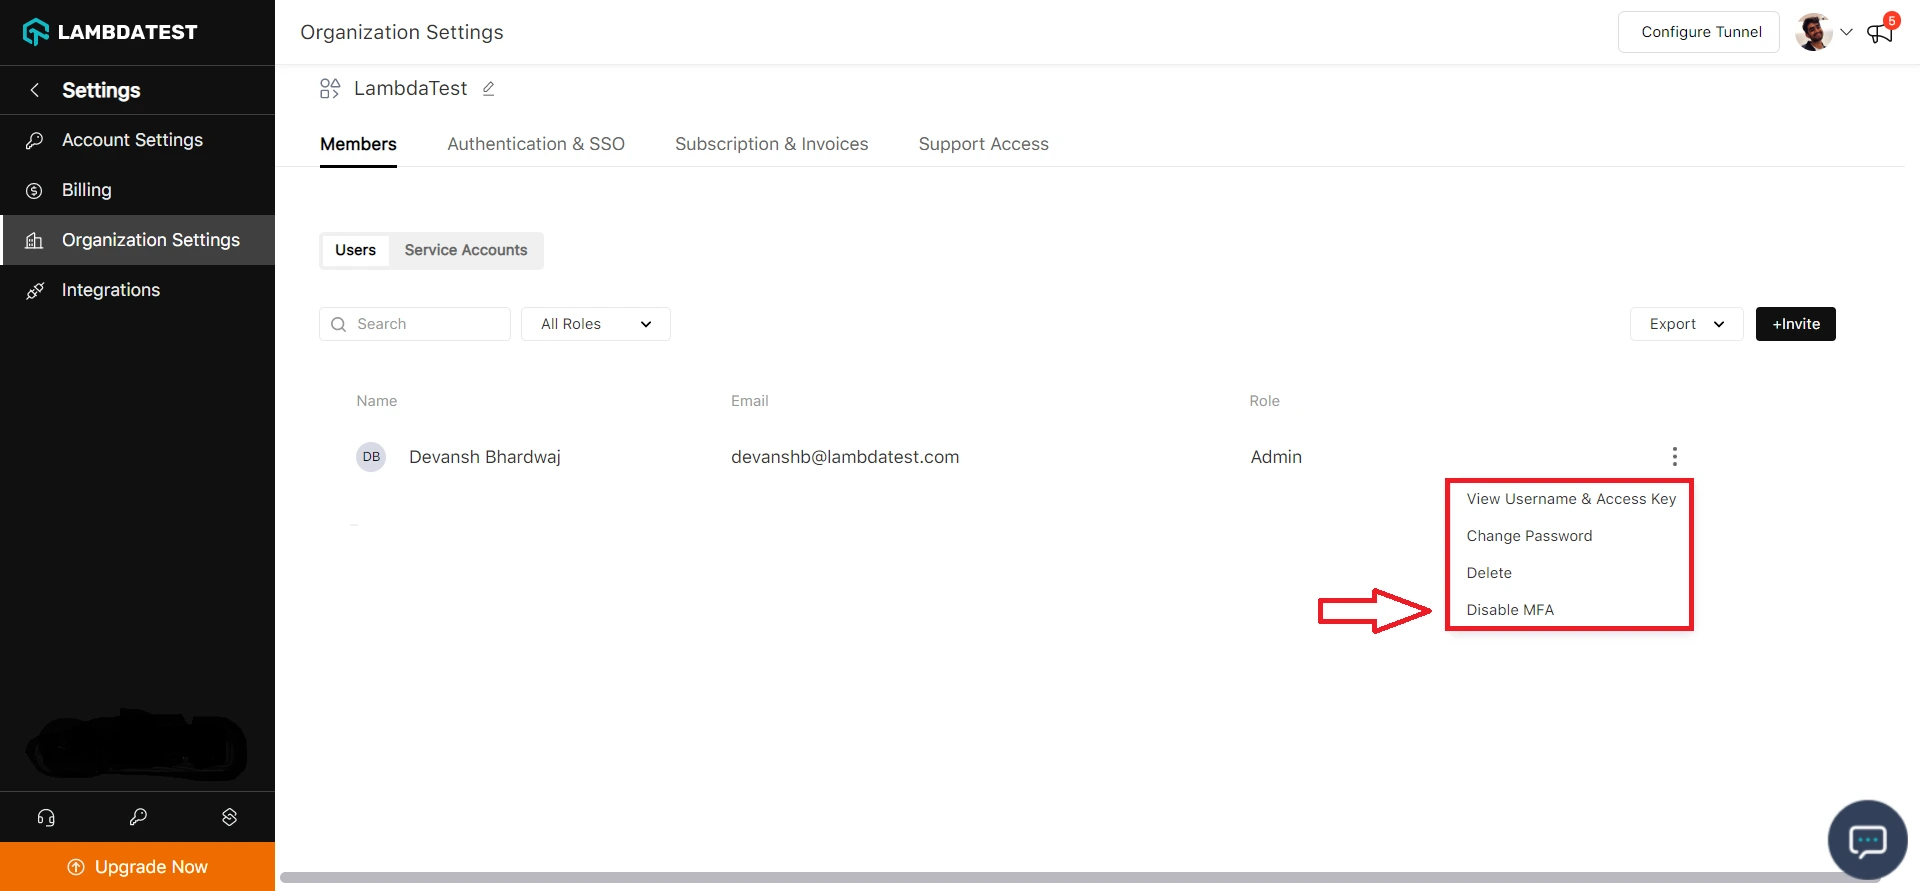
You have successfully disabled MFA for the user.
If you have any questions, please reach out via our 24/7 chat support or email us at support@testmuai.com.
