Sub Organizations
Sub-organizations let you segregate test data across multiple business units within your TestMu AI account. You can also distribute the concurrency you have purchased among sub-organizations, so each operates independently with its own administrators, users, and settings.
This feature is available exclusively on the Enterprise plan. To enable it for your organization, please reach out to your account manager.
Things to Note
Before setting up sub-organizations, review the following constraints:
- Single membership: A user can belong to only one organization or sub-organization at a time. Cross-membership is not supported.
- Concurrency ceiling: You can allocate the concurrency you have subscribed to across sub-organizations. The total concurrency allocated across all sub-organizations cannot exceed the concurrency available at the root organization level, on a per-product basis.
Create Your Sub-Organization
Step 1: Sign in to your TestMu AI account. If you don't have an account, register for free.
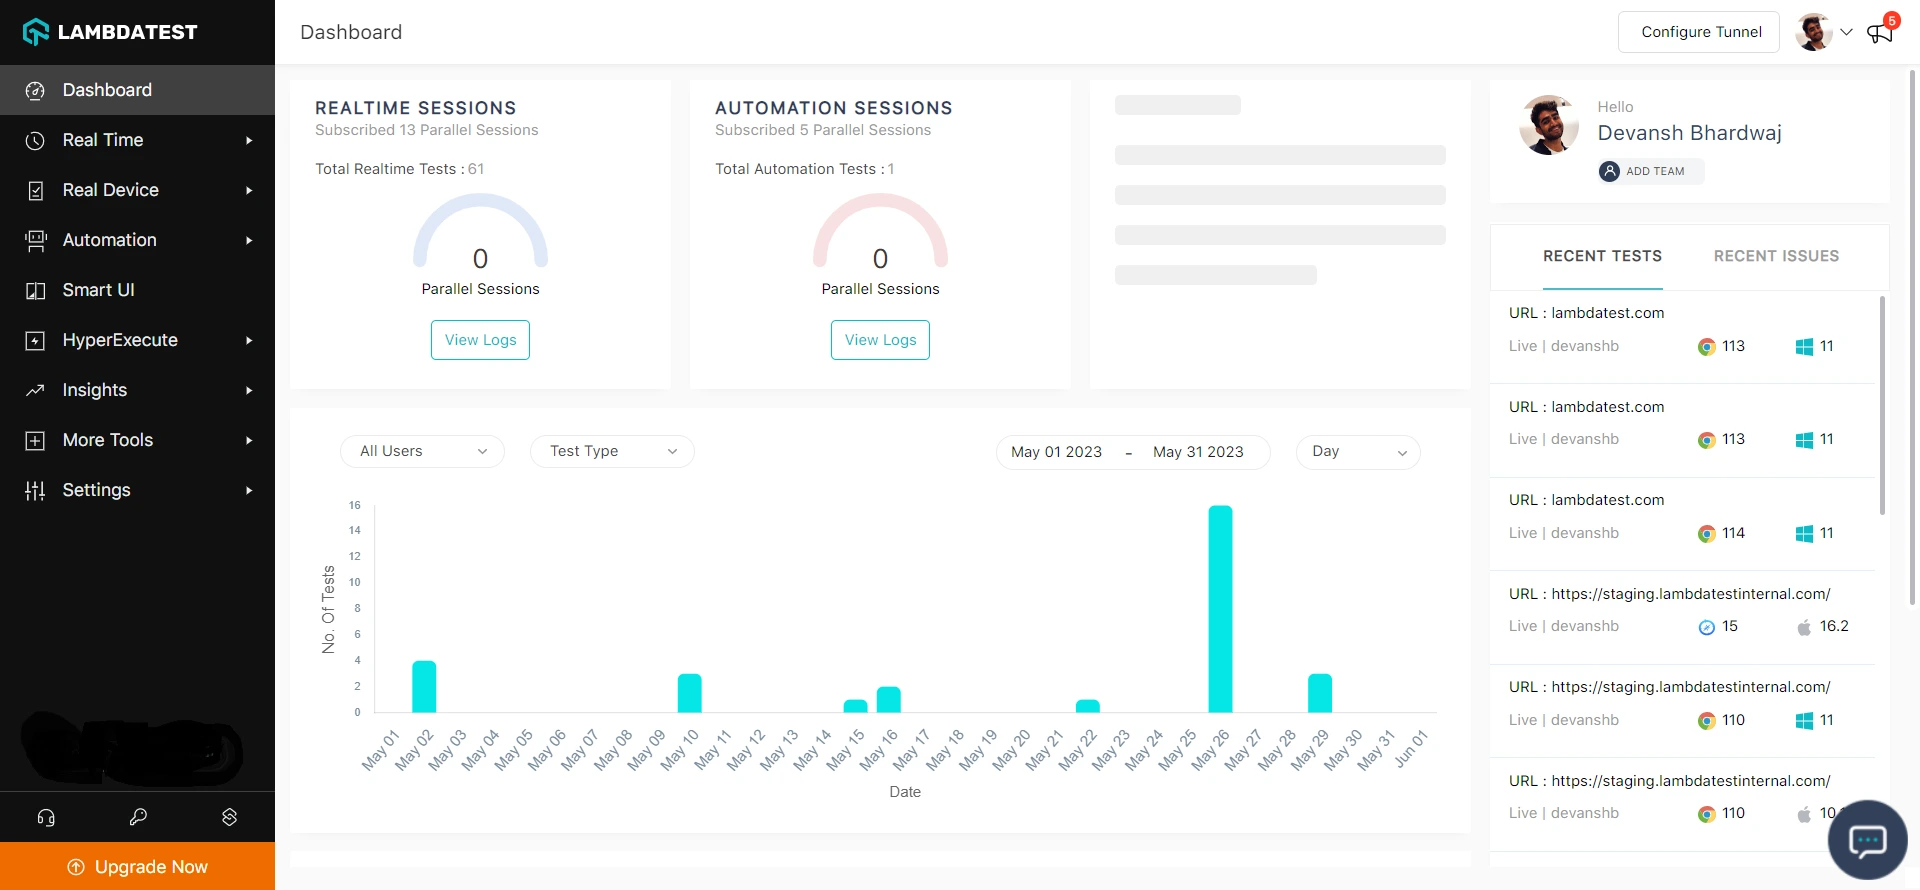
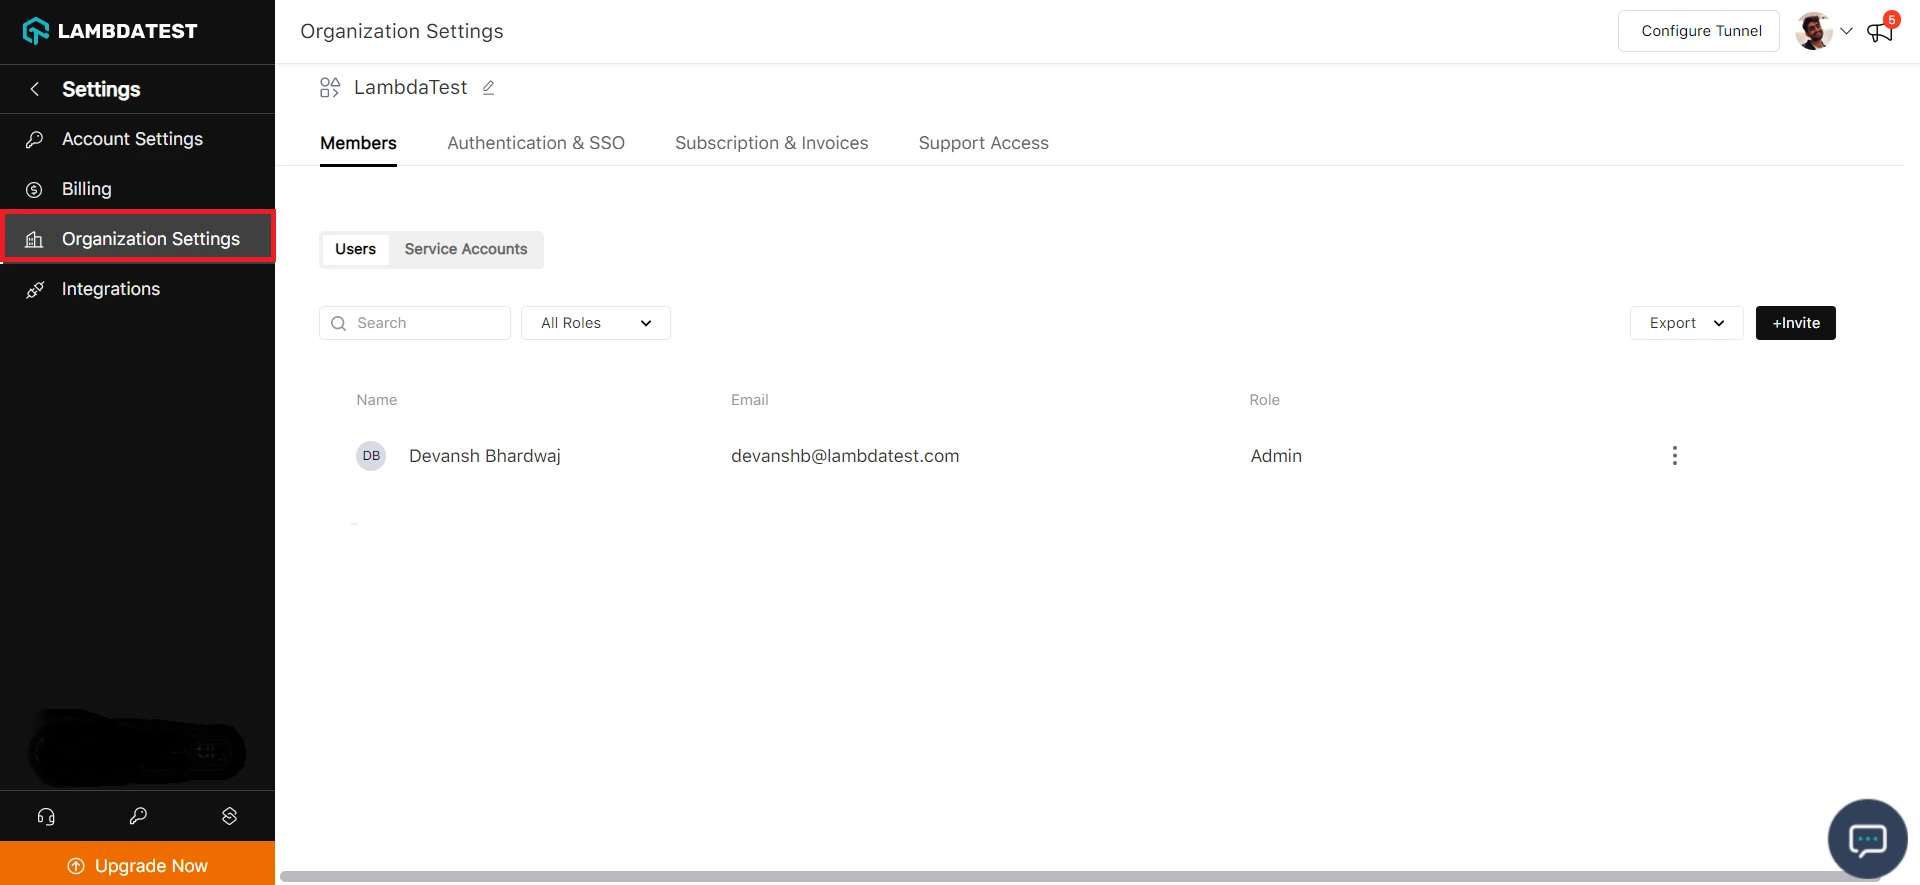
Step 2: Navigate to Settings and select Organization Settings from the dropdown.
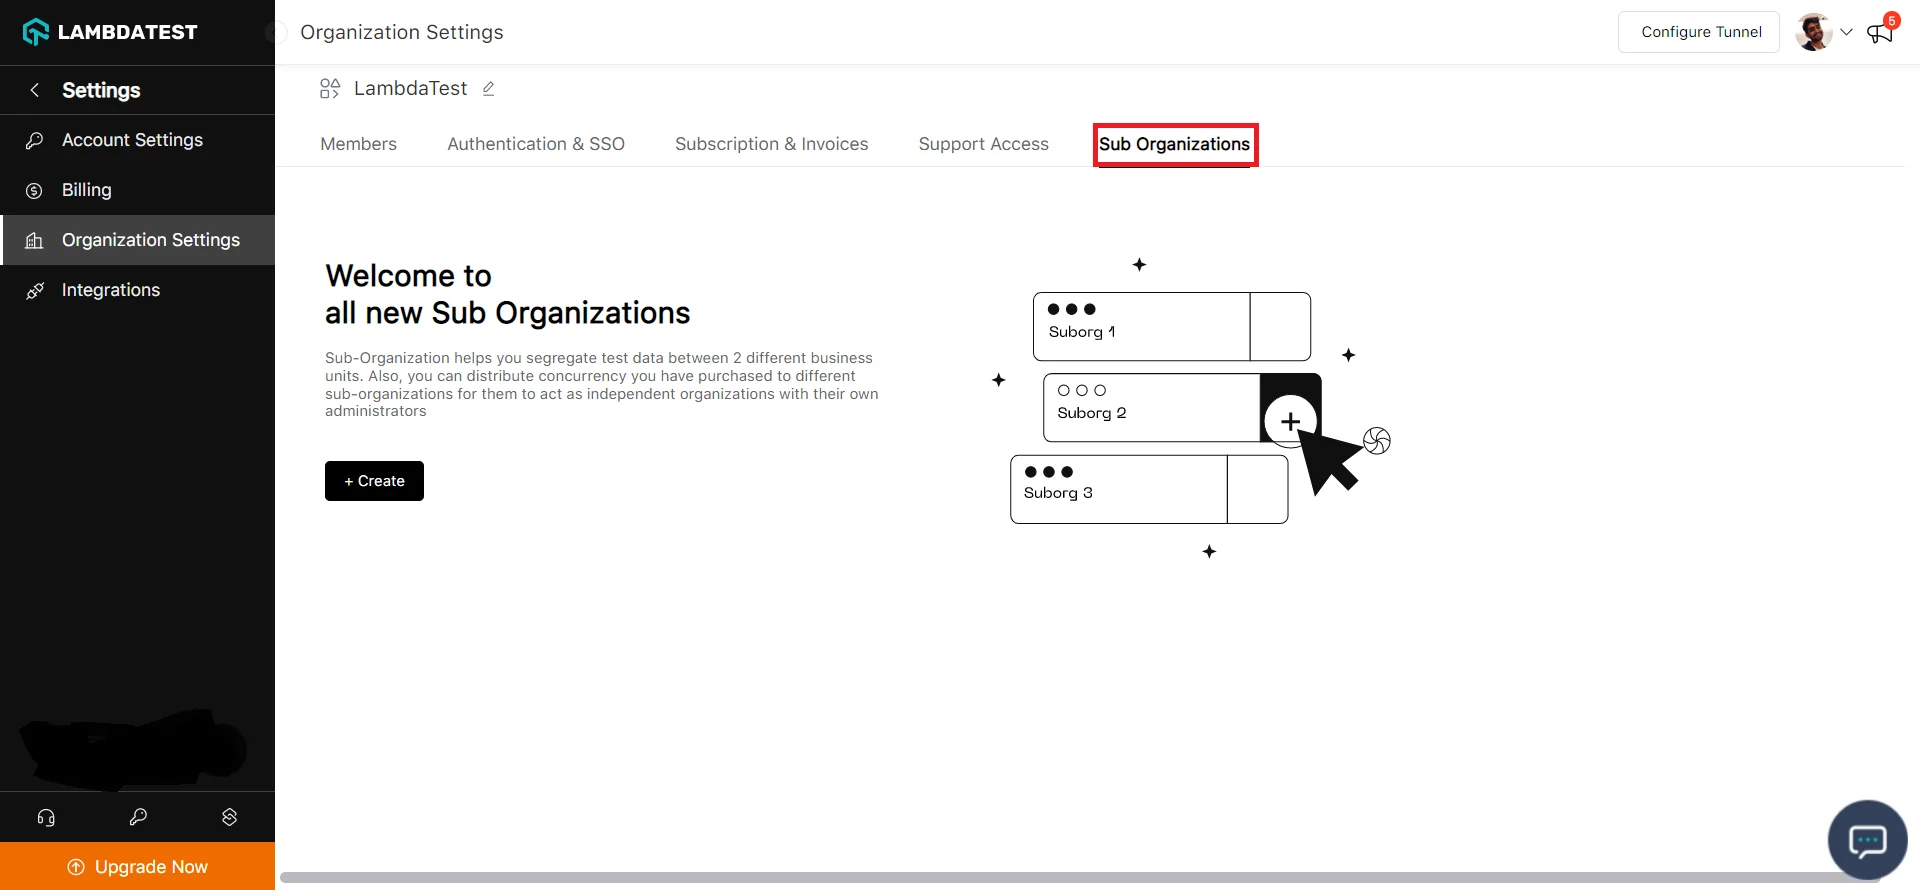
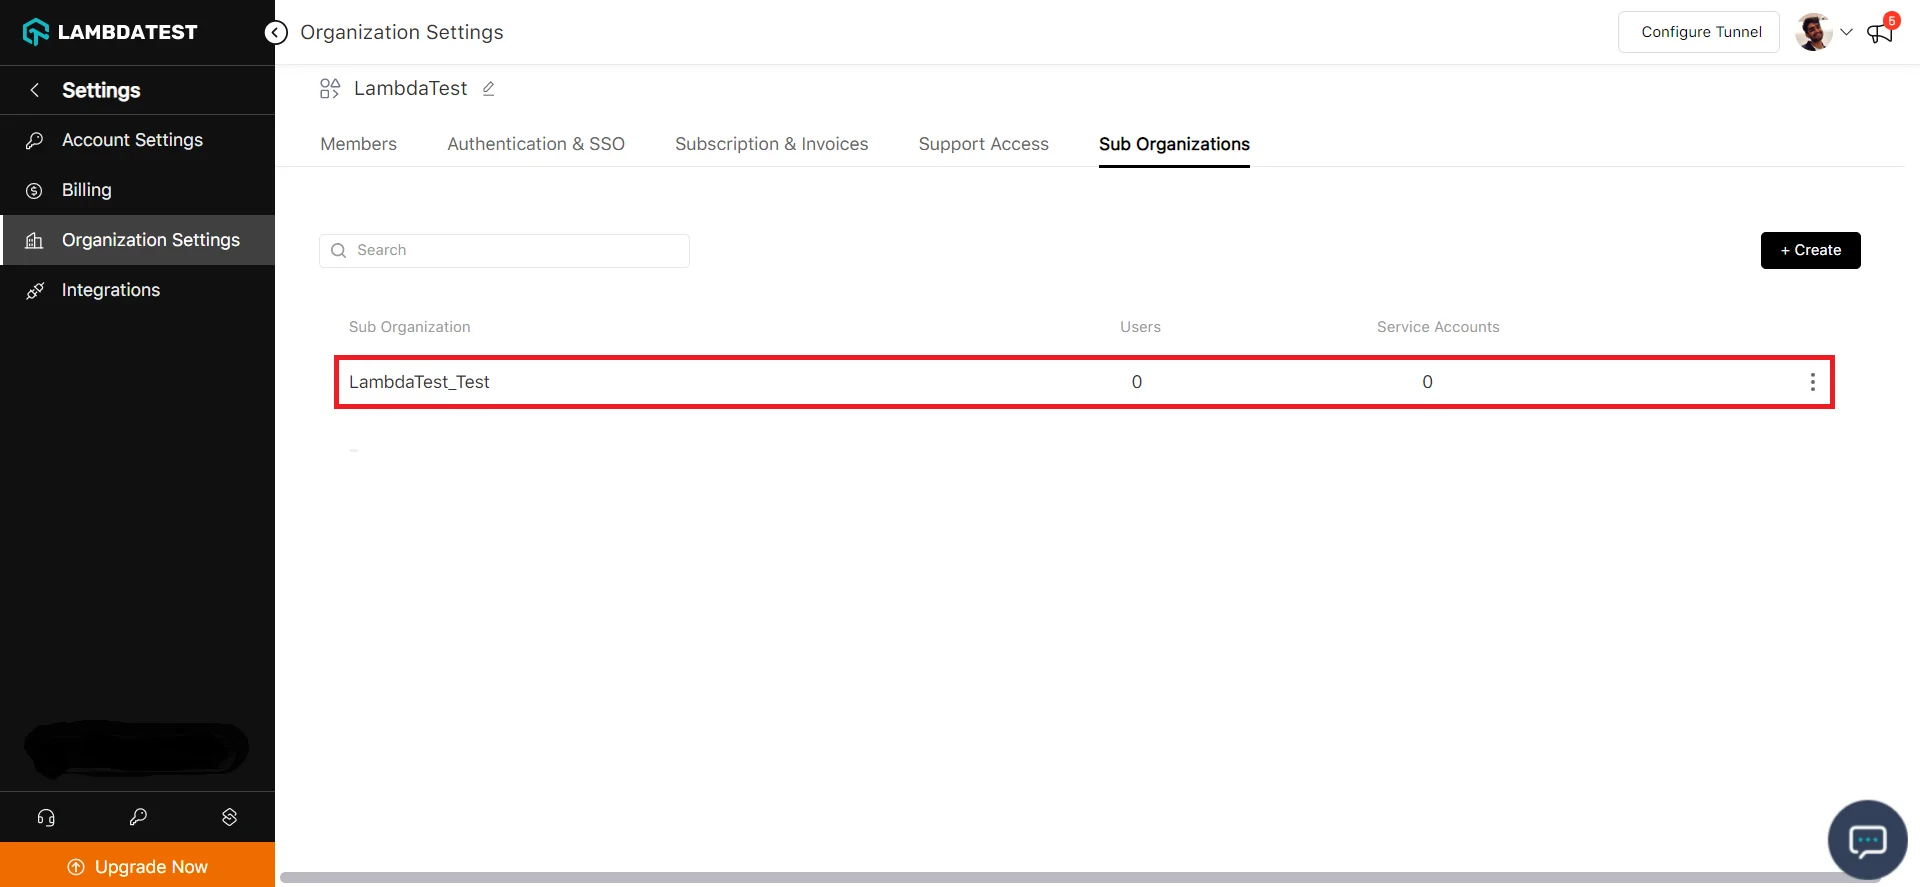
Step 3: Open the Sub Organization tab.
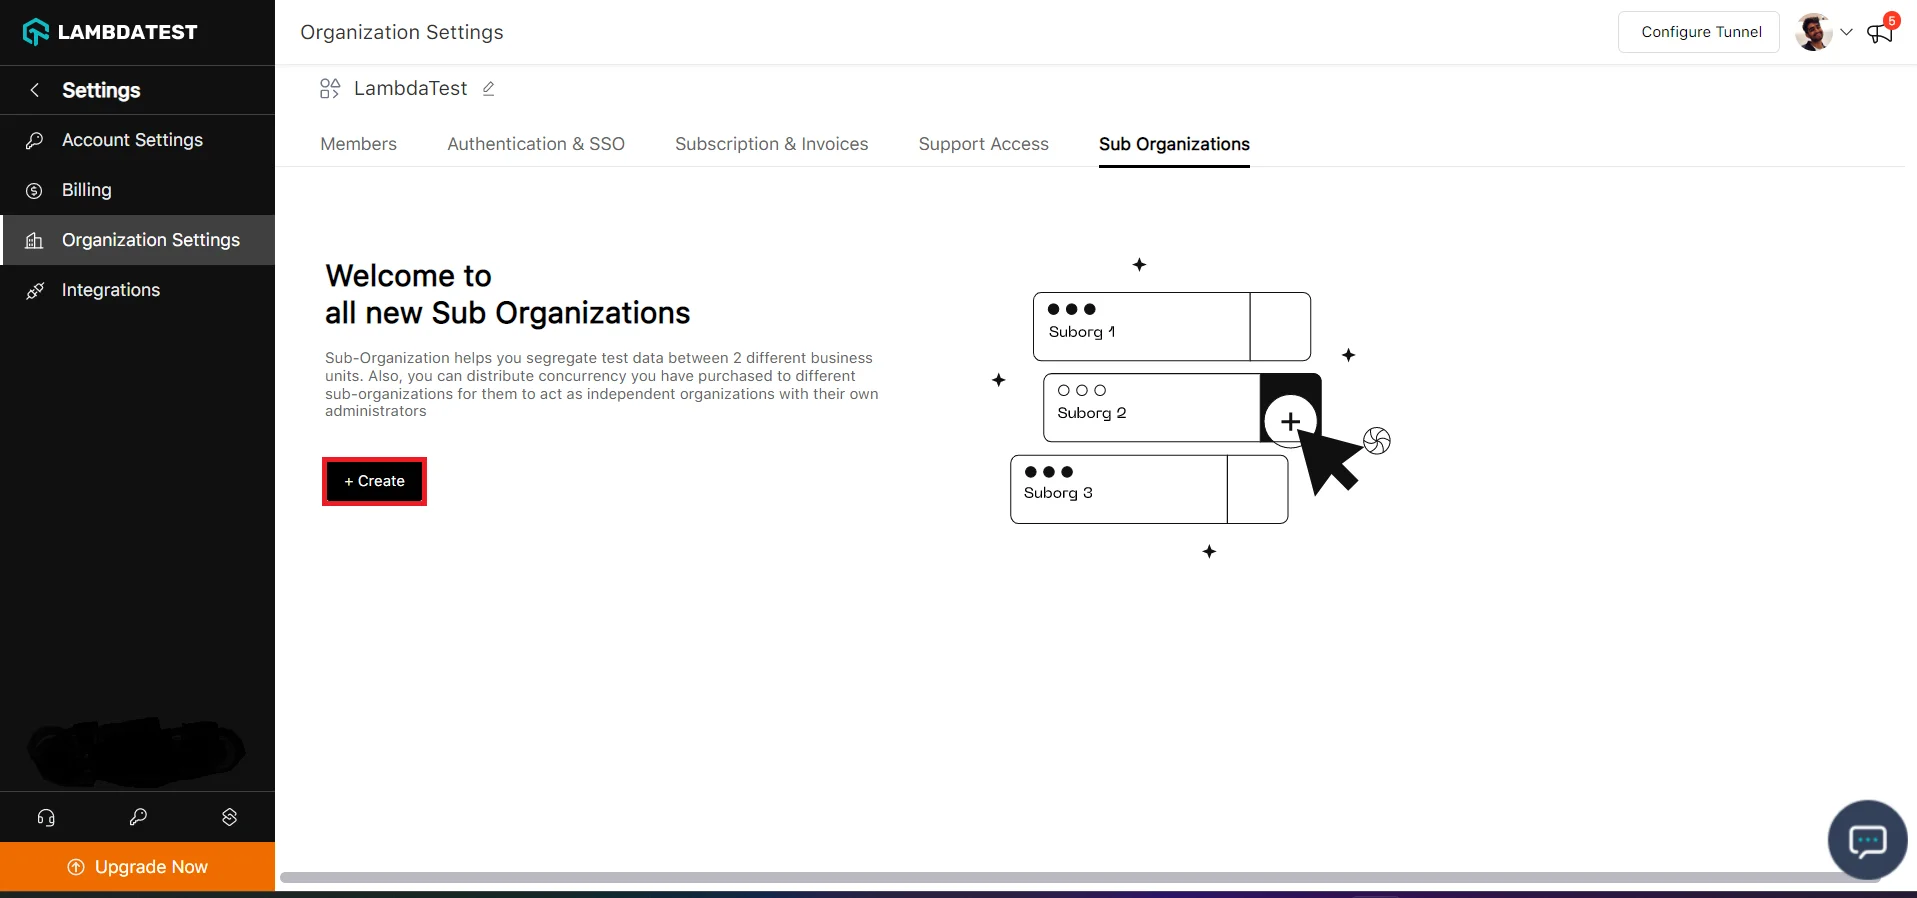
Step 4: Click Create.
Step 5: Enter a name for your sub-organization and click Create.
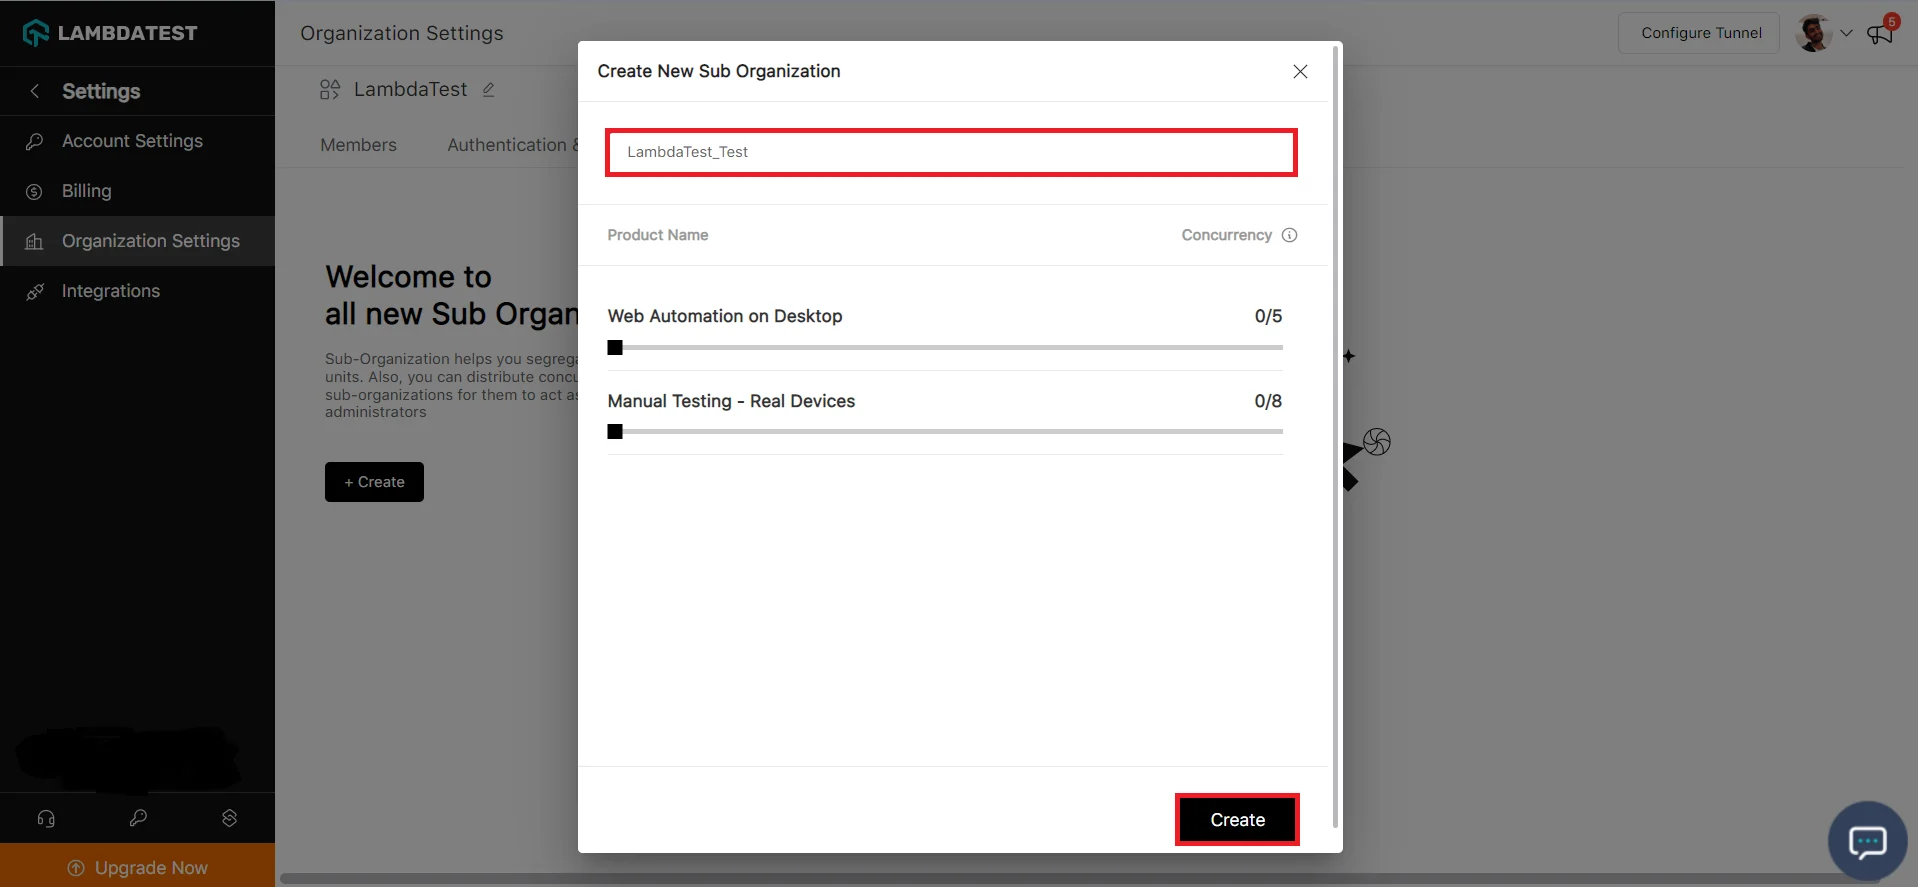
Your sub-organization has been created and is ready to configure.
Manage Your Sub-Organization
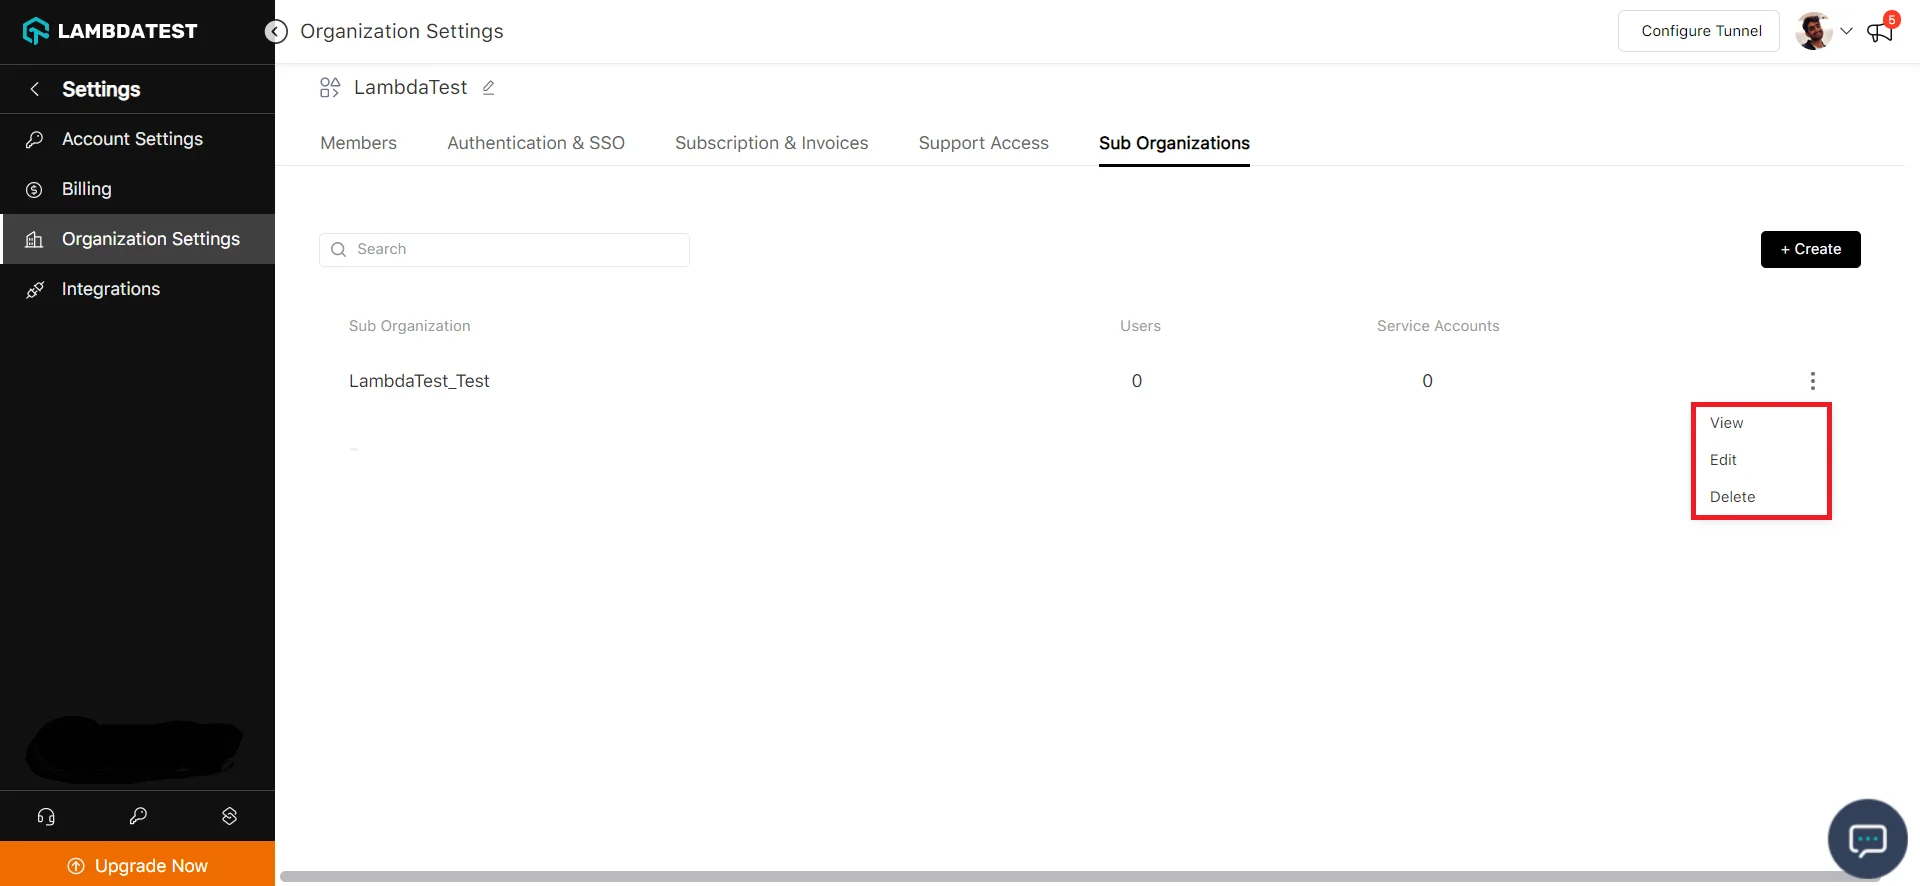
To manage a sub-organization, click the three-dot (⋮) menu next to its name. From this menu, you can view, edit, or delete the sub-organization.
Manage Users in Your Sub-Organization
Invite a User
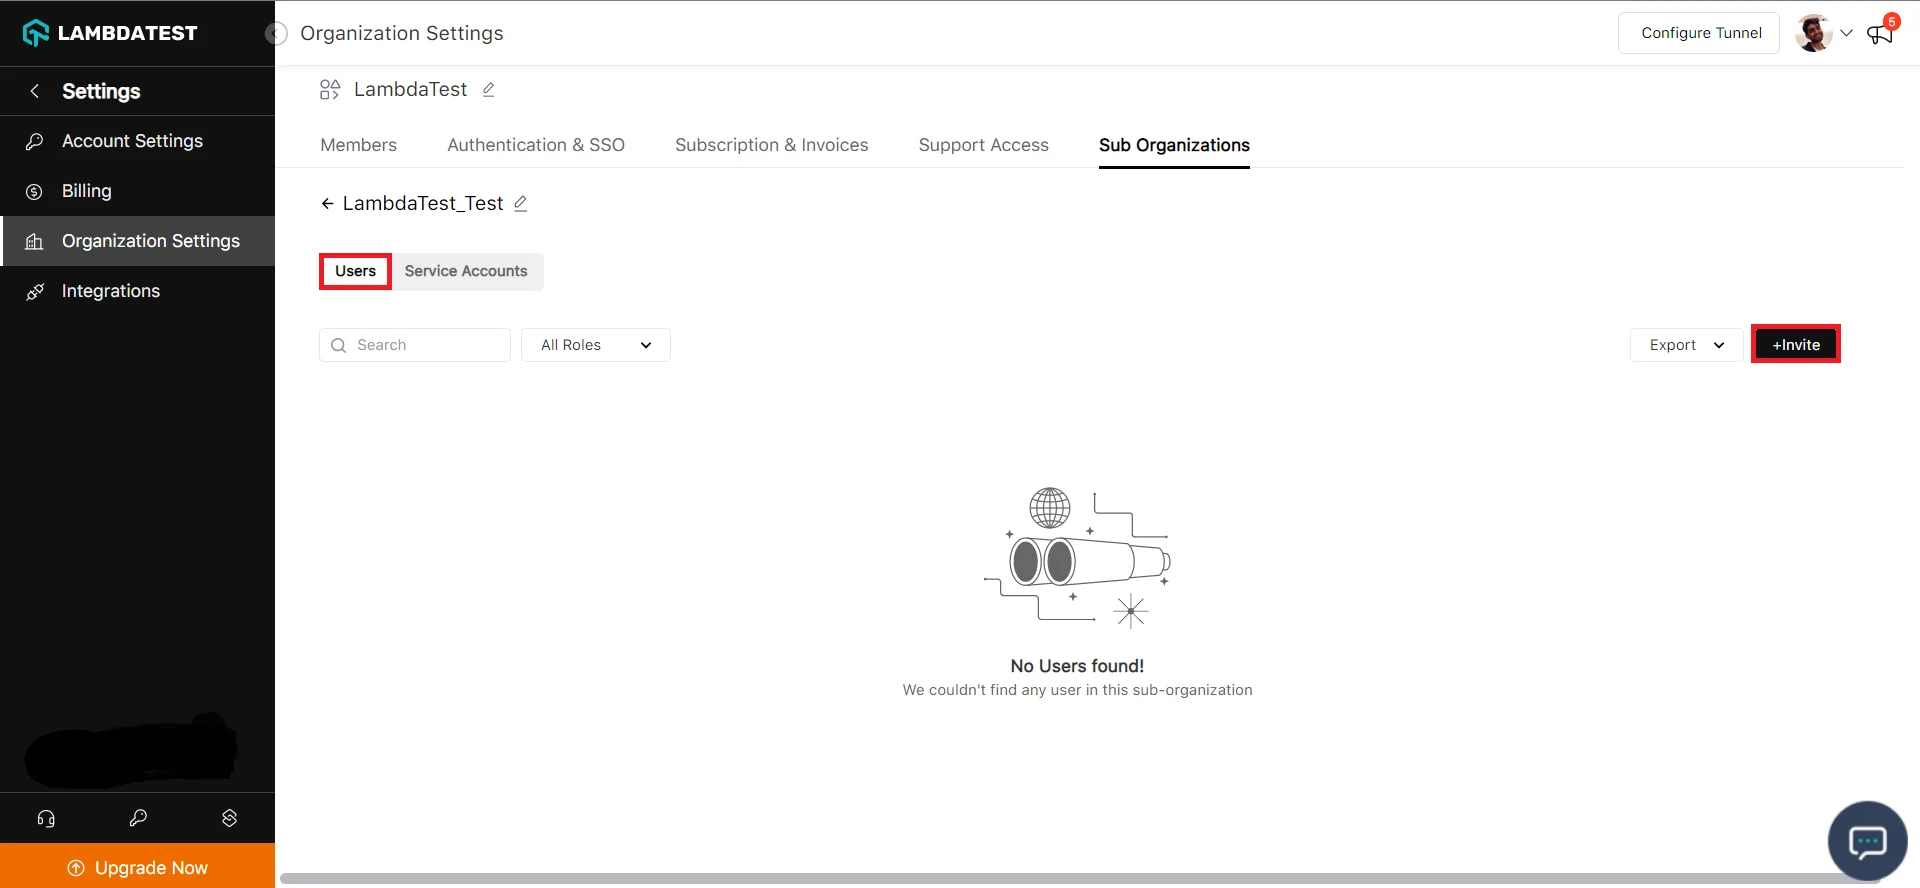
To invite users to your sub-organization, open the newly created sub-organization from the list.
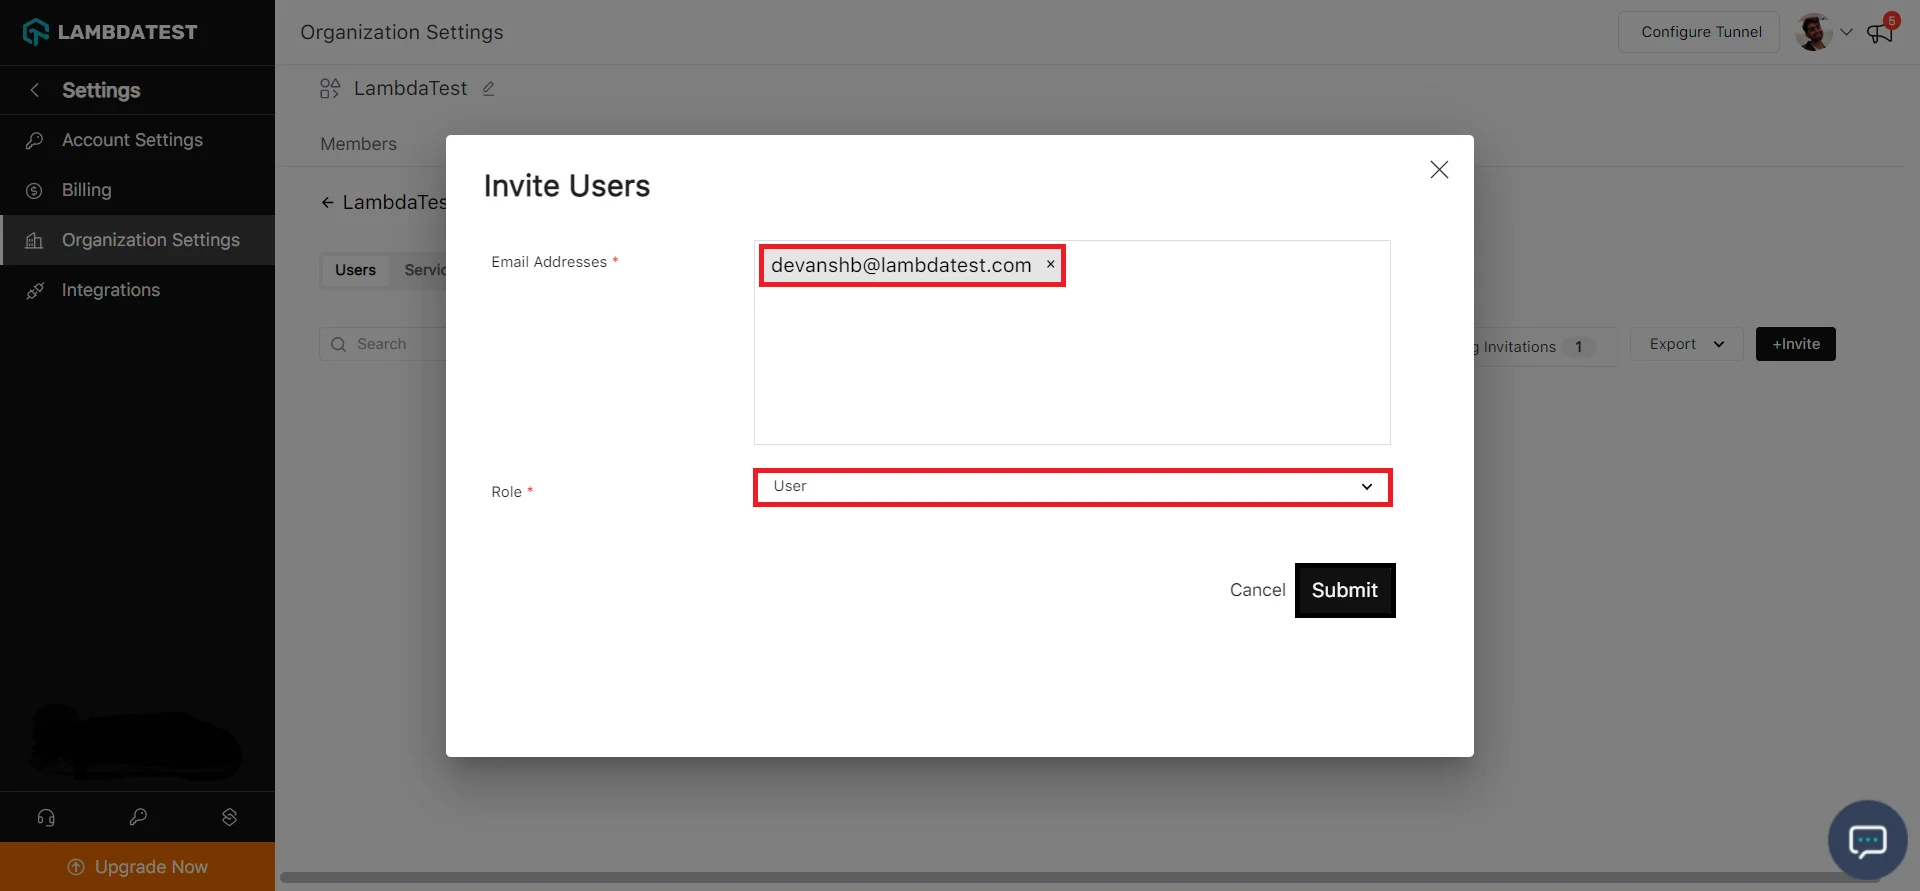
Step 1: Click Invite.
Step 2: Enter the email address of the user you want to add, select a role from the dropdown, and click Submit.
Manage Existing Users
After users have joined, you can manage them directly from the Users tab inside the sub-organization.
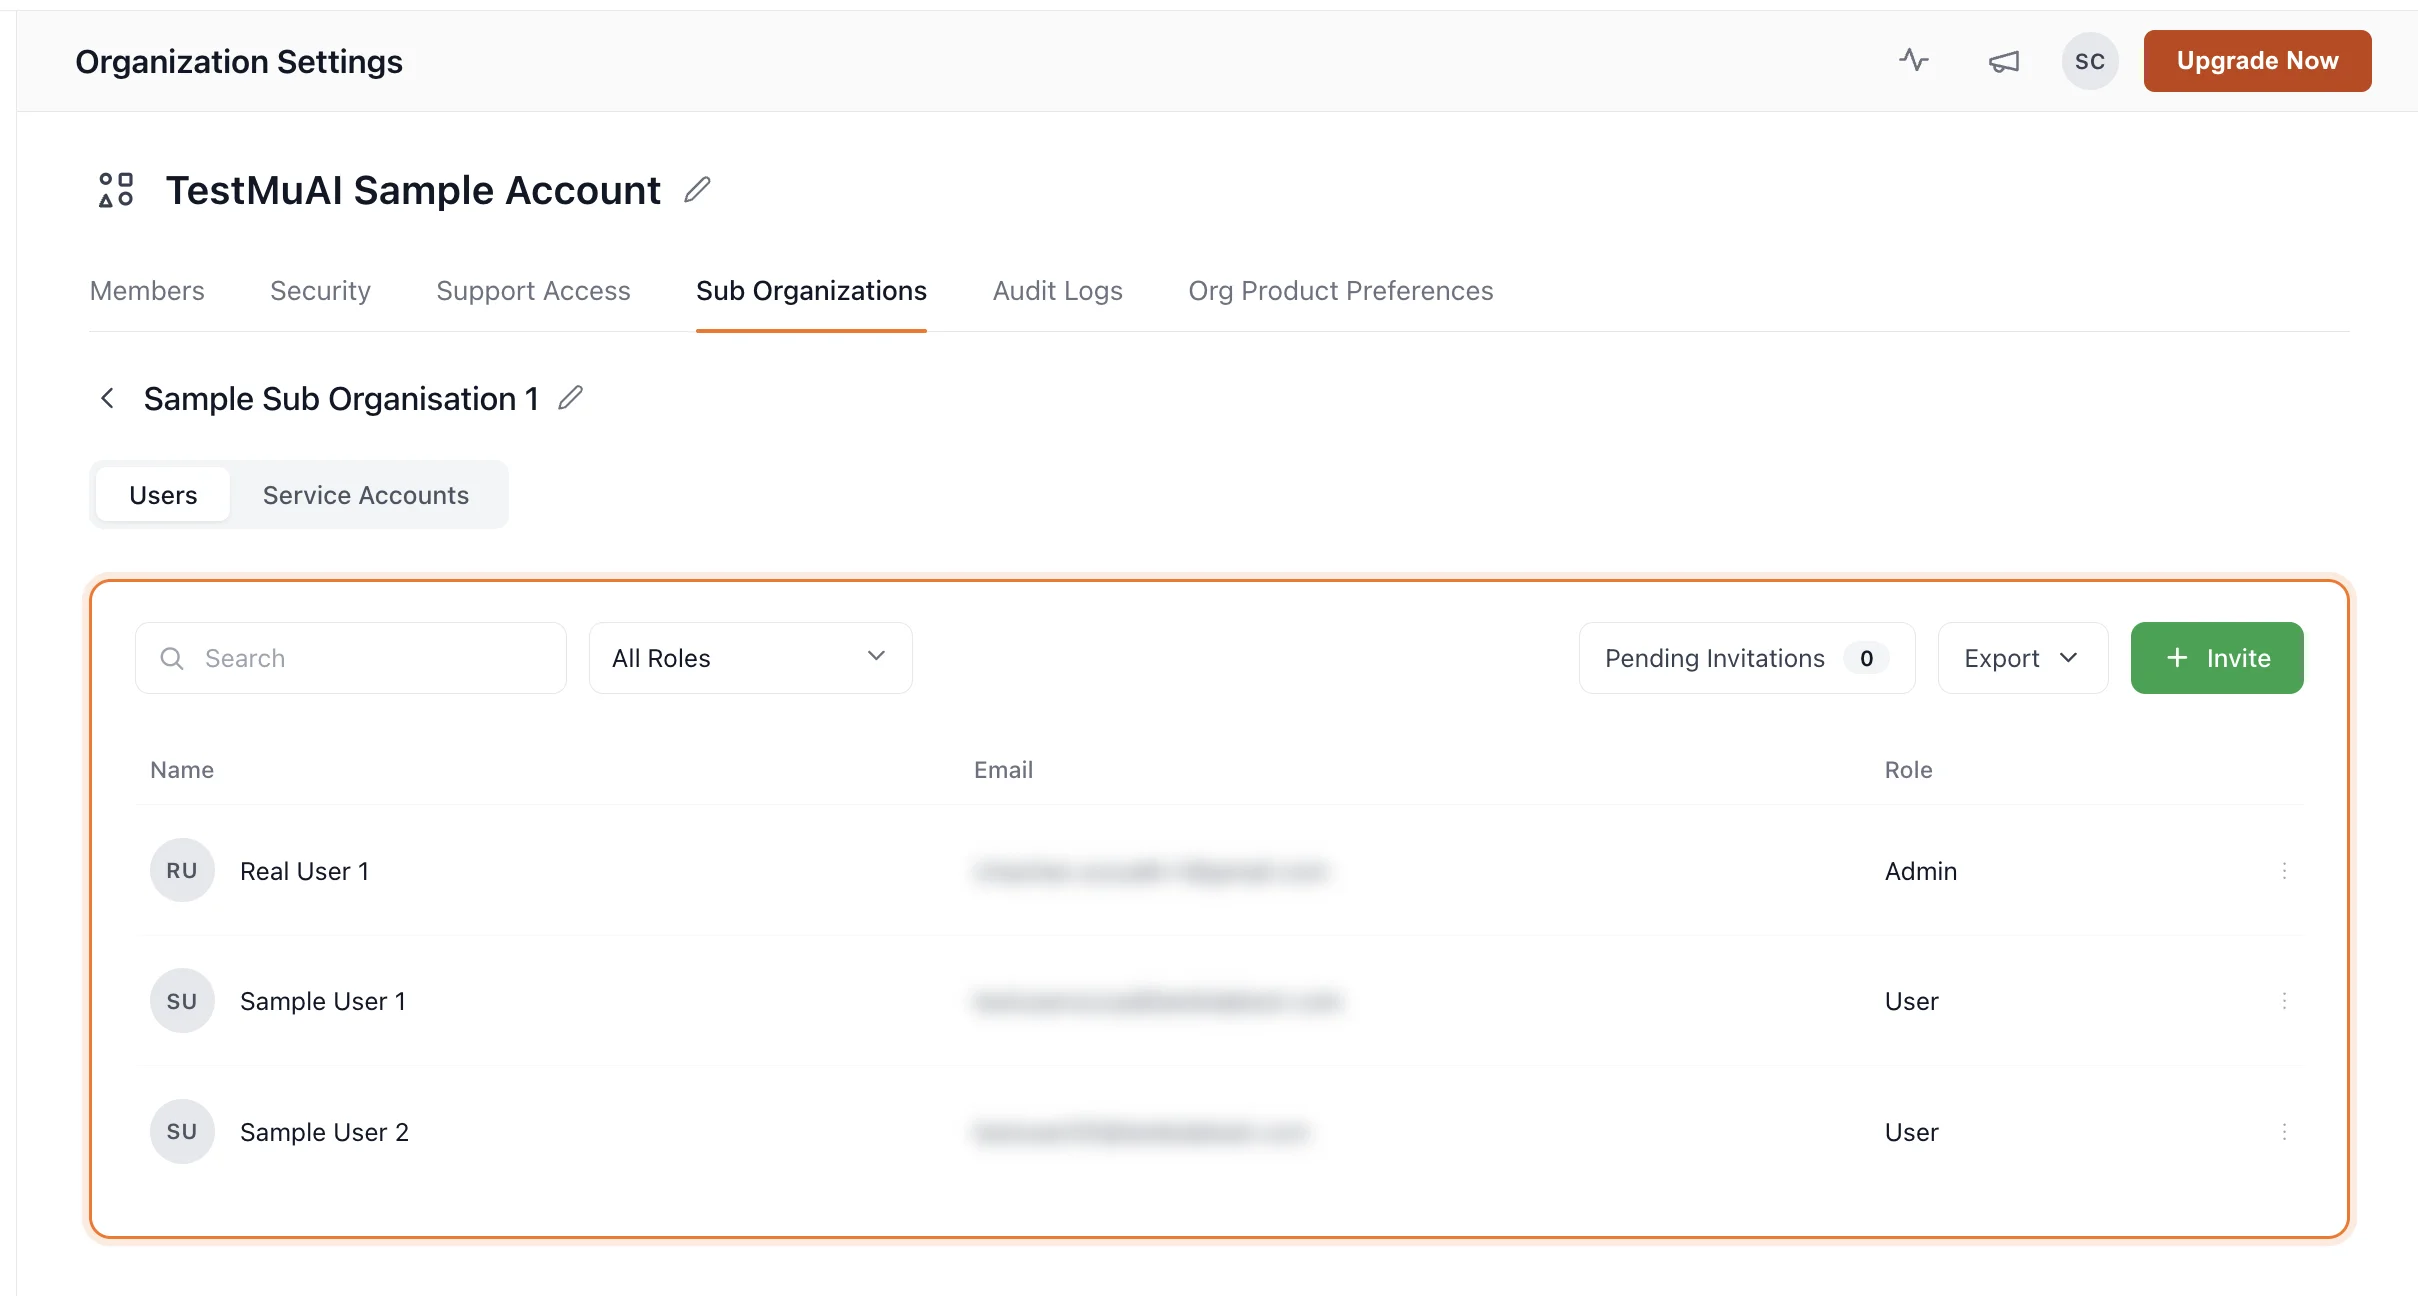
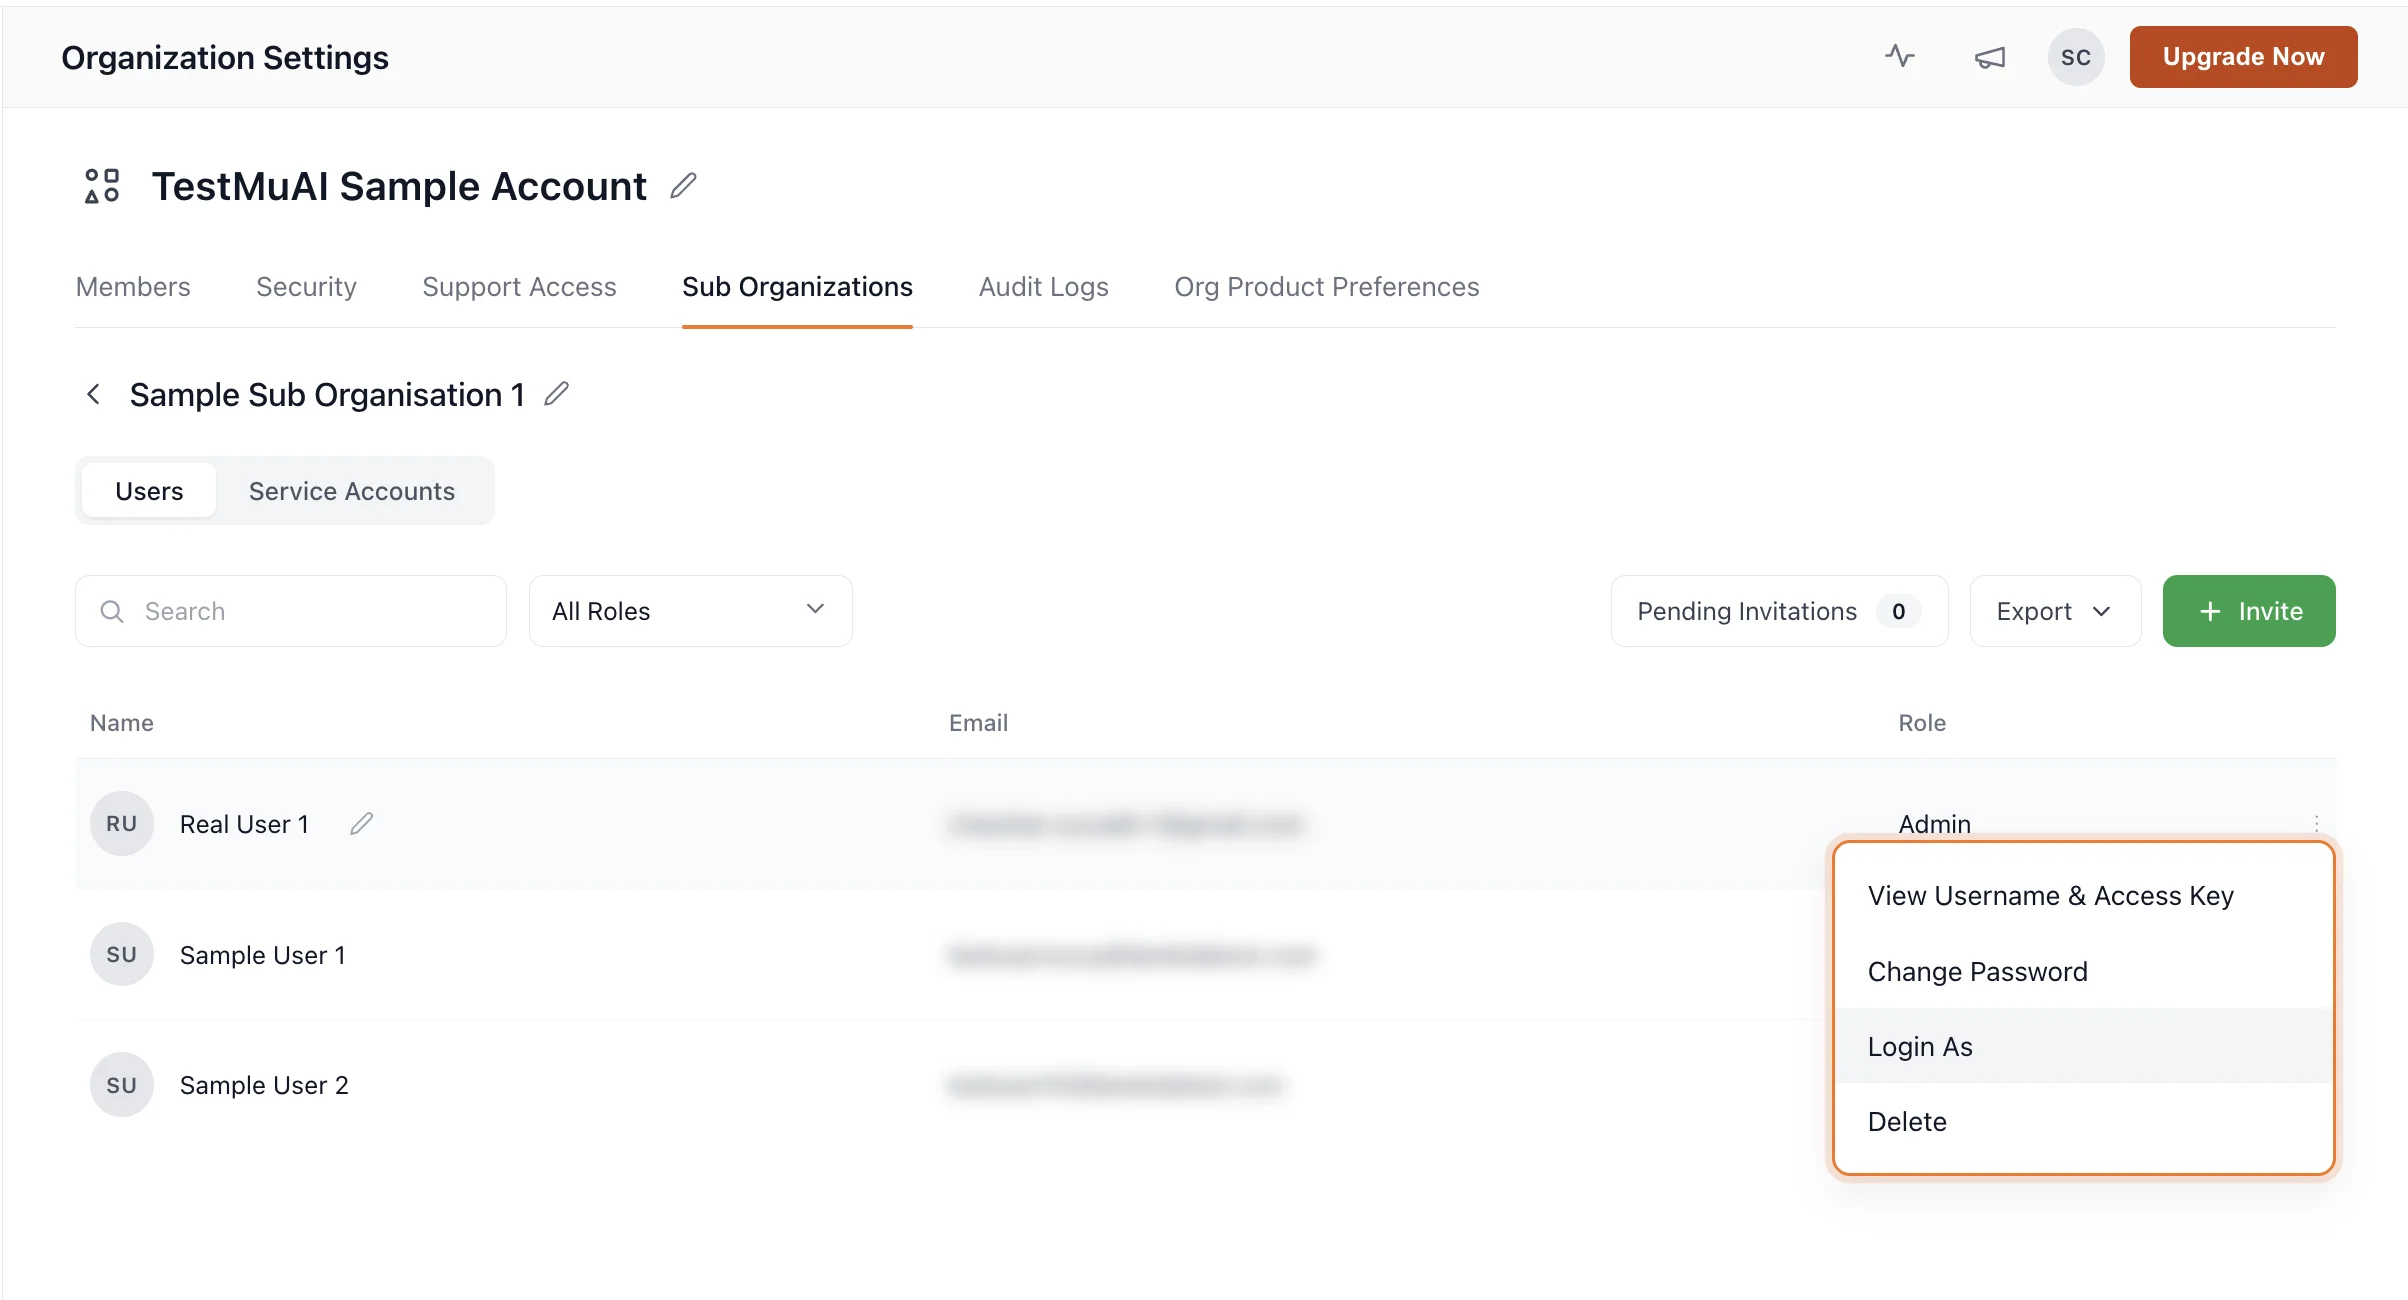
Each user row has a three-dot (⋮) menu that provides the following actions:
- View Username & Access Key: View the user's username and access key for use in automation or scripts.
- Change Password: Reset the password for the selected user.
- Login As: Sign in to TestMu AI as the selected user (see Login As below).
- Delete: Remove the user from the sub-organization.
Login As
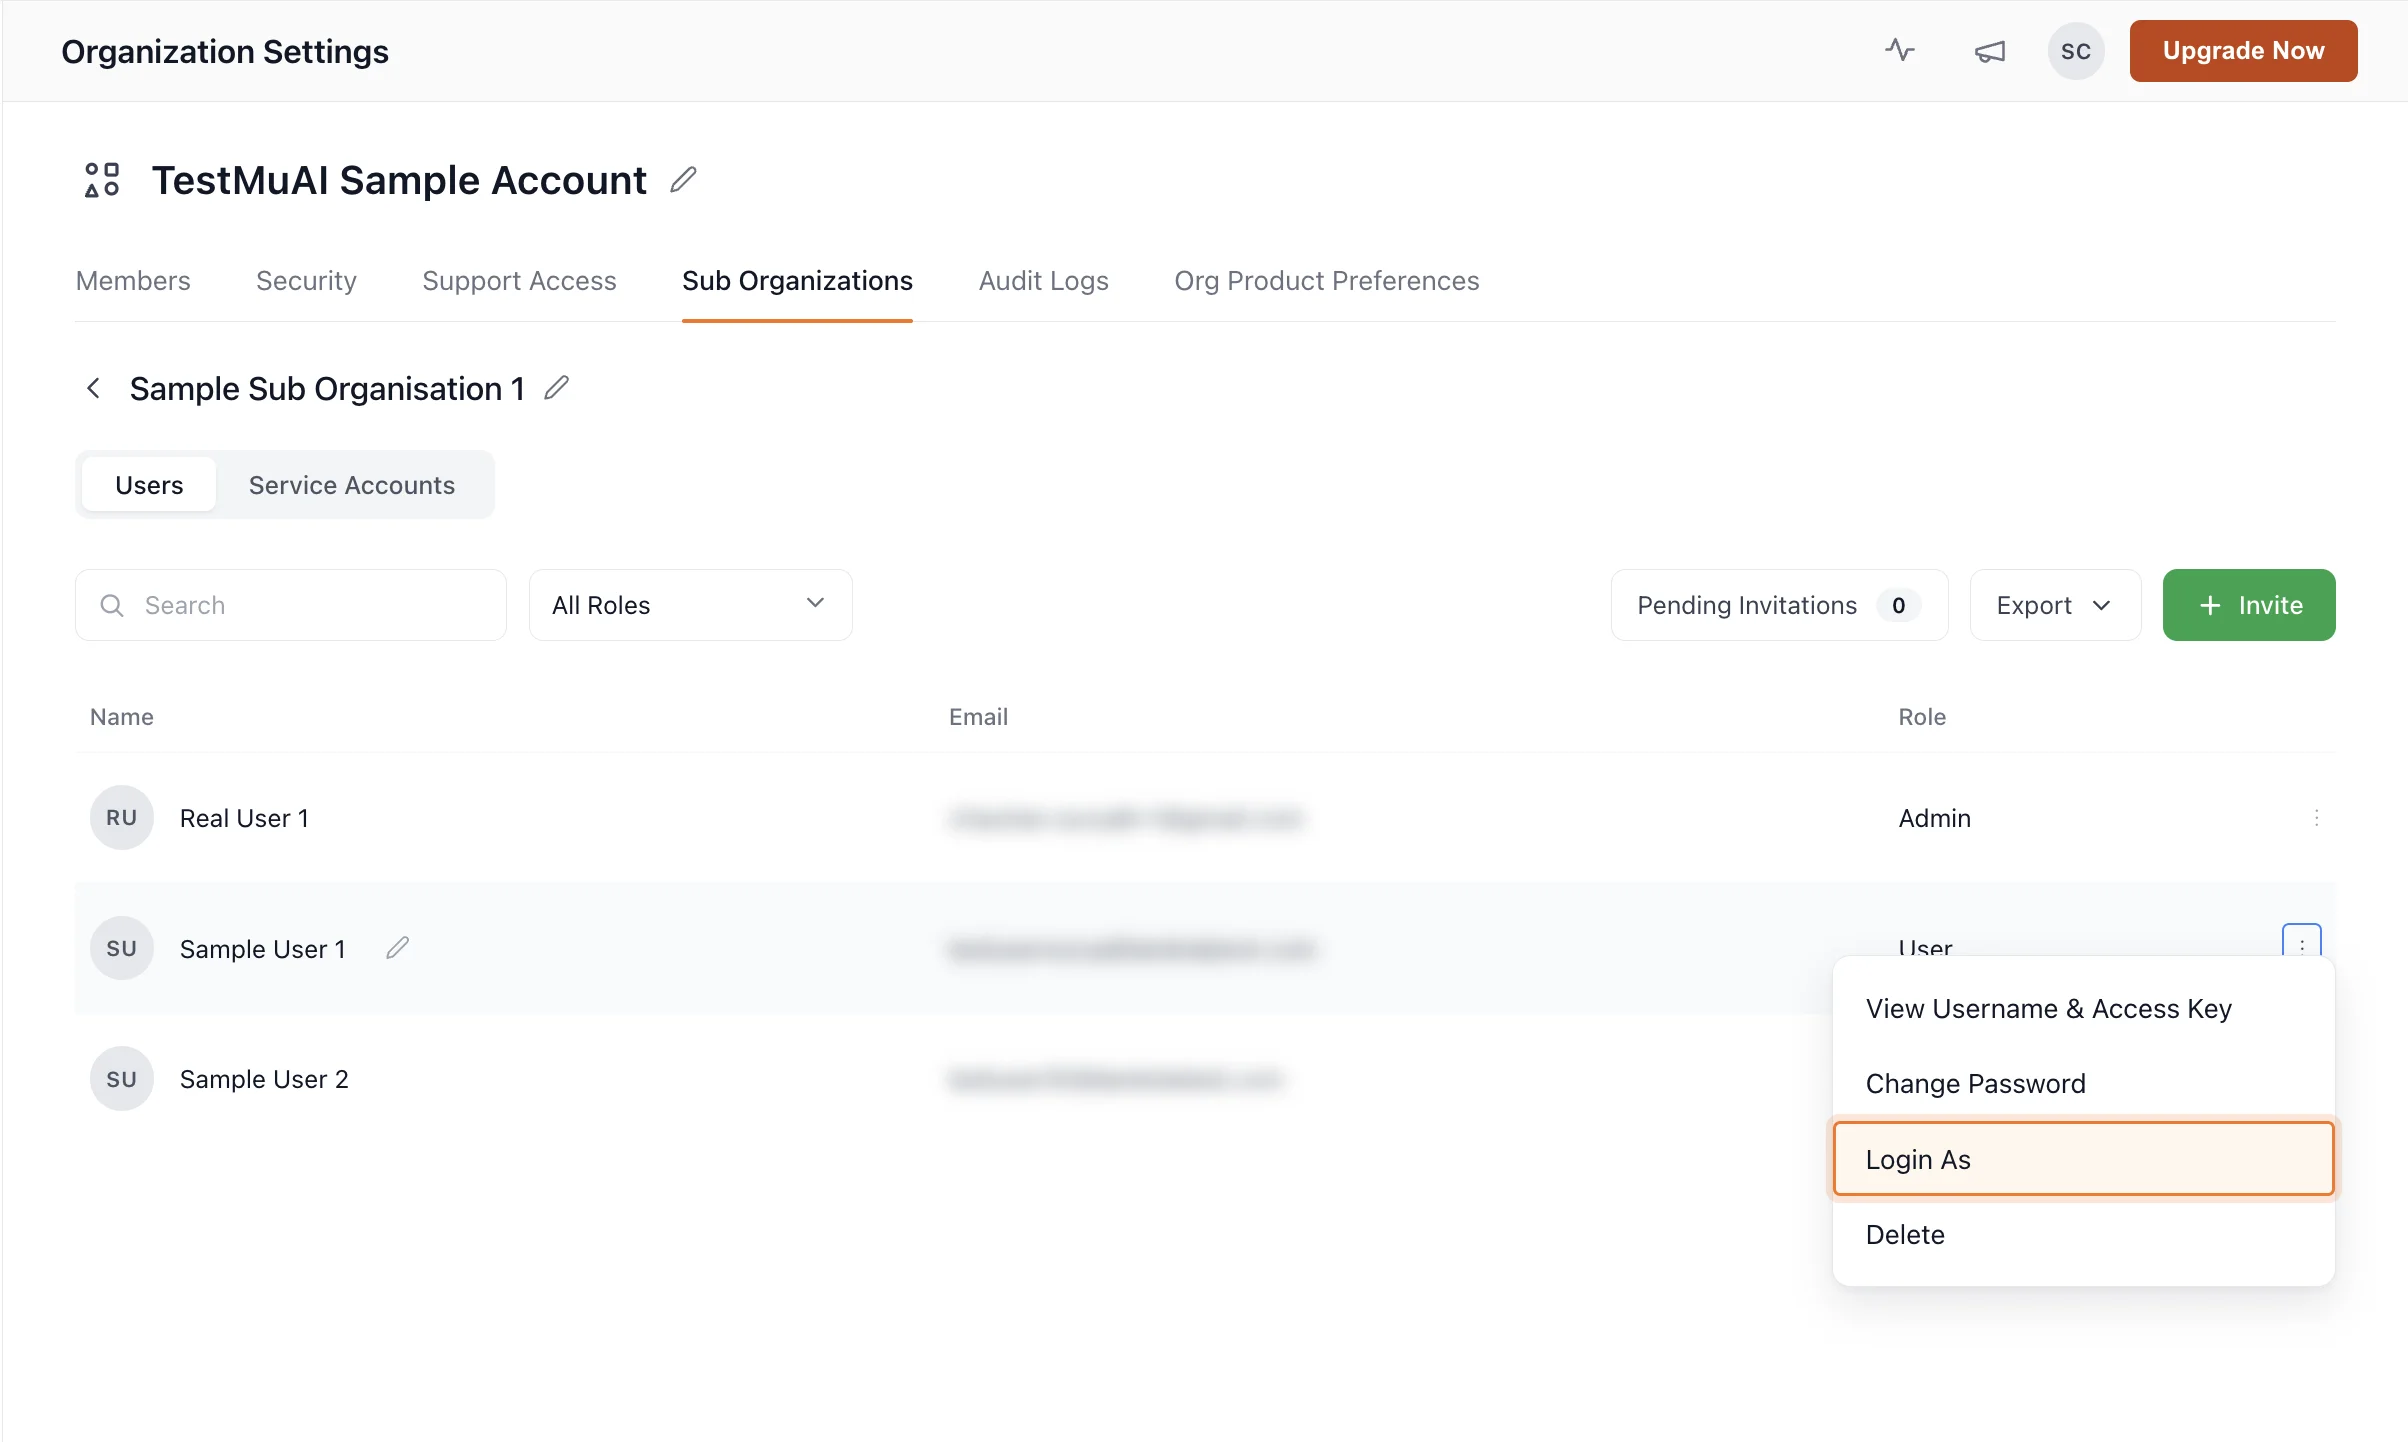
The Login As action lets administrators sign in to TestMu AI as another user within the sub-organization. This is useful for troubleshooting access issues, validating role-based permissions, or reproducing problems reported by a team member.
Step 1: Open the three-dot (⋮) menu next to the user and select Login As.
Step 2: You are now signed in as the selected user and will see TestMu AI exactly as they do. An Assumed Identity indicator appears in the top-right corner showing whose account you are using.
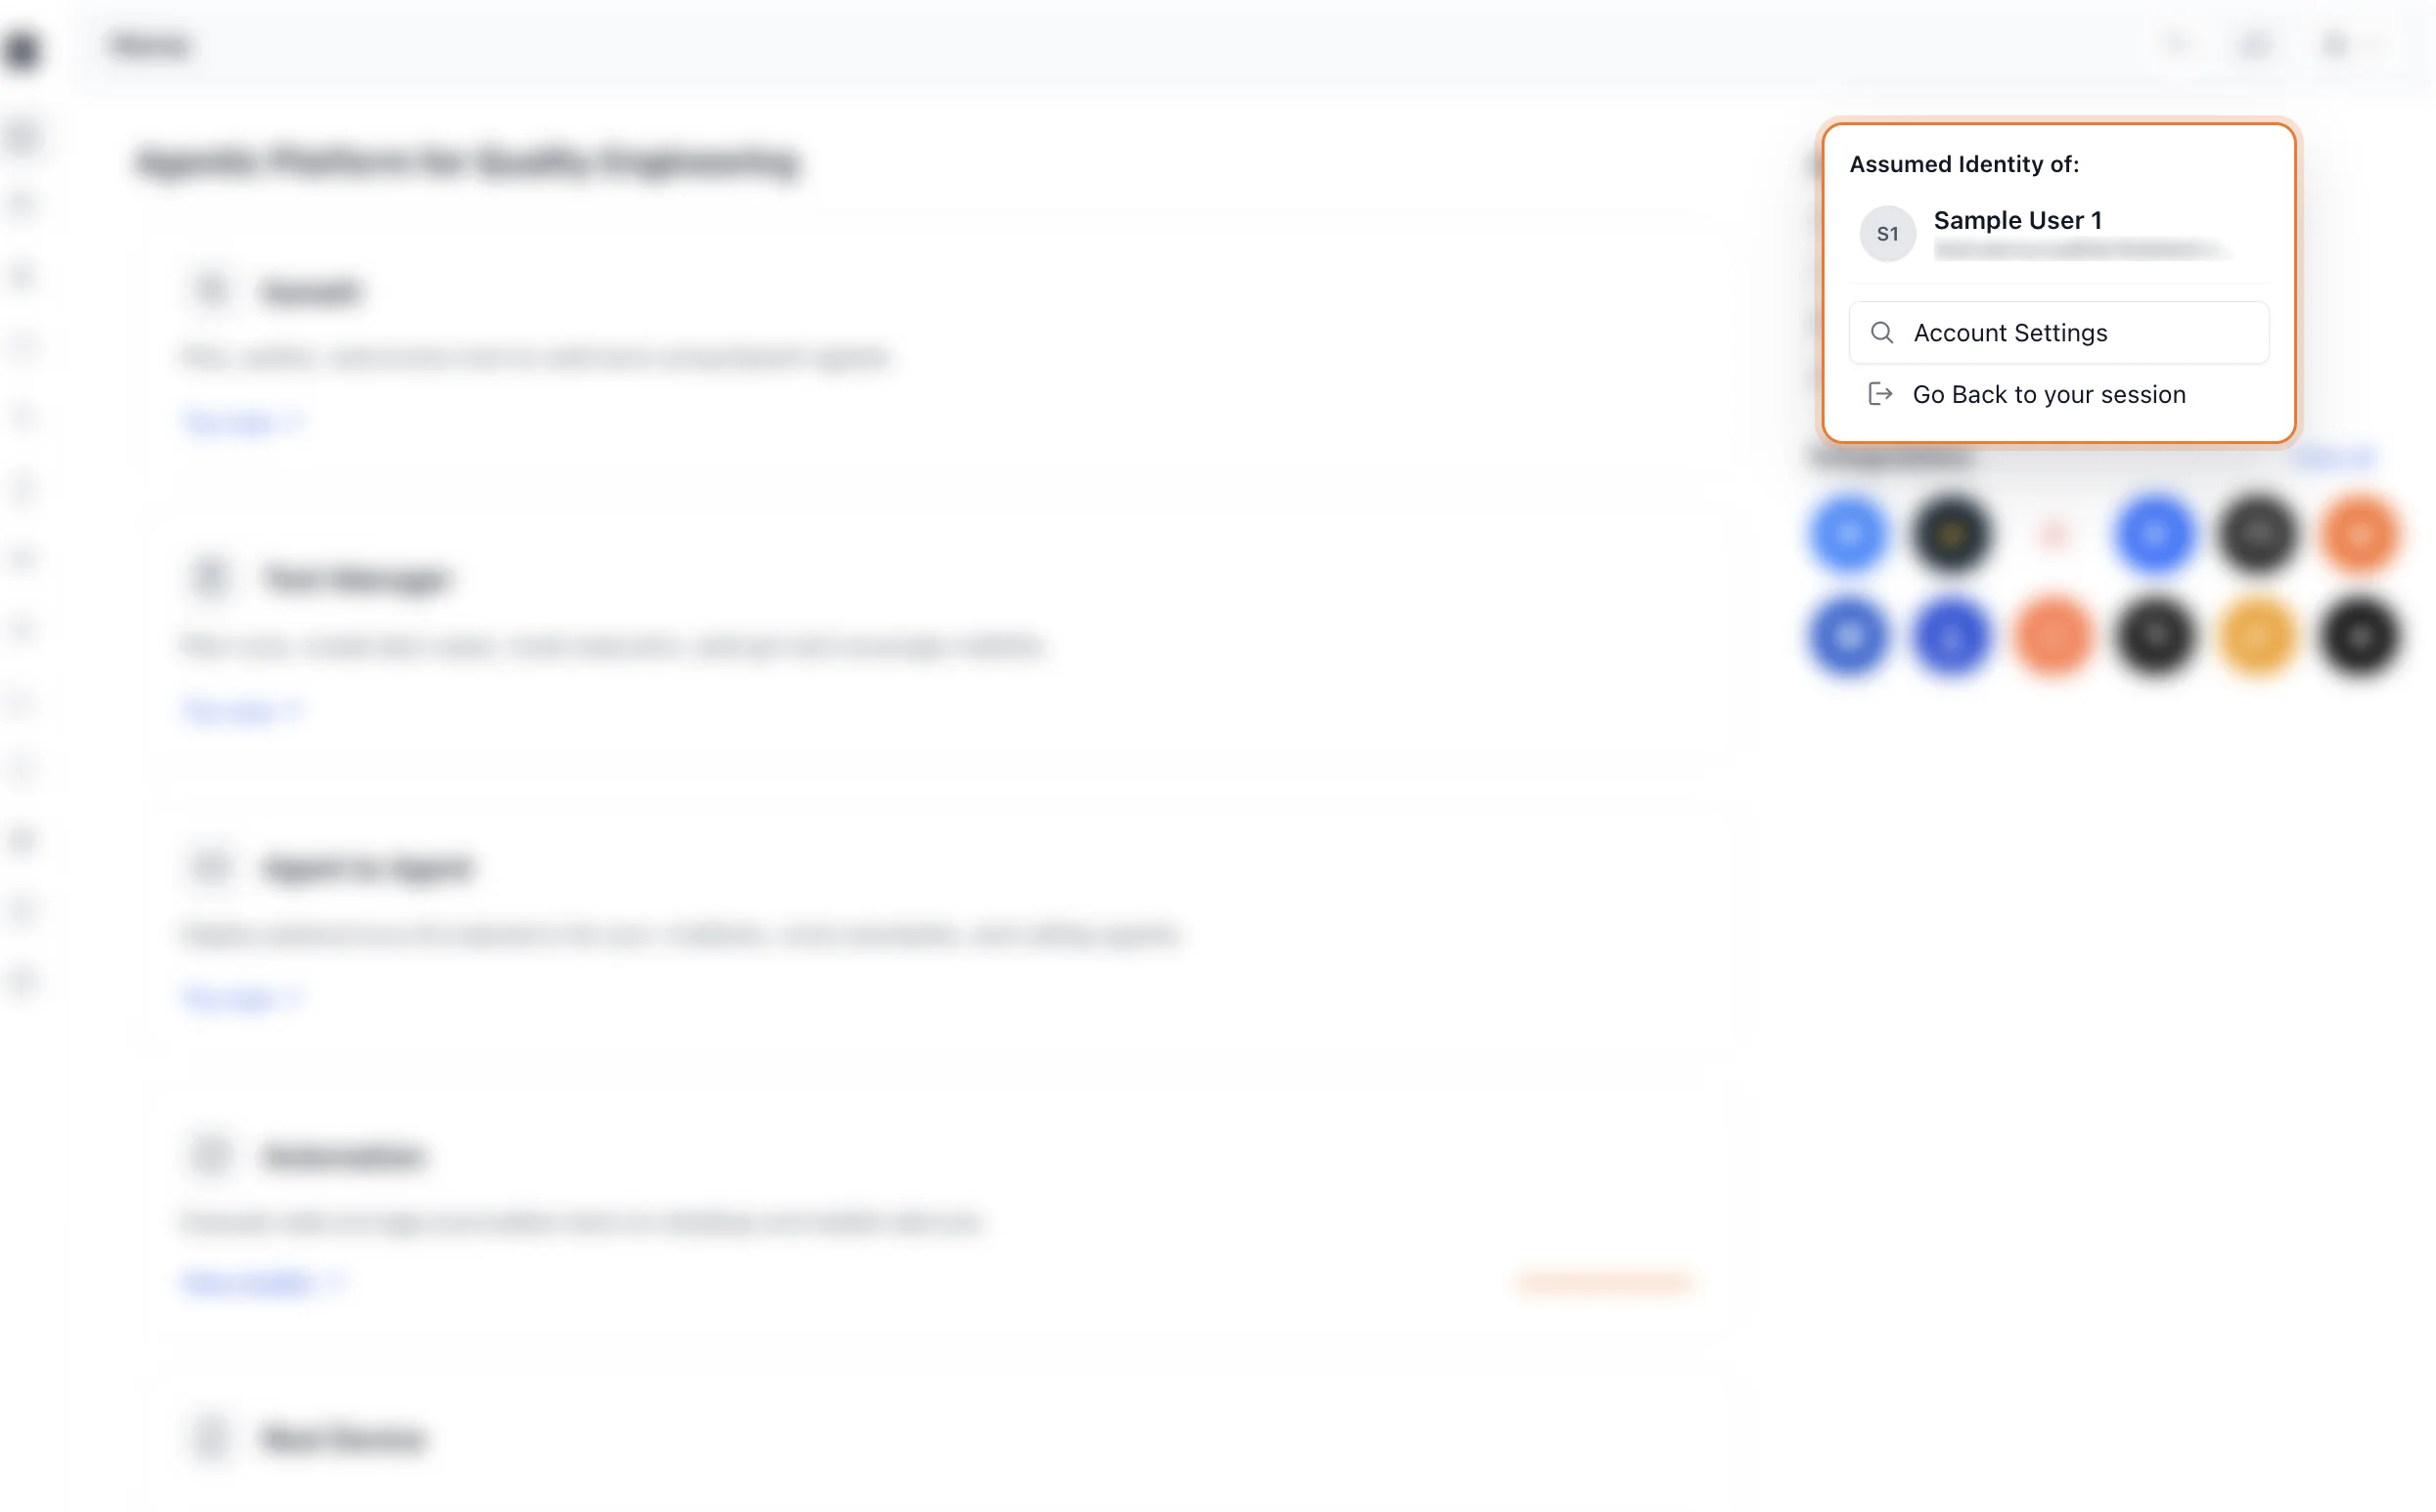
Step 3: To return to your own account, click the Assumed Identity indicator and select Go Back to your session.
Use the Login As action responsibly. Any changes you make while impersonating another user are recorded against that user's account.
Manage Service Accounts
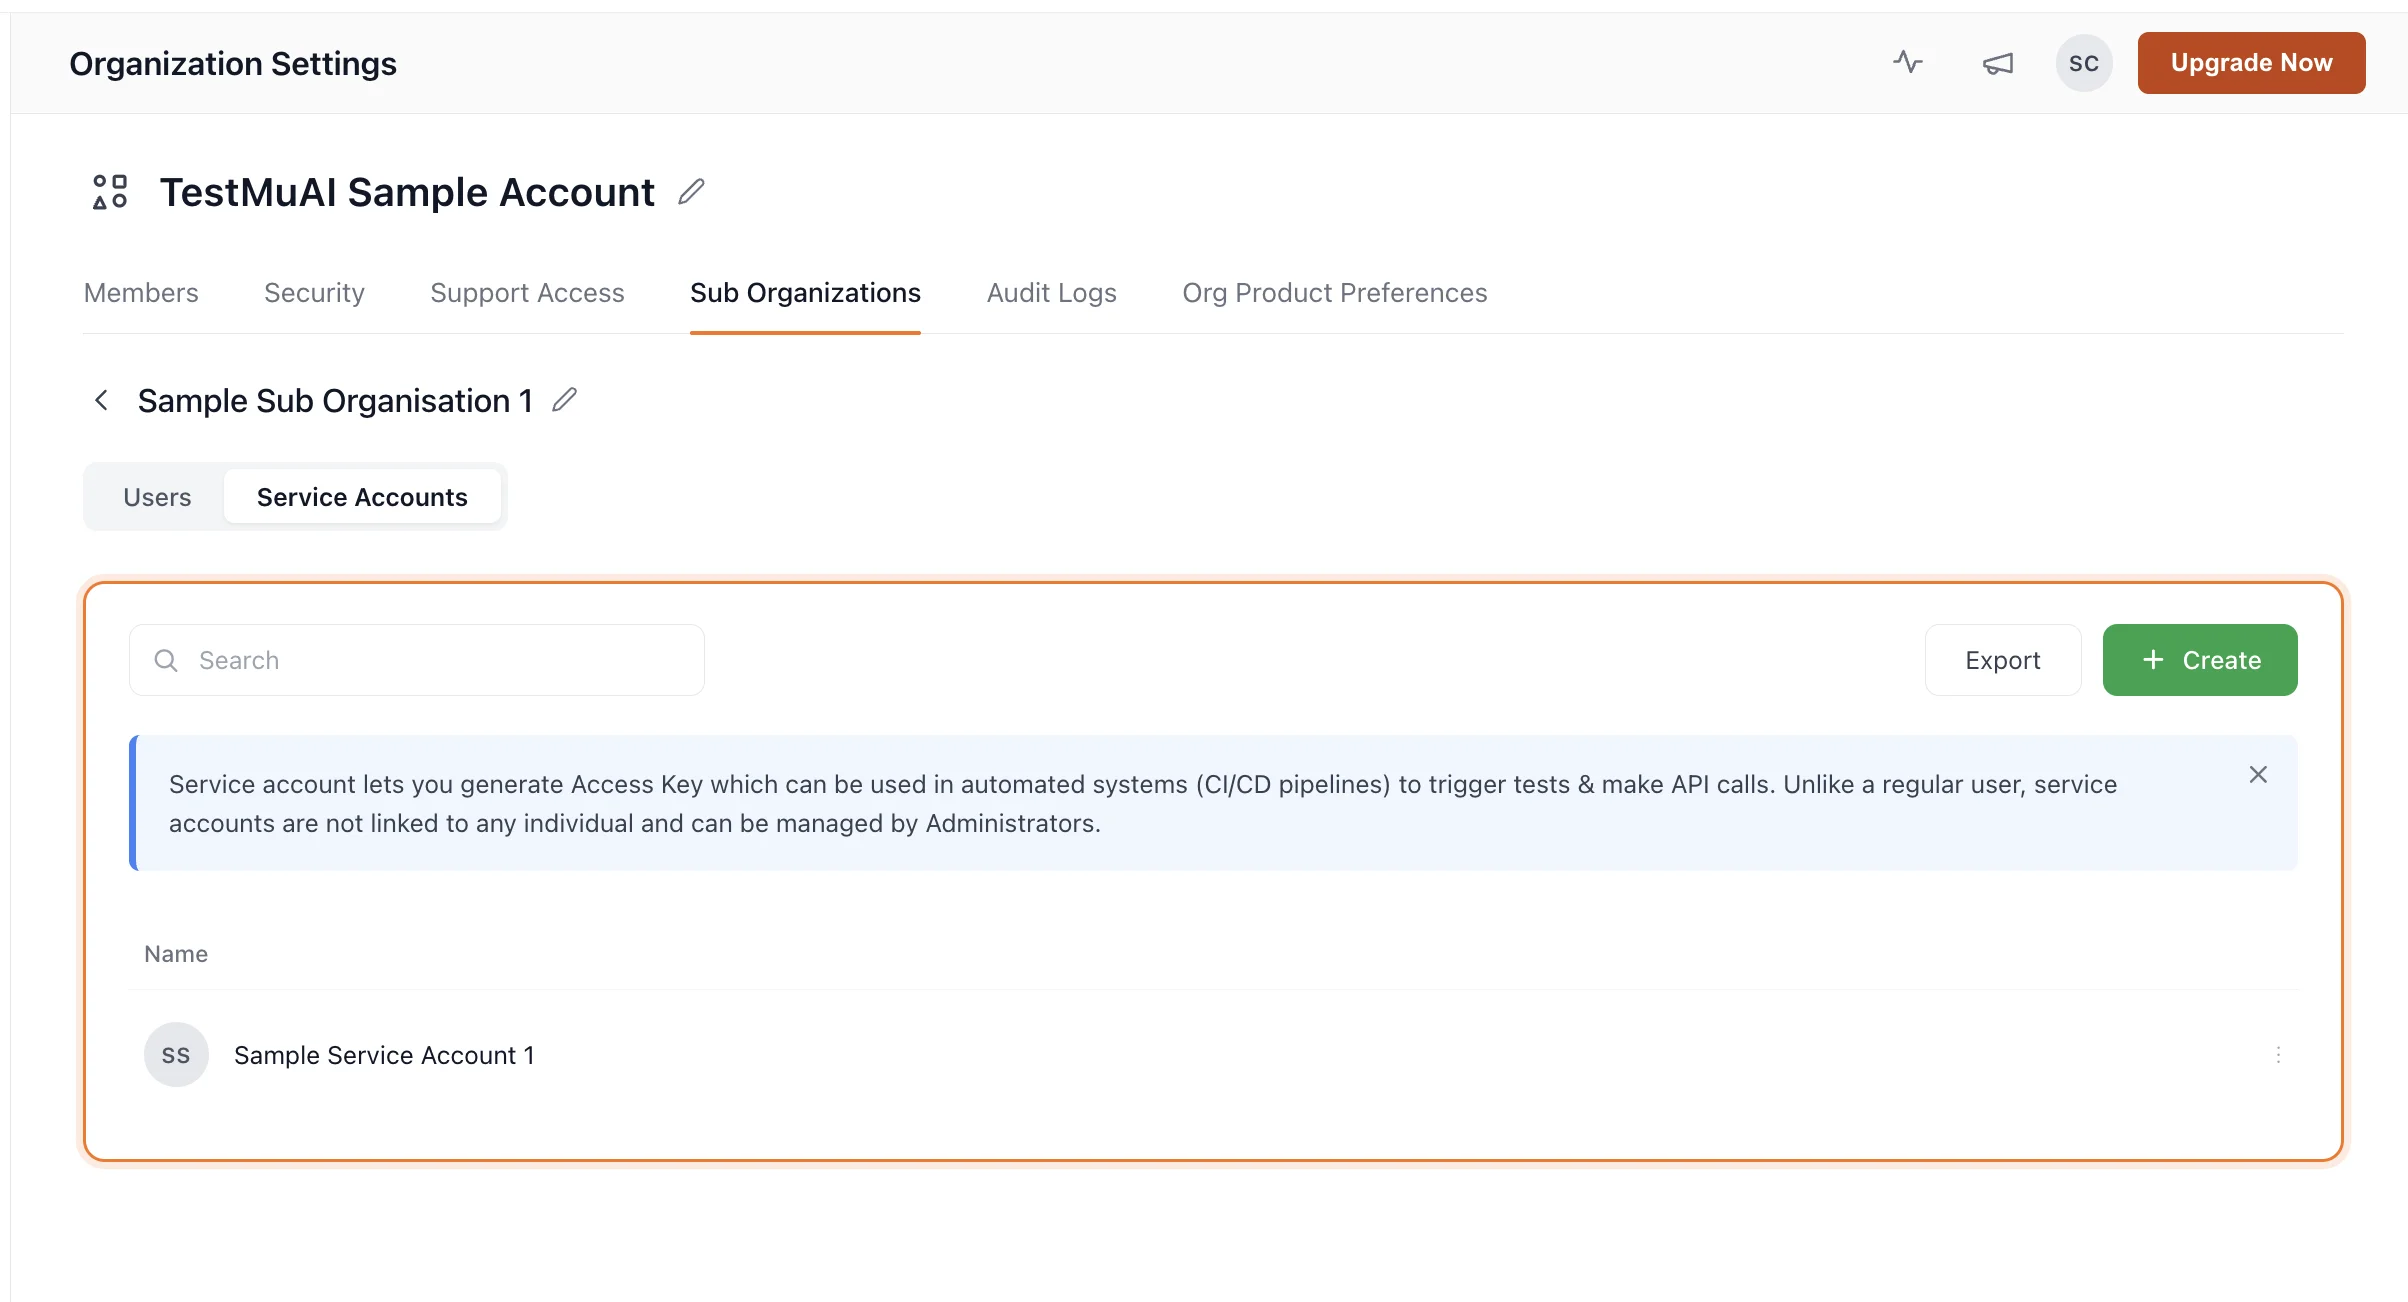
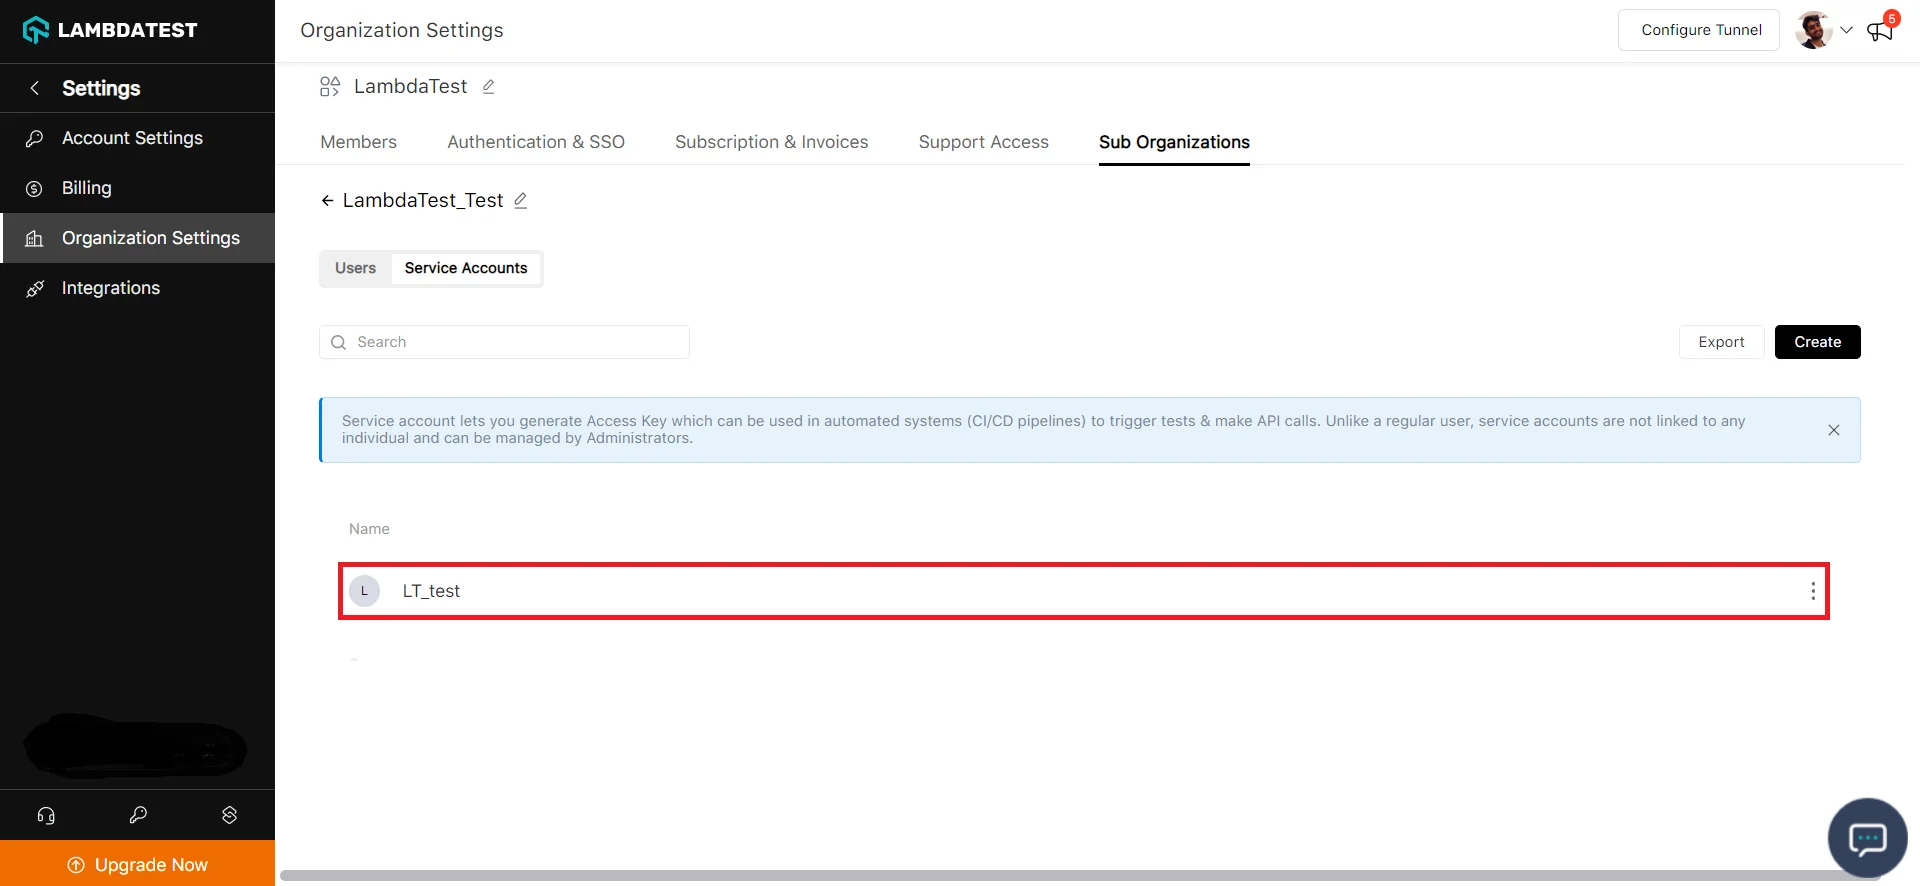
A service account lets you generate an access key that can be used in automated systems (such as CI/CD pipelines) to trigger tests and make API calls. Unlike a regular user, a service account is not linked to any individual and can be managed by administrators.
Create a Service Account
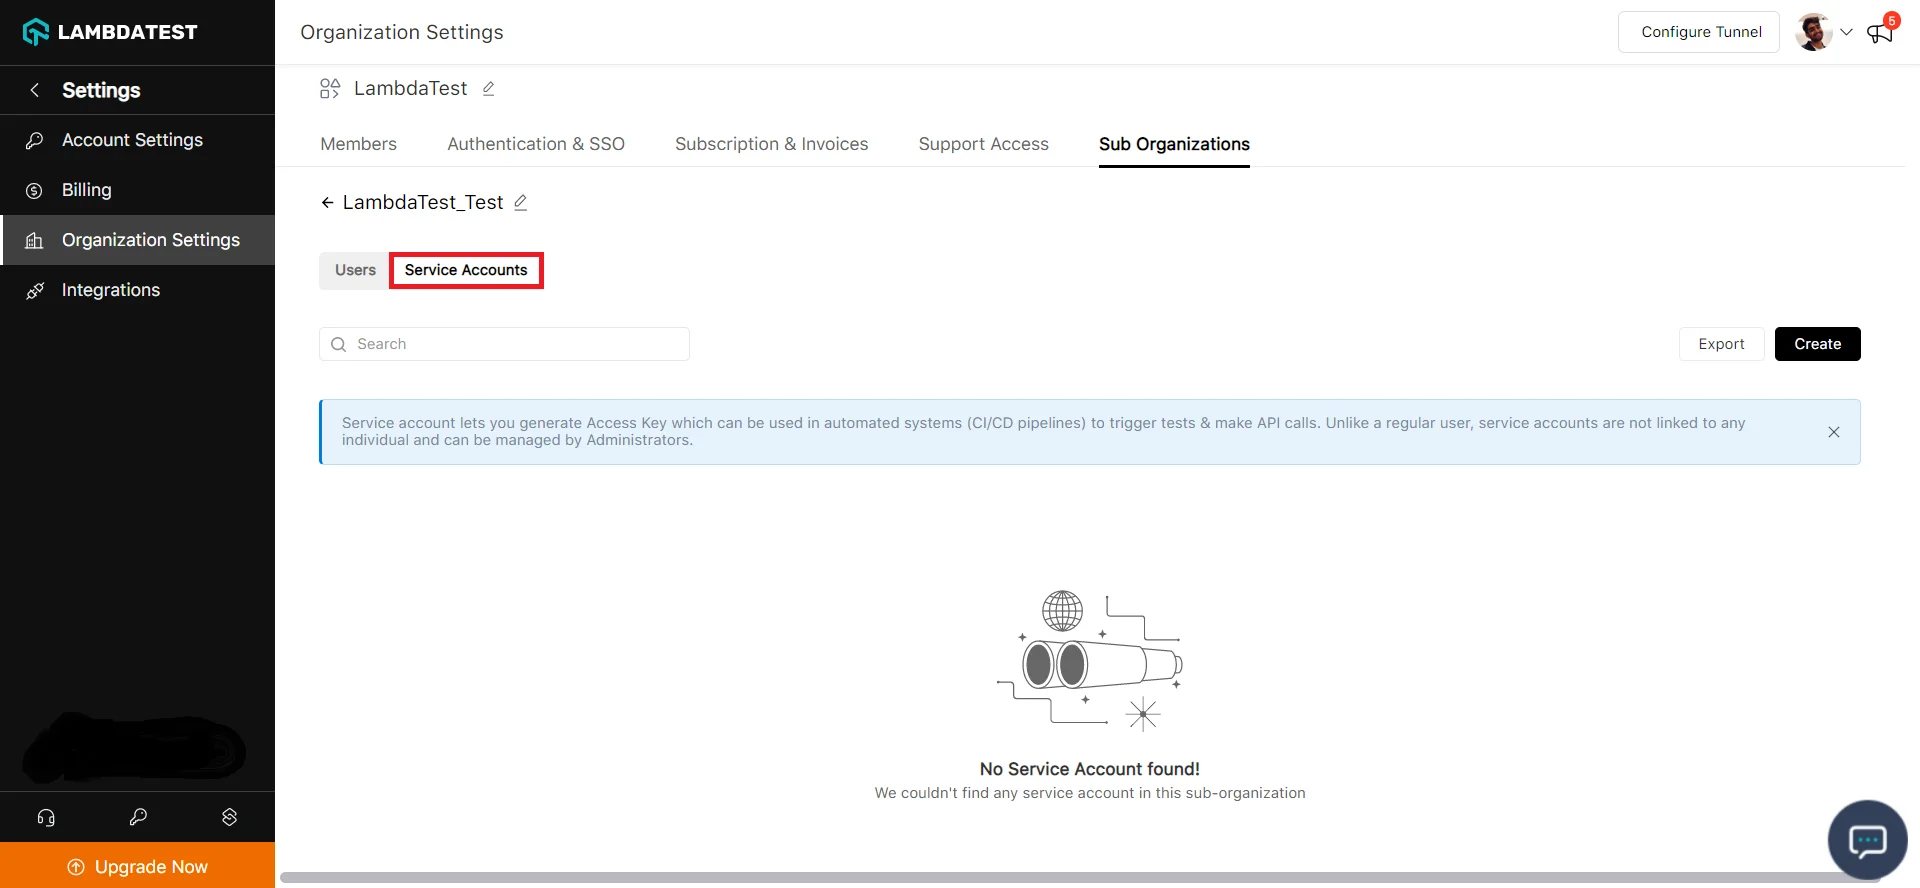
To create a new service account, open the Service Account tab within your sub-organization.
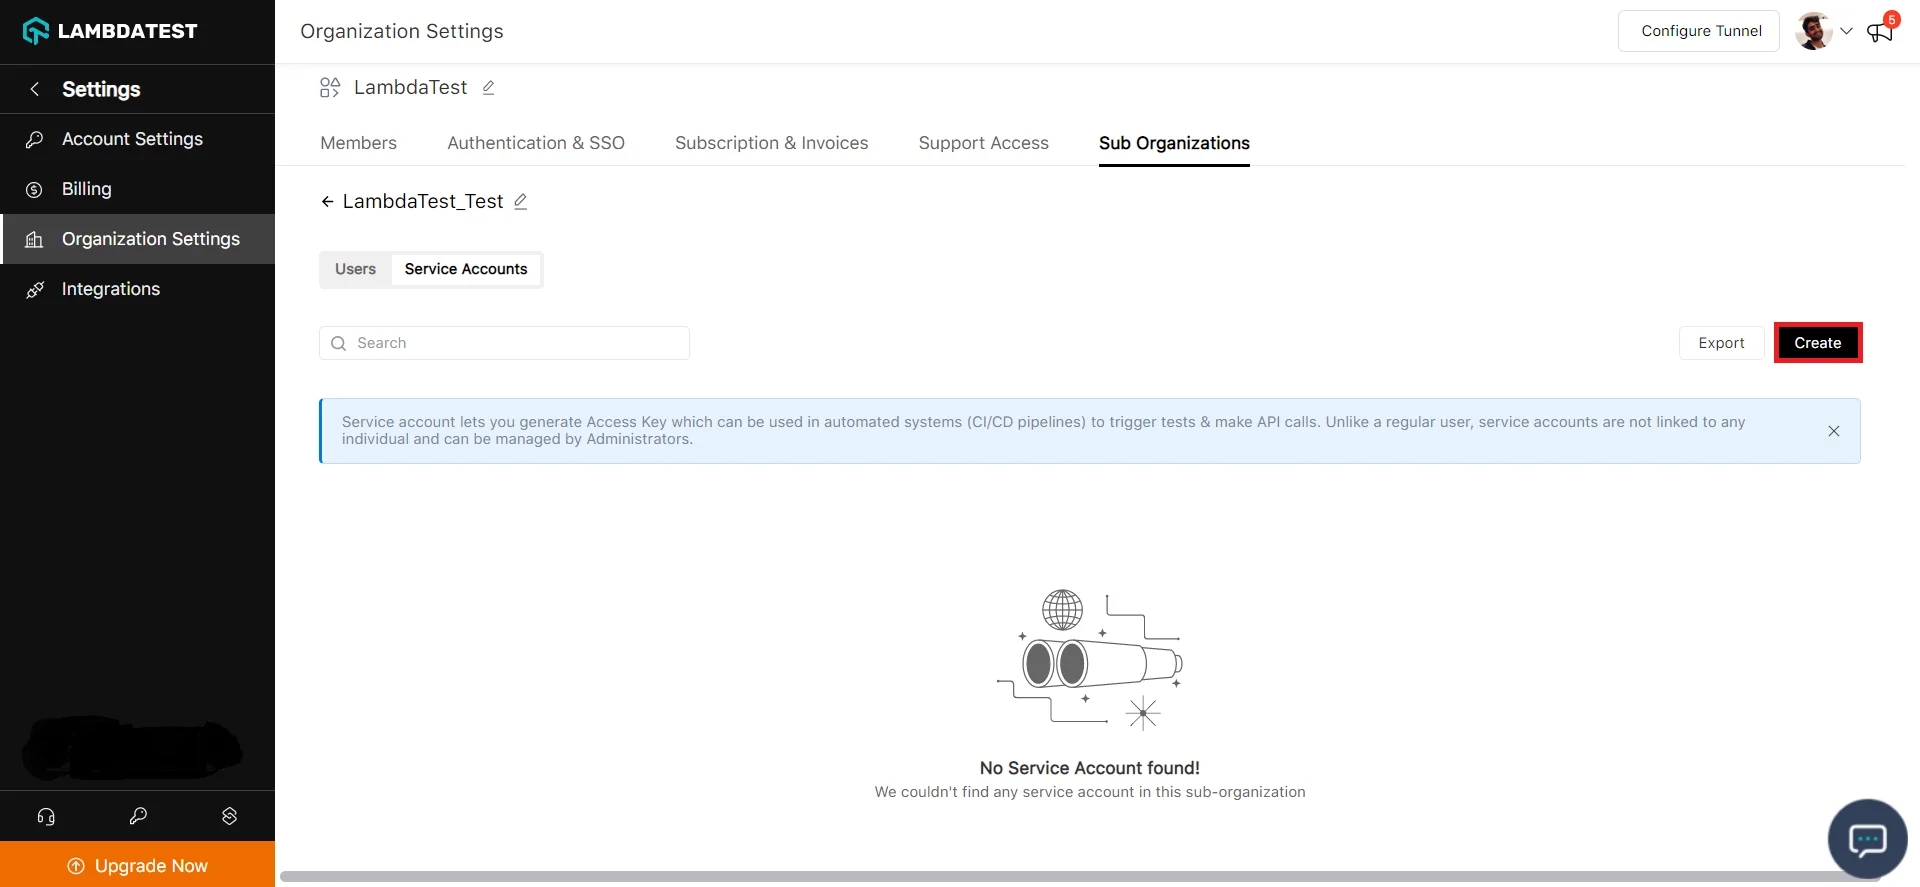
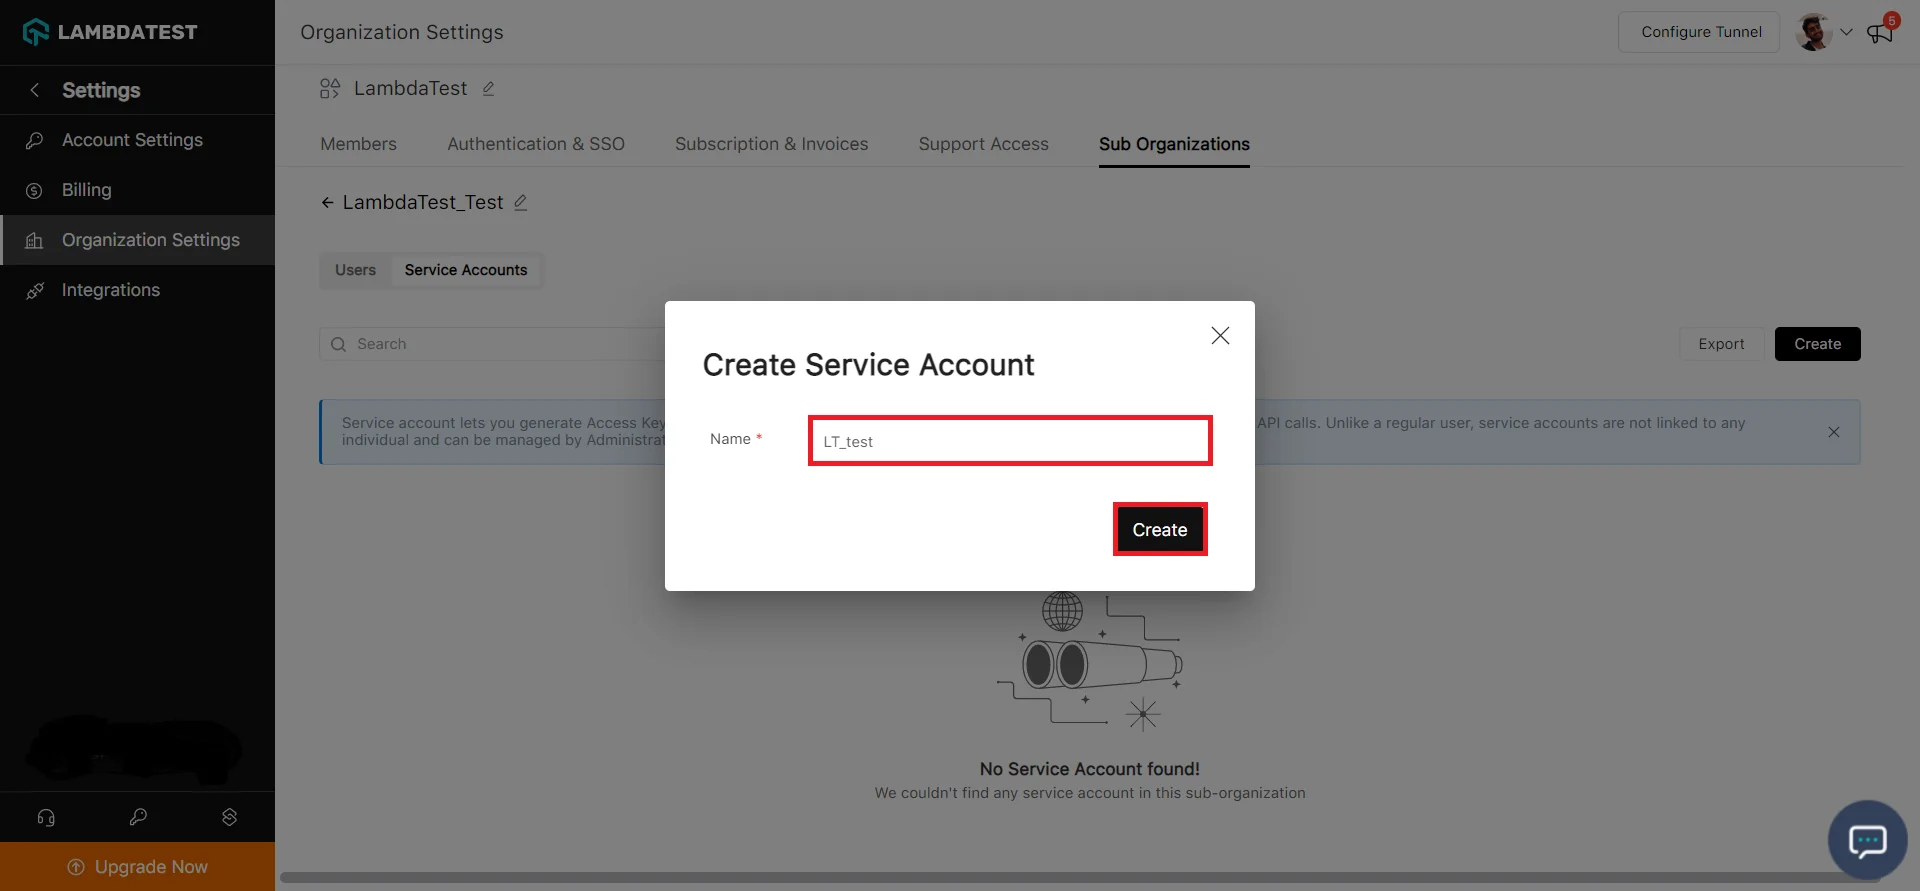
Step 1: Click Create.
Step 2: Enter a name for your Service Account and click Create.
Step 3: Your Service Account credentials are displayed. Save them securely, as they will not be shown again.
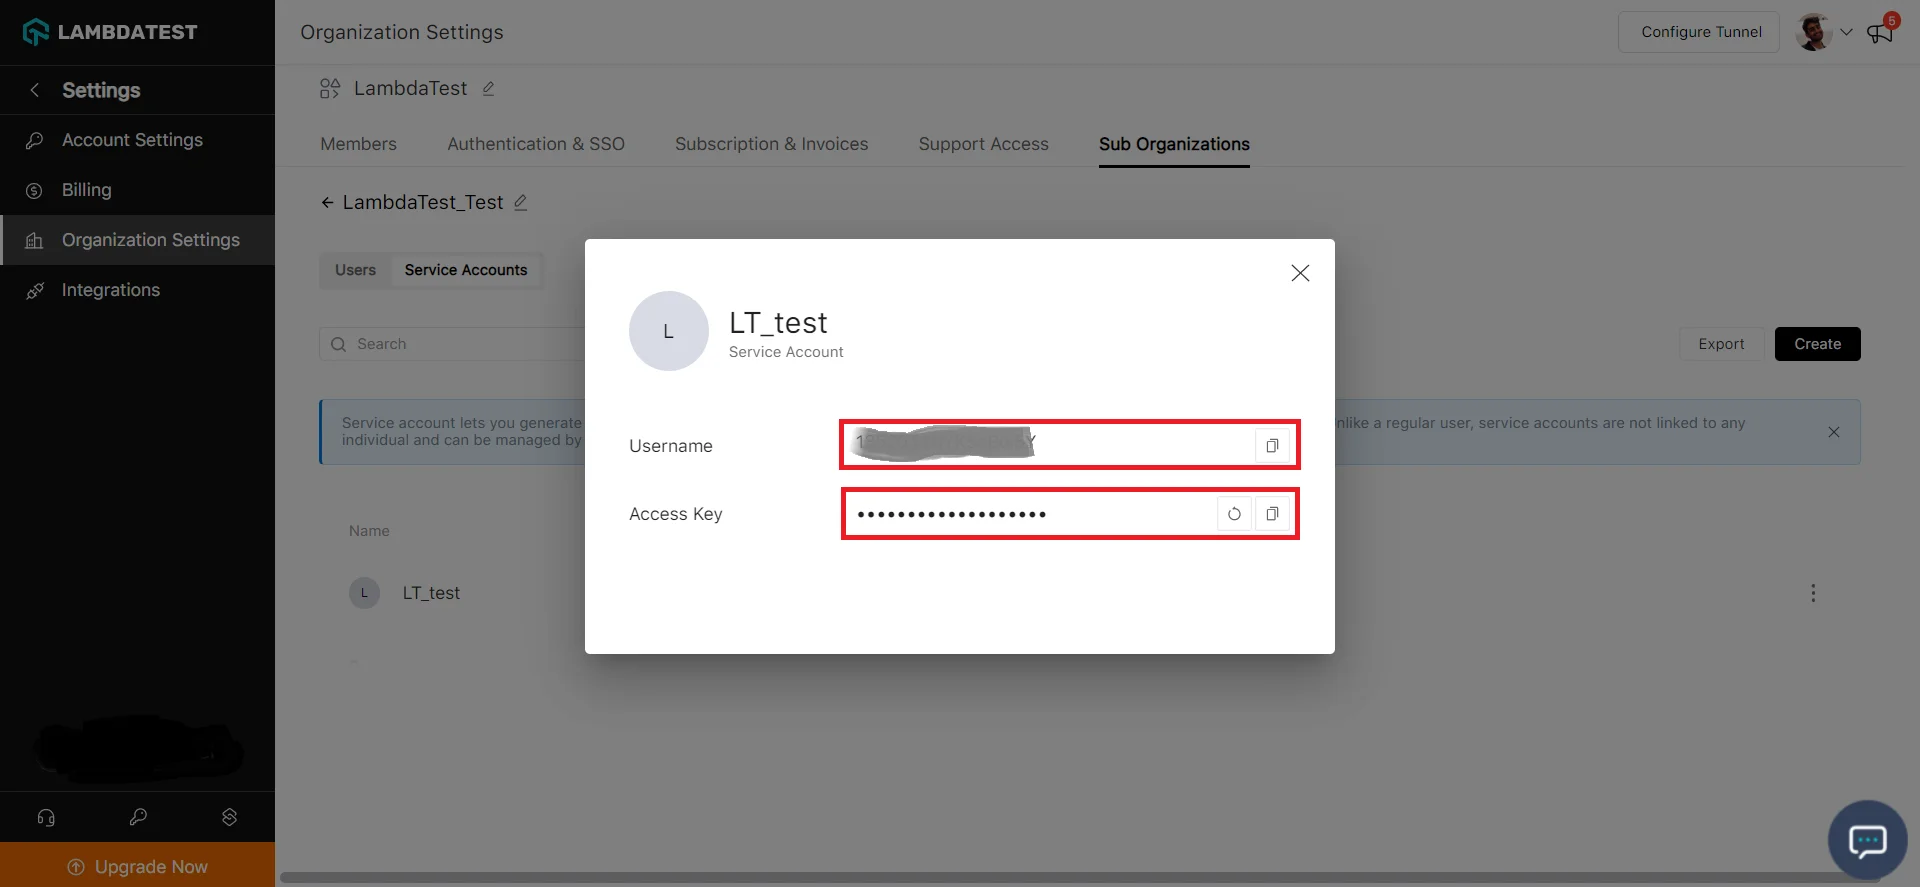
Your new Service Account is now ready to use.
That covers everything you need to know about the sub-organizations feature. If you have any questions, please reach out via our 24/7 chat support or email us at support@testmuai.com.
