Tunnel Security
TestMu AI allows you to configure various sharing and security options for TestMu AI Tunnel. With these options, you can restrict tunnel creation to specific users, turn tunnel sharing on or off and control which domains are accessible (or inaccessible) through the tunnel.
Note: Only administrators are able to view and manage these settings in the security tab of the organization settings page.
Restrict Tunnel Creation Permission
With the Tunnel Creation option, administrators can choose who has the permission to start a tunnel in your organization. This can ensure that only authorized individuals are allowed to start a tunnel, for example, only admin accounts. By default, all users in the organization can create a tunnel. To allow only for specific users, follow these steps:
Step 1: Go to the TestMu AI Dashboard.
Step 2: Click on the Settings -> Organization Settings, navigate to Security tab and click on Tunnel Security button.
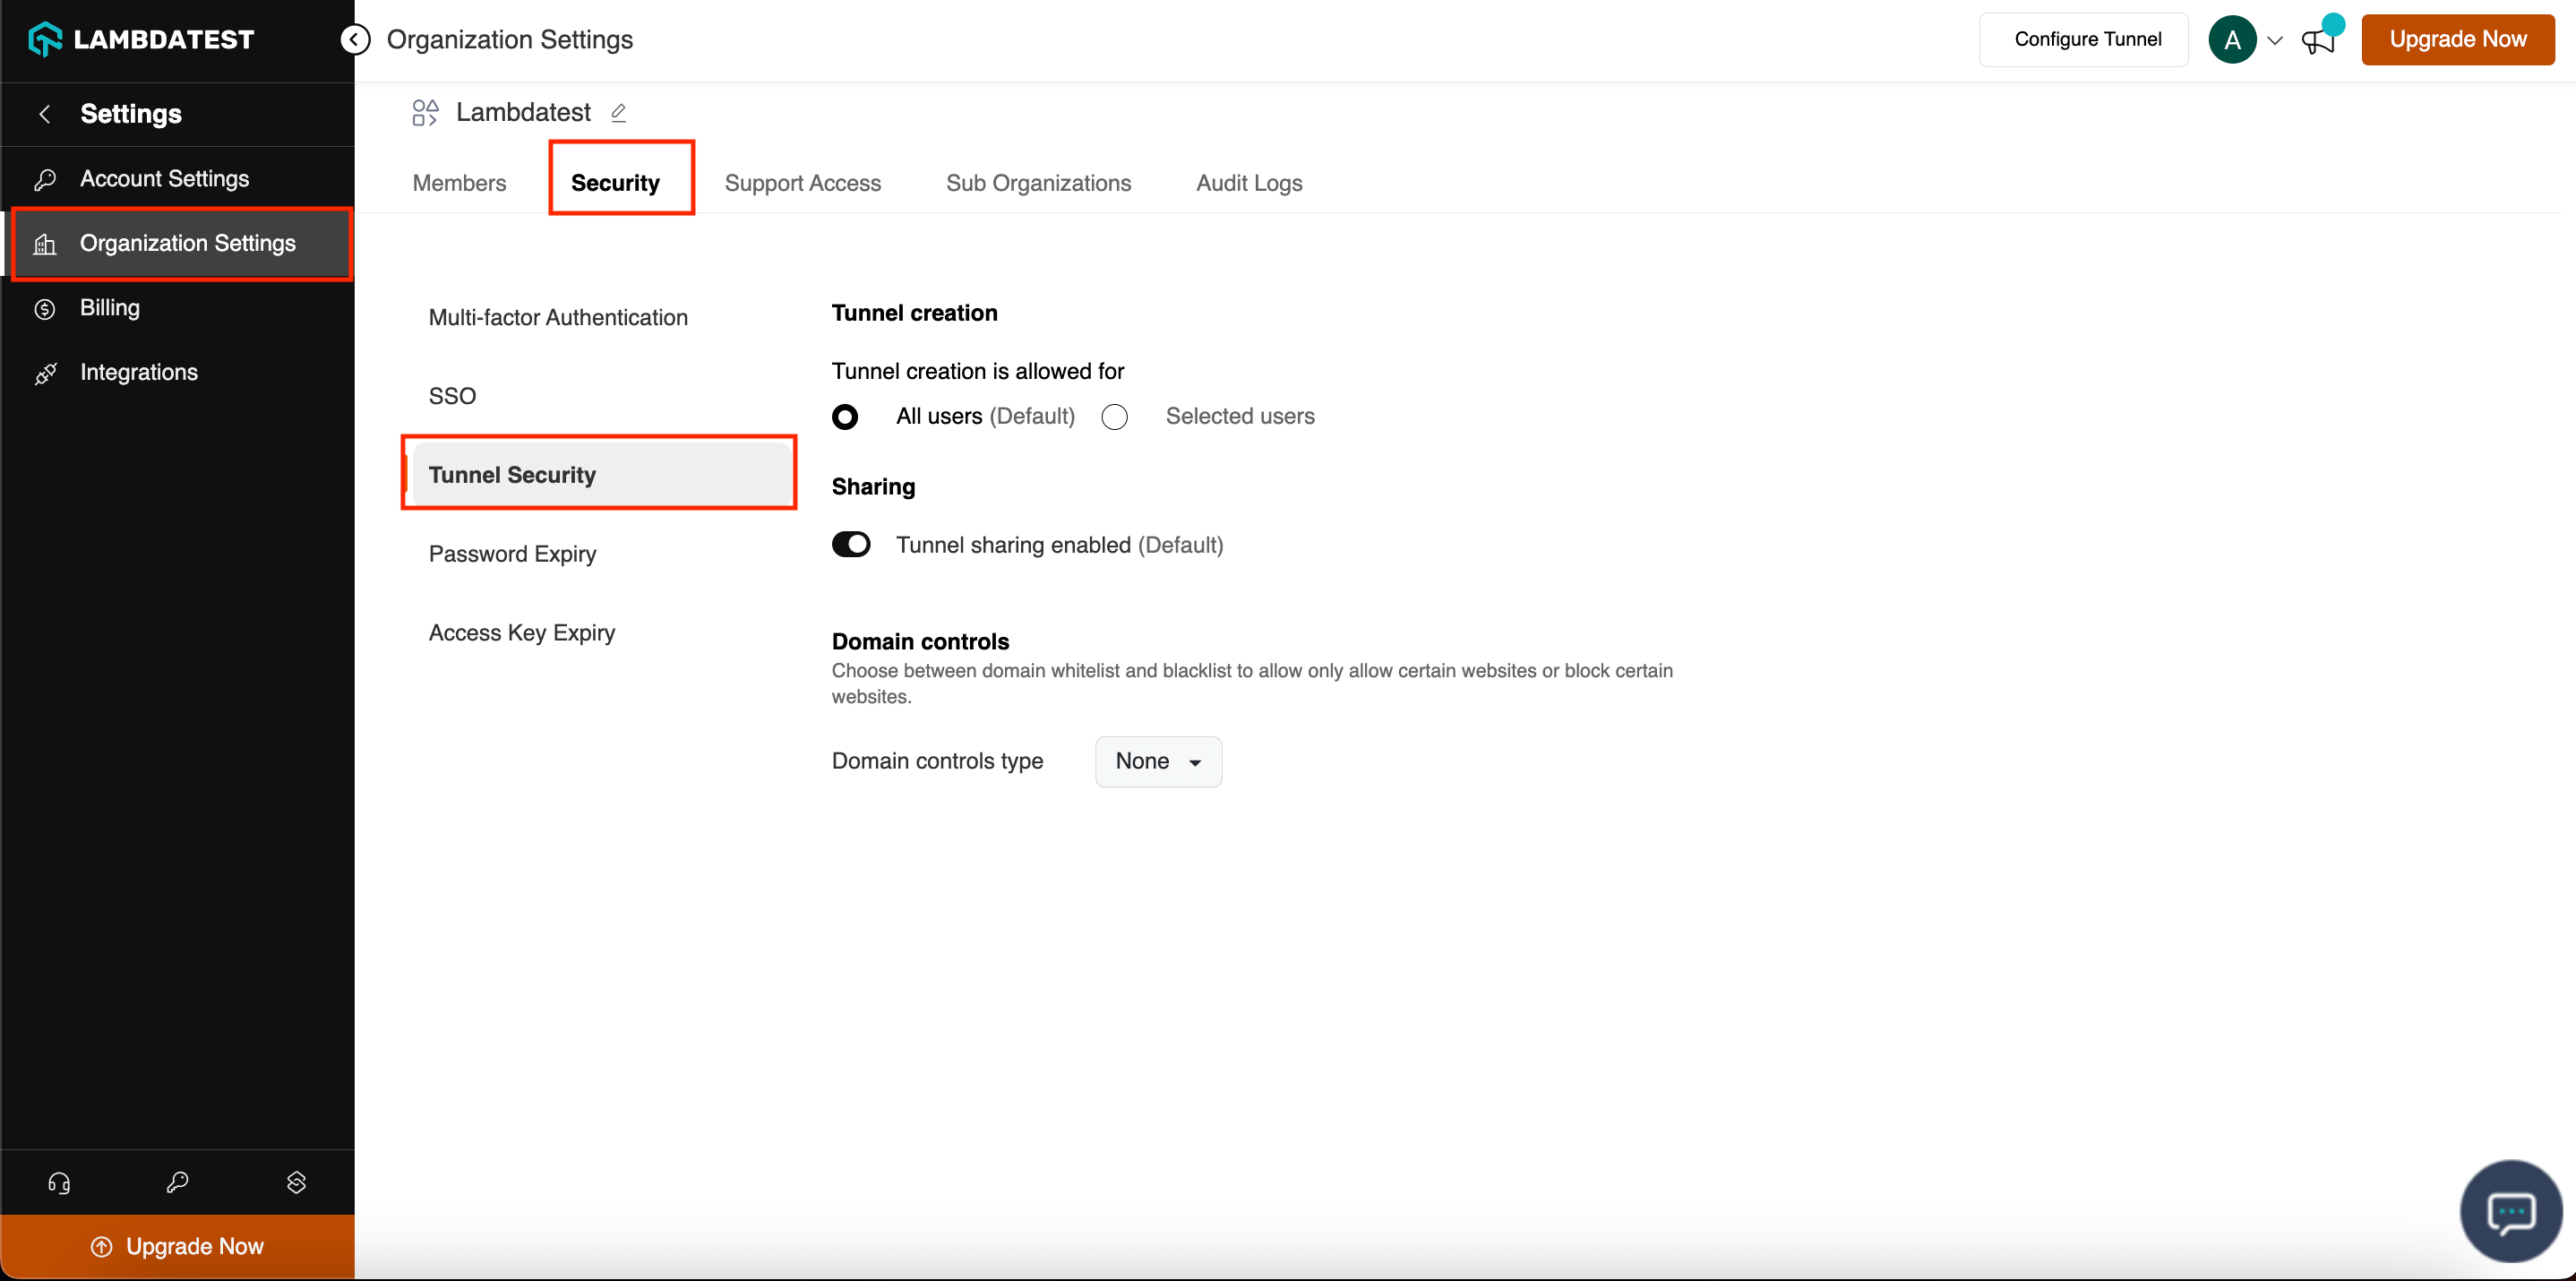
Step 3: Click Selected Users in the Tunnel creation section.
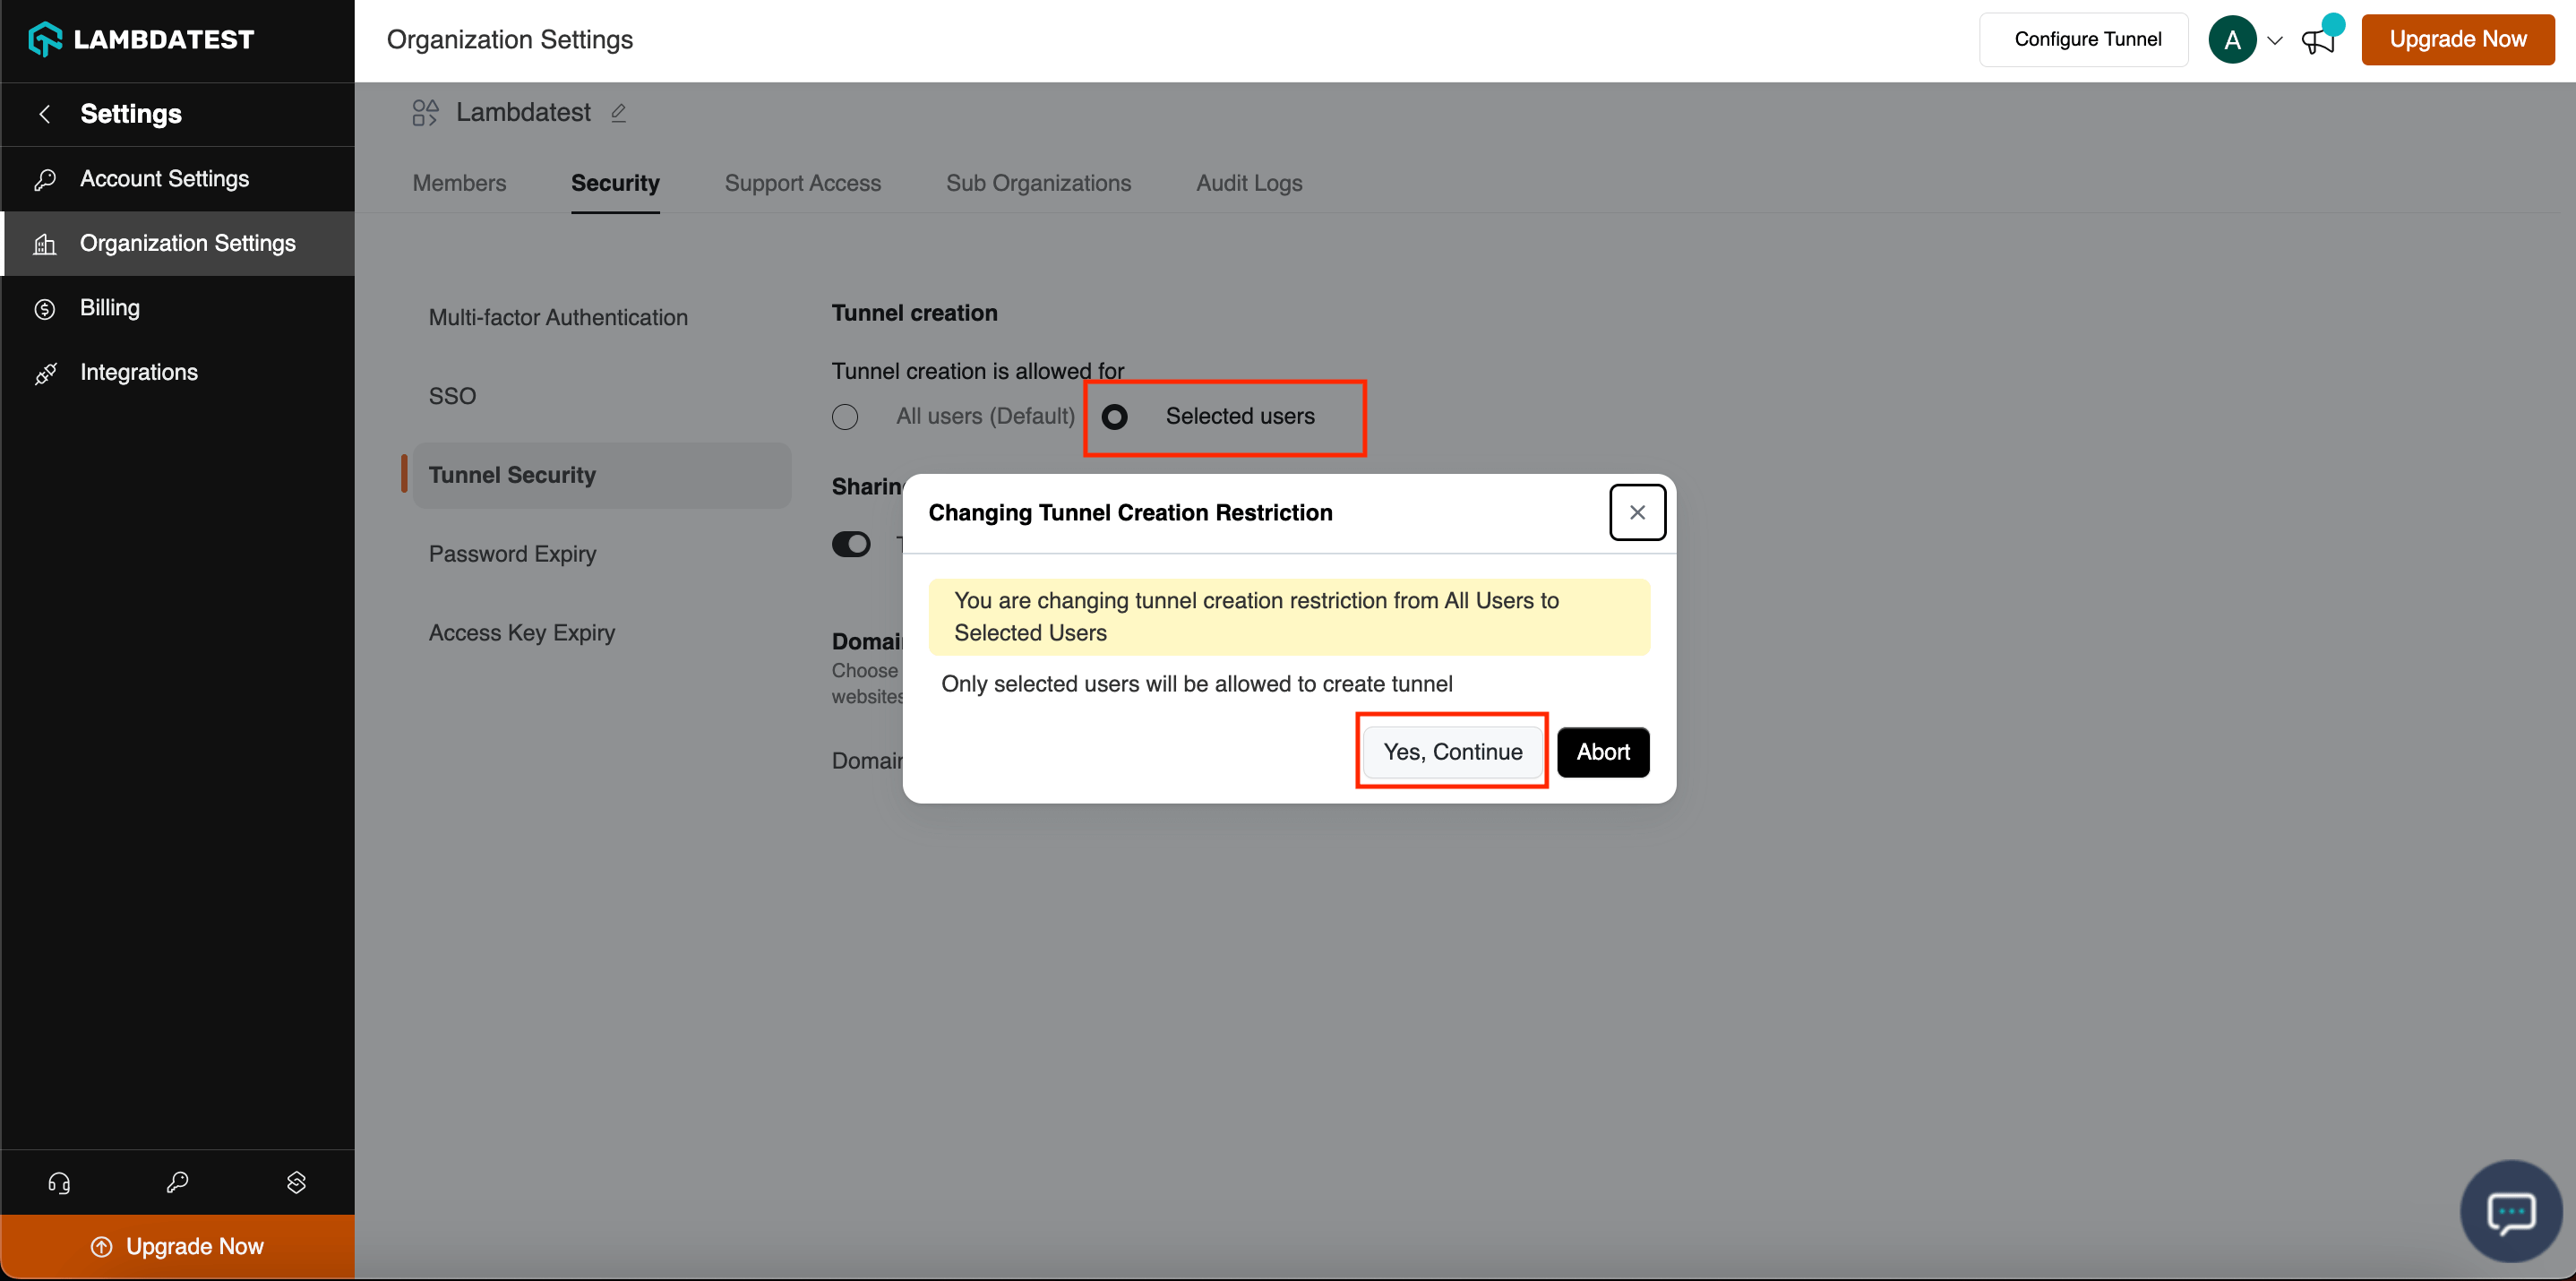
Step 4: Click Yes, Continue in the pop-up to continue permission change
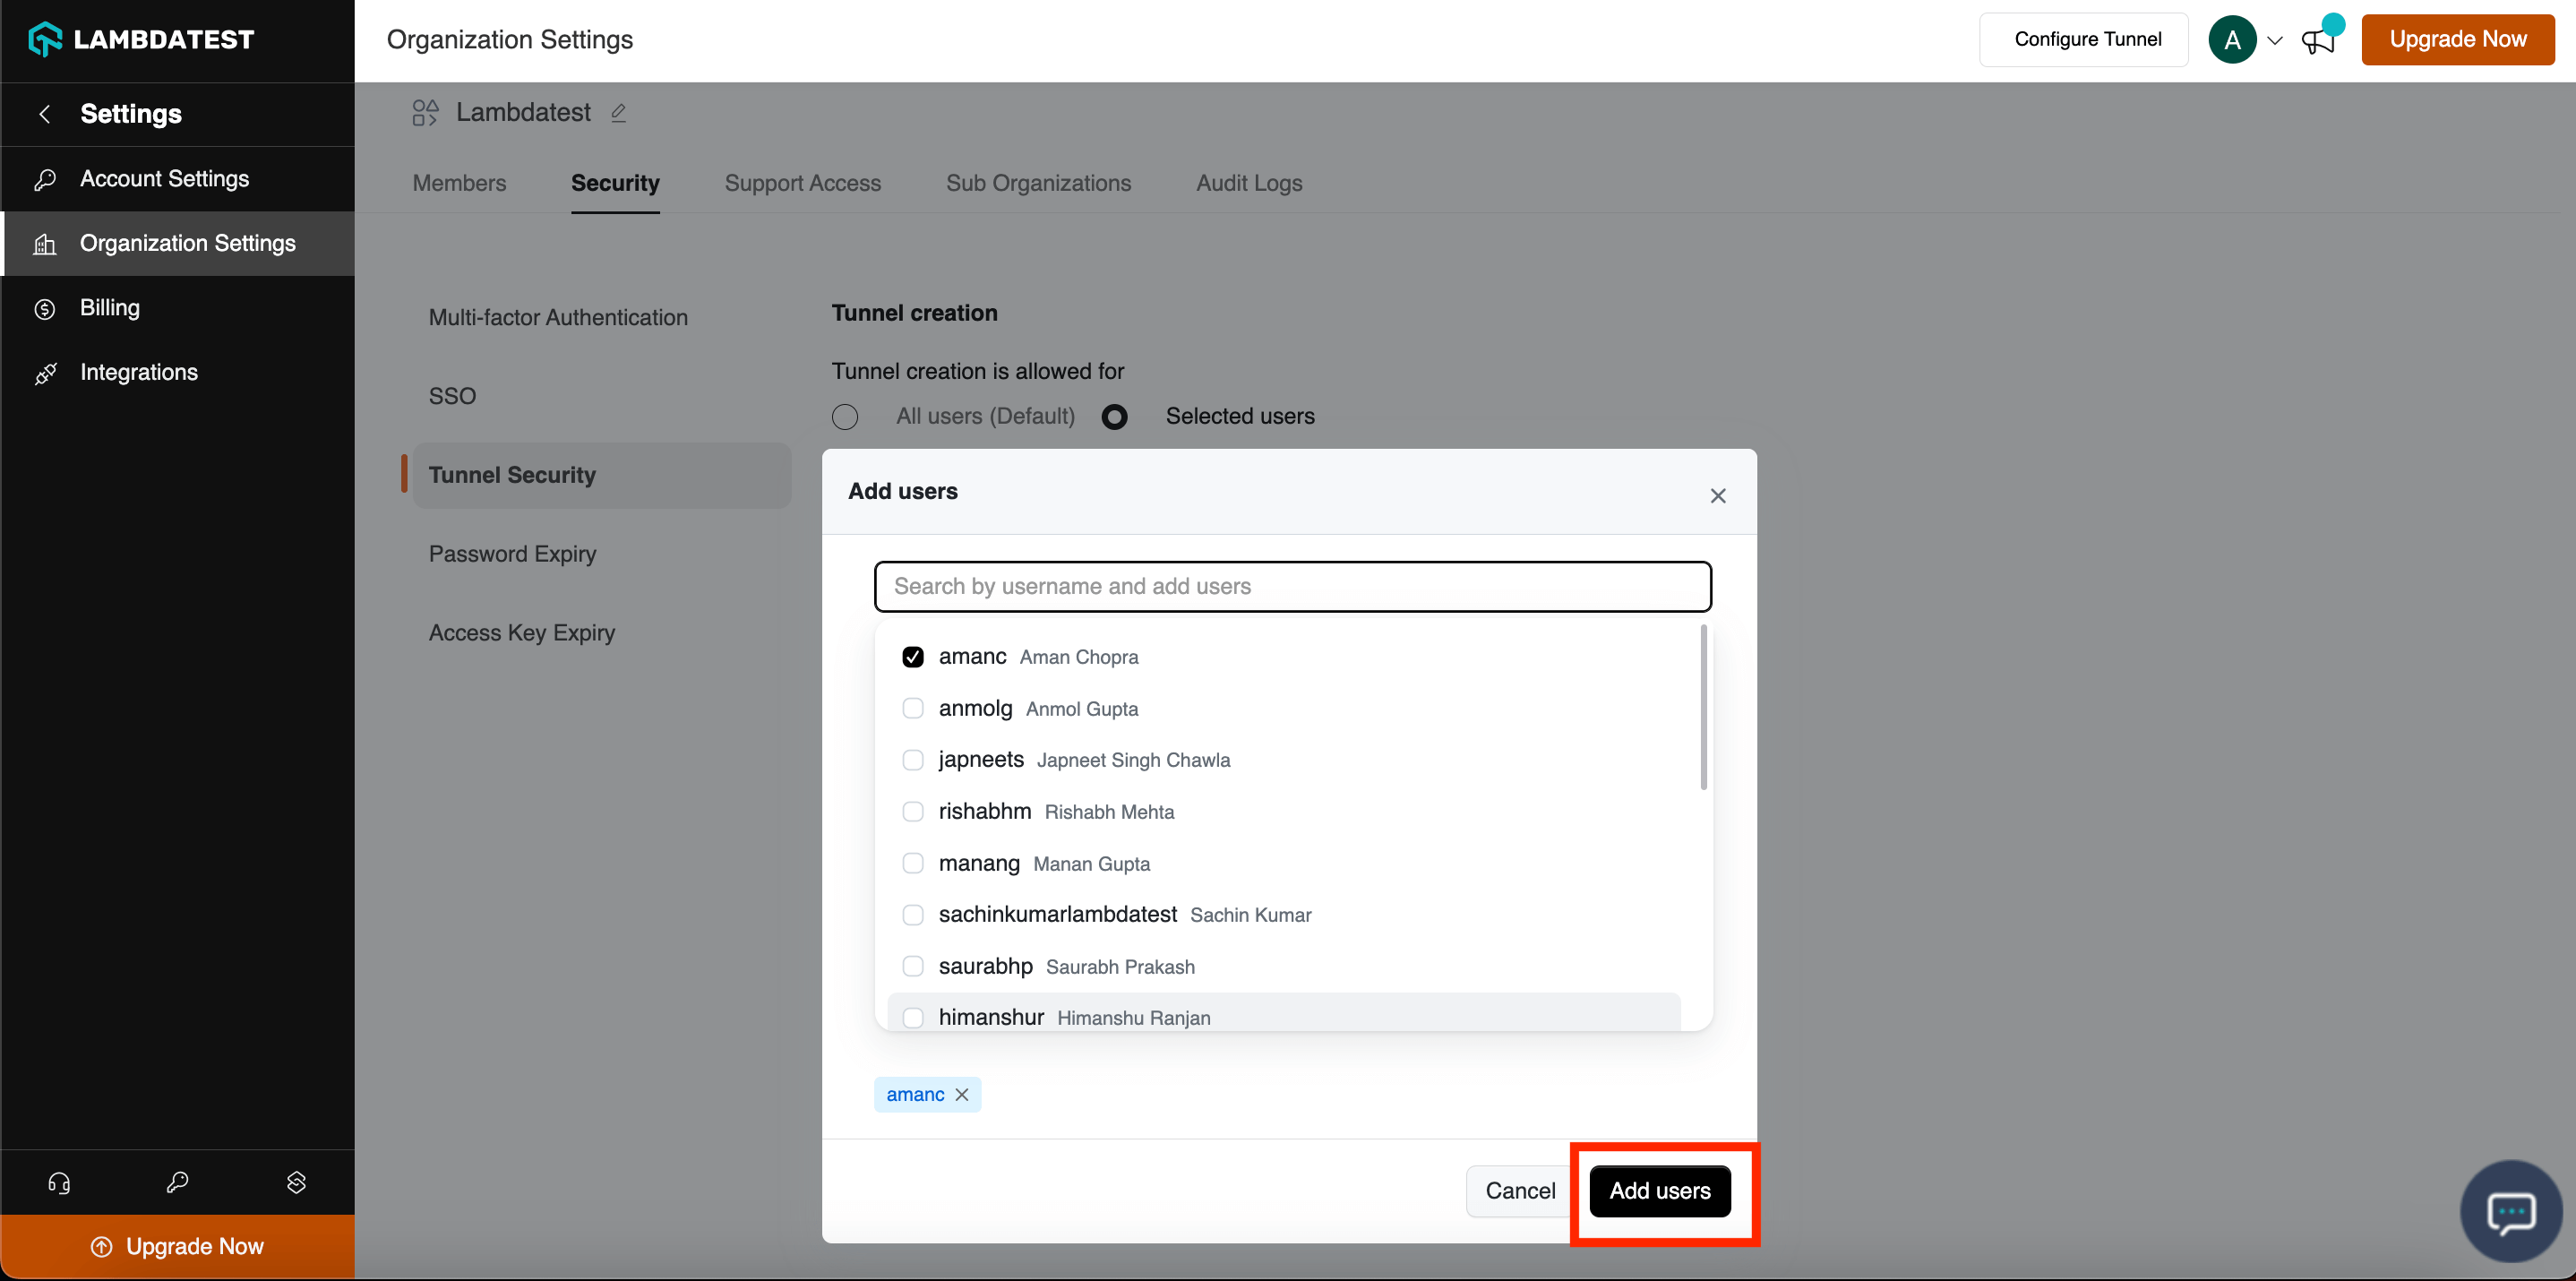
Step 5: Add users who will be able to create tunnel and confirm
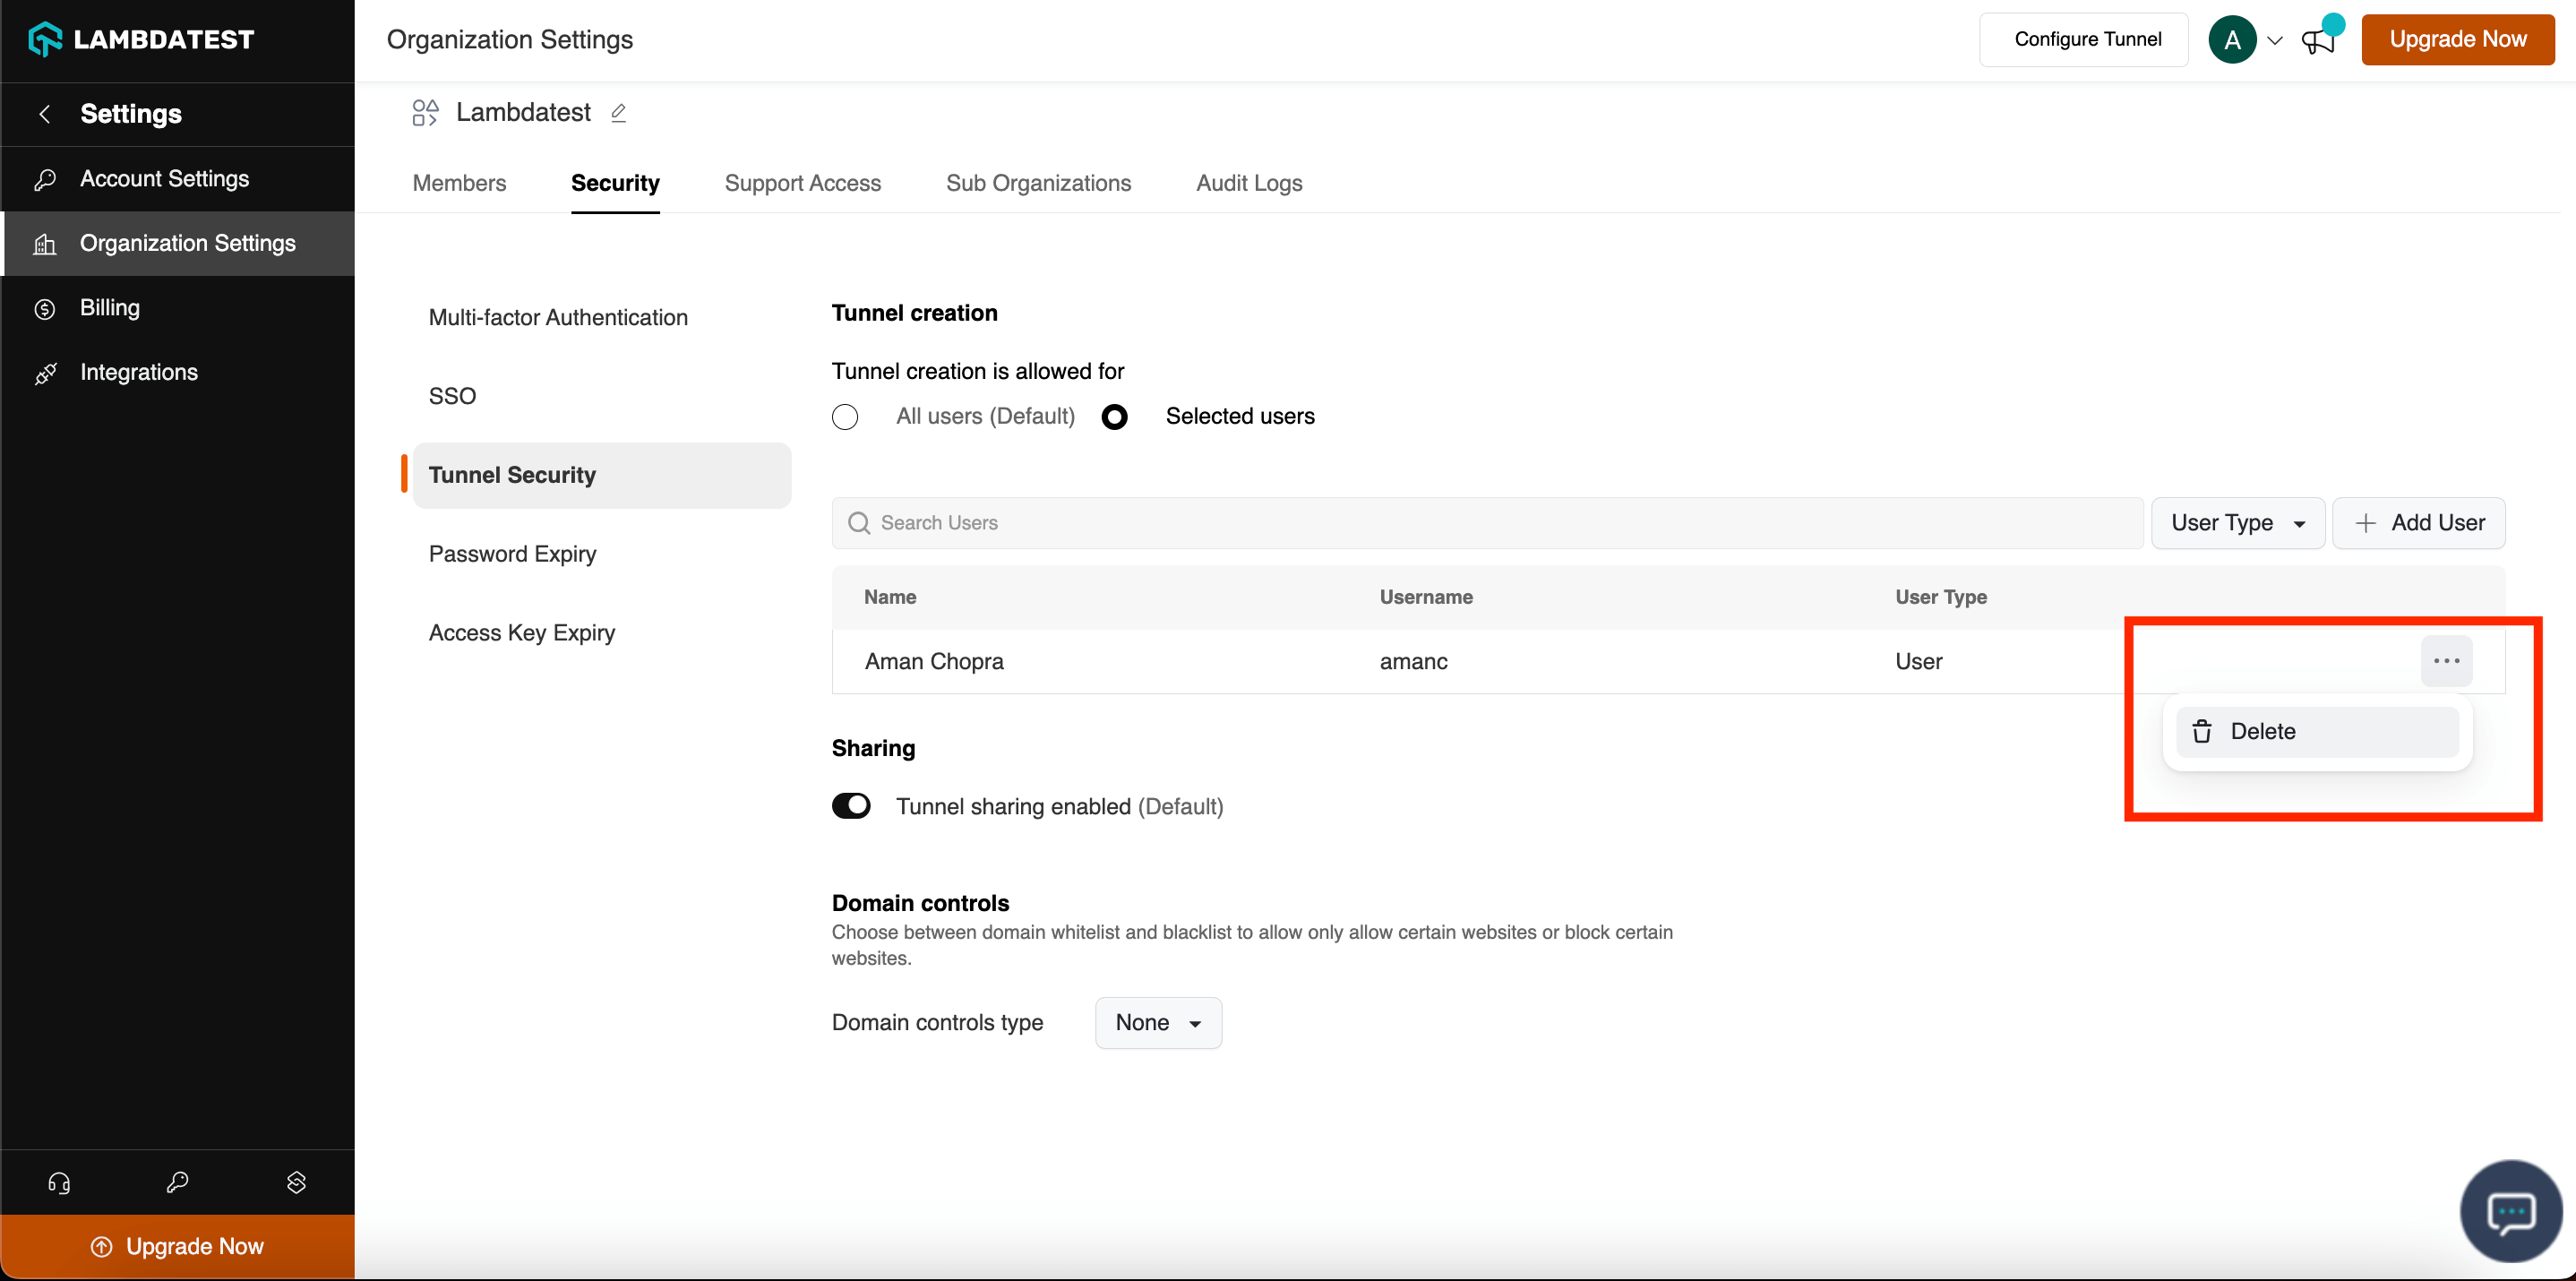
Tunnel creation is now restricted to only selected users. To remove users, click on the three dot menu in the table on the right side. To enable tunnel creation for all users, click All Users and confirm.

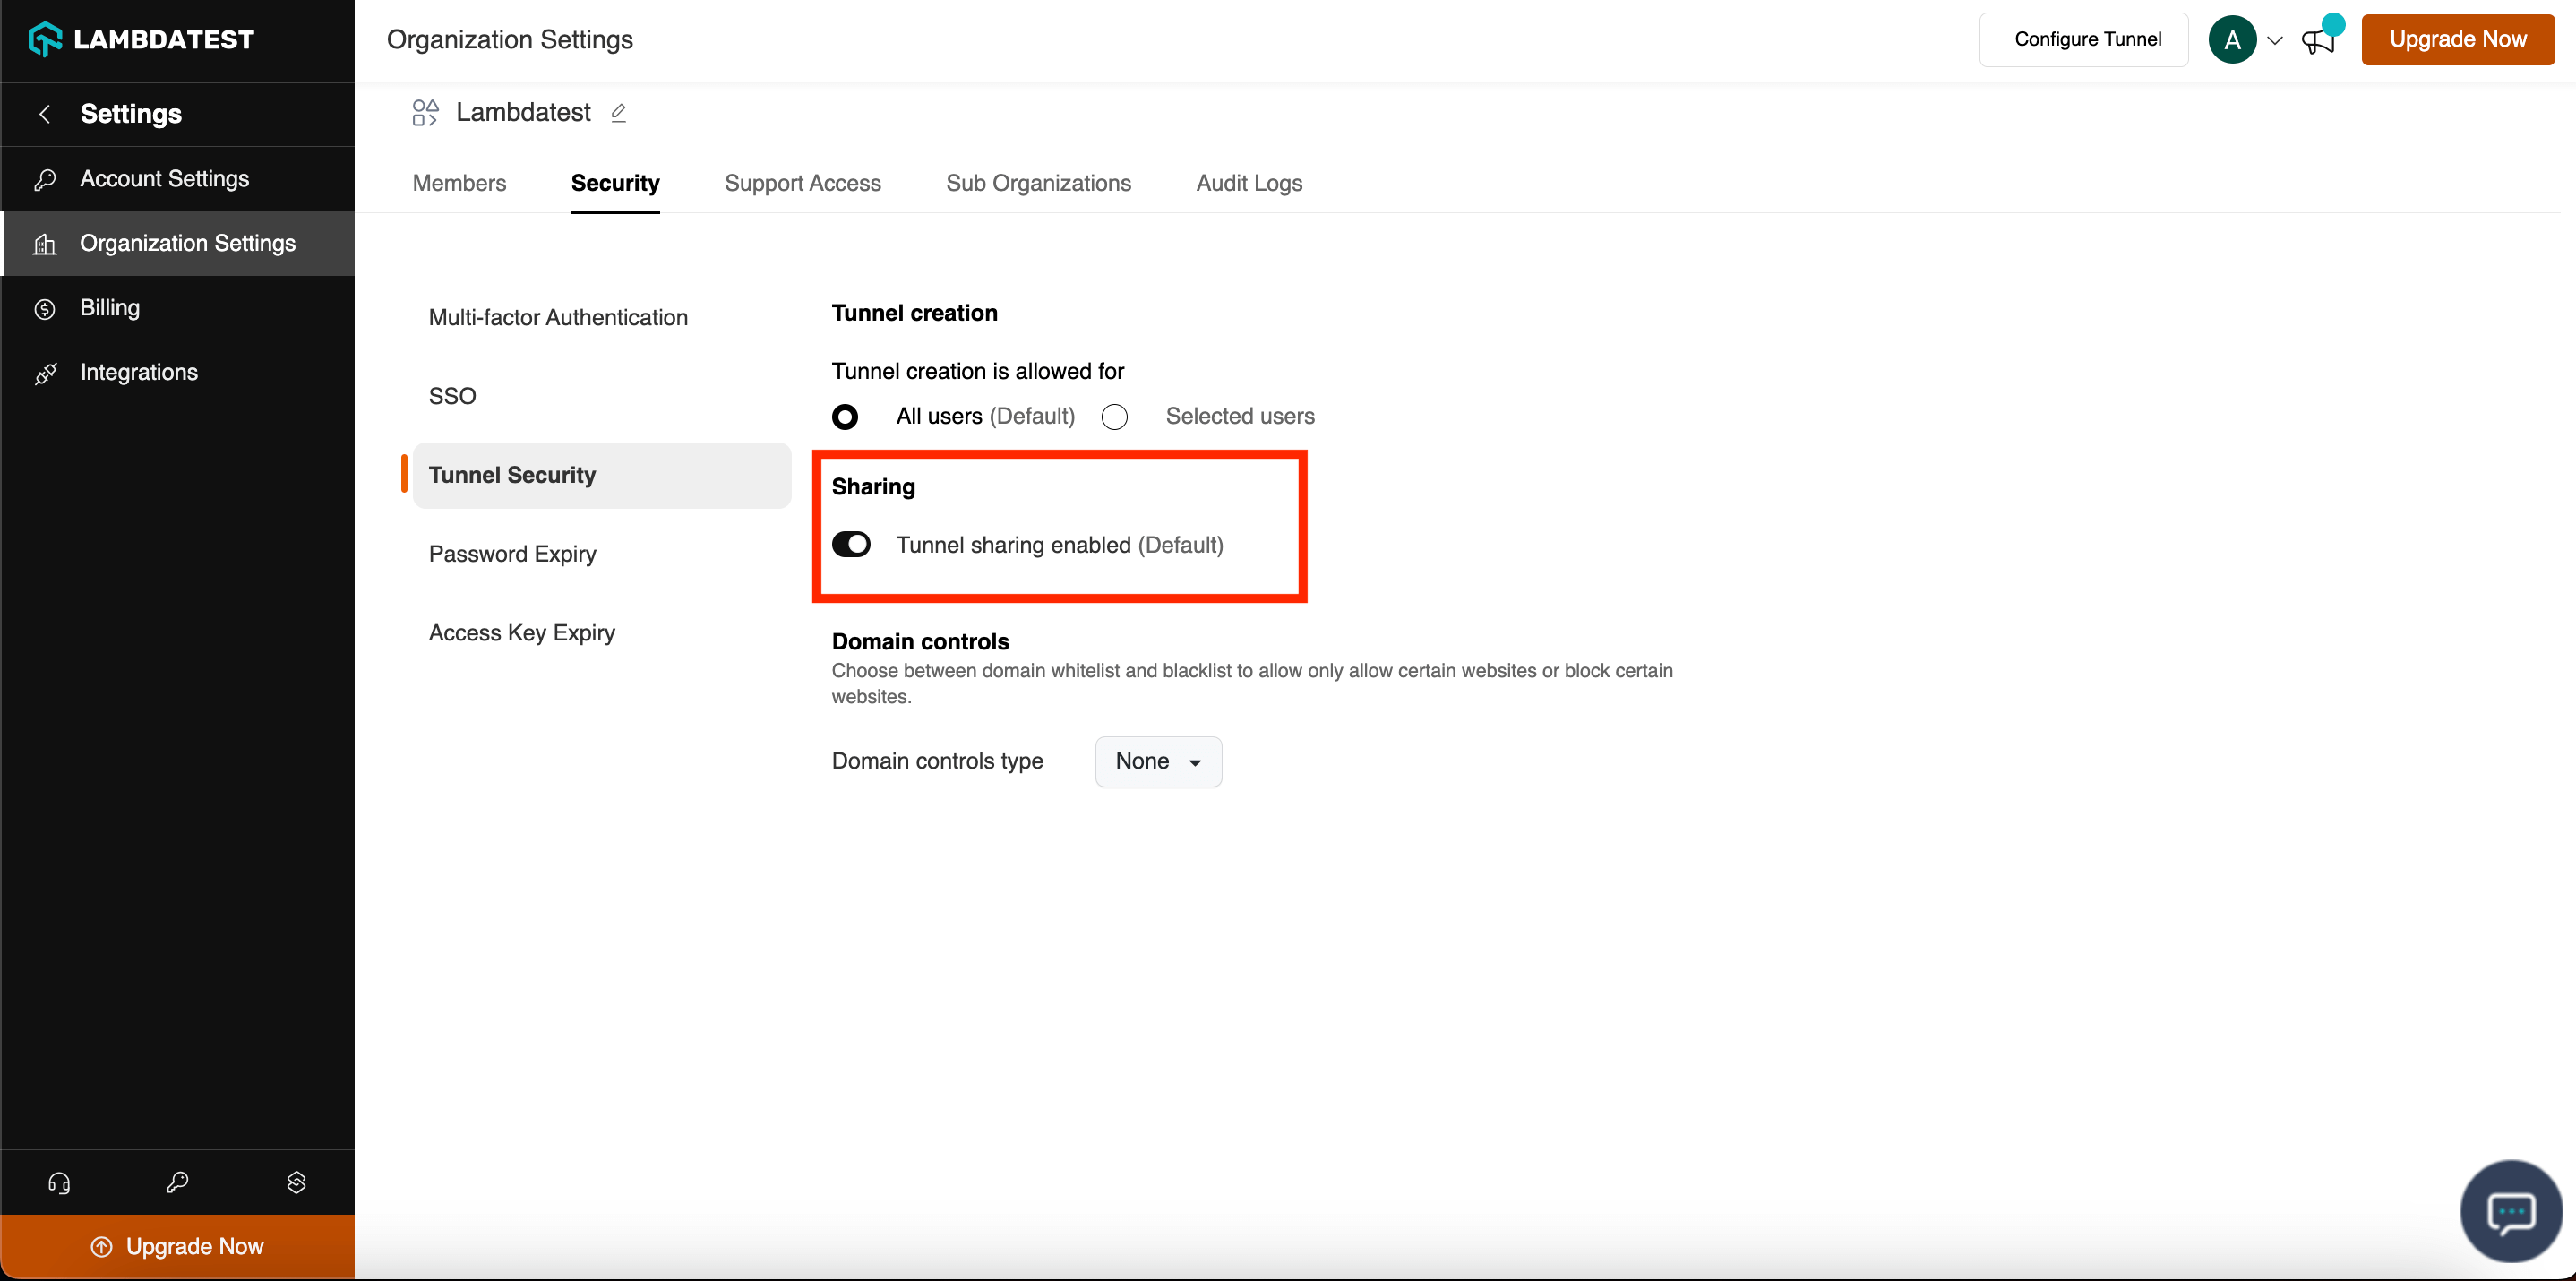
Enable/Disable Tunnel Sharing
Tunnel sharing is a feature where multiple users can share a single tunnel instance. This is enabled by default. To disable tunnel sharing, click the toggle as shown. To enable it back, the same toggle can be used.
Setup Domain Controls
Domain controls enable the allowing or disallowing access of specific domains through tunnel. The two options available are - Whitelisting and Blacklisting. With whitelisting, only the selected domains will be accessible through the tunnel. With blacklisting, access to selected domains will not be allowed through the tunnel. To set it up, the following steps can be followed:
Step 1: In the Security tab of Organisation Settings, click on Tunnel Security
Step 2: In the Domain controls type option, choose Whitelist or Blacklist based on the need.
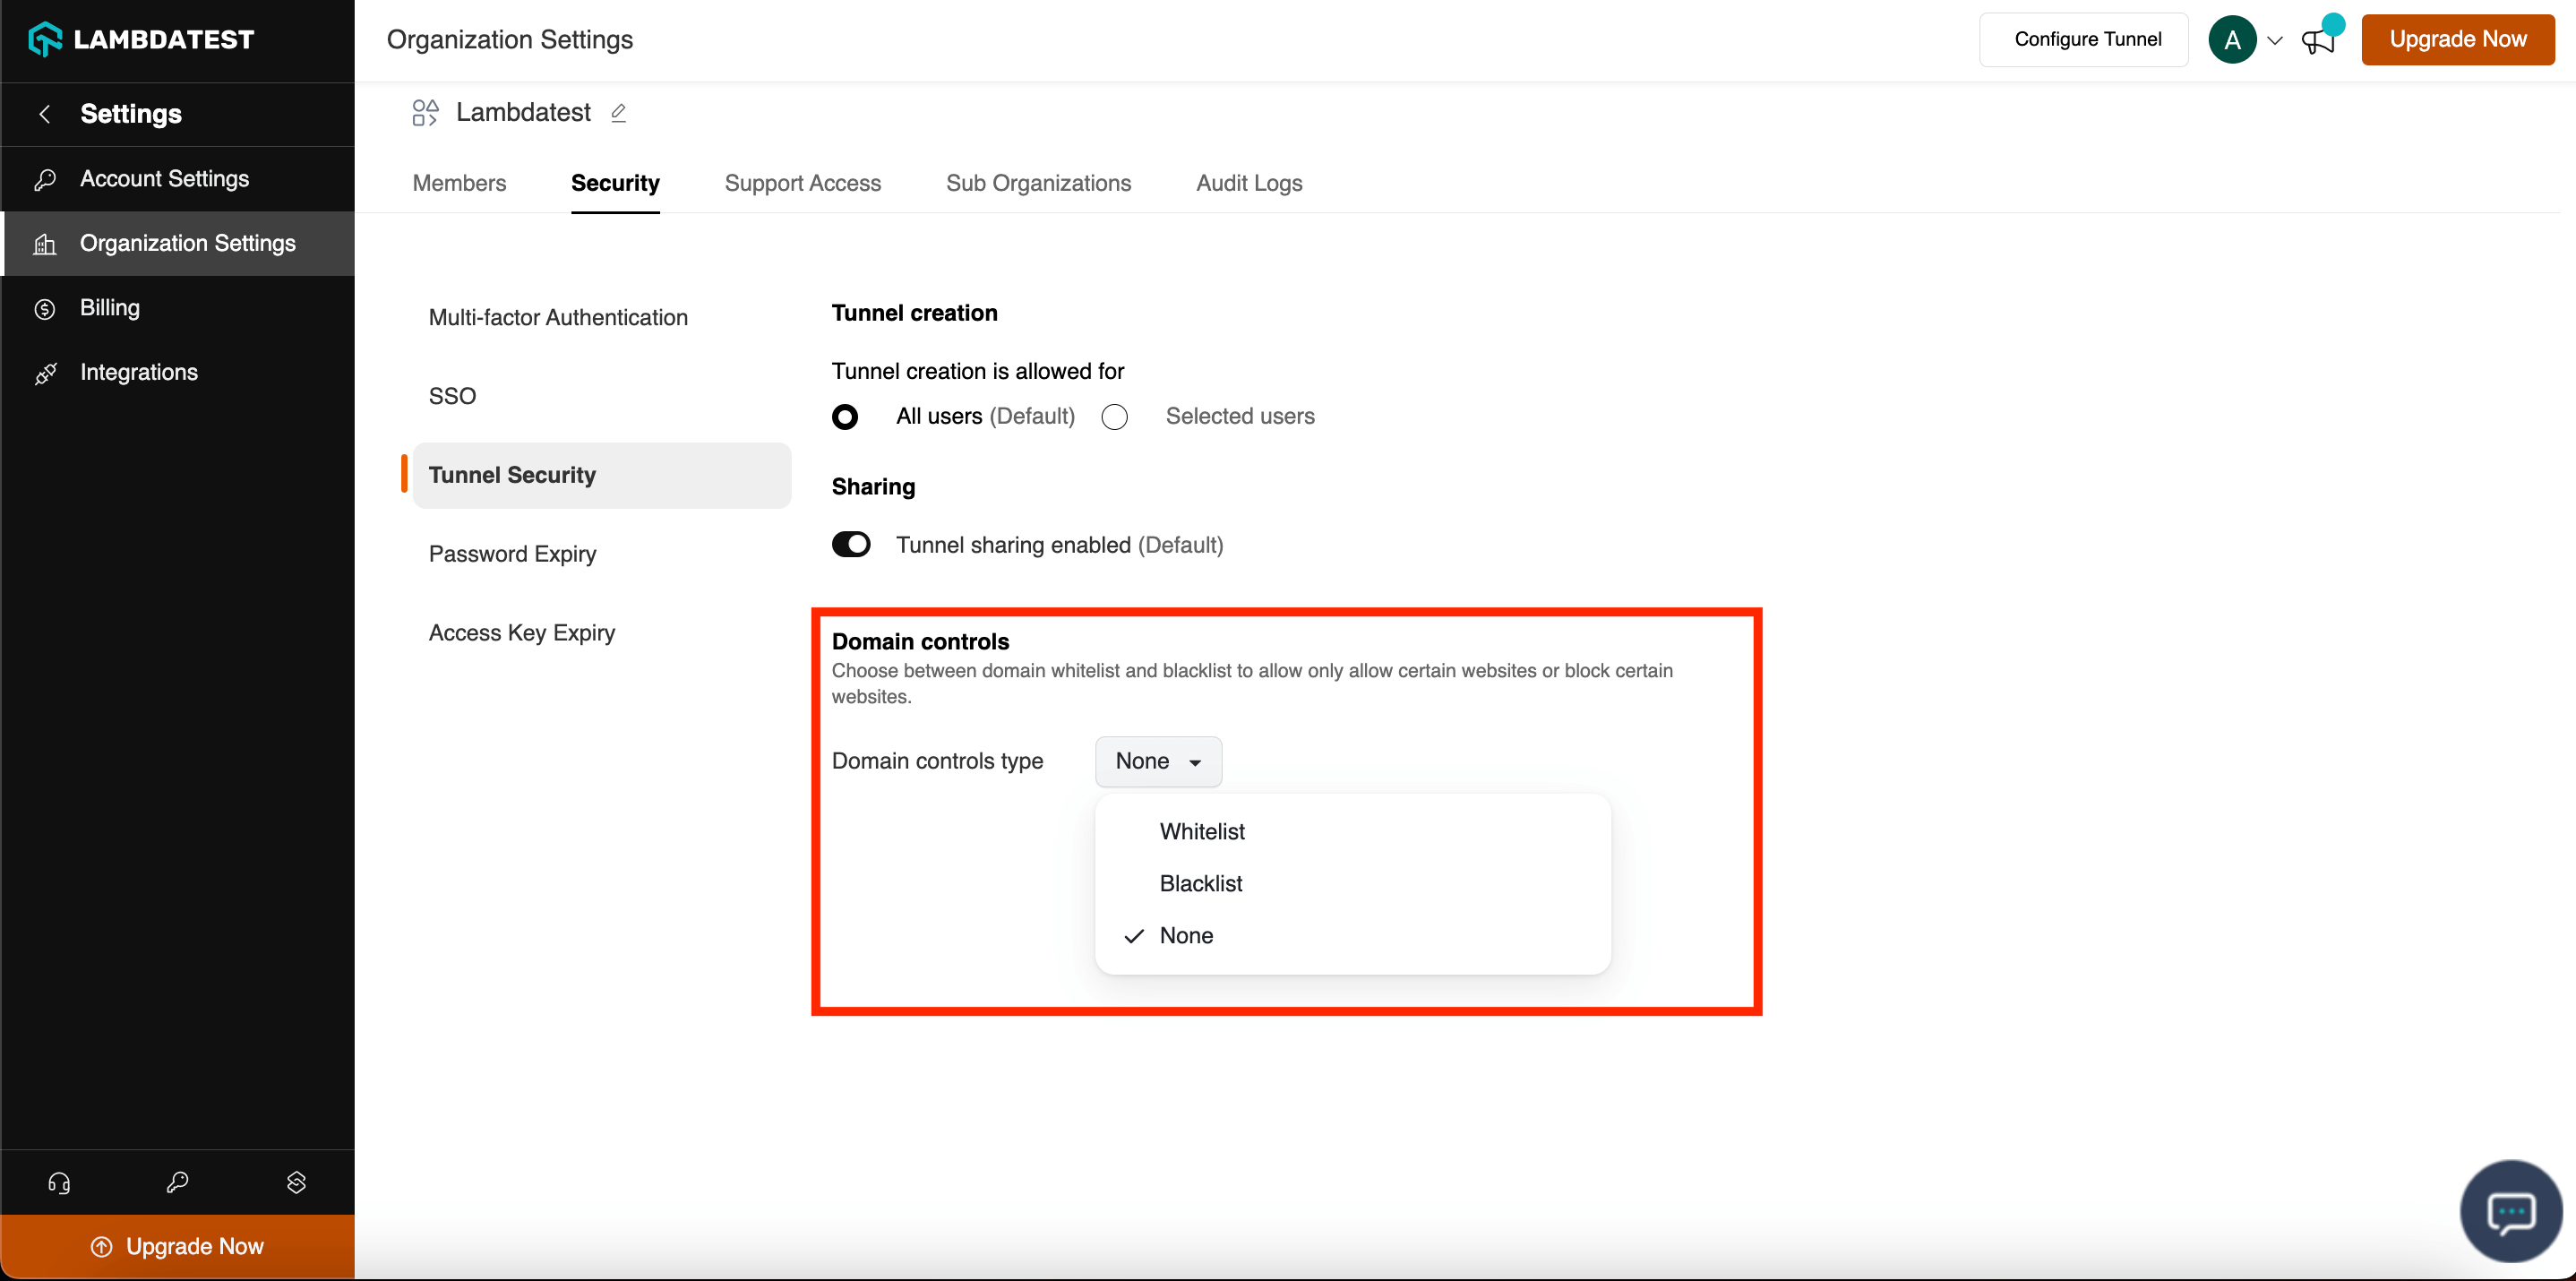
Step 3: Choose Yes, Continue in the pop-up and add all the domains that are to be whitelisted/blacklisted.

NOTE : Websites that are not publicly accessible and can only be accessed through the tunnel, such as locally hosted sites, can utilize either Blacklisting or Whitelisting. This domain control is not applicable to websites that are publicly accessible.
