UI Testing with Maestro using HyperExecute and SmartUI SDK
This document guides you on how to perform visual regression testing for your Android applications by running your Maestro tests on the HyperExecute platform and capturing screenshots with the SmartUI SDK.
Prerequisites
Before you begin, ensure you have the following prerequisites in place:
- Your LambdaTest Username and Access Key. You can find these on your dashboard -> left side bar -> credentials.
- The HyperExecute CLI downloaded to your local machine.
- An existing Android application file (
.apk). - Node.js and npm installed on your system.
Step 1: Create a SmartUI Project
First, you need to create a project in SmartUI. All your visual regression test builds for this project will be grouped here.
- Navigate to the SmartUI Projects page.
- Click on New Project.
- Select CLI as the platform.
- Provide a Project Name, select approvers, and add any relevant tags.
- Click Submit.
Once the project is created, you will get a unique PROJECT_TOKEN. Copy this token as it is required in the HyperExecute YAML configuration file later.
Step 2: Clone The Sample Repository
You can configure your own existing Maestro project or get started quickly by cloning our sample repository.
git clone https://github.com/LambdaTest/smartui-maestro-sample
cd smartui-maestro-sample
You can find the complete code for this example in the following LambdaTest GitHub repository.
 View on GitHub
Step 3: Upload Your Application
To run your tests on LambdaTest real devices or emulators, you need to upload your Android app (.apk) and get an appId.
Run the following cURL command in your terminal. Ensure you have set your LT_USERNAME and LT_ACCESS_KEY as environment variables.
curl -u "undefined:undefined" -X POST "https://manual-api.lambdatest.com/app/upload/realDevice" -F "appFile=@"<YOUR_LOCAL_APP_PATH>"" -F "name="sampleApp""
From the JSON response, copy the value of app_url. It will be in the format lt://.... This is your appId.
Step 4: Configure Your Test Suite
Now, let's set up the test suite to integrate with SmartUI.
4.1. Install SmartUI CLI
The SmartUI CLI is required to capture and upload screenshots. Install it in your project directory:
npm install @lambdatest/smartui-cli
If you face any problems executing tests with SmartUI-CLI versions >= v4.x.x, upgrade your Node.js version to v20.3 or above.
4.2. Add SmartUI Screenshots to Your Maestro Flow
In your Maestro test YAML files (e.g., maestro-test/test.yaml), add the takeScreenshot command wherever you want to capture a visual checkpoint. The path specified will be used to name the screenshot in the SmartUI dashboard.
- launchApp
- takeScreenshot:
    path: ./screenshots/home-screen
- tapOn: "Login"
- takeScreenshot:
    path: ./screenshots/login-page
4.3. Set Up Environment Variables
Now, you need to export your environment variables LT_USERNAME and LT_ACCESS_KEY that are available in the LambdaTest Username and Access Key Page.
Run the below mentioned commands in your terminal to setup the CLI and the environment variables.
- Linux / MacOS
- Windows
export LT_USERNAME="undefined"
export LT_ACCESS_KEY="undefined"
set LT_USERNAME="undefined"
set LT_ACCESS_KEY="undefined"
Step 5: Configure the HyperExecute YAML
The HyperExecute YAML file is the blueprint for your test execution. It tells HyperExecute how to set up the environment and run your tests.
You need to add your PROJECT_TOKEN (from Step 1) and your appId (from Step 3) to the YAML file. Below are example configurations for running Maestro tests on Emulators and Real Devices.
- Android-Real Device
- Android-Emulator
loading...
To enable this for your organizaton, connect with us through our 24/7 chat support or drop us an email to support@lambdatest.com.
loading...
In the real device configuration, the testDiscovery and testRunnerCommand are handled internally by the maestro framework integration on HyperExecute. You just need to specify the framework block.
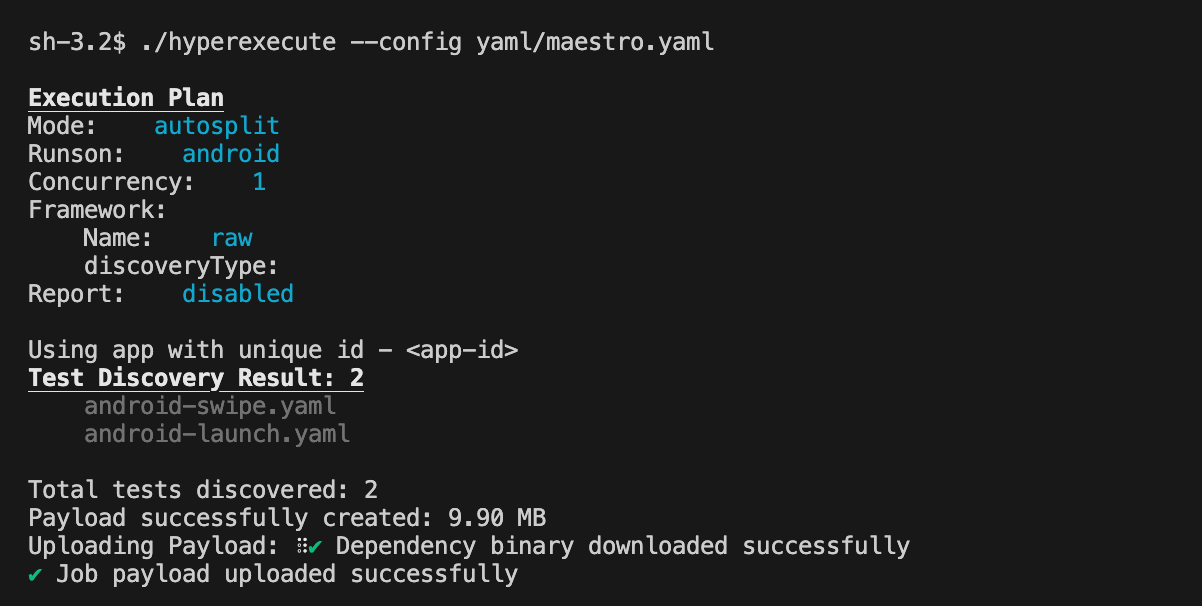
Step 6: Execute Your Test Suite
Run the below command in your terminal at the root folder of the project:
./hyperexecute --config RELATIVE_PATH_OF_YOUR_YAML_FILE
OR use this command if you have not exported your username and access key in the step 2.
./hyperexecute --user undefined --key undefined --config RELATIVE_PATH_OF_YOUR_YAML_FILE
Step 7: View Your Visual Test Results on SmartUI
After the HyperExecute job is finished, all screenshots captured using the takeScreenshot command will be available in your SmartUI project for review.
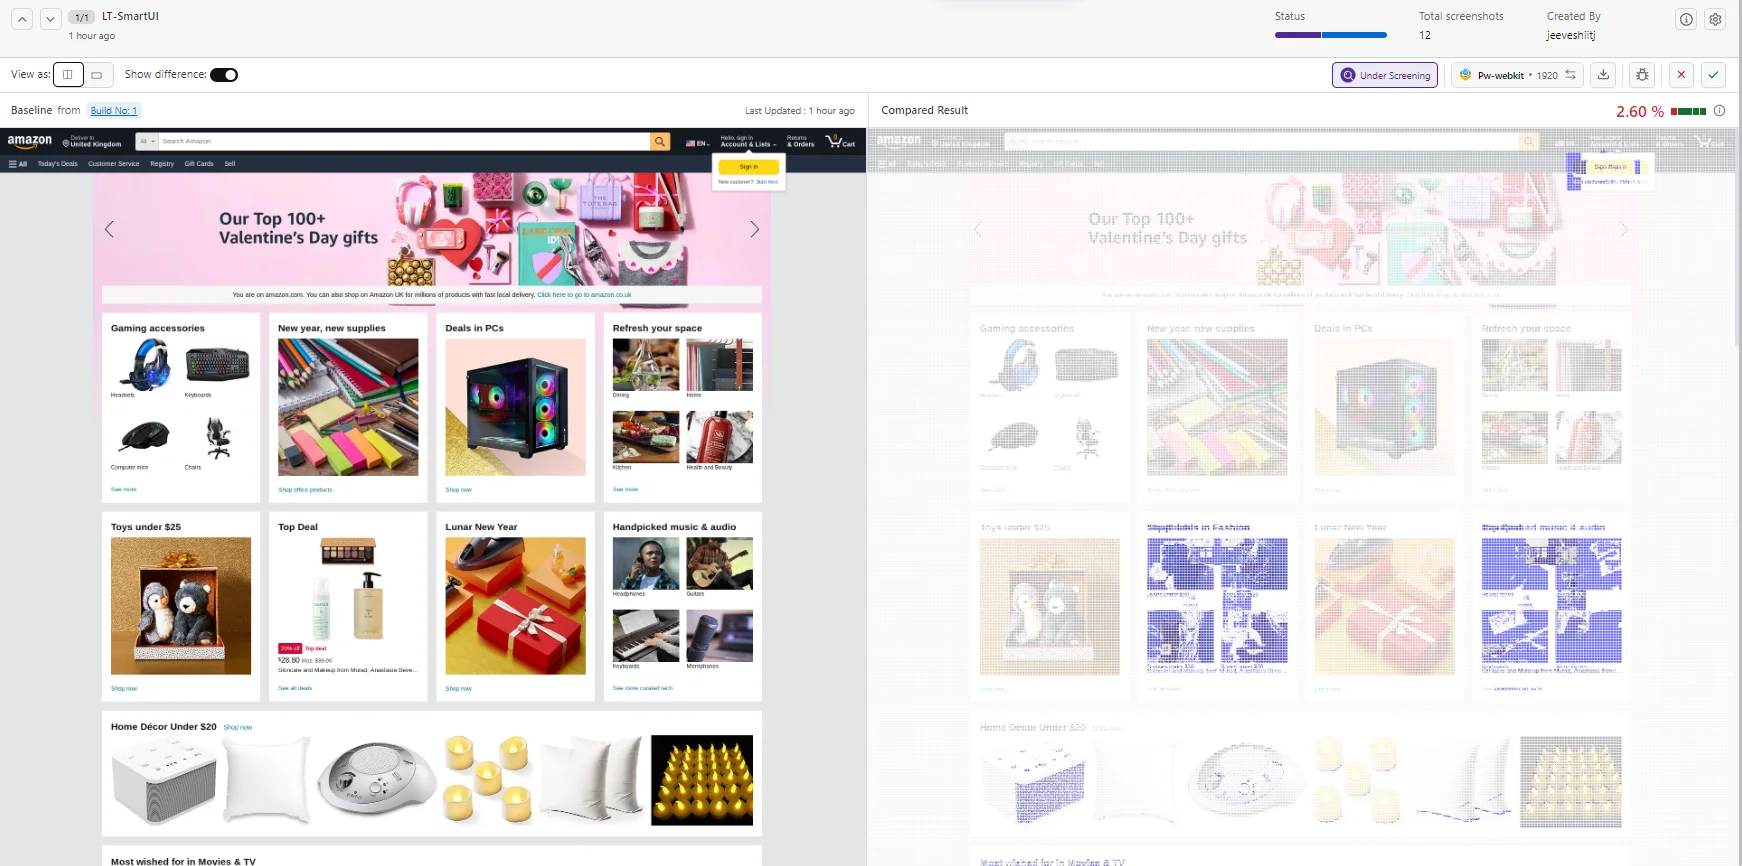
- Navigate to the SmartUI Dashboard.
- Select your project and the most recent build.
- Here, you can compare screenshots against the baseline, highlight differences, and approve or reject changes. You can use features like Smart Ignore to mask dynamic areas for more stable comparisons.
