Smart UI Tests in HyperExecute using Selenium
This documentation will guide you step-by-step to execute the Smart UI tests on the HyperExecute platform using Selenium
Prerequisites
- Your lambdatest Username and Access key
- HyperExecute CLI in order to initiate a test execution Job .
- Setup the Environment Variable
- HyperExecute YAML file which contains all the necessary instructions.
- To run Smart UI tests, you need to have a Baseline Image and a Comparison image. A baseline image is the reference image with which you want to compare. You can either upload this image from your computer or take a screenshot from your browser.
Step 1: Configure Your Test Suite
You can use your own project to configure and test it. For demo purposes, we are using the sample repository.
Download or Clone the code sample for the TestNG from the LambdaTest GitHub repository to run the tests on the HyperExecute.
If you are using your own project, make sure you update the HUB endpoint in your tests file.
By setting up the HUB endpoint, you establish the communication channel between your tests and the browser nodes, enabling effective test distribution and execution.
const GRID_HOST = "@hub.lambdatest.com/wd/hub";
Configure the desired capabilities based on your test requirements. For example:
DesiredCapabilities capability = new DesiredCapabilities();
capability.setCapability(CapabilityType.BROWSER_NAME, browser);
capability.setCapability(CapabilityType.VERSION, version);
capability.setCapability(CapabilityType.PLATFORM, os);
capability.setCapability("screen_resolution", res);
capability.setCapability("build", "Cucu-Sel-TestNG-" + jobid);
capability.setCapability("name", scenario);
capability.setCapability("network", true);
capability.setCapability("video", true);
capability.setCapability("console", true);
capability.setCapability("visual", true);
capability.setCapability("smartUI.project", "HyperExecute-smartUI-project");
You can also use dev and beta browser versions. To generate capabilities for your test requirements, you can use our inbuilt 🔗 Capabilities Generator Tool.
Step 2: Setup the CLI in your Test Suite
After cloning / downloading the sample repo, you need to setup the CLI and the environment variables.
Download the HyperExecute CLI
The CLI is used for triggering the tests on HyperExecute. It is recommend to download the CLI binary on the host system and keep it in the root directory of the suite to perform the tests on HyperExecute.
You can download the CLI for your desired platform from the below mentioned links:
Setup Environment Variable
Now, you need to export your environment variables LT_USERNAME and LT_ACCESS_KEY that are available in the LambdaTest Profile page.
Run the below mentioned commands in your terminal to setup the CLI and the environment variables.
- Linux / MacOS
- Windows
export LT_USERNAME="undefined"
export LT_ACCESS_KEY="undefined"
set LT_USERNAME="undefined"
set LT_ACCESS_KEY="undefined"
Step 3: Configure YAML in your Test Suite
Configure your YAML file as per your use cases using key value pairs.
In this sample YAML file, we have mentioned:
- version of the YAML file
- Timeouts for executing your project
- Mode of execution is Autosplit. You can also opt for Matrix or Hybrid mode.
- Pre and Post commands
- Reports and Artefacts that will be generated after the completion of tests
- and other necessary YAML Parameters
---
version: "0.1"
globalTimeout: 90
testSuiteTimeout: 90
testSuiteStep: 90

runson: win

autosplit: true

retryOnFailure: true
maxRetries: 2

concurrency: 1

debug: false

dataJsonPath: ['src/datame.json', 'src/data1.json','me/data.json', 'data.json']

mergeArtifacts: true
stripParentDirectory: true
taskIdentifierInNonConflictingArtefacts: true

pre:
  - pwd
  - echo ${PAT}
  - echo ${qa}
  - echo %PAT%
  - echo %qa%
  - sed -i -e 's/MyKey/%PAT%/g' key.txt
  - cat key.txt
  - mvn compile
  - cat longlogs.txt

post:
  - cat hyperexecute.yaml
  - cat longlogs.txt

testRunnerCommand: mvn test `-Dcucumber.options="$test" `-Dscenario="$test" `-Dmaven.repo.local=m2_cache_dir

testDiscovery:
  type: raw
  mode: static
  command: snooper --featureFilePaths=src/main/**/ --frameWork=java --query="@Addition AND @me"| sed -n 1,'5p'

jobLabel: [ 'HYP', 'Selenium', 'smartUI']
Step 4: Execute your Test Suite
NOTE : In case of MacOS, if you get a permission denied warning while executing CLI, simply run
chmod u+x ./hyperexecuteto allow permission. In case you get a security popup, allow it from your System Preferences → Security & Privacy → General tab.
Run the below command in your terminal at the root folder of the project:
./hyperexecute --config RELATIVE_PATH_OF_YOUR_YAML_FILE
OR use this command if you have not exported your username and access key in the step 2.
./hyperexecute --user undefined --key undefined --config RELATIVE_PATH_OF_YOUR_YAML_FILE
Step 5: Monitor the Test Execution
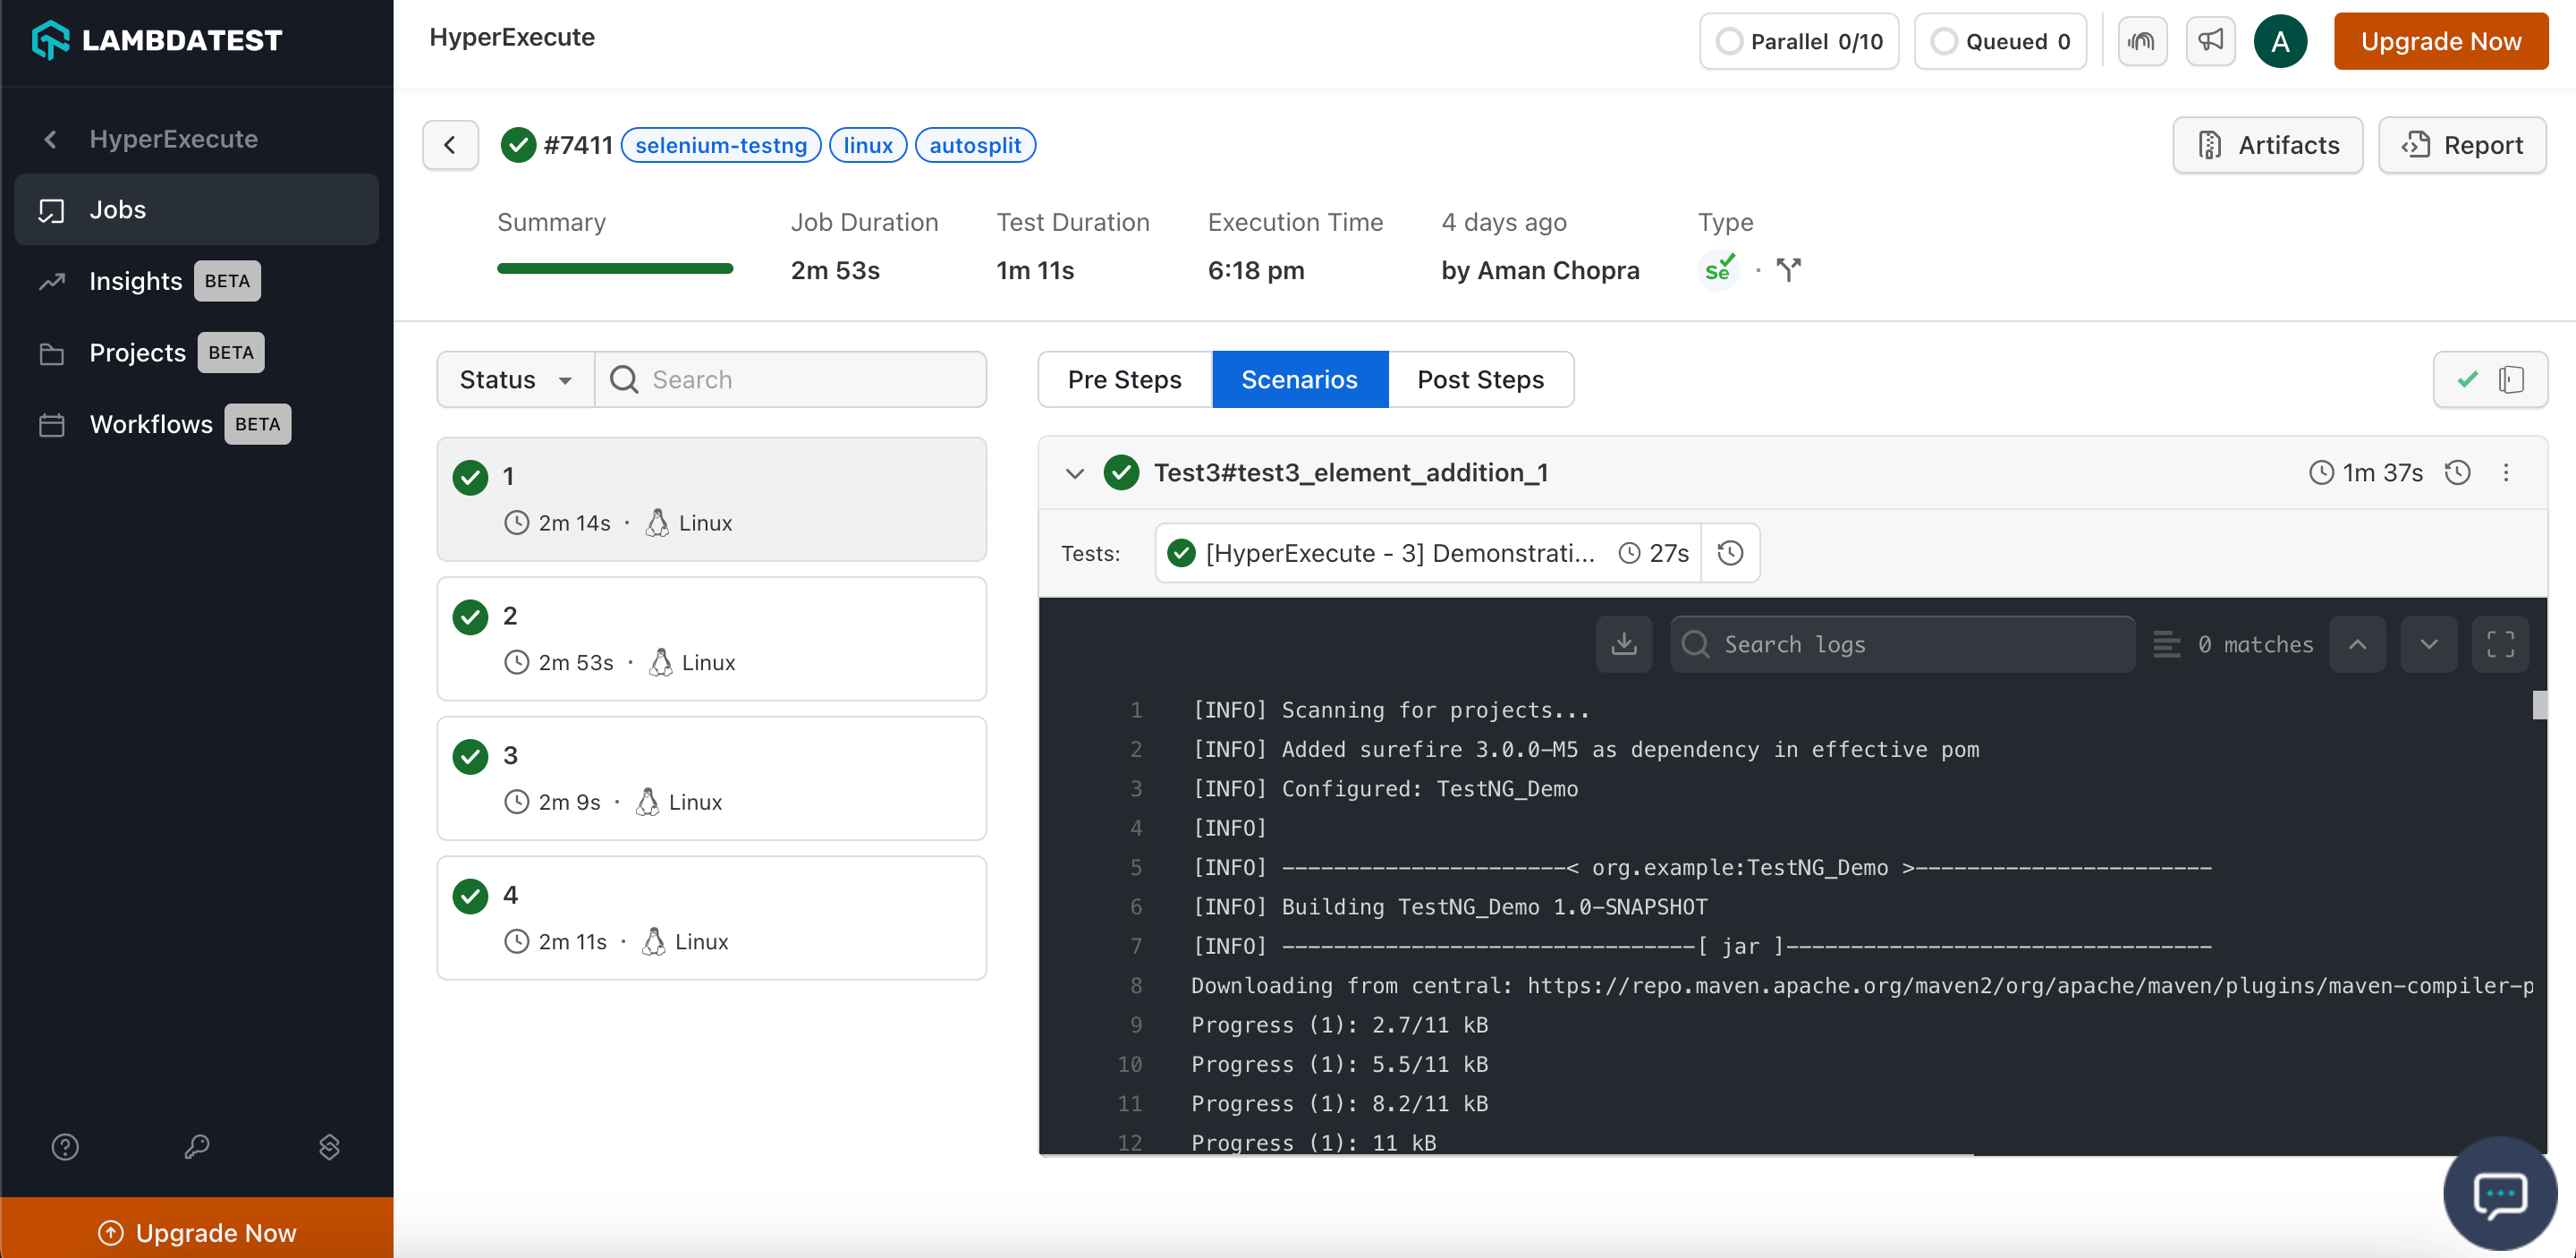
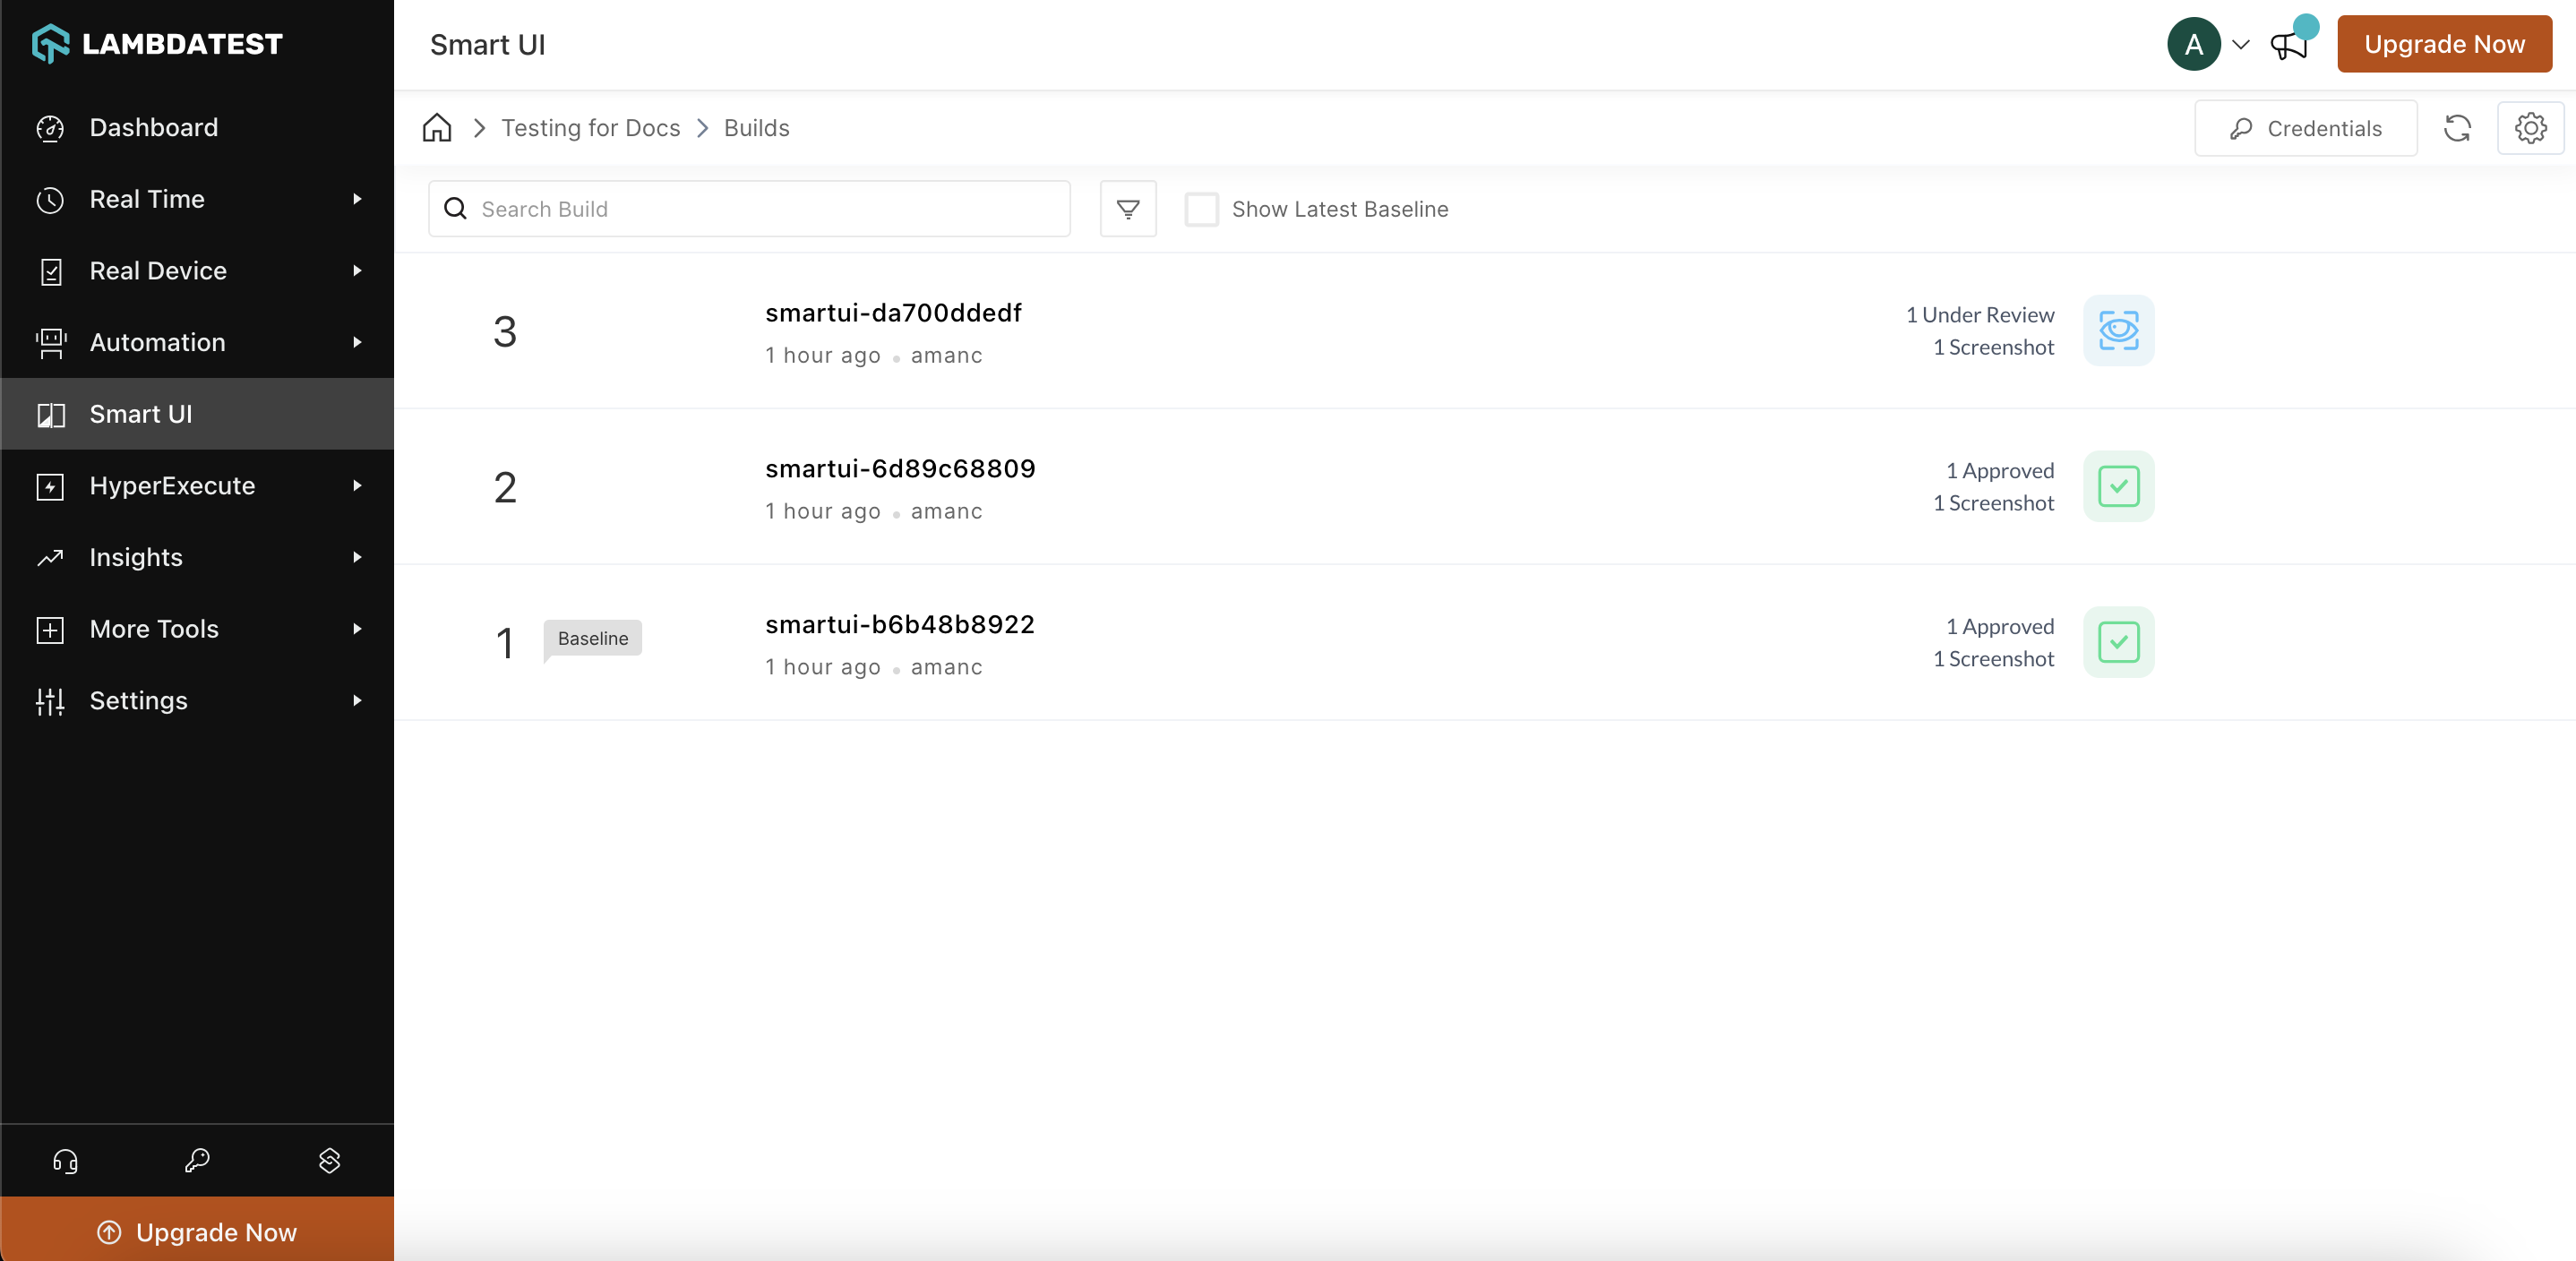
Visit the HyperExecute Dashboard and check your Job status.


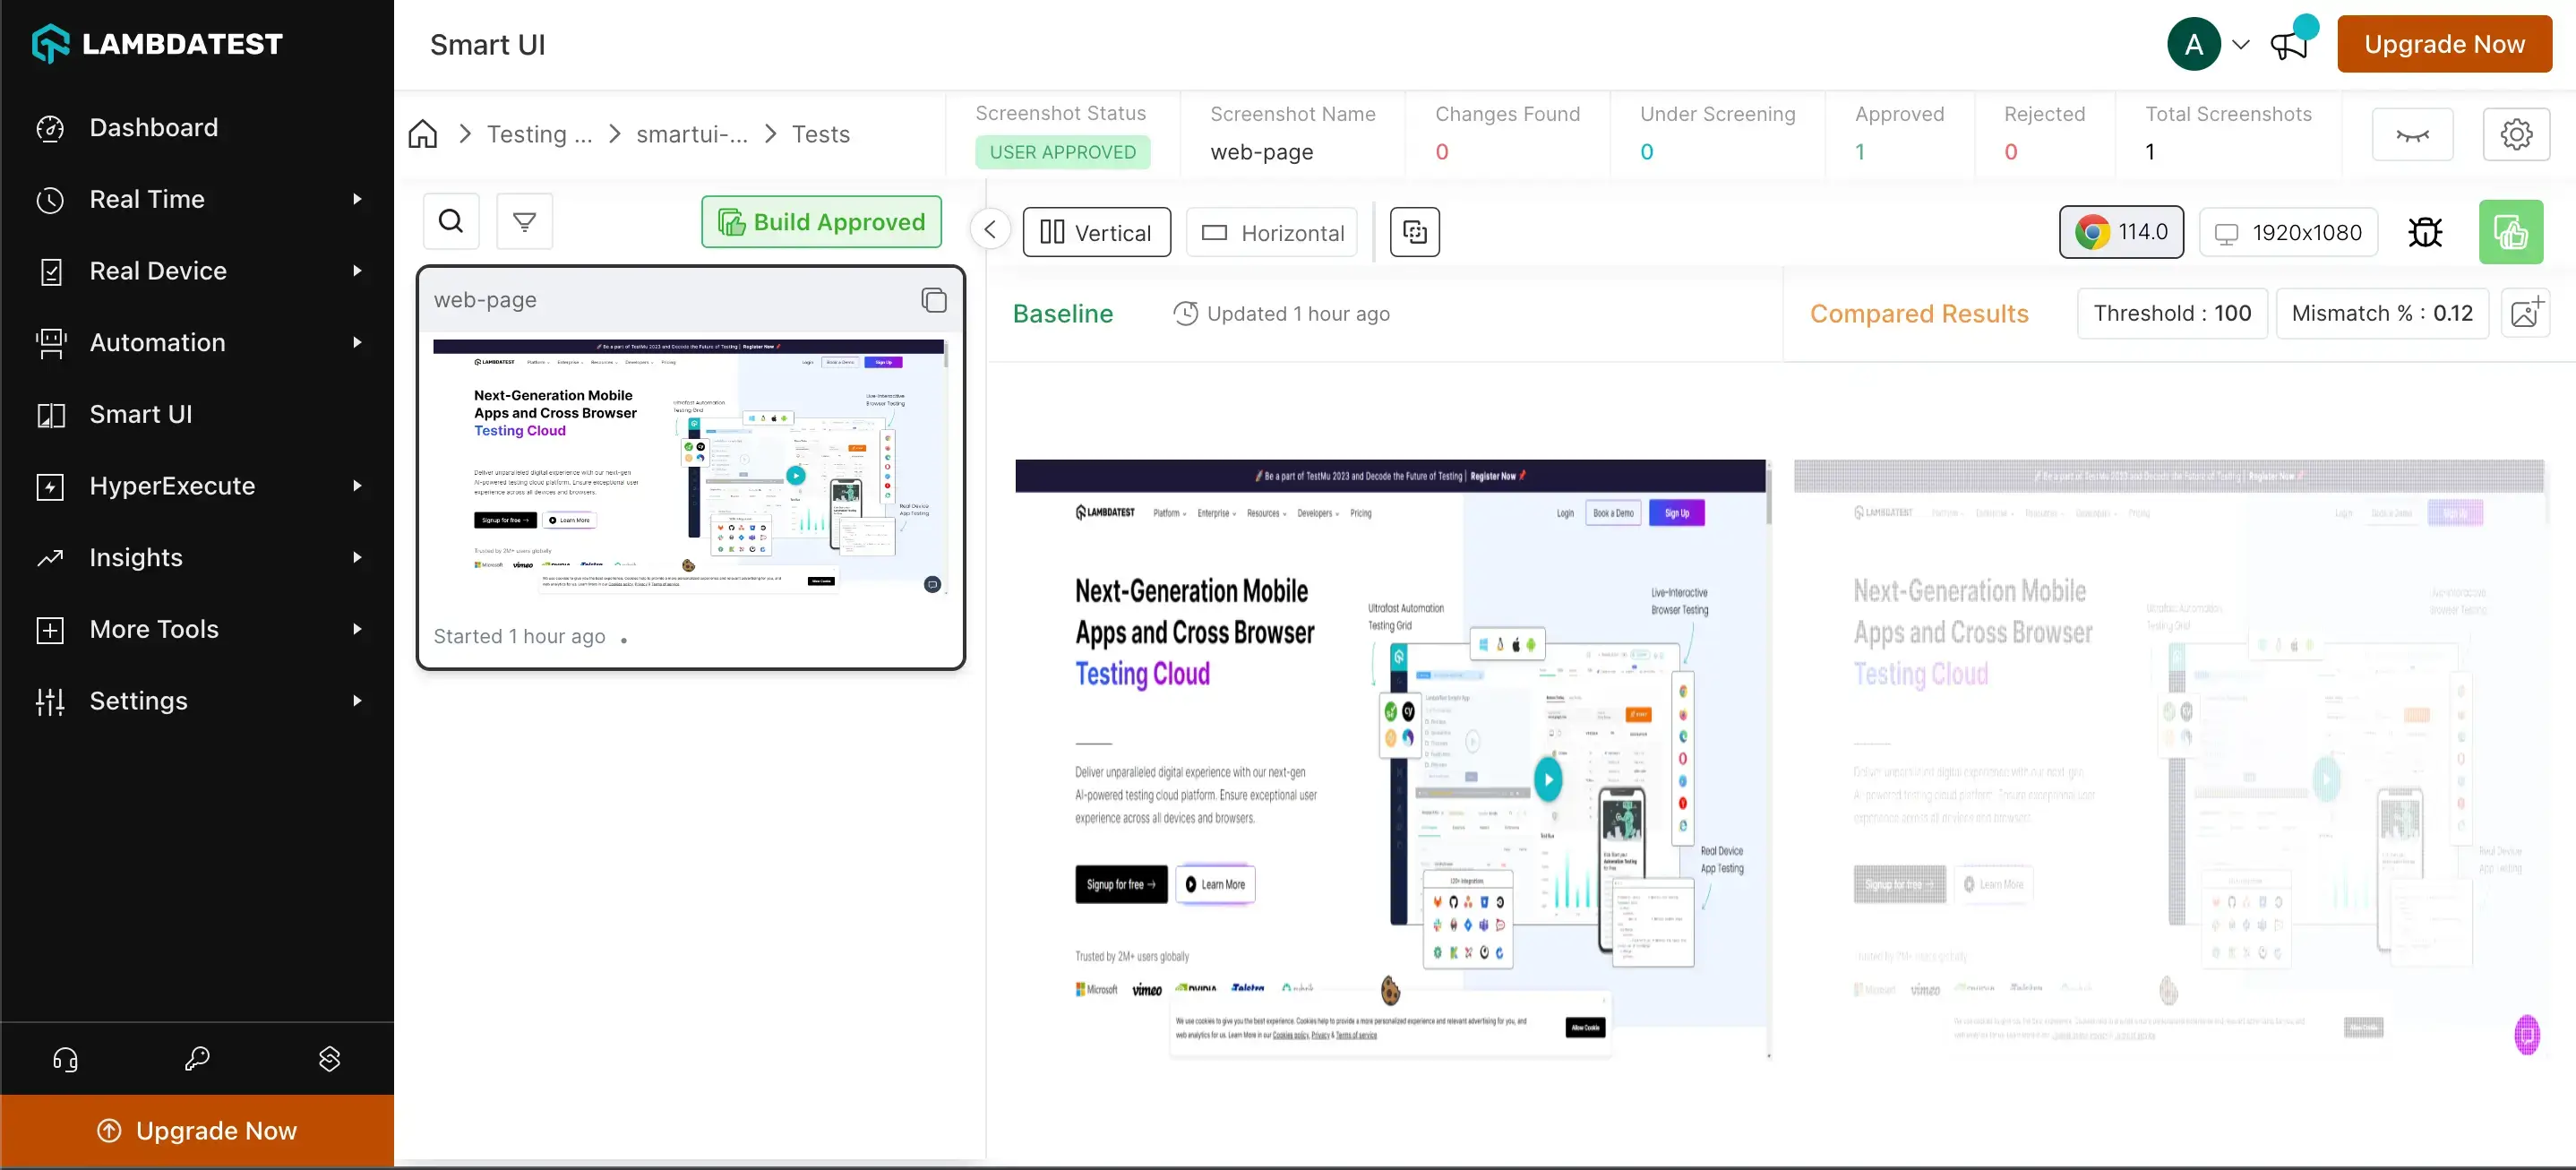
Here you can see the difference.

Handling Dynamic Data with DOM Configuration
| Key | Description |
|---|---|
screenshotName (string) | Specify a name for the screenshot in your tests to match the same screenshot with the name from your baseline. |
fullPage (boolean) | Specify true if you want to take a Full Page Screenshot and false for viewport screenshots; fullPage: true is currently only supported for Chrome. |
ignoreDOM (object) | Specify one or a combination of selectors based on the HTML DOM ID, CSS class, CSS selector or Xpath used by your webpage that should be excluded from the comparison. |
selectDOM (object) | Specify one or a combination of selectors based on the HTML DOM ID, CSS class, CSS selector or XPath used by your webpage that should be included in the comparison. |
- Ignore ID
- Ignore Class
- Ignore XPath
- Ignore CSS Selector
let config = {
  screenshotName: "Ignore-ID",
  fullPage: false, //You can make this property as true in case of Chrome browser
  ignoreDOM: {
    id: ["ID-1", "ID-2"], // Ignoring elements by ID, you can ignore multiple at once
  },
};
await driver.executeScript("smartui.takeScreenshot", config);
let config = {
  screenshotName: "Ignore-Class",
  fullPage: false, //You can make this property as true in case of Chrome browser
  ignoreDOM: {
    class: ["Class-1", "Class-2"], // Ignoring elements by class, you can ignore multiple at once
  },
};
await driver.executeScript("smartui.takeScreenshot", config);
let config = {
  screenshotName: "Ignore-XPath",
  fullPage: false, //You can make this property as true in case of Chrome browser
  ignoreDOM: {
    xpath: ["Xpath-1", "Xpath-2"], // Ignoring elements by XPath, you can ignore multiple at once
  },
};
await driver.executeScript("smartui.takeScreenshot", config);
let config = {
  screenshotName: "Ignore-cssSelector",
  fullPage: false, //You can make this property as true in case of Chrome browser
  ignoreDOM: {
    cssSelector: ["CSS-Selector-1", "CSS-Selector-2"], // Ignoring elements by CSS selector, you can ignore multiple at once
  },
};
await driver.executeScript("smartui.takeScreenshot", config);
- Select ID
- Select Class
- Select XPath
- Select CSS Selector
let config = {
  screenshotName: "Select-ID",
  fullPage: false, //You can make this property as true in case of Chrome browser
  selectDOM: {
    id: ["ID-1", "ID-2"], // Selecting elements by ID, you can select multiple at once
  },
};
await driver.executeScript("smartui.takeScreenshot", config);
let config = {
  screenshotName: "Select-Class",
  fullPage: false, //You can make this property as true in case of Chrome browser
  selectDOM: {
    class: ["Class-1", "Class-2"], // Selecting elements by class, you can select multiple at once
  },
};
await driver.executeScript("smartui.takeScreenshot", config);
let config = {
  screenshotName: "Select-XPath",
  fullPage: false, //You can make this property as true in case of Chrome browser
  selectDOM: {
    xpath: ["Xpath-1", "Xpath-2"], // Selecting elements by XPath, you can select multiple at once
  },
};
await driver.executeScript("smartui.takeScreenshot", config);
let config = {
  screenshotName: "Select-cssSelector",
  fullPage: false, //You can make this property as true in case of Chrome browser
  selectDOM: {
    cssSelector: ["CSS-Selector-1", "CSS-Selector-2"], // Selecting elements by CSS selector, you can select multiple at once
  },
};
await driver.executeScript("smartui.takeScreenshot", config);
NOTE : Please contact Customer Support team to enable the ignoreDOM feature.
