UI Testing with Puppeteer using HyperExecute and SmartUI SDK
This documentation will guide you step-by-step to execute the SmartUI tests on the HyperExecute platform using Puppeteer
Prerequisites
You must do the following in order to run the tests on HyperExecute from your local system:
- Get your TestMu AI Username and Access key from the dashboard
- Download HyperExecute CLI in order to initiate a test execution Job .
- Set your Environmental Variables
- HyperExecute YAML file which contains all the necessary instructions.
- Use your login credentials to access TestMu AI SmartUI.
Step 1: Create a SmartUI Project
With the application, create a project in which we will merge all of your builds that have been applied to the project. To initiate a SmartUI Project, take the following actions:
- Access the Projects page.
- Click the
new projectbutton now. - Choose the CLI or Web platform to run your
SDKtests on. - Include the project name, the approvers of the changes that were discovered, and tags for any filters or simple navigation.
- Select Submit by clicking.
After creating the project, you will get your PROJECT_TOKEN. You need to keep this project token safe as it will be used in the further steps below.
Step 2: Setup Your Test Suite
To configure and test it, you can use your own project. We are using the sample repository for demonstration purposes.
Download or Clone the code sample for the Puppeteer framework from the TestMu AI GitHub repository to run the tests on the HyperExecute.
 View on GitHub
Configure Your Test Suite
In the sdkCloud.js file, update the following capabilities
  const capabilities = {
    "LT:Options": {
      "build": "Puppeteer SmartUI Build", // Mention your desired build name
      "name": "Puppeteer SmartUI Test", // Provide the name of your test
    },
  };
Step 3: Setup the CLI in your Test Suite
Following the download or cloning of the sample repository, you must configure the environment variables and the CLI.
Download the HyperExecute CLI
The tests on HyperExecute are started using the Command Line Interface (CLI). To run the tests on HyperExecute, it is advised to download the CLI binary to the host system and store it in the suite's root directory.
You can download the CLI for your desired platform from the below mentioned links:
Setup Environment Variable
Now, you have to export your environment variables LT_USERNAME and LT_ACCESS_KEY that are available in the TestMu AI Profile page.
Run the below mentioned commands in your terminal to setup the CLI and the environment variables.
- Linux / MacOS
- Windows
export LT_USERNAME="undefined"
export LT_ACCESS_KEY="undefined"
set LT_USERNAME="undefined"
set LT_ACCESS_KEY="undefined"
Step 4: Configure YAML in your Test Suite
Edit the PROJECT_TOKEN: "YOUR_PROJECT_TOKEN" flag and enter your project token that show in the SmartUI app after, creating your project.
---
version: 0.1
globalTimeout: 90
testSuiteTimeout: 90
testSuiteStep: 90

runson: win

autosplit: true

retryOnFailure: true
maxRetries: 1

concurrency: 1

env:
  PROJECT_TOKEN: "YOUR_PROJECT_TOKEN" #Enter your project token here

pre:
  - npm install @lambdatest/smartui-cli @lambdatest/puppeteer-driver puppeteer
  - npx smartui config:create smartui-web.json

post:
  - cat hyperexecute-smartui-sdk.yaml

testDiscovery:
  type: raw
  mode: static
  command: ls sdk/puppeteerCloud.js

testRunnerCommand: npx smartui exec node sdk/puppeteerCloud.js --config smartui-web.json

jobLabel: ["smart-ui-sdk", "hyperexecute", "puppeteer"]
It is mandatory to mention these commands in the pre flag to download all the necessary dependencies
pre:
  - npm install @lambdatest/smartui-cli @lambdatest/puppeteer-driver puppeteer
  - npx smartui config:create smartui-web.json
Step 5: Execute your Test Suite
NOTE: On macOS, you can grant permission by running
chmod u+x./hyperexecuteif you receive a permission denied warning when using the CLI. If a security pop-up appears, click the Allow button on the System Preferences → .Security and Privacy → .General tab.
Run the below command in your terminal at the root folder of the project:
./hyperexecute --config RELATIVE_PATH_OF_YOUR_YAML_FILE
OR use this command if you have not exported your username and access key in the step 3.
./hyperexecute --user undefined --key undefined --config RELATIVE_PATH_OF_YOUR_YAML_FILE
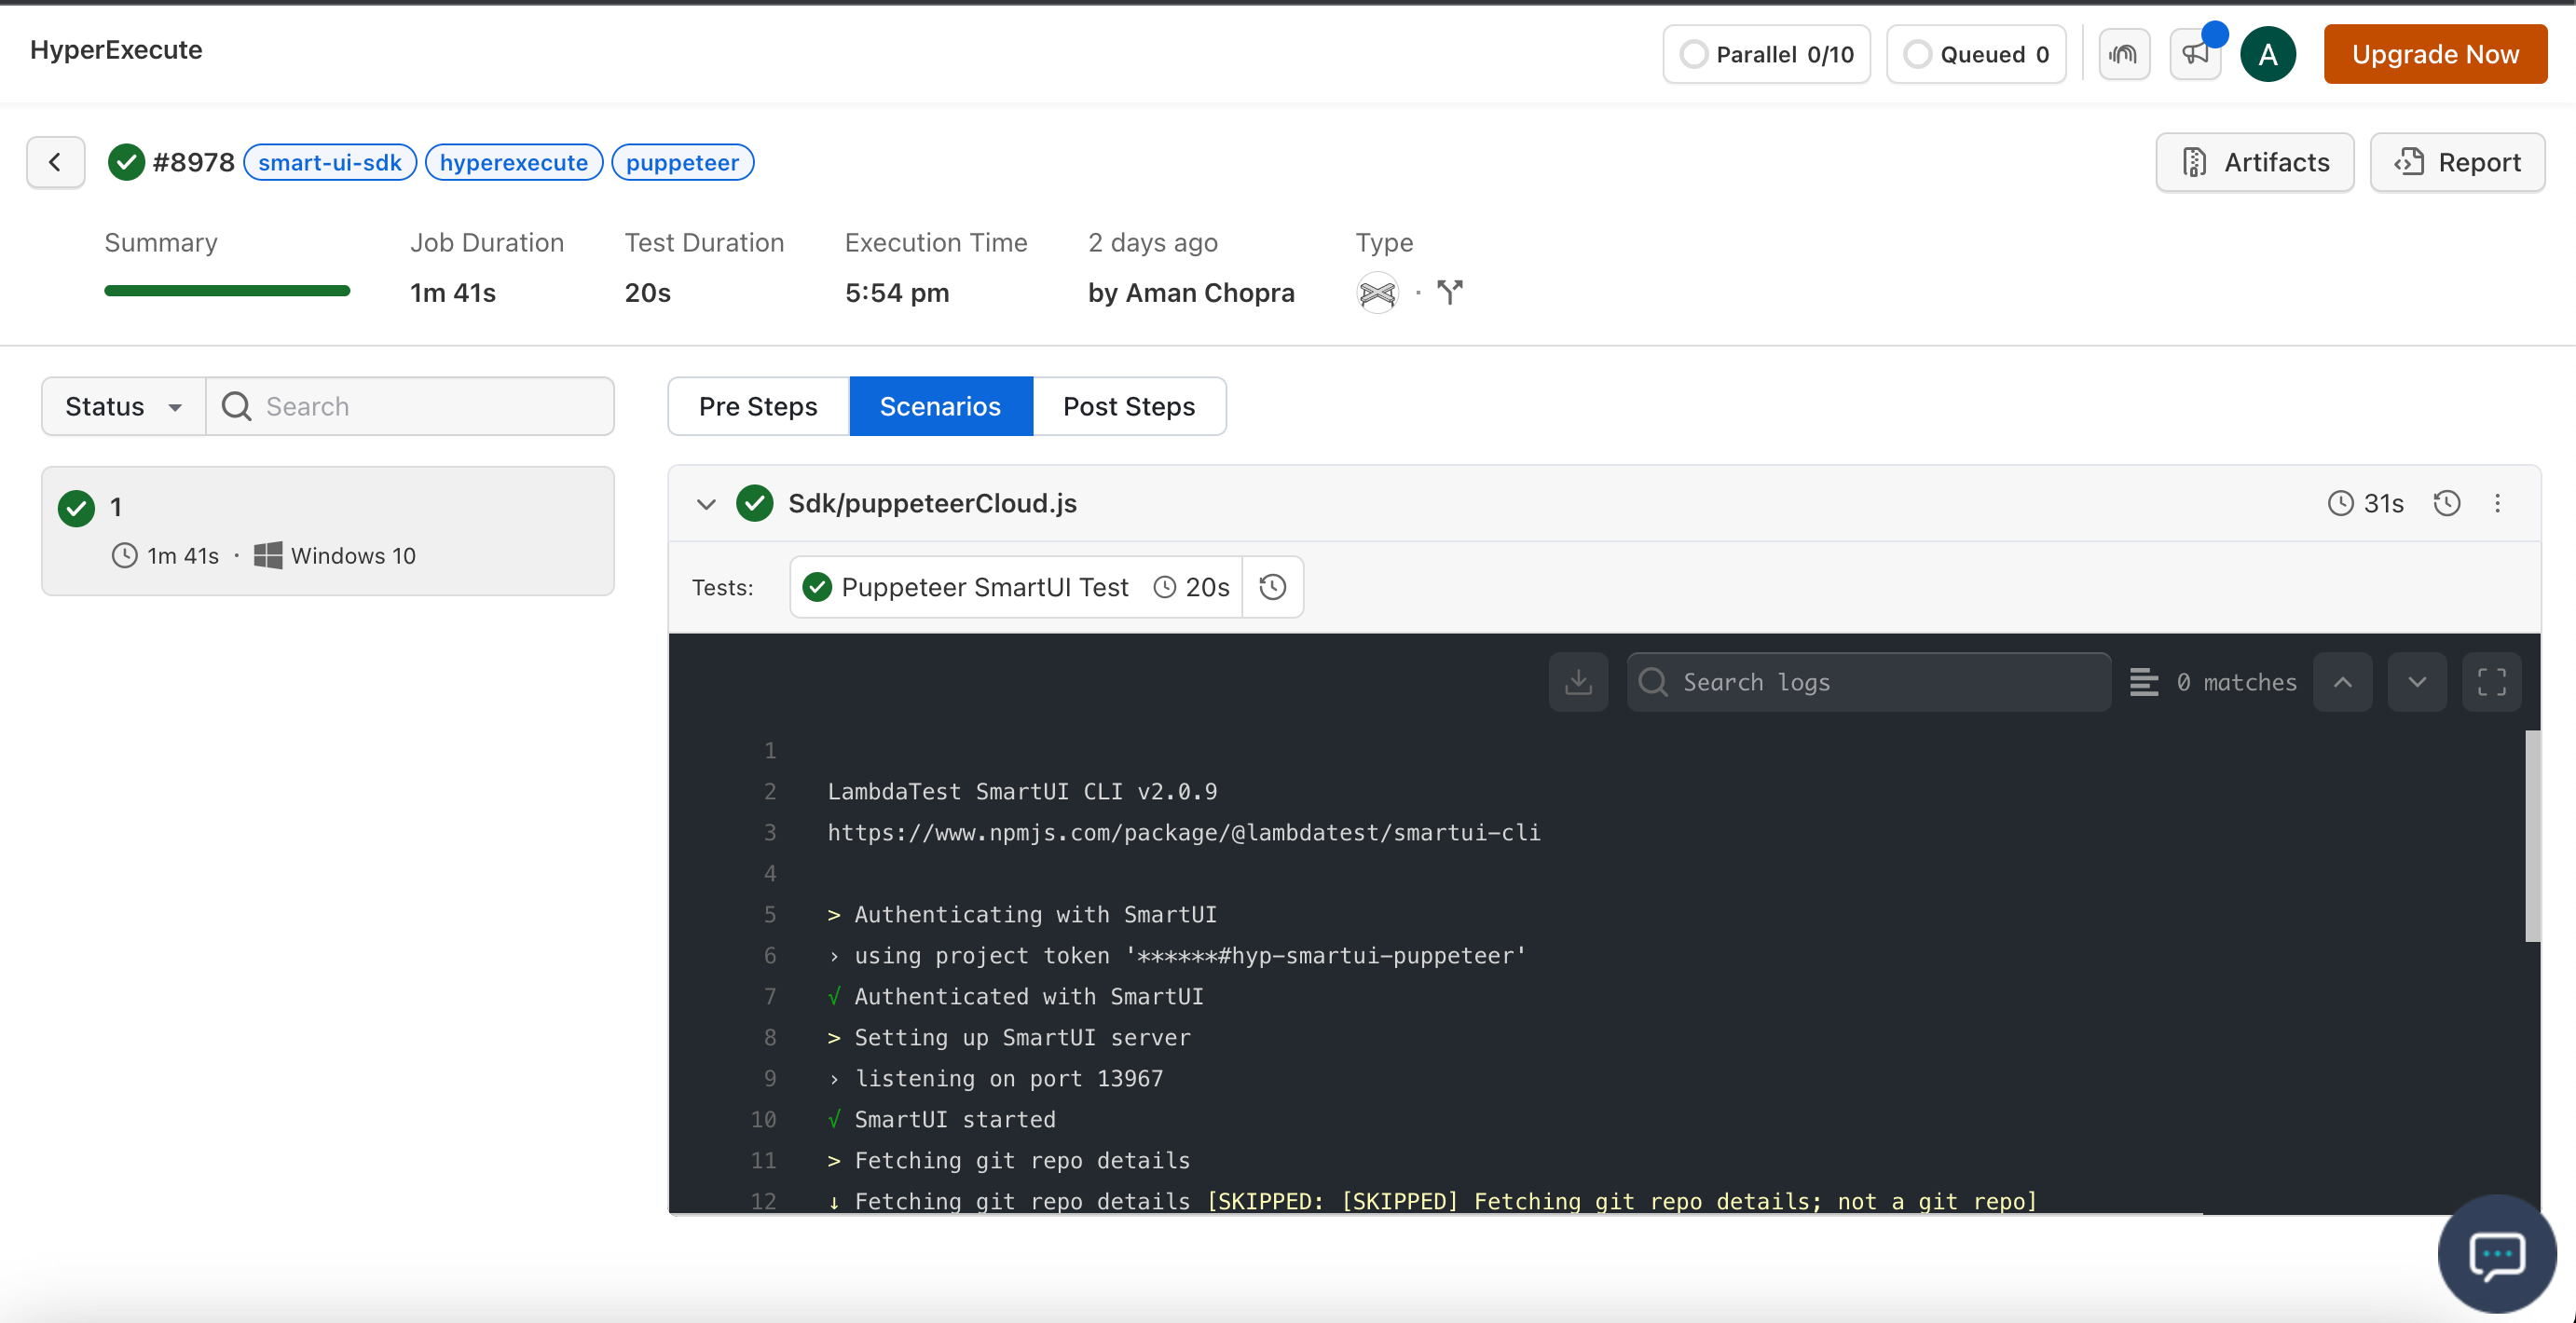
Step 6: Monitor the Test Execution
Go to the HyperExecute Dashboard to see the status of your job.