GitLab Integration
GitLab is a web-based Git-repository manager with the purpose of facilitating entire DevOps lifecycle. It helps in the collaboration of different teams working on a project. Ensuring Development, QA, Security, Operations and Product team to sync simultaneously on the same project. GitLab helps in bringing your product a lot faster in the market by reducing the time taken to complete a release cycle in a very significant manner.
The LambdaTest GitLab Integration allows you to create a card directly in your repository from LambdaTest platform. Push an issue to your respective repository anytime, even in the middle of your test session. The fields populated by you when marking as a bug through LambdaTest are displayed as information on the bug in GitLab repository for that testing instance.
GitLab Integration with LambdaTest, like all of our other integrations to 3rd party applications, is available for freemium as well as premium plan.
How To Integrate GitLab With Your LambdaTest Account?
Step 1: Login to your LambdaTest account. You would need to have Admin or User level access to see and install integrations.
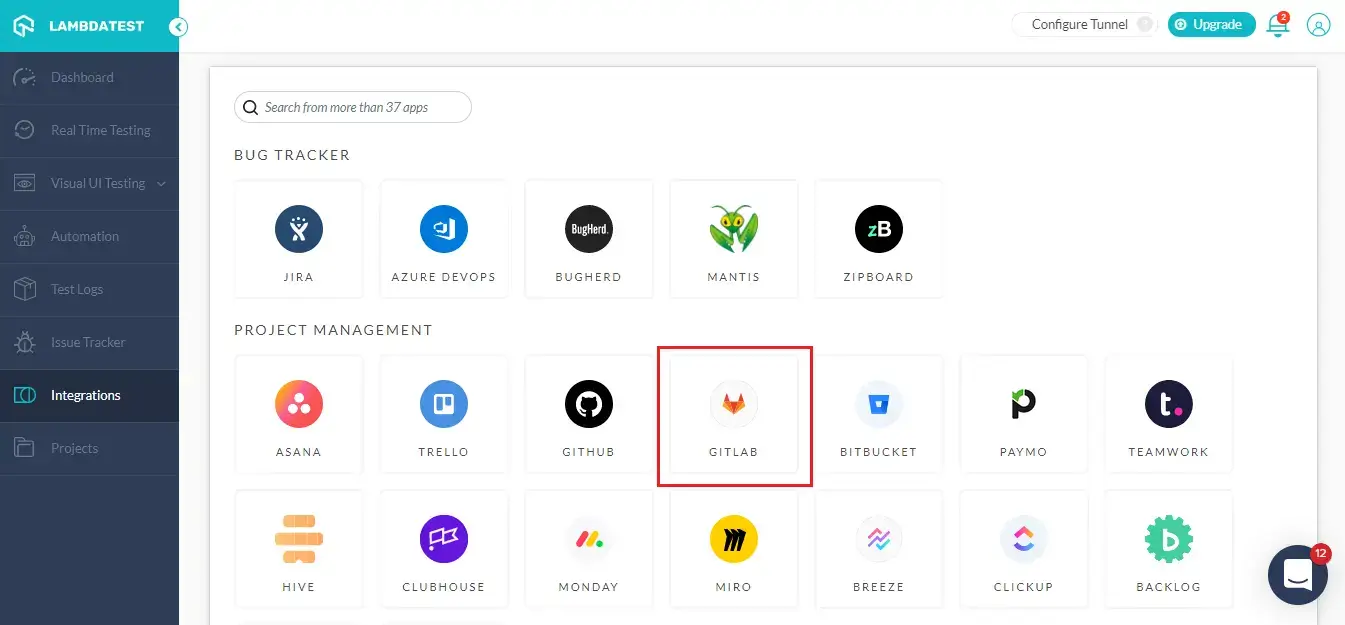
Step 2: Select ‘Integrations’ from the left navigation menu bar. This will guide you to a screen where you will find a list of 3rd party applications, available to integrate with your LambdaTest account.
Step 3: Here under the ‘Project Management’ Section, you’ll find GitLab. Click on Gitlab block.
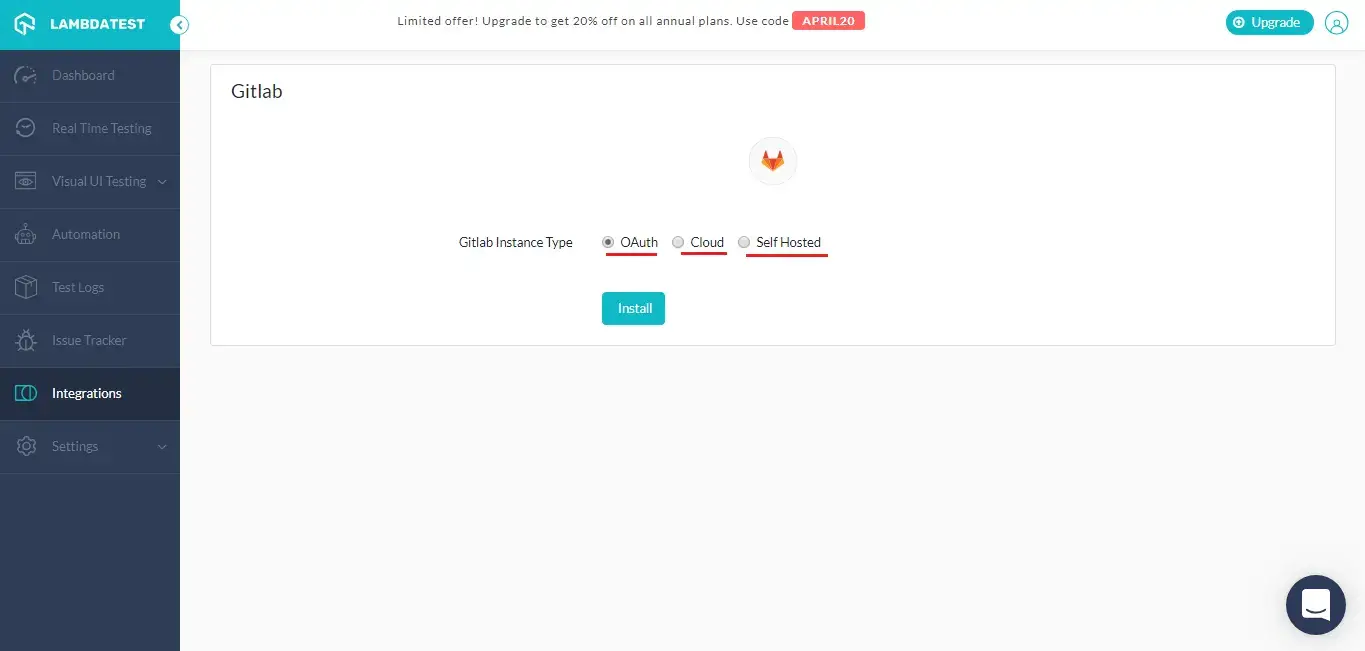
Step 4: Once you click on install, you’ll be redirected to a screen. There would 2 options available for you to choose in order to authenticate GitLab.
1. Via OAuth
- Select the radio button on ‘Via OAuth’ and hit ‘Next’.
- You will be redirected to GitLab login page where you will be asked to provide your login credentials.

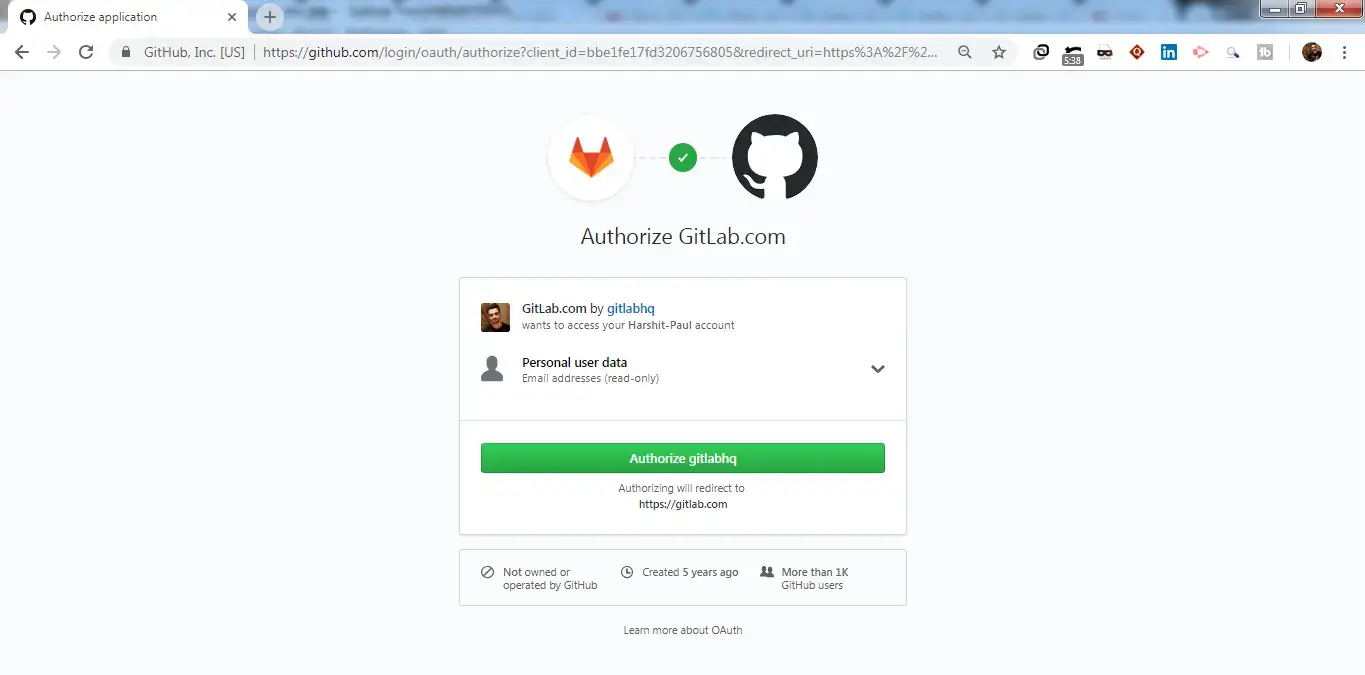
- If you are new to GitLab and want to sign up then you can do so with your GitHub account as well. Once you click on the ‘GitHub’ button you will be redirected to an authorization page. There you will authorize GitLab APIs to fetch your user owned resources from GitHub APIs.
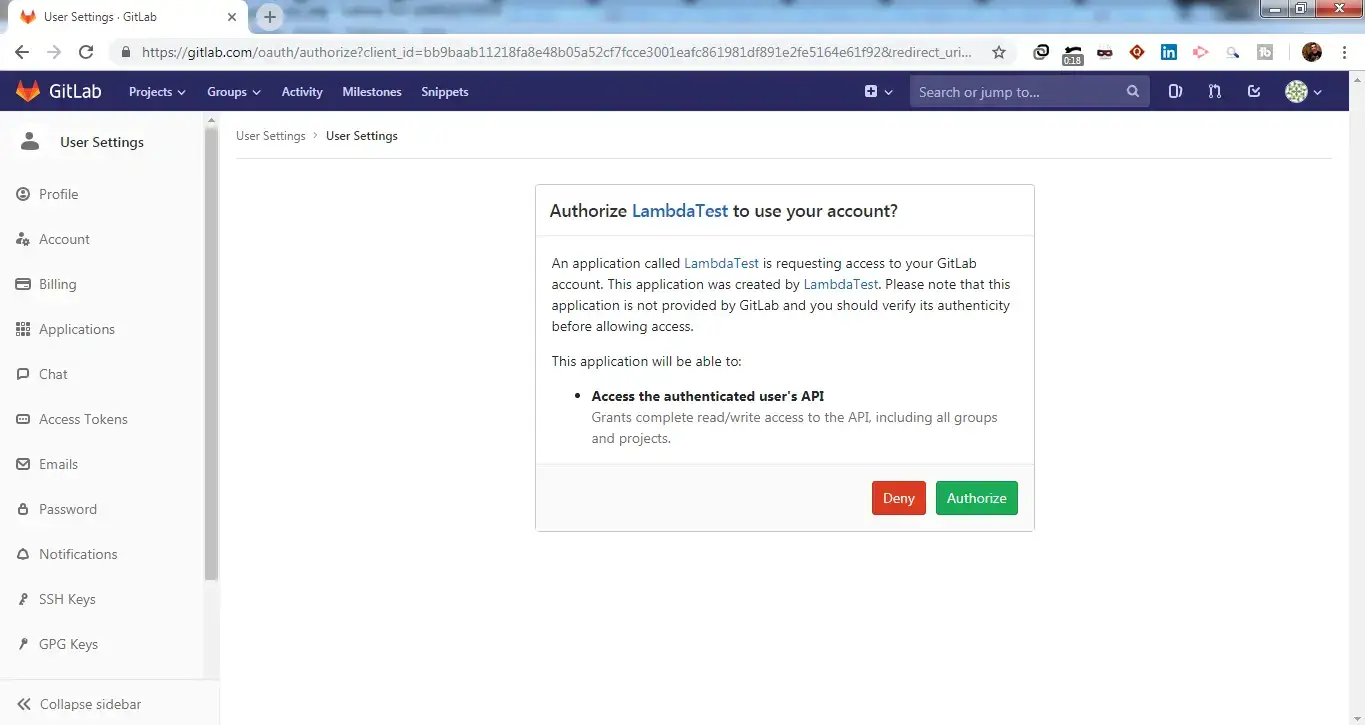
- After you login, you will have to authorize LambdaTest to use your account. Click on the green button that says ‘Authorize’.
- Why do you need to login?
The purpose of logging in is to bypass the authentication that is applied when two different applications interact using their respective APIs. GitLab APIs uses OAuth 2.0’s authorization code grant flow for generating access tokens on user’s behalf.
- What is an Access token?
Access tokens are strings with authorization key required to access an API. They are issued to the client server and are usually opaque. They are used for requesting access to protected, user-specific resources. Access tokens are vital from a security point of view & can be generated in different formats, depending upon security requirements specified on the resource server.
That’s it! Go to Integrations again and you will be able to notice a green tick indicating that GitLab is successfully installed. You can now experience bug logging in a fly from any of your running test session in Lambdatest to your repository directly by a single click.
Note: Make sure you already have a project in your Gitlab account before you integrate to avoid any issues
2. Using Personal Access Token
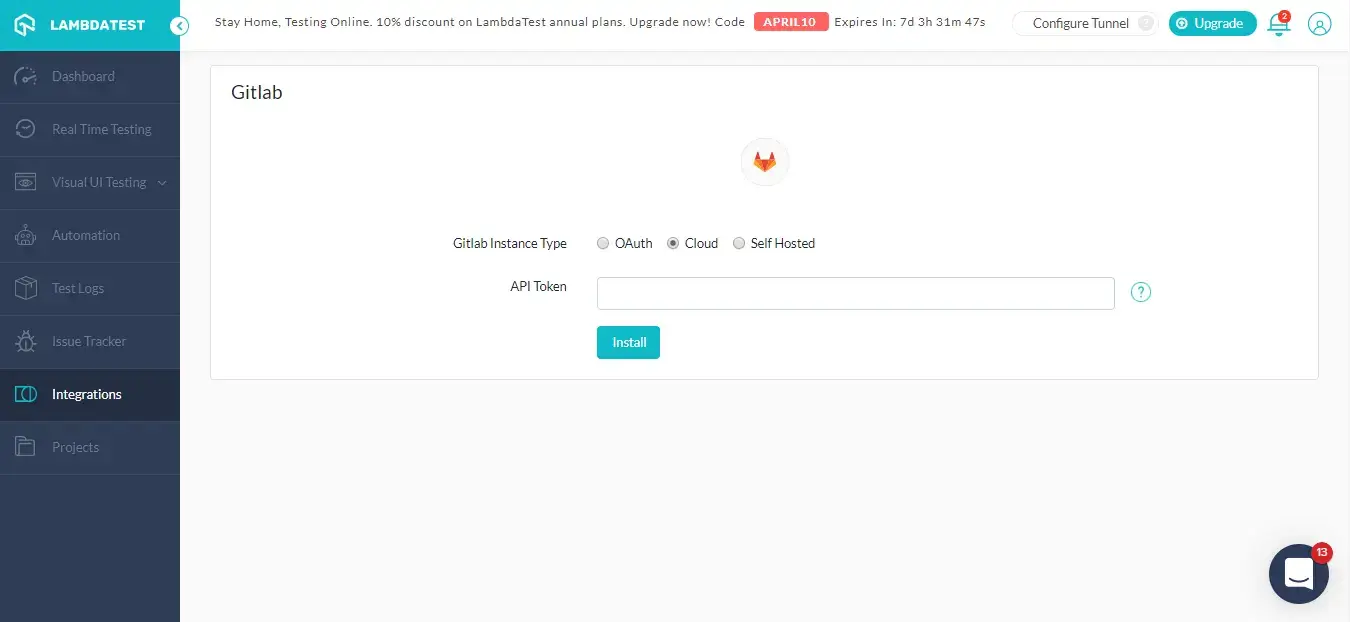
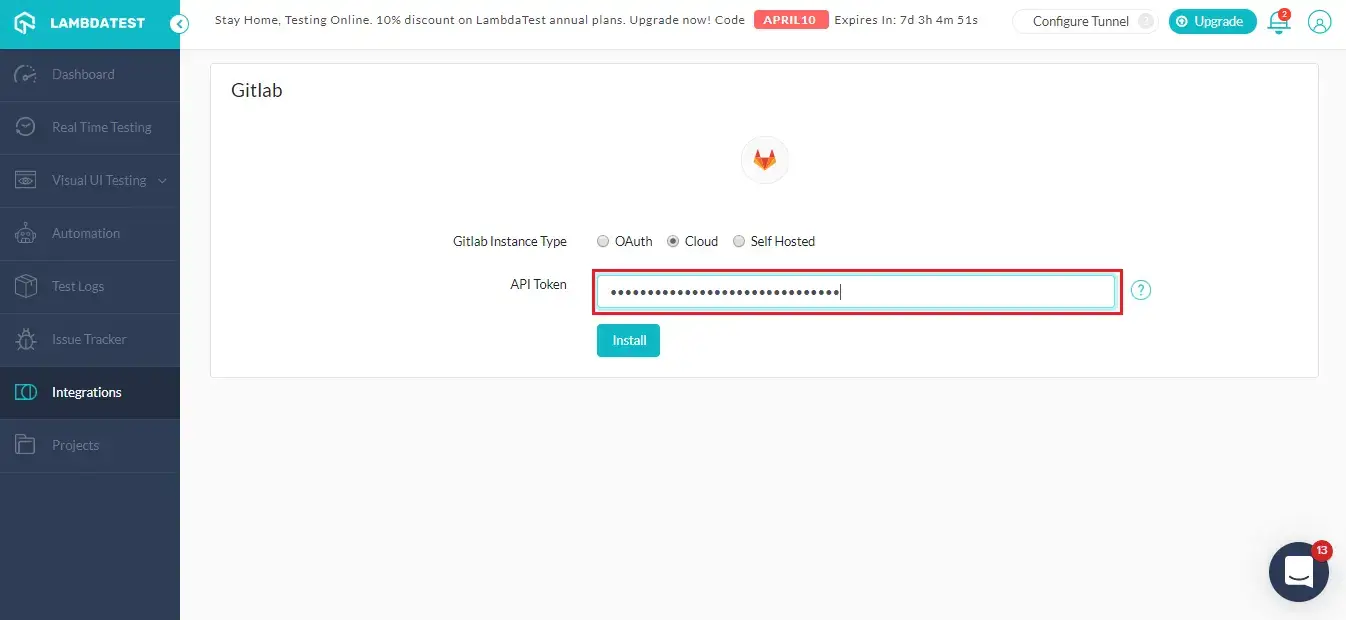
- Select the radio button on ‘Cloud’ and click ‘Install’. Here you’ll need to enter your Gitlab API token to validate integration with LambdaTest.
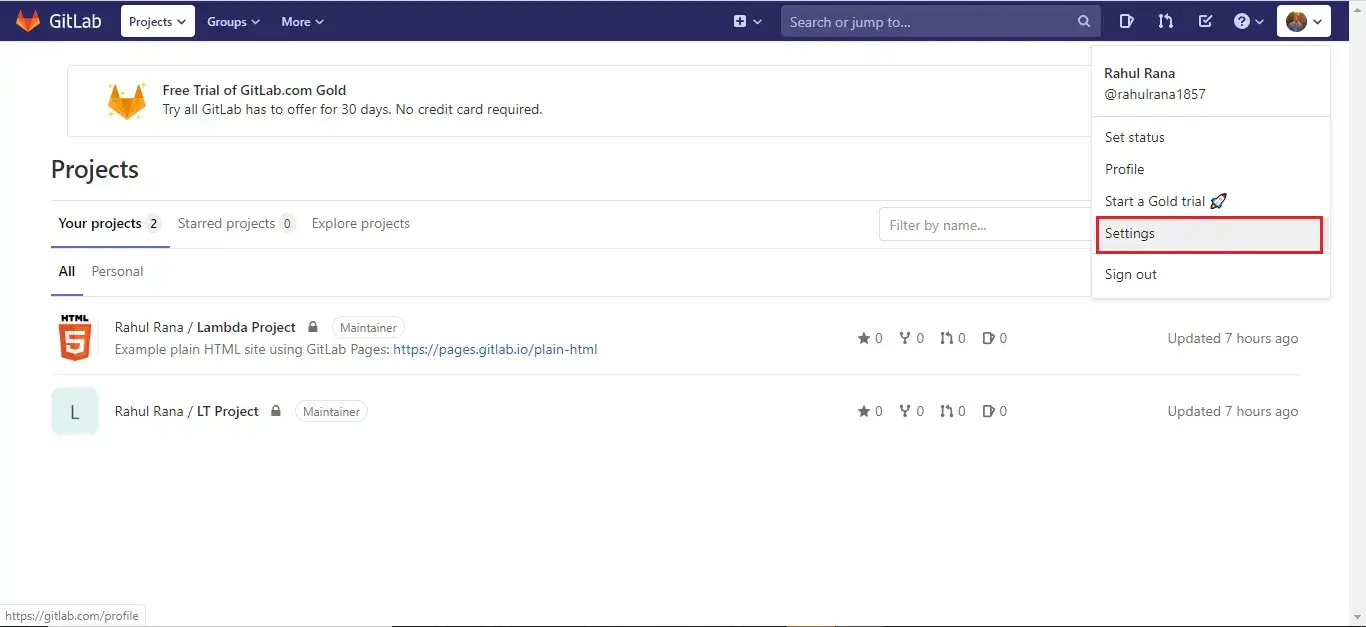
- Login to your Gitlab account. Go to the profile icon on the top-right corner and click on ‘Settings’.
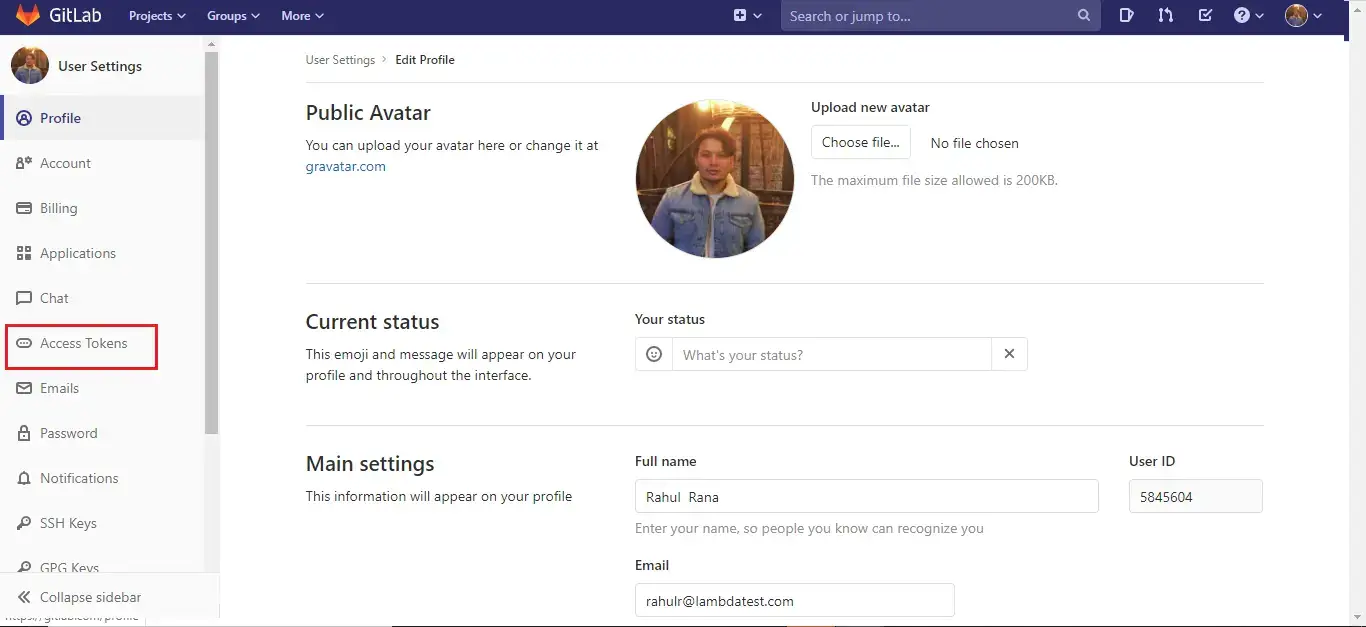
- Click the ‘Access Tokens’ from the menu on the left.
- "Add a personal access token" by providing a name for the application. Keep the name that is easy for you to remember as you access token will be derived from it. You can also set an expiry date for that token. Also, select the checkboxes for ‘api’, ‘read_user’ & read_repository as scopes. These scopes will define the access to authenticate API over Basic OAuth for their respective personal token. After selecting the scopes hit the green button to "Create personal access token".

- What is a Personal Access Token?
In scenarios where OAuth is excessively utilized, Personal Access Tokens comes to aid in accessing the API. While generating a token, make sure you provide a description that is easy to remember, as your Personal Access Token will be derived from it. Treat this token just as you would treat your own password! Access tokens are strings with authorization key required to access an API. They are issued to the client server and are usually opaque. They are used for requesting access to protected, user-specific resources. Access tokens are vital from a security point of view & can be generated in different formats, depending upon security requirements specified on the resource server.
After you click on "Create personal access token", you will get a prompt message saying "Your new personal access token has been created". You will find it under the highlighted field.
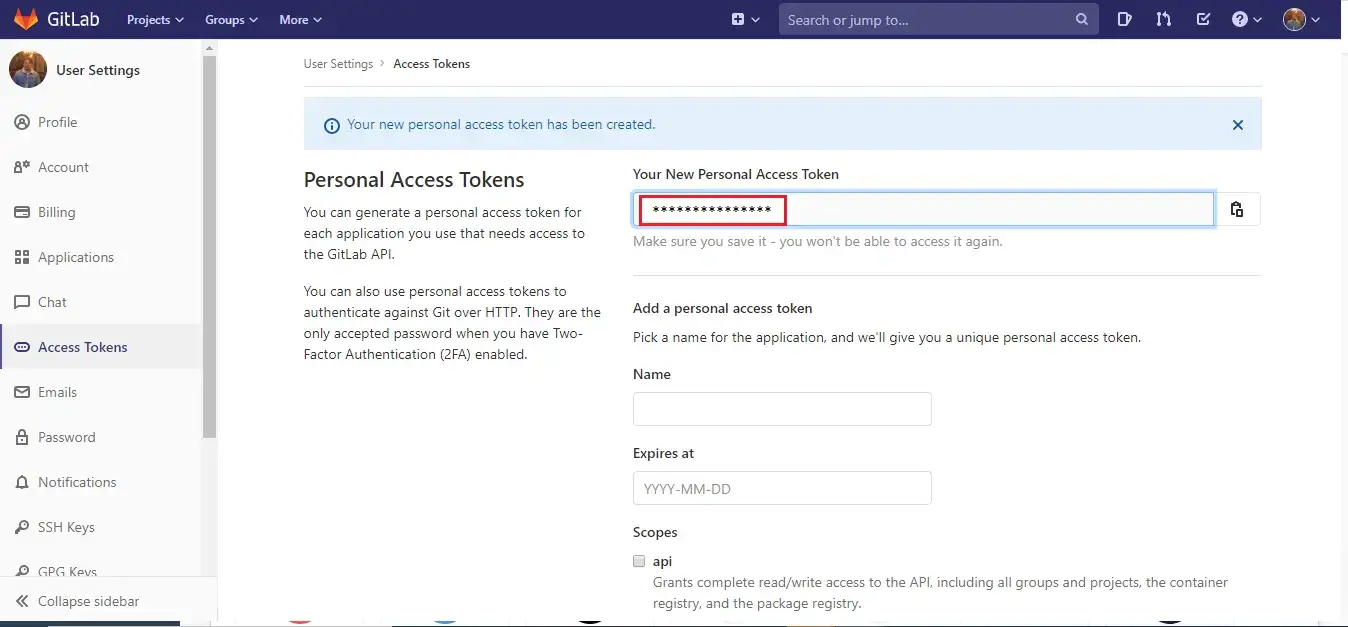
Your API token is now ready. Copy the token & store it safely with you, as you will not be able to find it again. Paste the copied token into LambdaTest GitLab Authentication.
That’s it! Go to Integrations again and you will be able to notice a green tick indicating that GitLab is successfully installed. You can now experience bug logging in a fly from any of your running test session in Lambdatest to your repository directly by a single click.
Logging Your First Bug Through GitLab Integration?
NOTE: You need to have a project created on Gitlab before you perform one click bug logging through LambdaTest. If a project is not created then you will face the below error message when logging a bug.

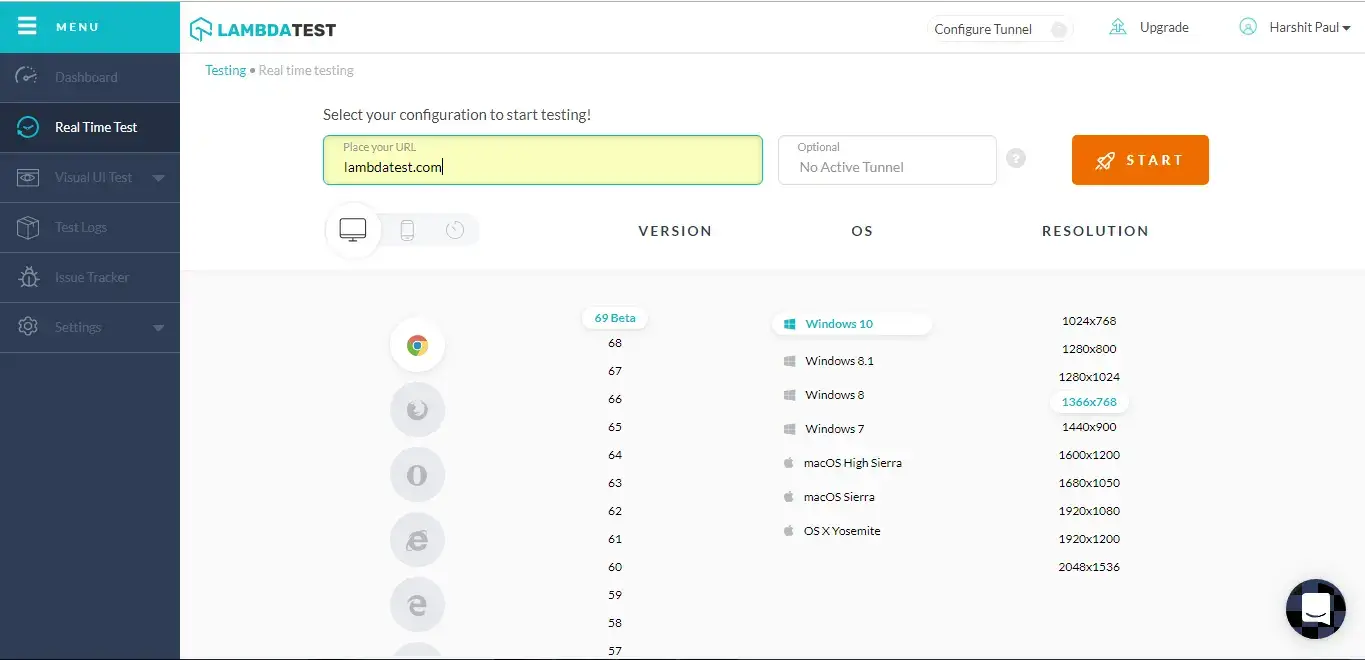
Step 1: Go for any of the test from the left navigation menu. For demo, we will be taking "Real Time Test" option.
Step 2: Present a URL of the web-app you need to test in the dialog box. After that, select any configuration for browser and operating system of your choice & click ‘Start‘.
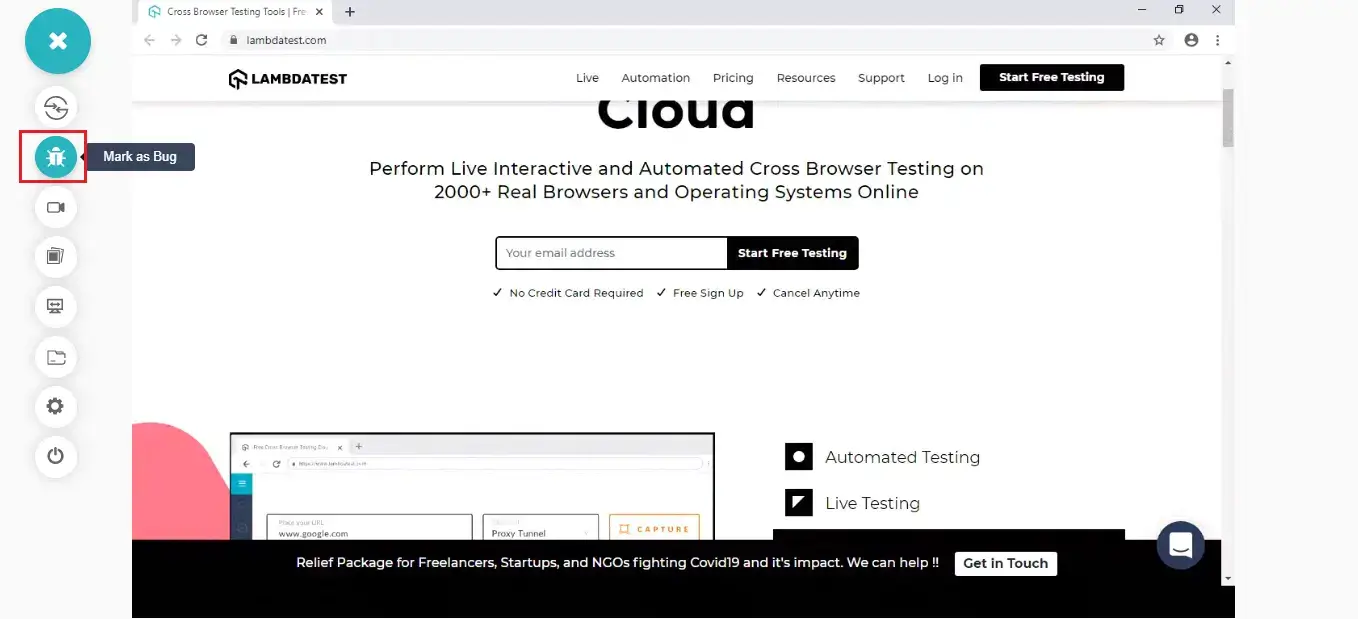
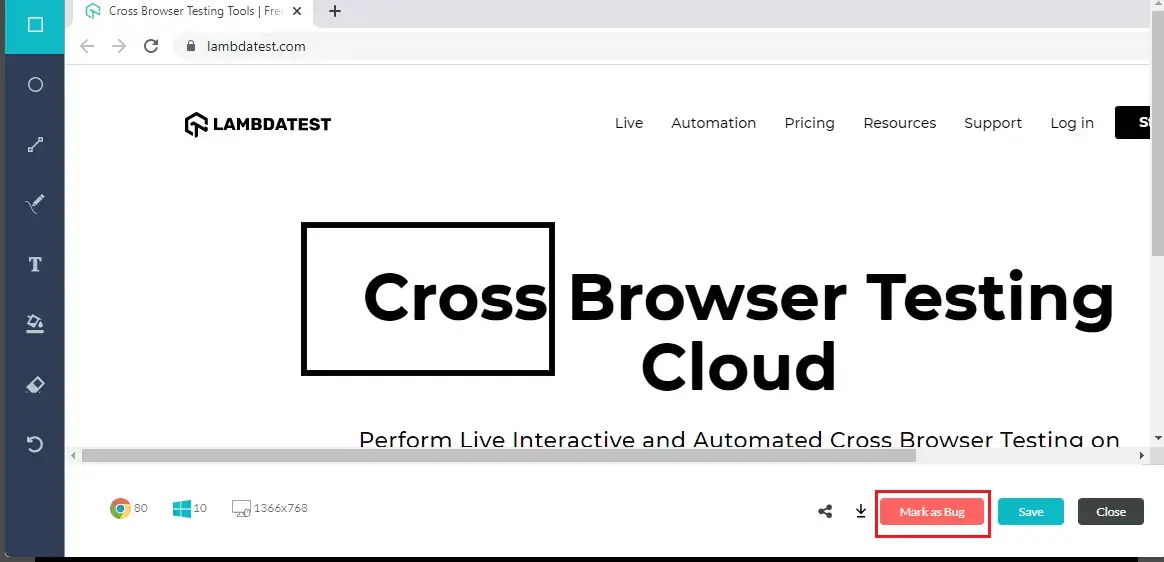
Step 3: After the VM is launched and operable. You can perform testing on your web-app for finding bugs. If a bug gets revealed, then you need to click on the Mark as Bug from the left panel for capturing a screenshot of the same. We have highlighted that option with yellow in the below image.
Step 4: After a screenshot is captured, you can annotate any issue or a task with an in-built image editor. Once you are done highlighting the bug, click on the button that says "Mark as Bug".
Step 5: After clicking on "Mark as Bug" button a GitLab specific form would open up. Fill the fields as per your requirement.
- You can select which Projects should the observation be marked under.
- You can select a relevant Label for the same UI observation.
- You can give a title to the bug through the field Title.
- You also get to post a Description to help relate the cause of the issue or the card.

Step 6: Click on "Create Bug" & observe it being successfully marked through a single click effort. Once you hit the button, you will get prompt messages on top of your Virtual Machine indicating the progress of bug logging. You will get a prompt message in few seconds mentioning "Bug marked successfully" indicating that the bug has been pushed to the desired GitLab repository.

Step 7: Visit the project you marked your bugs to. You will notice that the number of issues has increased!
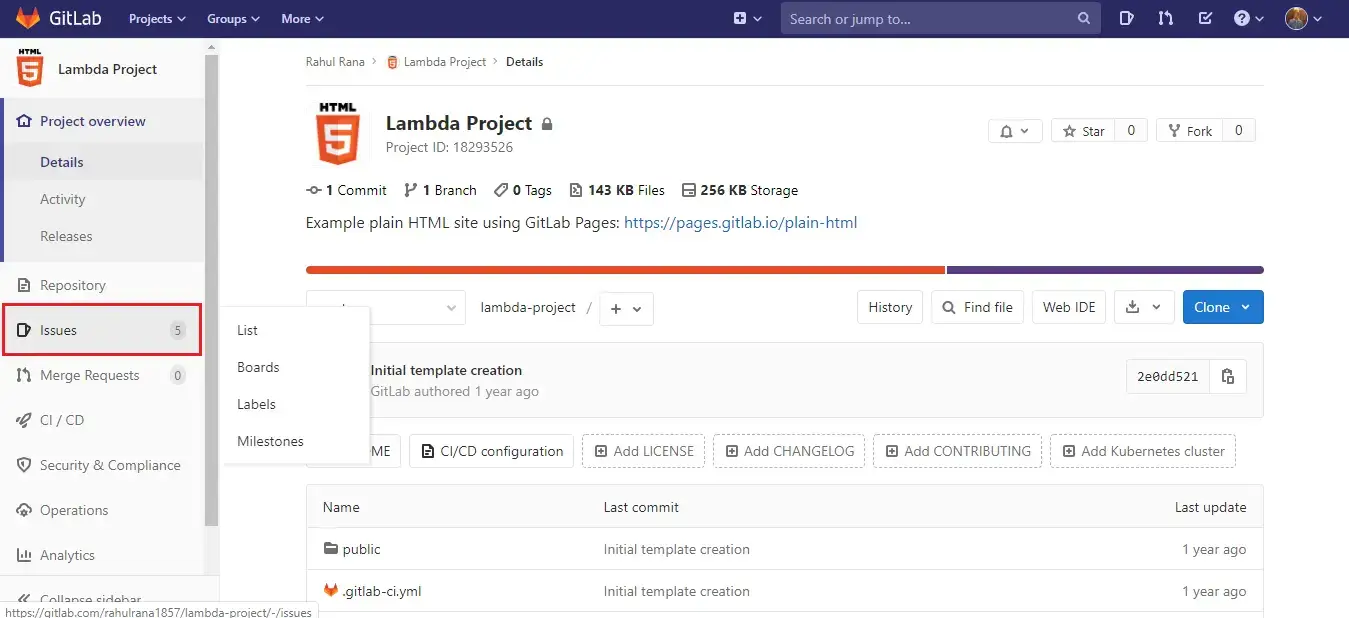
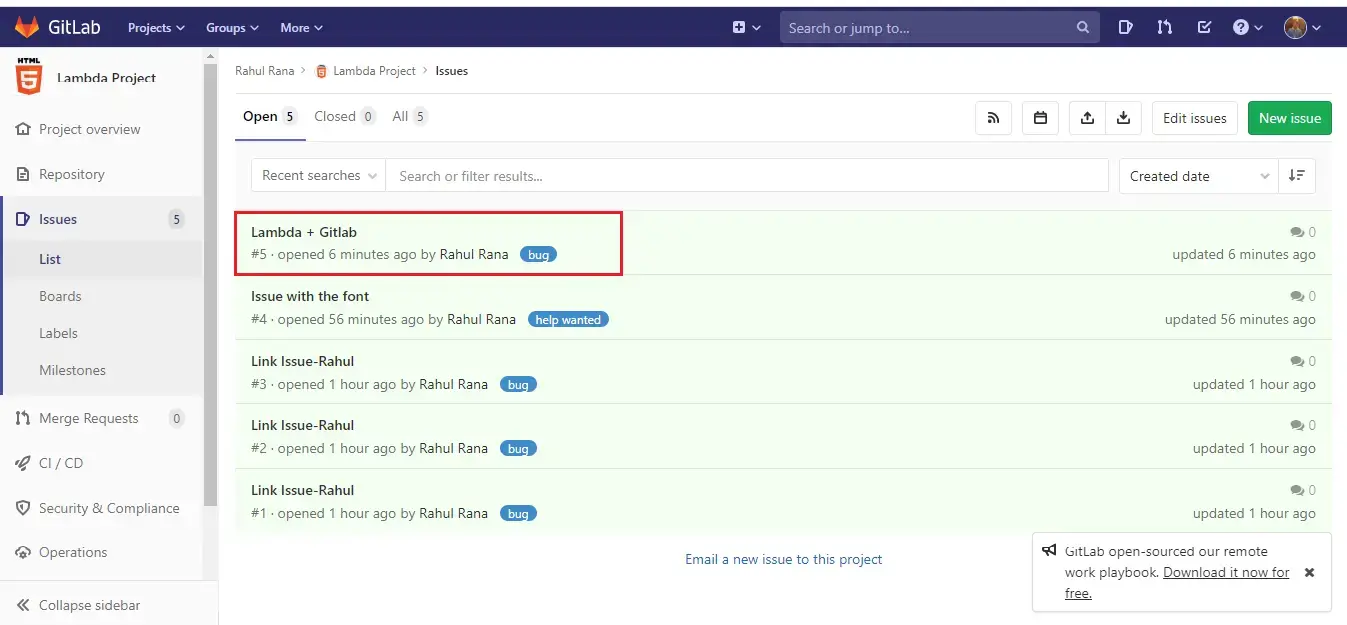
Step 8. Click on ‘Issues’, in the next scene, you’ll find your bug along with the list of all the issues logged in the project.
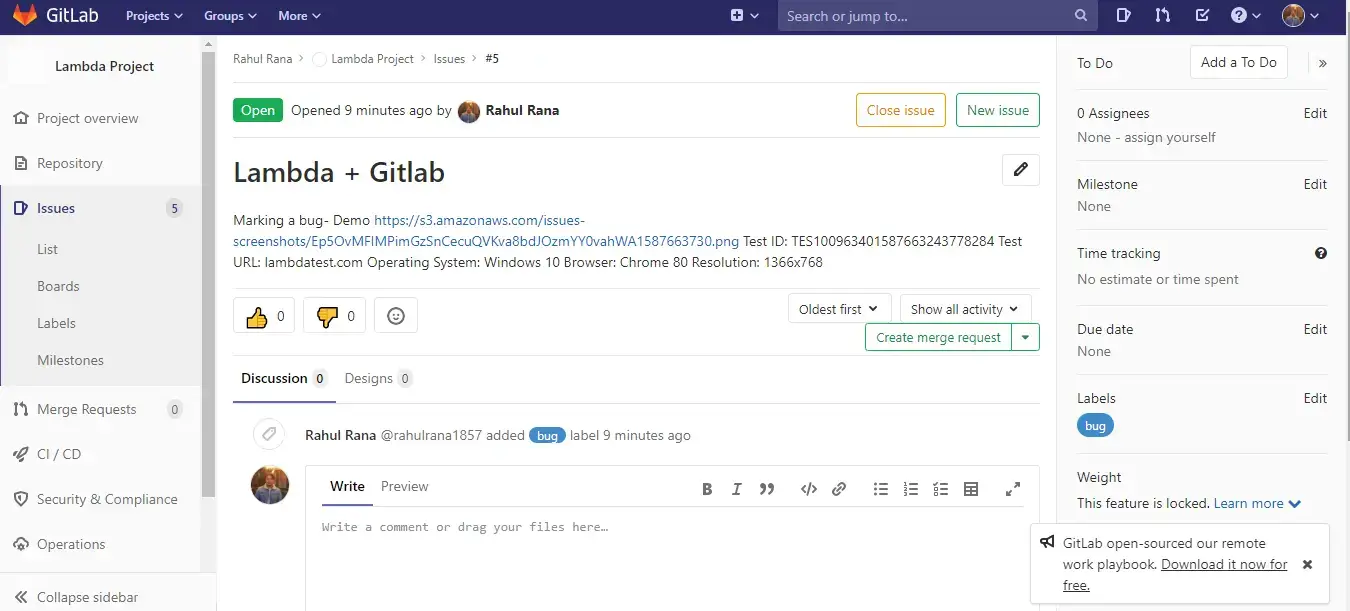
Step 9. Click on the description of bug and you will be redirected to the detail page of the bug. You will find all the data that you provided through Lambdatest already presented in the bug. LambdaTest automatically includes test environment details and related screenshots in the repository as attachments.
How To Uninstall GitLab Integration?
You can work with one integration at a time. So if you would want to integrate to some 3rd party application of the similar type, other than the GitLab then you would have to uninstall your present integration. Here is how you can do it.
Step 1: Login to your LambdaTest account.
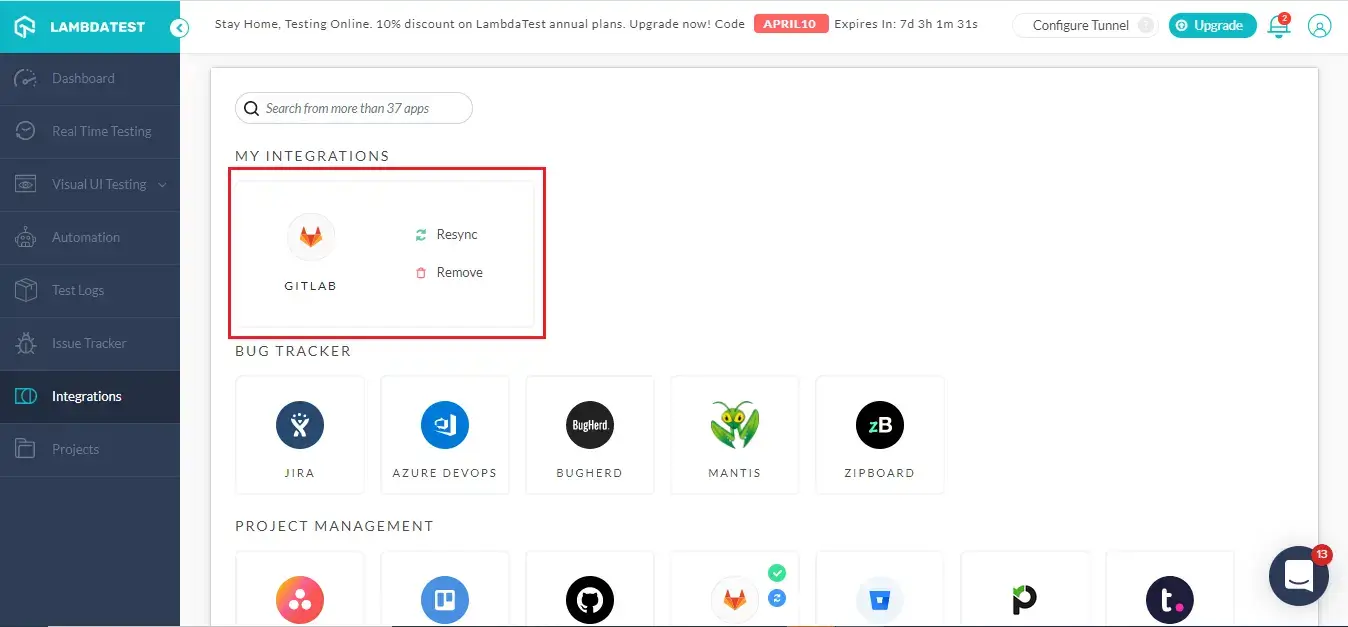
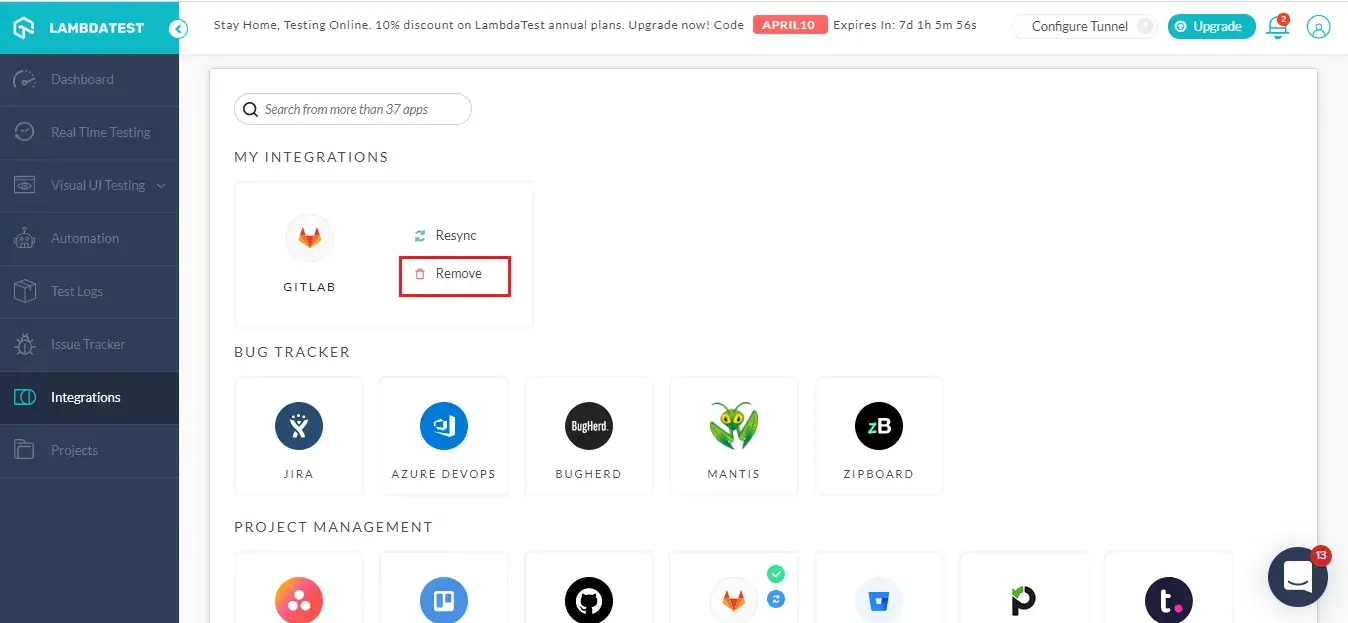
Step 2: Select ‘Settings’ from the left navigation menu bar & click on ‘Integrations’. This will guide you to the same screen from where you initiated GitLab installation. You will find Gitlab in the ‘My Integrations’ section.
Step 3: To remove the GitLab integration, click on ‘Remove’. You can find the Remove button right next to GitLab icon
That was all you need to know for LambdaTest + GitLab Integration. Increase your productivity with our integrations. If you still have any questions for us, please feel free to let us know. Our experts are always available on chat to help you out with any roadblock regarding our product. Happy testing!
