Shopify Integration With LambdaTest | Test Store In Multiple Browsers
With LambdaTest Plugin for Shopify, you can now capture full-page automated screenshots of your Shopify store across multiple Mobile and Desktop browsers & operating systems in a single click.
How To Install LambdaTest Shopify Plugin?
To install LambdaTest Shopify plugin, follow the below steps:
- Step 1: Login to your LambdaTest account and go to Integrations tab from the leftbar.
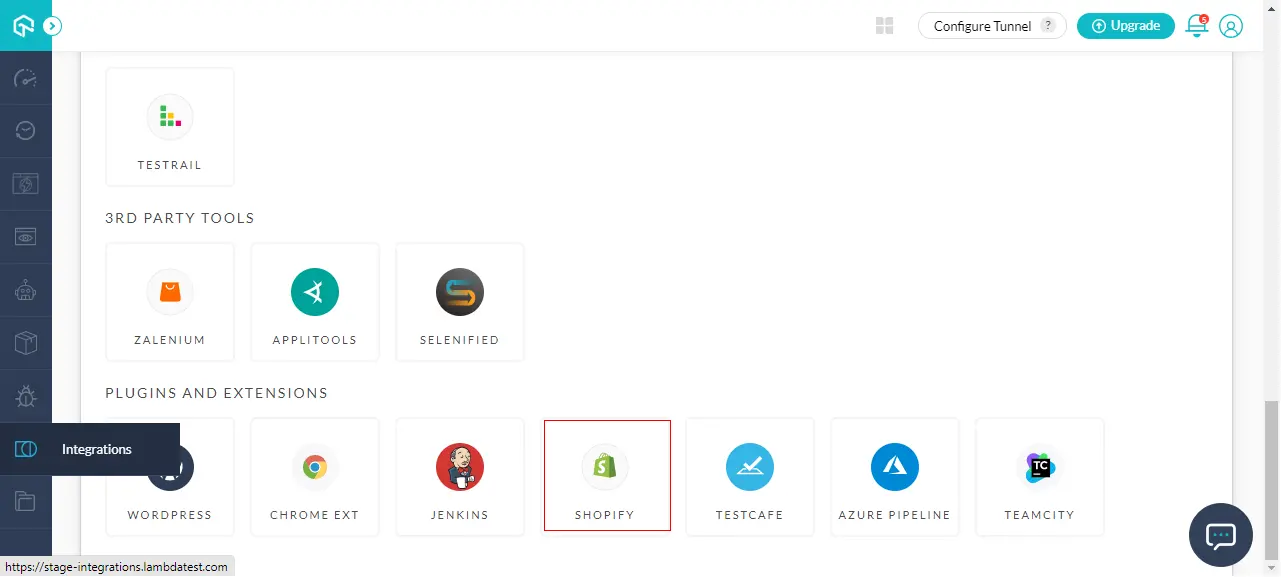
- Step 2: Click on the Shopify app under Plugins and Extensions category to start the integration process.
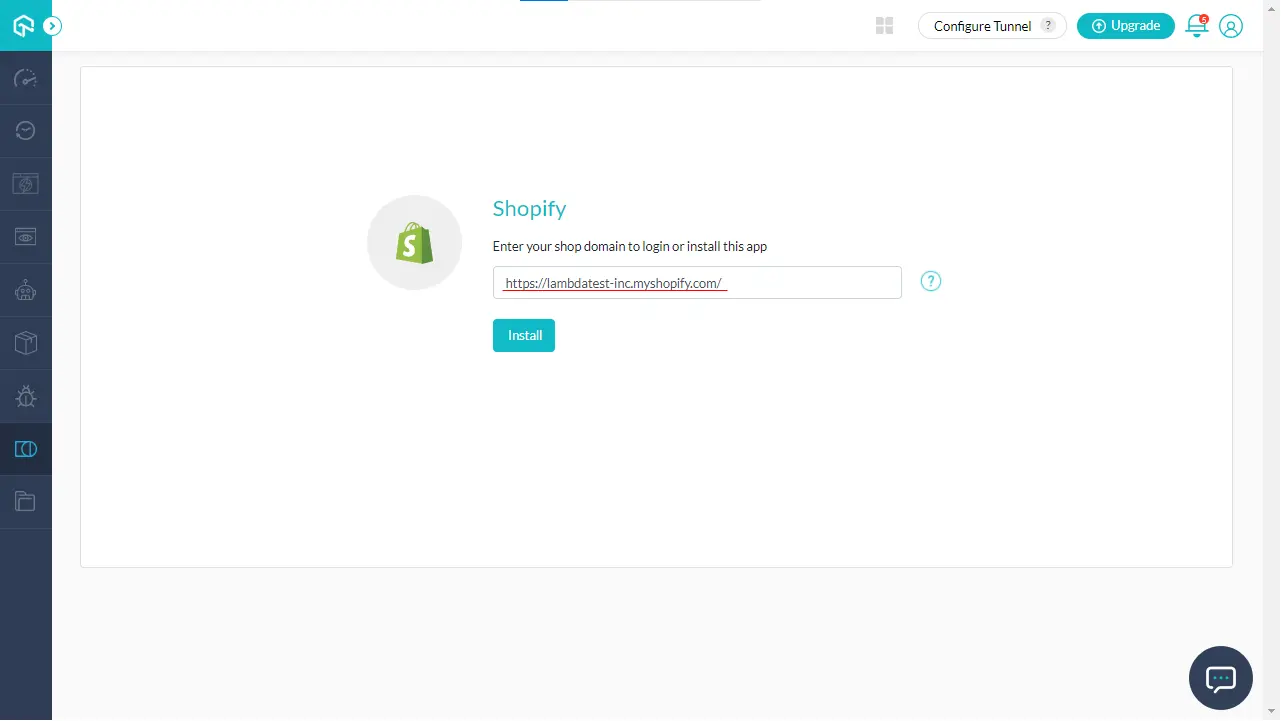
- Step 3: Enter your store domain URL in the given textbox and click on Install.
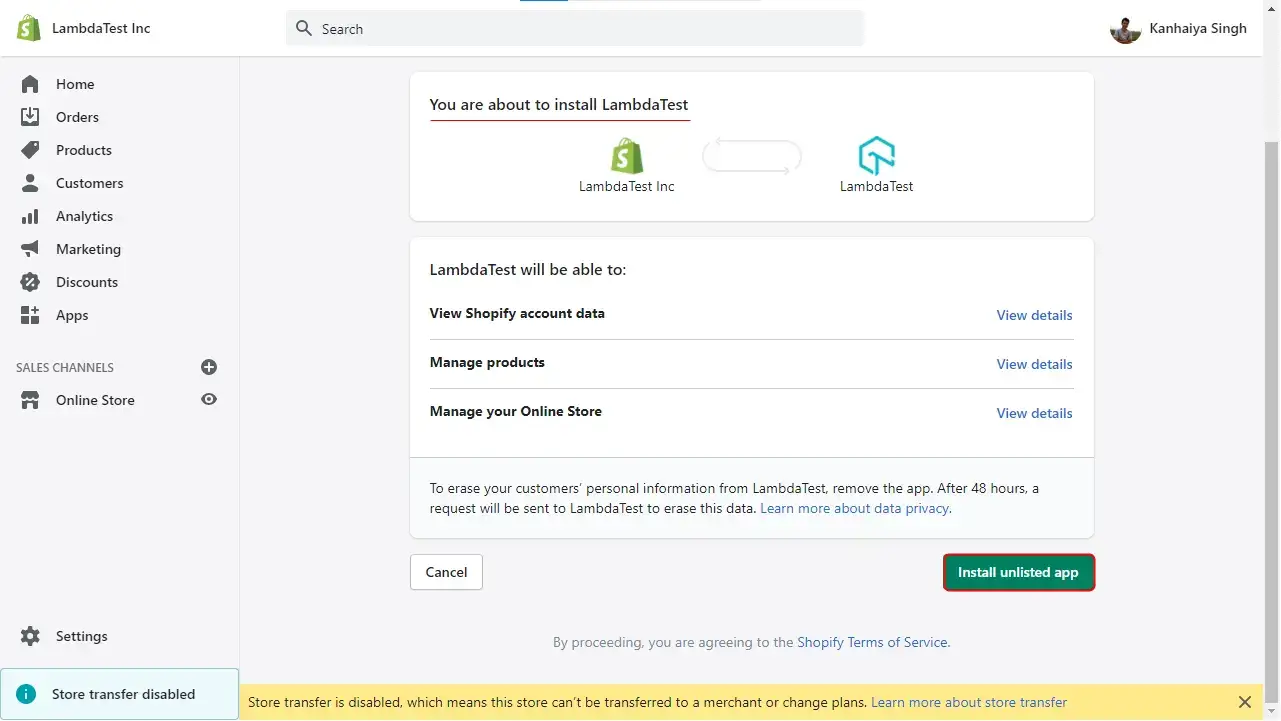
- Step 4: This will take you to your Shopify store domain and ask your confirmation to install LambdaTest into your store, once you are logged in. Click on the Install button and you are all set with LambdaTest plugin.
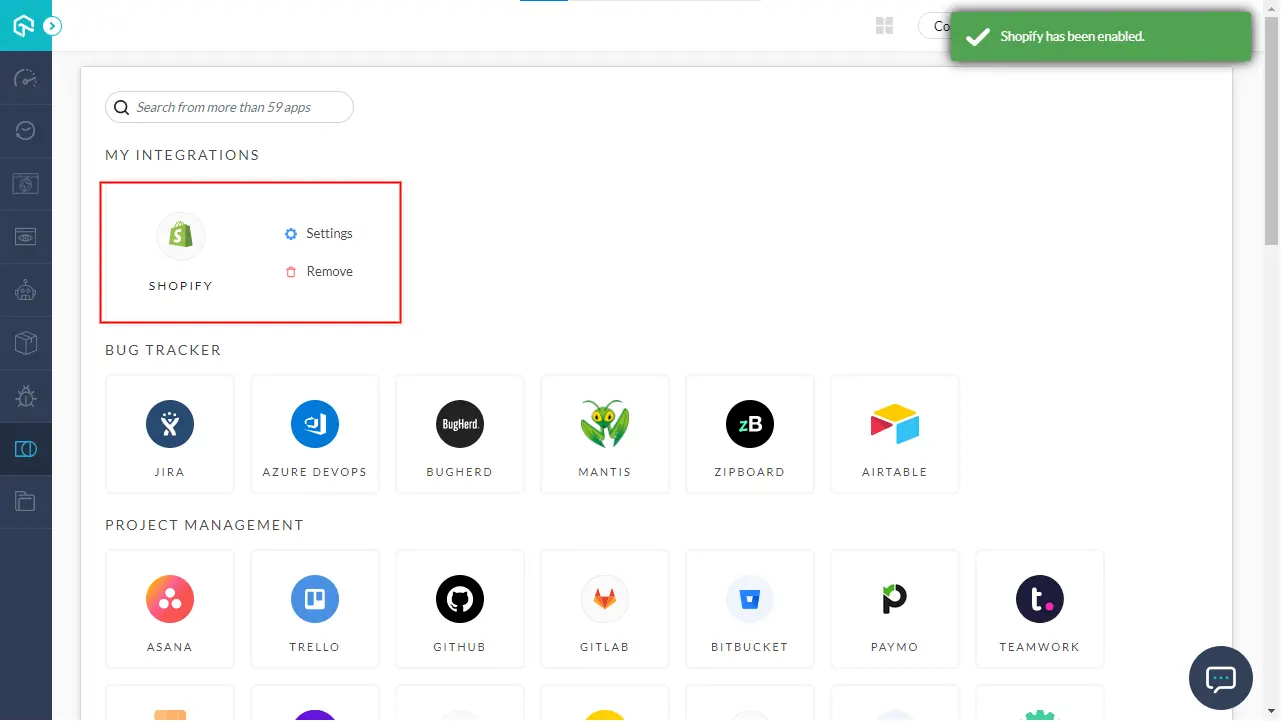
- Step 5: Congrats! Your Shopify store has been integrated with LambdaTest successfully. You will see a confirmation message on the top right corner of your screen stating the same. Also, you can find the Shopify app in the My Integrations section, after the integration is successful as shown in the image below.
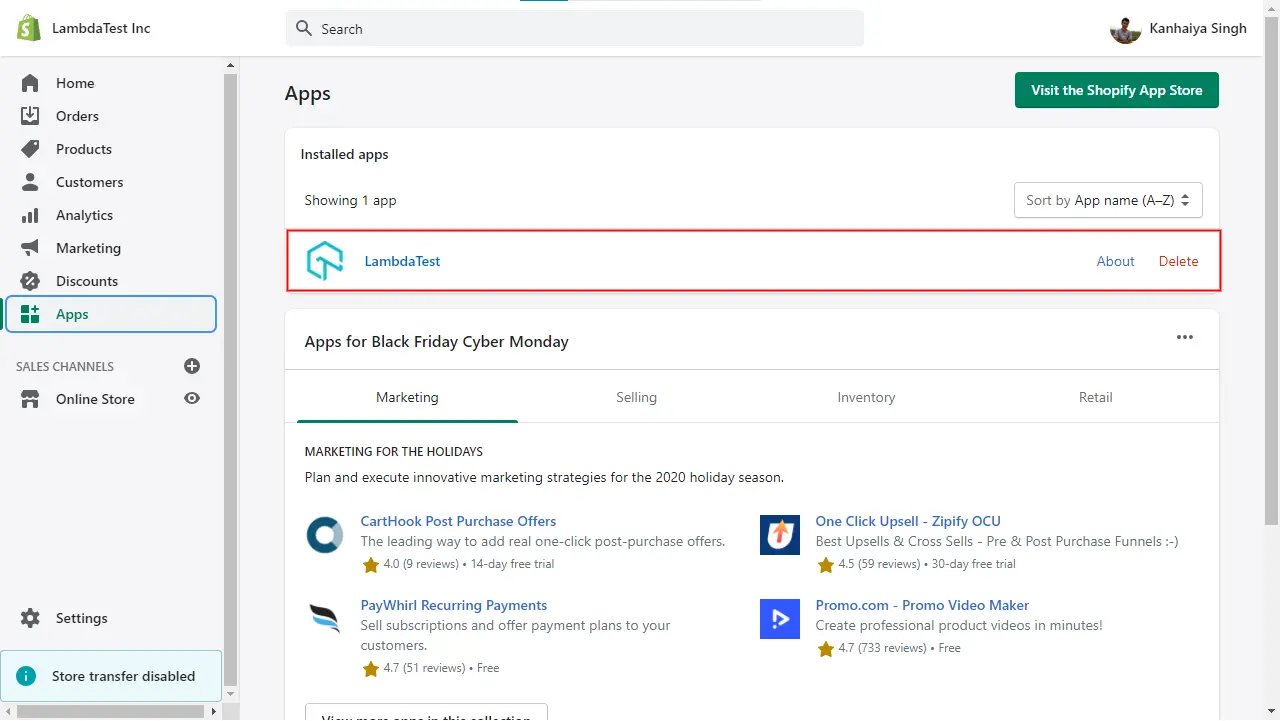
You can also find LambdaTest plugin installed on your Shopify store's App section.
How To Take Full Page Screenshot Of Your Shopify Store?
Once you have integrated your Shopify store with LambdaTest, here's how you can take full page cross-browser screenshots of your store:
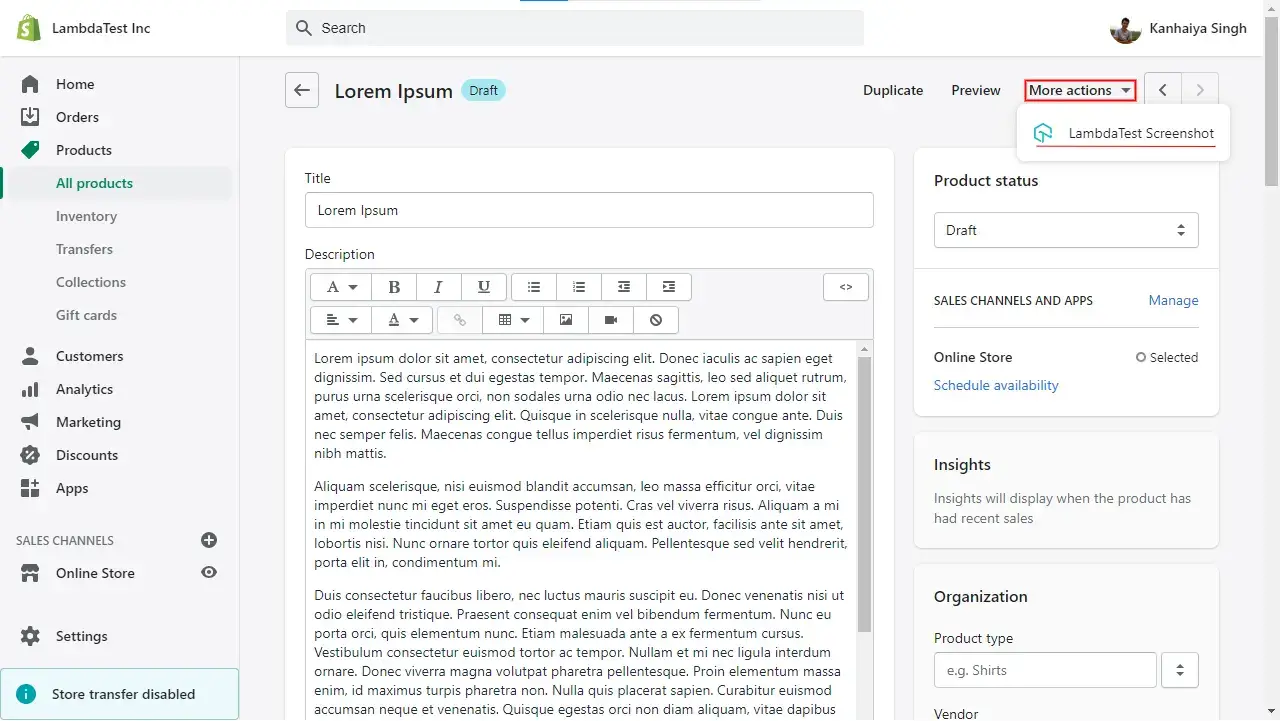
- Step 1: Visit your product on your Shopify store and select any page that you want to take a screenshot of. Not only your published product pages, but you can also perform a screenshot and cross-browser testing on your drafts as well, using this plugin.

- Step 2: From the More Actions menu from the top right corner of your page, select the option for LambdaTest Screenshot.
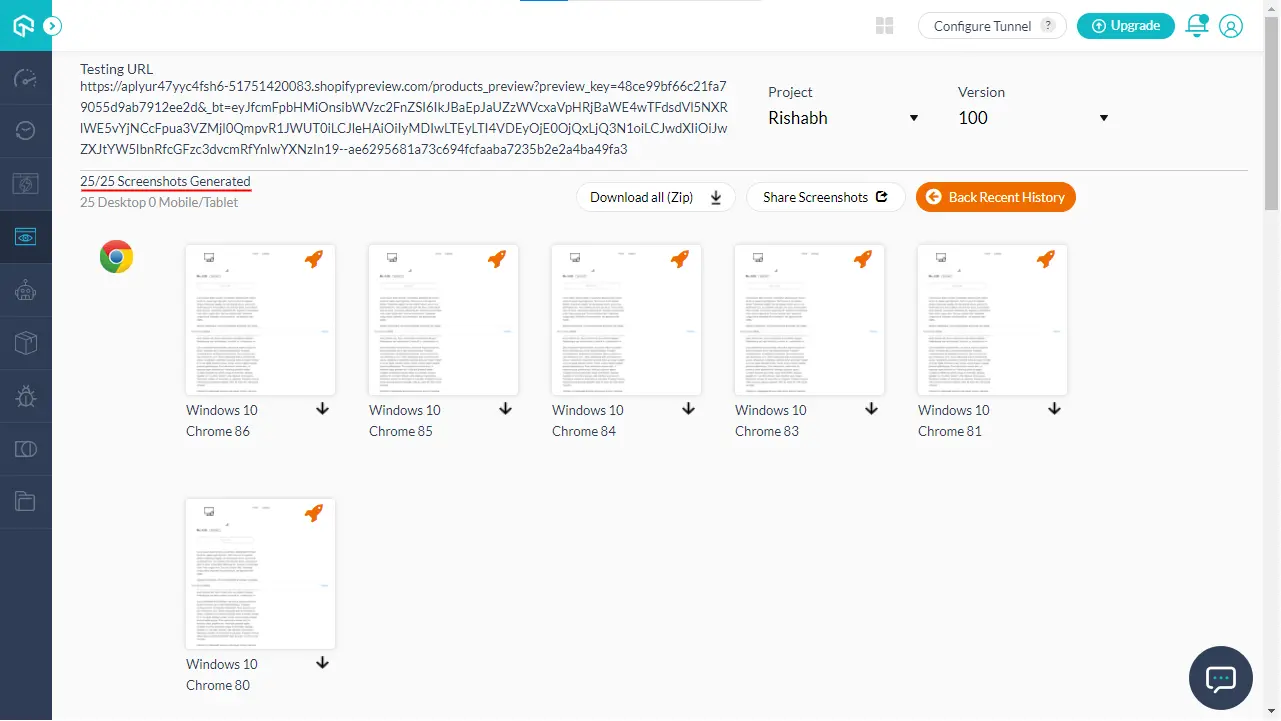
- Step 3: As soon as the LambdaTest Screenshot option is chosen, automated screenshots will start generating on the LambdaTest platform with the preset configuration, as shown in the image below:
Customize Your Screenshots Configuration
By default, the screenshots of your store will be taken in the Default list of browsers. But, you can always select your favorite combination of Mobile and Desktop browsers for automated screenshot testing via this LambdaTest Shopify plugin.
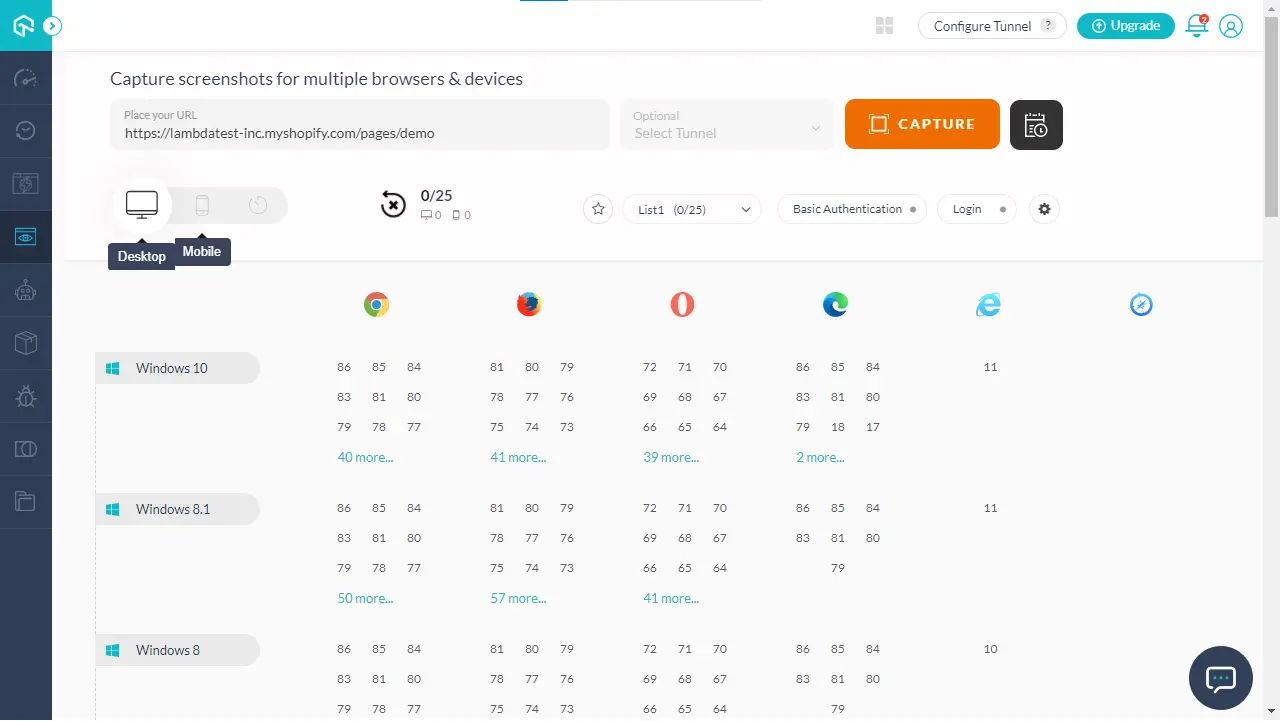
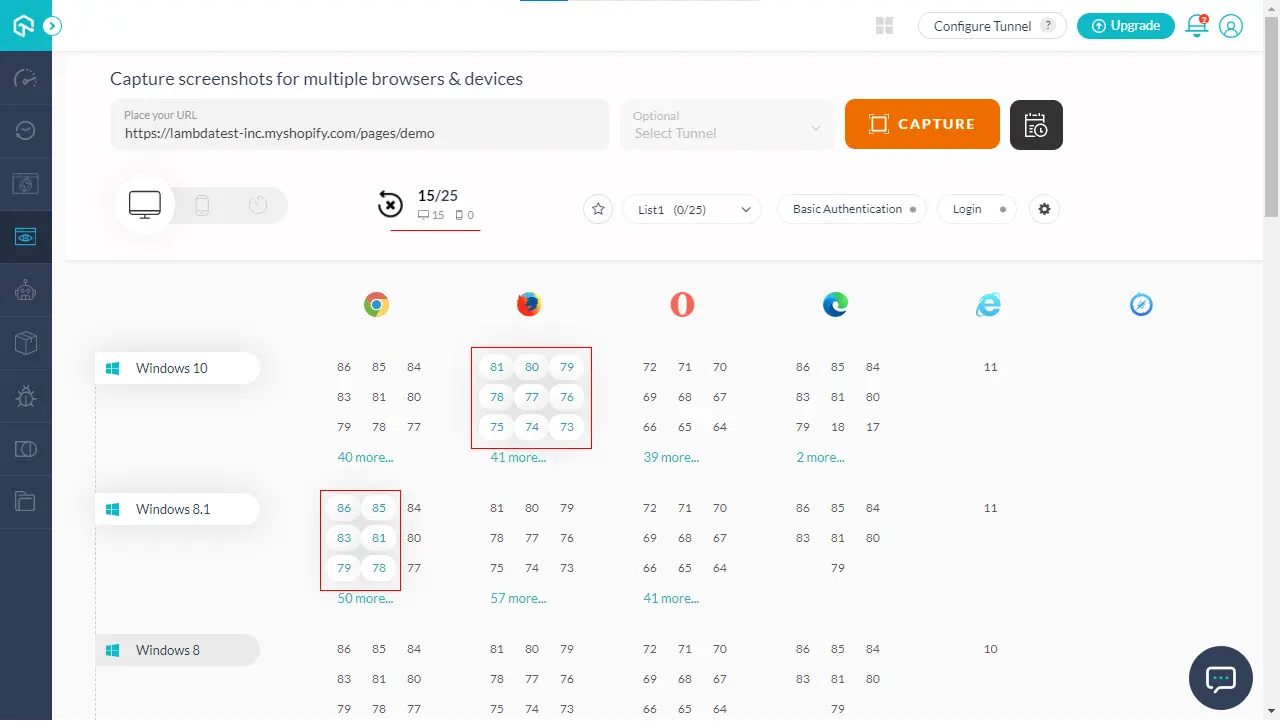
Let's see you can save your favorite list of browsers. First visit our Screenshot testing feature. You can see a list of browser and OS combinations for Desktop and Mobile, as shown in the image below:
Then select your favorite list of browsers by either clicking on them, or by selecting them in bulk. You can choose up to 25 different browsers in a single list. For example, first, select some Desktop browsers. In the below image, as you can see, some Firefox browser versions are selected for Windows 10, and some Chrome browser versions are selected for Windows 7.1. As a result, you can see the count of selected browsers mentioned at the top.
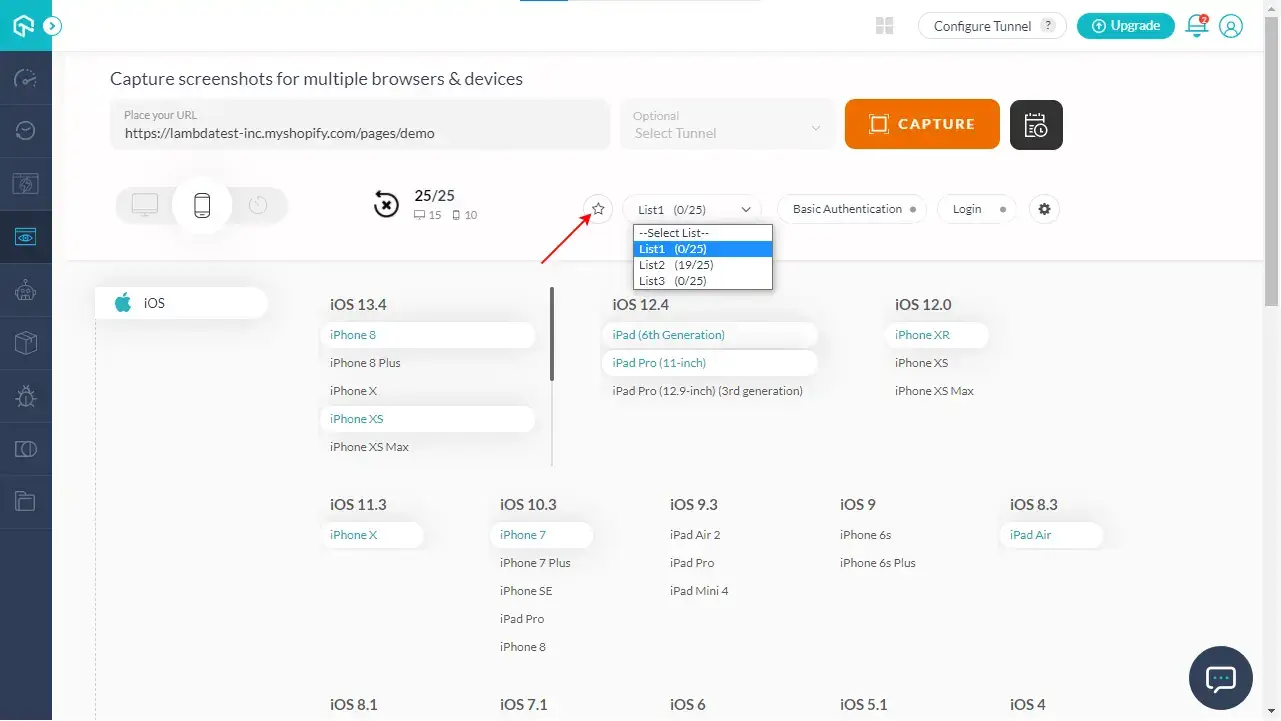
Now you can also select some Mobile browser combinations, as per your choice. For example, in the image below, we have chosen a few Mobile device and browser combinations. As a result, you can see now all 25/25 browsers have been selected.

Once you have selected your favorite list of Mobile and Desktop browsers, you need to select your list, as per your choice, in which you want to store these. And then click on Star icon to mark them as your favorite.
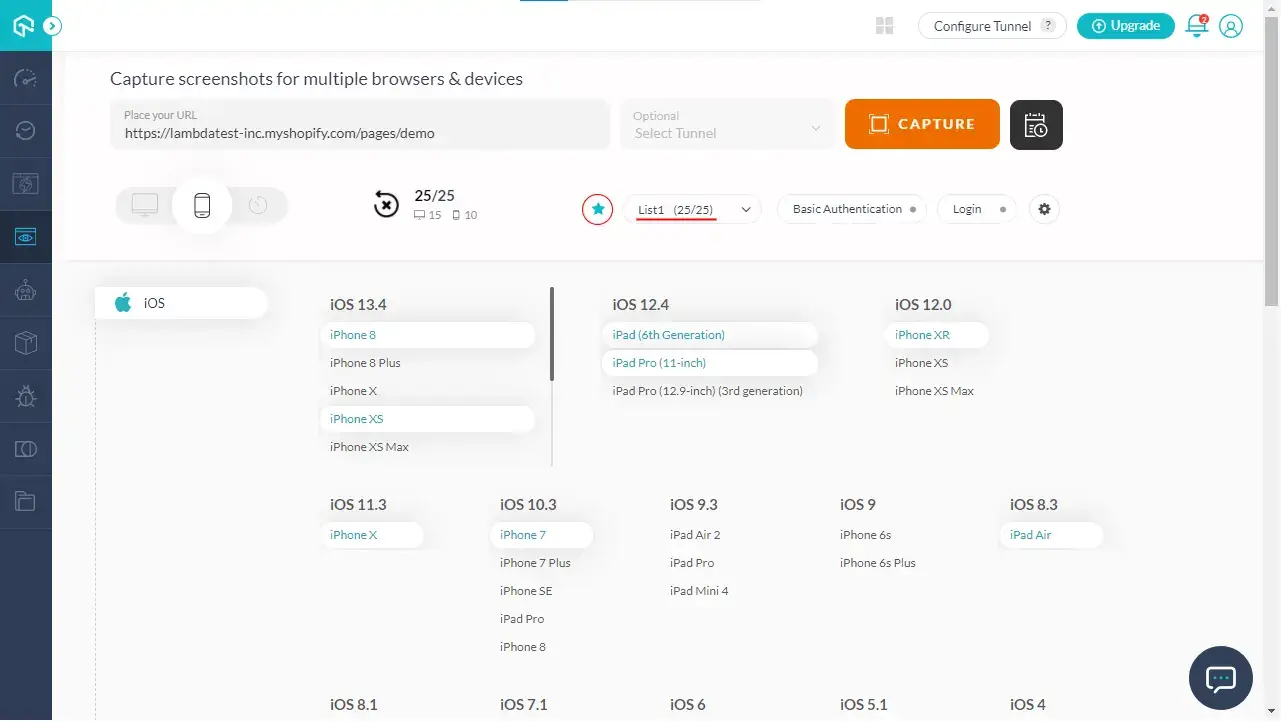
As soon as you do that, your count of saved browsers will be reflected in the list name, as shown in the image below:
Now you need to set this list as your chosen configuration for automated screenshots. So, in the Shopify app under My Integrations section, you can see an option to customize the integration Settings. When you click on it, you can see a drop-down to select the saved list of favorite browsers for one-click screenshot testing. Initially, the Default List will be selected. However, you can choose among the Default or the saved Lists (List 1, List 2, or List 3), as per your choice.
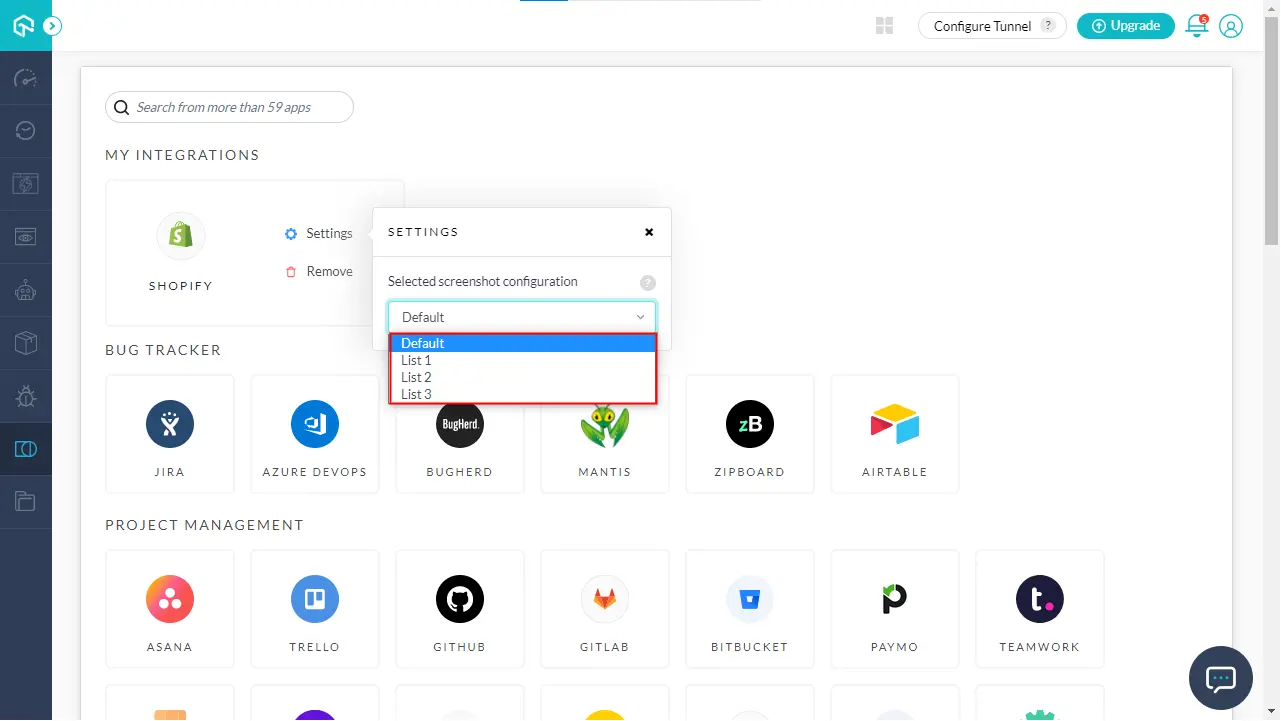
Note: If the selected list does not have any saved browsers, then Default List will be used to generate the screenshots.
To know about how to save your favorite list of mobile and desktop browsers, refer Automated Screenshot Testing.
Now you can repeat the above steps to generate full page automated screenshots and this time they will be according to your favorite list of browsers.
For any generated screenshot, you can also view, download, debug , mark bugs, and do much more.

That's it! Now you can generate screenshots of your store for your favorite Mobile and Desktop browsers using LambdaTest Shopify Plugin. If you come across any issue or doubt, feel free to reach out to us via our 24/7 chat support. Or you can even mail us at support@lambdatest.com Happy Testing!!