Boost Your API Testing Efficiency with HyperExeucte
An API acts as a middleman between different software applications, allowing them to communicate and exchange data. Just like any other part of a software system, APIs need to be thoroughly tested to ensure they function as intended.
Why is API Testing Important?
API testing is crucial for several reasons:
- Ensures application functionality: It verifies that the API delivers the correct data and behaves as expected under various conditions.
- Catches bugs early: By testing APIs early in the development process, you can identify and fix issues before they impact the overall application.
- Improves application reliability: Robust API testing leads to a more stable and reliable application for end users.
How to Automate API Testing with Rest Assured?
REST-Assured, a robust Java library, simplifies interacting with RESTful web services for testing purposes. It provides intuitive syntax for constructing requests and validating responses, streamlining API testing within Java environments.
It is majorly used for:
- Writing automated API tests
- Validating REST API endpoints
- Ensuring API reliability, performance, and security
REST-Assured seamlessly integrates with popular testing frameworks like JUnit and TestNG, enabling organized and efficient test execution with its core capabilities:
- Sending various HTTP requests (GET, POST, PUT, DELETE, etc.)
- Parsing various response formats (JSON, XML, etc.)
- Asserting response status codes and body content
- Handling authentication mechanisms
- Supporting data-driven testing with external data sources
For e.g. REST-Assured provides function to write get method such as given().when().get(url).then().log().all(); This will help you to call a get request to fetch all the data from the API. Once the Call is complete you can either verify using the response of that call or by checking the status of the request.
given().when().get(url).then().assertThat().statusCode(200);
-
Setting Base URI:
RestAssured.baseURIspecifies the common part of API endpoints, avoiding repetition. -
Constructing Request:
- given() initiates test case setup.
- when() sends the HTTP request (GET in this case).
-
Capturing Response:
- then() handles response handling and assertions.
- log().all() logs request and response details for debugging.
- extract().response().asString() extracts the response body as a string.
How to Test API on HyperExecute?
Step 1: Setup Your Test Suite
You can use your own project to configure and test it. For demo purposes, we are using the sample repository.
Download or Clone the code sample for the Maestro framework from the TestMu AI GitHub repository to run the tests on the HyperExecute.
 View on GitHub
Step 2: Setup the CLI in your Test Suite
After cloning / downloading the sample repo, you need to setup the CLI and the environment variables.
Download the HyperExecute CLI
The CLI is used for triggering the tests on HyperExecute. It is recommend to download the CLI binary on the host system and keep it in the root directory of the suite to perform the tests on HyperExecute.
You can download the CLI for your desired platform from the below mentioned links:
Setup Environment Variable
Now, you need to export your environment variables LT_USERNAME and LT_ACCESS_KEY that are available in the TestMu AI Profile page.
Run the below mentioned commands in your terminal to setup the CLI and the environment variables.
- Linux / MacOS
- Windows
export LT_USERNAME="undefined"
export LT_ACCESS_KEY="undefined"
set LT_USERNAME="undefined"
set LT_ACCESS_KEY="undefined"
Step 3: Configure YAML in your Test Suite
loading...
Step 4: Execute your Test Suite
NOTE : In case of MacOS, if you get a permission denied warning while executing CLI, simply run
chmod u+x ./hyperexecuteto allow permission. In case you get a security popup, allow it from your System Preferences → Security & Privacy → General tab.
Run the below command in your terminal at the root folder of the project:
./hyperexecute --config RELATIVE_PATH_OF_YOUR_YAML_FILE
OR use this command if you have not exported your username and access key in the step 2.
./hyperexecute --user undefined --key undefined --config RELATIVE_PATH_OF_YOUR_YAML_FILE
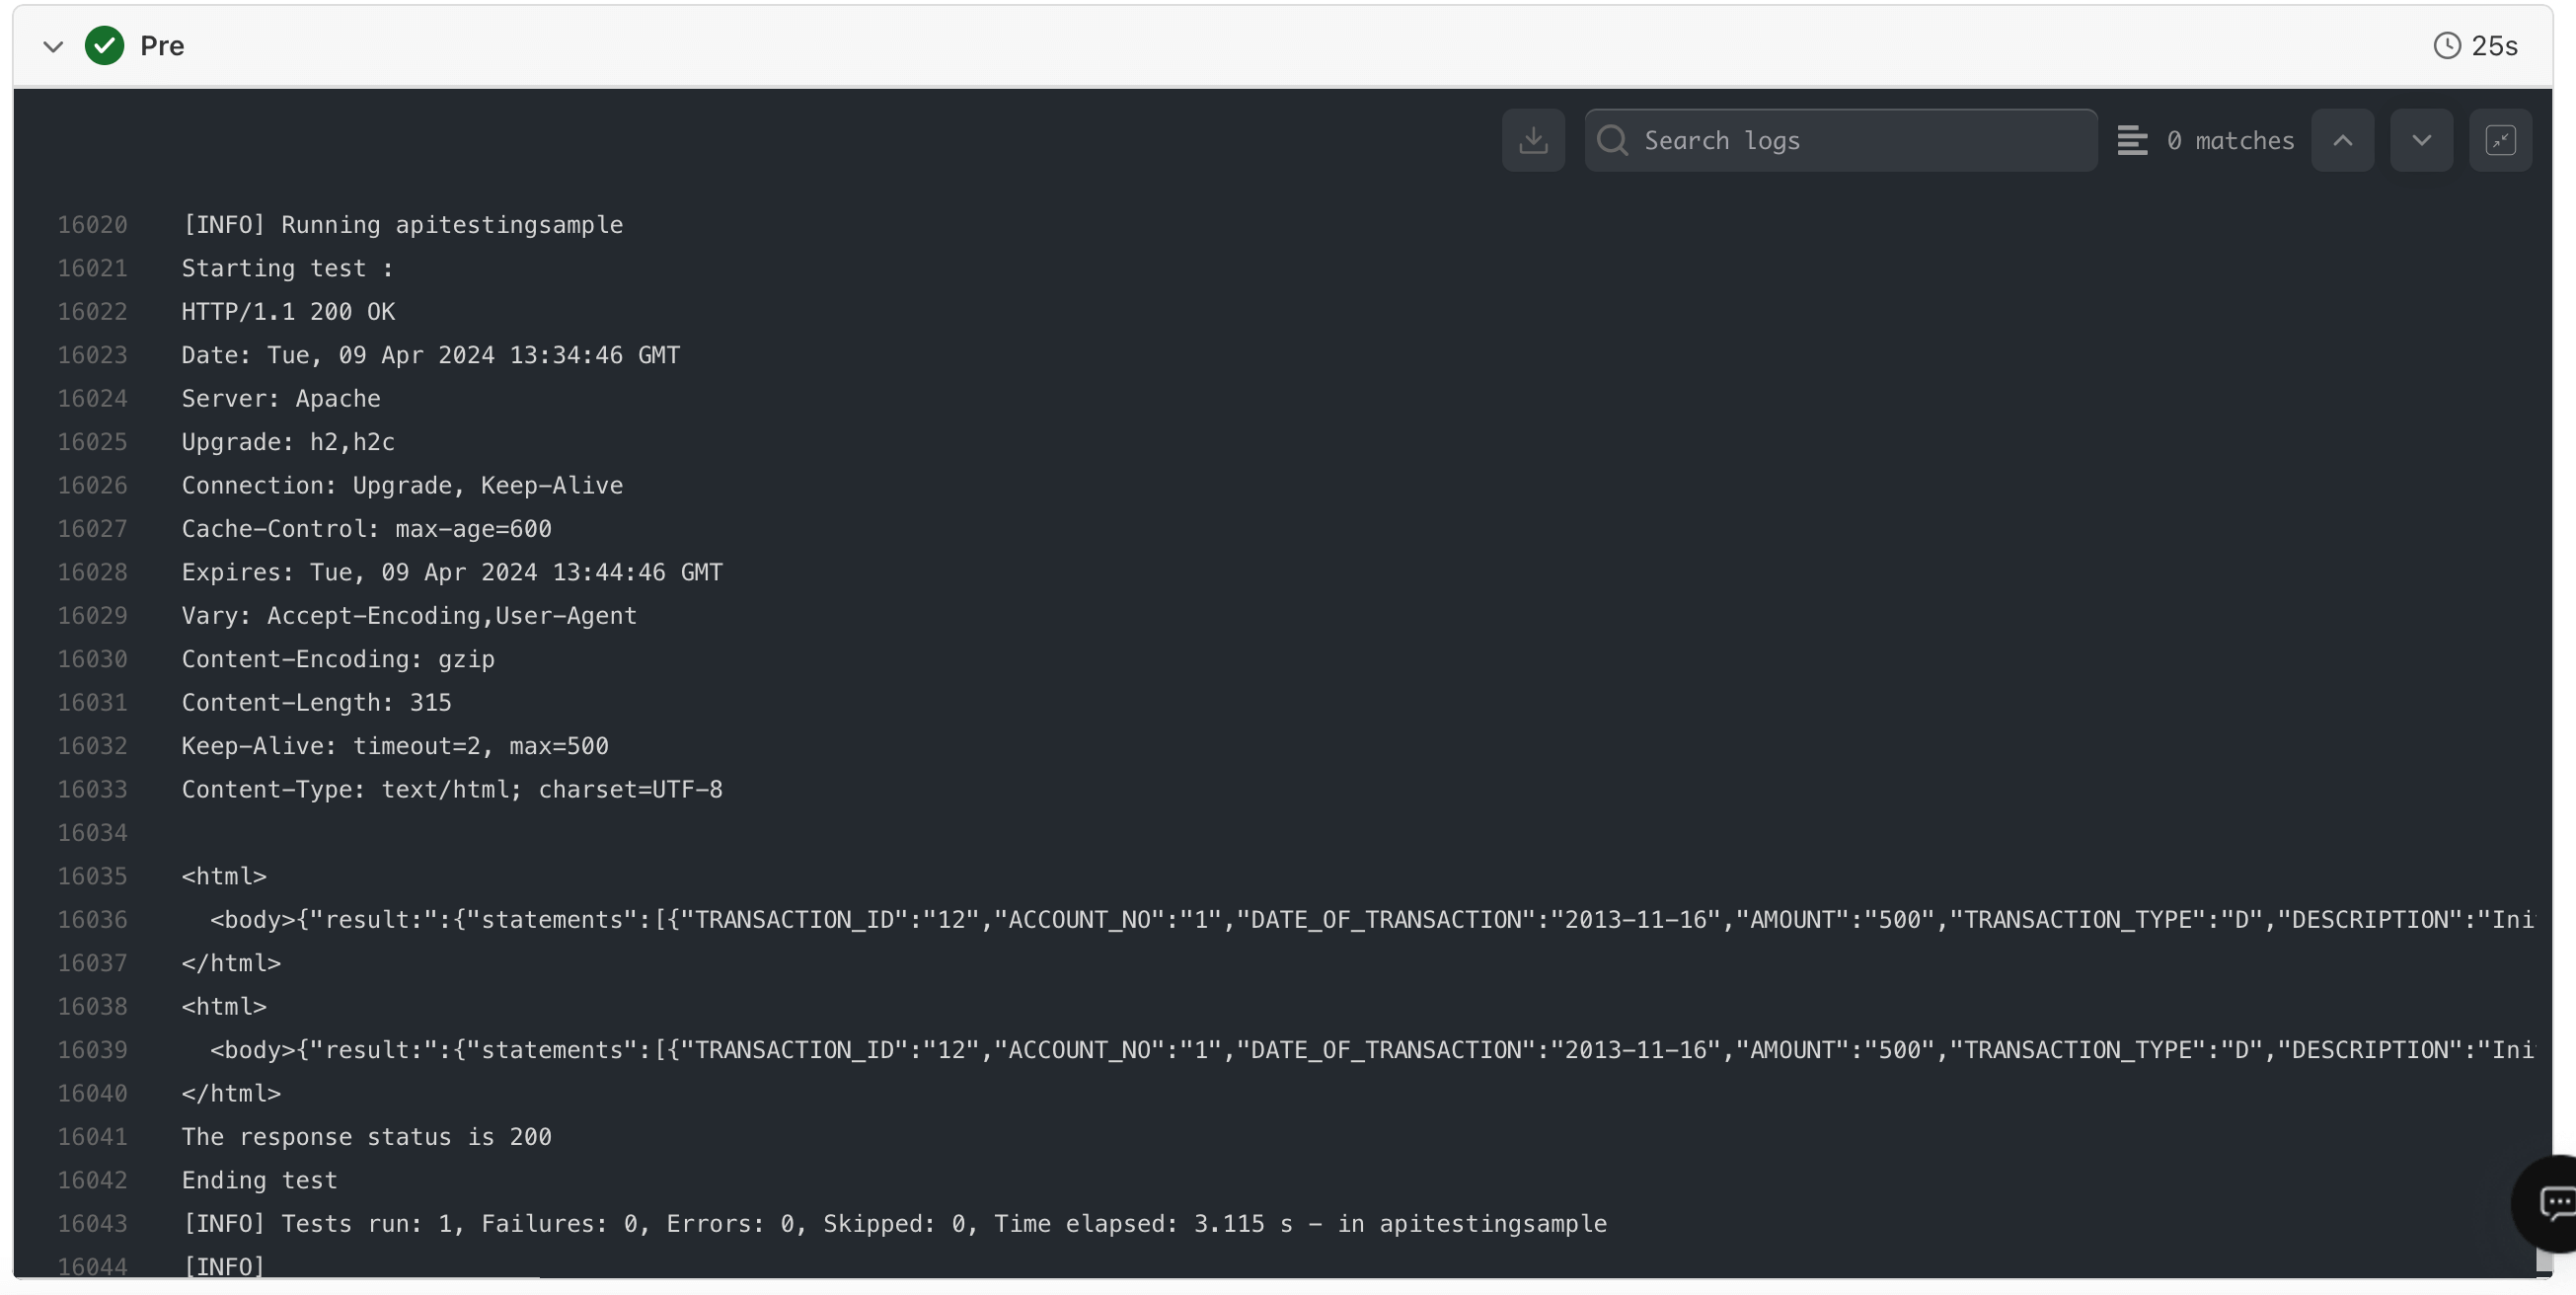
Step 5: Monitor and Validate the Test Execution
Visit the HyperExecute Dashboard and check your Job status.
You can validate the tested API via the pre, post, and scenrios logs in the dashboard.
pre
scenario

post

