Execute XCUI Framework Tests on HyperExecute
This page outlines how to execute your XCUI tests on HyperExecute with YAML 0.2
Prerequisites
To run the Tests on HyperExecute from your Local System, you are required:
- Your TestMu AI Username and Access key
- HyperExecute CLI in order to initiate a test execution Job .
- Setup the Environmental Variable
- HyperExecute YAML file which contains all the necessary instructions.
Step 1: Setup Your Test Suite
You can use your own project to configure and test it. For demo purposes, we are using the sample repository.
Download or Clone the code sample for the XCUI framework from the TestMu AI GitHub repository to run the tests on the HyperExecute.
 View on GitHub
Step 2: Setup the CLI in your Test Suite
After cloning / downloading the sample repo, you need to setup the CLI and the environment variables.
Download the HyperExecute CLI
The CLI is used for triggering the tests on HyperExecute. It is recommend to download the CLI binary on the host system and keep it in the root directory of the suite to perform the tests on HyperExecute.
You can download the CLI for your desired platform from the below mentioned links:
Setup Environment Variable
Now, you need to export your environment variables LT_USERNAME and LT_ACCESS_KEY that are available in the TestMu AI Profile page.
Run the below mentioned commands in your terminal to setup the CLI and the environment variables.
- Linux / MacOS
- Windows
export LT_USERNAME="undefined"
export LT_ACCESS_KEY="undefined"
set LT_USERNAME="undefined"
set LT_ACCESS_KEY="undefined"
Step 3: Upload your Application and Test Suite
Upload your App
Upload your iOS application (.ipa file) to the TestMu AI servers using our REST API. You need to provide your Username and AccessKey in the format Username:AccessKey in the cURL command for authentication. Make sure to add the path of the appFile in the cURL request.
Here is an example cURL request to upload your app using our REST API:
- Linux / MacOS
- Windows
curl -u "undefined:undefined" \
--location --request POST 'https://manual-api.lambdatest.com/app/uploadFramework' \
--form 'appFile=@"/Users/macuser/Downloads/proverbial.ipa"' \
--form 'type="xcuit-ios"'
curl -u "undefined:undefined" -X POST "https://manual-api.lambdatest.com/app/uploadFramework" -F "appFile=@"/Users/macuser/Downloads/proverbial.ipa"" -F "type="xcuit-ios""
Response of above cURL will be a JSON object containing the App URL of the format - APP123456789123456789 and will be used in the last step as appId.
Upload your Test Suite
Upload your test suite (.ipa file) to the TestMu AI servers using our REST API. You need to provide your Username and AccessKey in the format Username:AccessKey in the cURL command for authentication. Make sure to add the path of the appFile in the cURL request. Here is an example cURL request to upload your app using our REST API:
- Linux / MacOS
- Windows
curl -u "undefined:undefined" \
--location --request POST 'https://manual-api.lambdatest.com/app/uploadFramework' --form 'appFile=@"/Users/macuser/Downloads/proverbial_ios_xcuitest.ipa"' --form 'type="xcuit-ios"'
curl -u "undefined:undefined" --location --request POST "https://manual-api.lambdatest.com/app/uploadFramework" --form "appFile=@"C:/Users/varunkumarb/Downloads/proverbial_ios_xcuitest.ipa"" --form "type="xcuit-ios""
Response of above cURL will be a JSON object containing the App URL of the format - APP123456789123456789 and will be used in the next step as testSuiteAppId
Step 4: Configure YAML in your Test Suite
Enter your <RELATIVE_APP_PATH> and <RELATIVE_TEST_SUITE_PATH> in the YAML file
---
version: "0.2"

runson: ios

autosplit: true

concurrency: 1

retryOnFailure: true
maxRetries: 2

framework:
  name: "ios/xcui"
  args:
    appPath: <RELATIVE_APP_PATH>
    testSuitePath: <RELATIVE_TEST_SUITE_PATH>
    video: true
    filters:
      attributes:
      - type: className
        values: ["LambdaUiKitIOSUITestsLaunchTests"]
      - type: testName
        values: ["LambdaUiKitIOSUITests/testverifyAppLaunch"]
    deviceSelectionStrategy: any
    devices: [".*"]
    artifacts: true

    shards:
      mappings:
      - name: shard1
        strategy: "only-testing/skip-testing"
        values: ["<className>/<className/testName>"]
     - name: shard2
       strategy: "only-testing/skip-testing"
       values: ["<className>/<className/testName>", "<className>/<className/testName>"]

jobLabel: ['HyperExecute', 'XCUI', 'Real Device']
If you are using the deviceSelectionStrategy: all, then in that case all the mentioned shards will be executed on all the devices.
For example: There are 2 shards and 2 devices mentioned, then the 2 shards will be executed on 2 devices (2 Shards * 2 Devices).
If you are using the deviceSelectionStrategy: any, then in that case all the mentioned shards will be executed on any one device from the list provided.
For example: There are 2 shards and 2 devices mentioned, then the 2 shards will be executed on any device (2 shards * any device mentioned).
Step 5: Generate Reports and Artifacts
To generate artifacts for your XCUI tests, add the artifacts: true and report: true flag in your YAML file:
report: true

framework:
  name: "ios/xcui"
  args:
    artifacts: true
    ...//
To download these artifacts in your local machine, you can pass the --download-artifacts and --download-report flag with the CLI command to execute the tests as shown in the next step.
Step 6: Execute your Test Suite
NOTE : In case of macOS, if you get a permission denied warning while executing CLI, simply run
chmod u+x ./hyperexecuteto allow permission. In case you get a security popup, allow it from your System Preferences → Security & Privacy → General tab.
Run the below command in your terminal at the root folder of the project:
./hyperexecute --config RELATIVE_PATH_OF_YOUR_YAML_FILE --download-artifacts --download-report
OR use this command if you have not exported your username and access key in the step 2.
./hyperexecute --user undefined --key undefined --config RELATIVE_PATH_OF_YOUR_YAML_FILE --download-artifacts --download-report
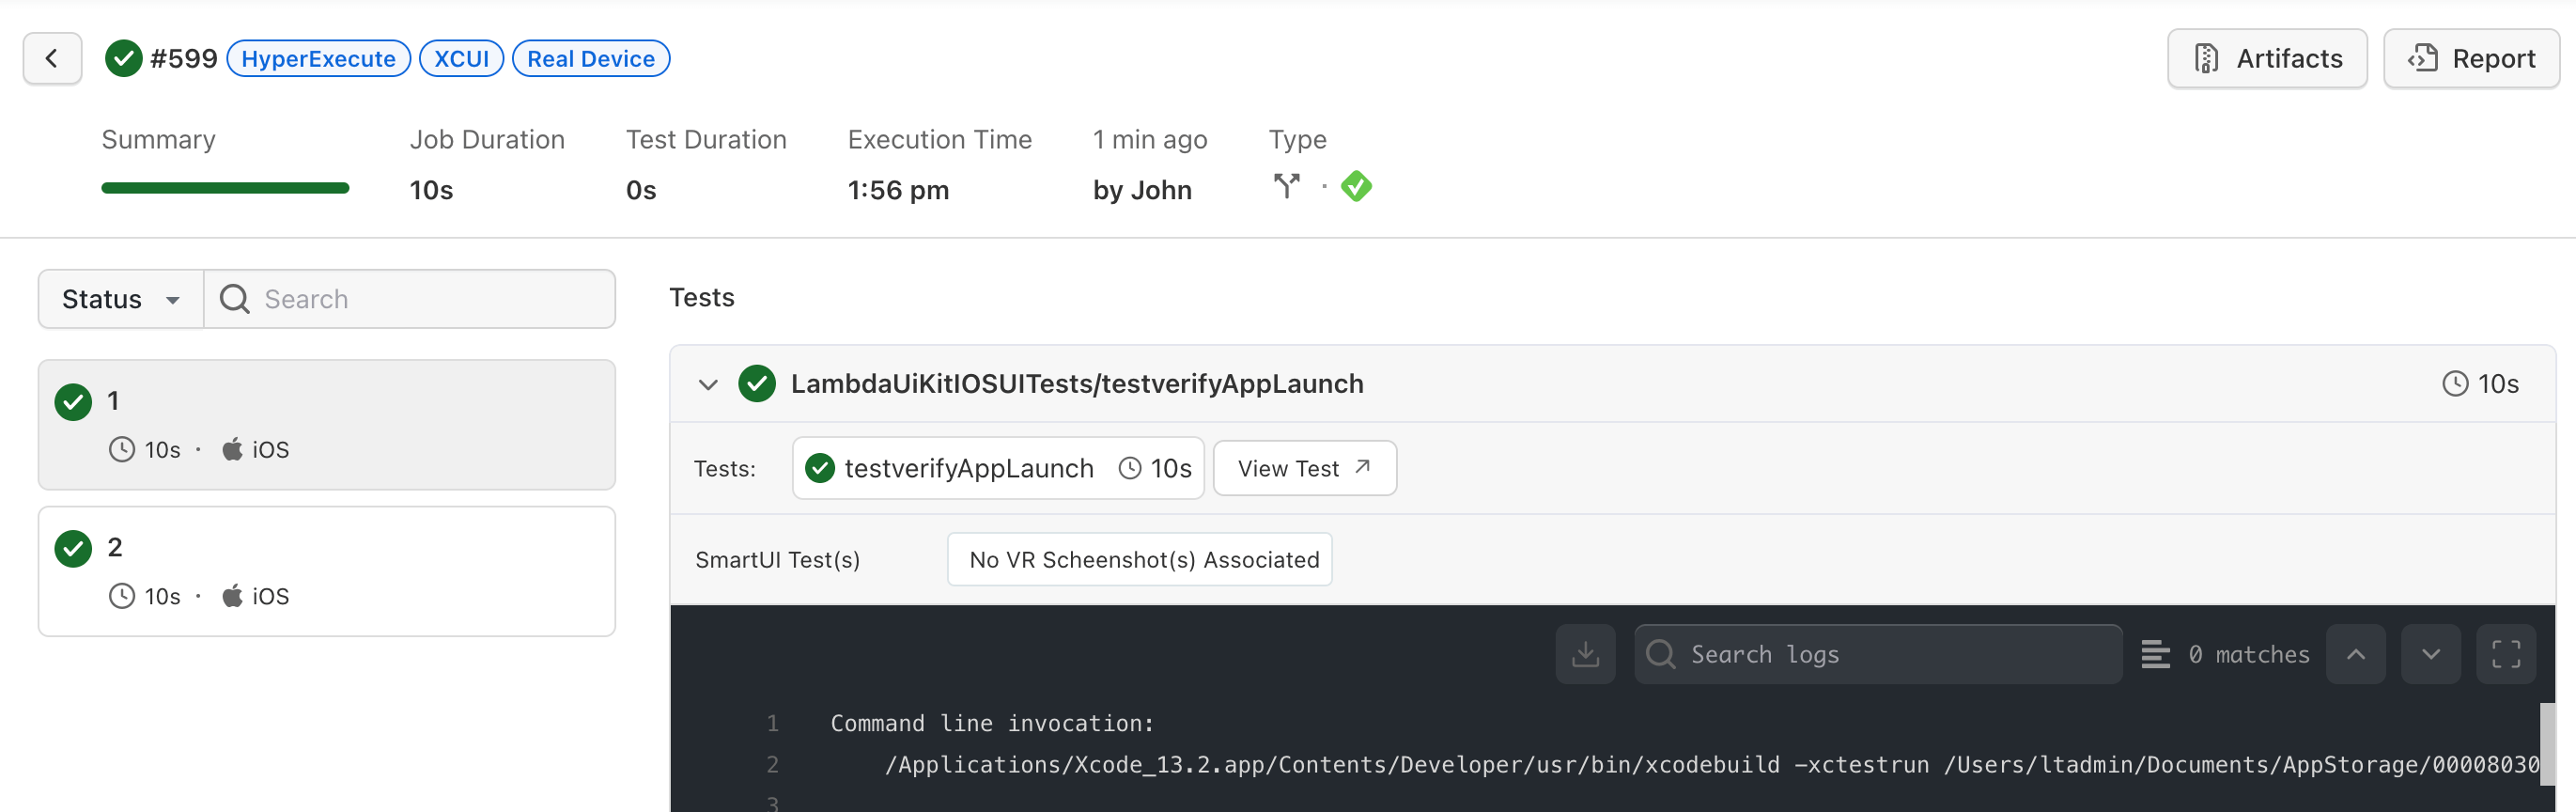
Step 7: Monitor the Test Execution
Visit the HyperExecute Dashboard and check your Job status.