Integrate Provar with HyperExecute
Provar is a low-code/no-code testing tool specifically designed for Salesforce applications, enabling efficient creation and execution of UI and API tests.
This documentation guides you on how to integrate Provar seamlessly with HyperExecute to leverage distributed testing capabilities for comprehensive Salesforce test automation.
Prerequisties
- Download and install the latest version of Provar Automation Installer.
- You must have an active License key to run Provar.
Step 1: Configure the Browser Provider Information
- Update the Desktop Settings to HyperExecuteGrid: ANY Chrome.

- Click on Test Settings >> Browser Providers section. Click on the + symbol to add a new Browser Provider.

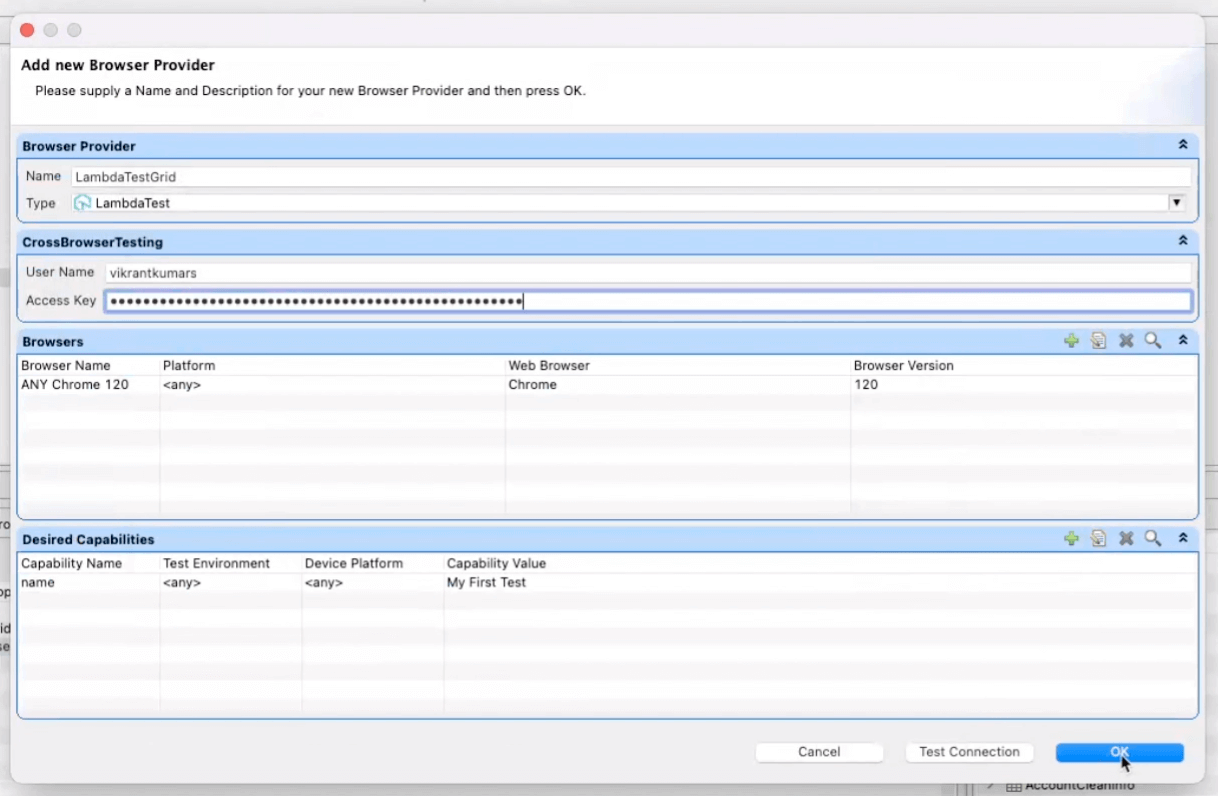
-
You will receive a pop-up to enter your configurations:
- Enter the Name for your new Browser Provider.
- Select the Type as TestMu AI
- Enter your TestMu AI User Name and Access Key
- Update all the browser options that you want to run your tests on.
- Update all the capabilities that you want to pass through the test.
-
Click on Test Connection >> OK
Step 2: Generate and Update the build.xml file
You have to generate the build.xml file using the Provar GUI. You can follow the steps mentioned in the documentation to generate your build file.
- Update the
prover.homeproperty with the installation path of Provar in HyperExceute as shown below:
<property name="provar.home" value="../ProvarHome"/>
- Add the following tags inside your
build.xmlfile. These tags should be present inside the<project default="runtests">tag as mentioned below:
<property name="license.path" value="../licenseHyperexeute"/>
<property name="unit.test" value="*.testcase" />
- Under the
Run-Test-Casetag, replace the<fileset>tag with the following code:
<fileset id="testcases" file="../${unit.test}" ></fileset>
Step 3: Set the Provar License as Secret
You will have to create a new secret in HyperExecute.
- Set Key Name as
provarLicense - Set the Value as the contents of the license file.
Step 4: Setup the CLI in your Test Suite
After cloning / downloading the sample repo, you need to setup the CLI and the environment variables.
Download the HyperExecute CLI
The CLI is used for triggering the tests on HyperExecute. It is recommend to download the CLI binary on the host system and keep it in the root directory of the suite to perform the tests on HyperExecute.
You can download the CLI for your desired platform from the below mentioned links:
Setup Environment Variable
Now, you need to export your environment variables LT_USERNAME and LT_ACCESS_KEY that are available in the TestMu AI Profile page.
Run the below mentioned commands in your terminal to setup the CLI and the environment variables.
- Linux / MacOS
- Windows
export LT_USERNAME="undefined"
export LT_ACCESS_KEY="undefined"
set LT_USERNAME="undefined"
set LT_ACCESS_KEY="undefined"
Step 5: Configure YAML in your Test Suite
Replace the pre command with your own command that discovers the desired .testcase files.
---
version: 0.2
globalTimeout: 150

runson: win

runtime:
  language: java
  version: "11"

autosplit: false

concurrency: 4

retryOnFailure: true
maxRetries: 2

env:
  ProvarSecretsPassword: <ENTER_YOUR_PASSWORD>

pre:
  - ls

post:
  - cat ./ANT/.lambdatestBuild.xml

framework:
 name: provar
 discoveryType: test
 additional_args:
  discoveryLevel: file # required
Step 6: Execute your Test Suite
NOTE : In case of MacOS, if you get a permission denied warning while executing CLI, simply run
chmod u+x ./hyperexecuteto allow permission. In case you get a security popup, allow it from your System Preferences → Security & Privacy → General tab.
Run the below command in your terminal at the root folder of the project:
./hyperexecute --config RELATIVE_PATH_OF_YOUR_YAML_FILE
OR use this command if you have not exported your username and access key in the step 2.
./hyperexecute --user undefined --key undefined --config RELATIVE_PATH_OF_YOUR_YAML_FILE
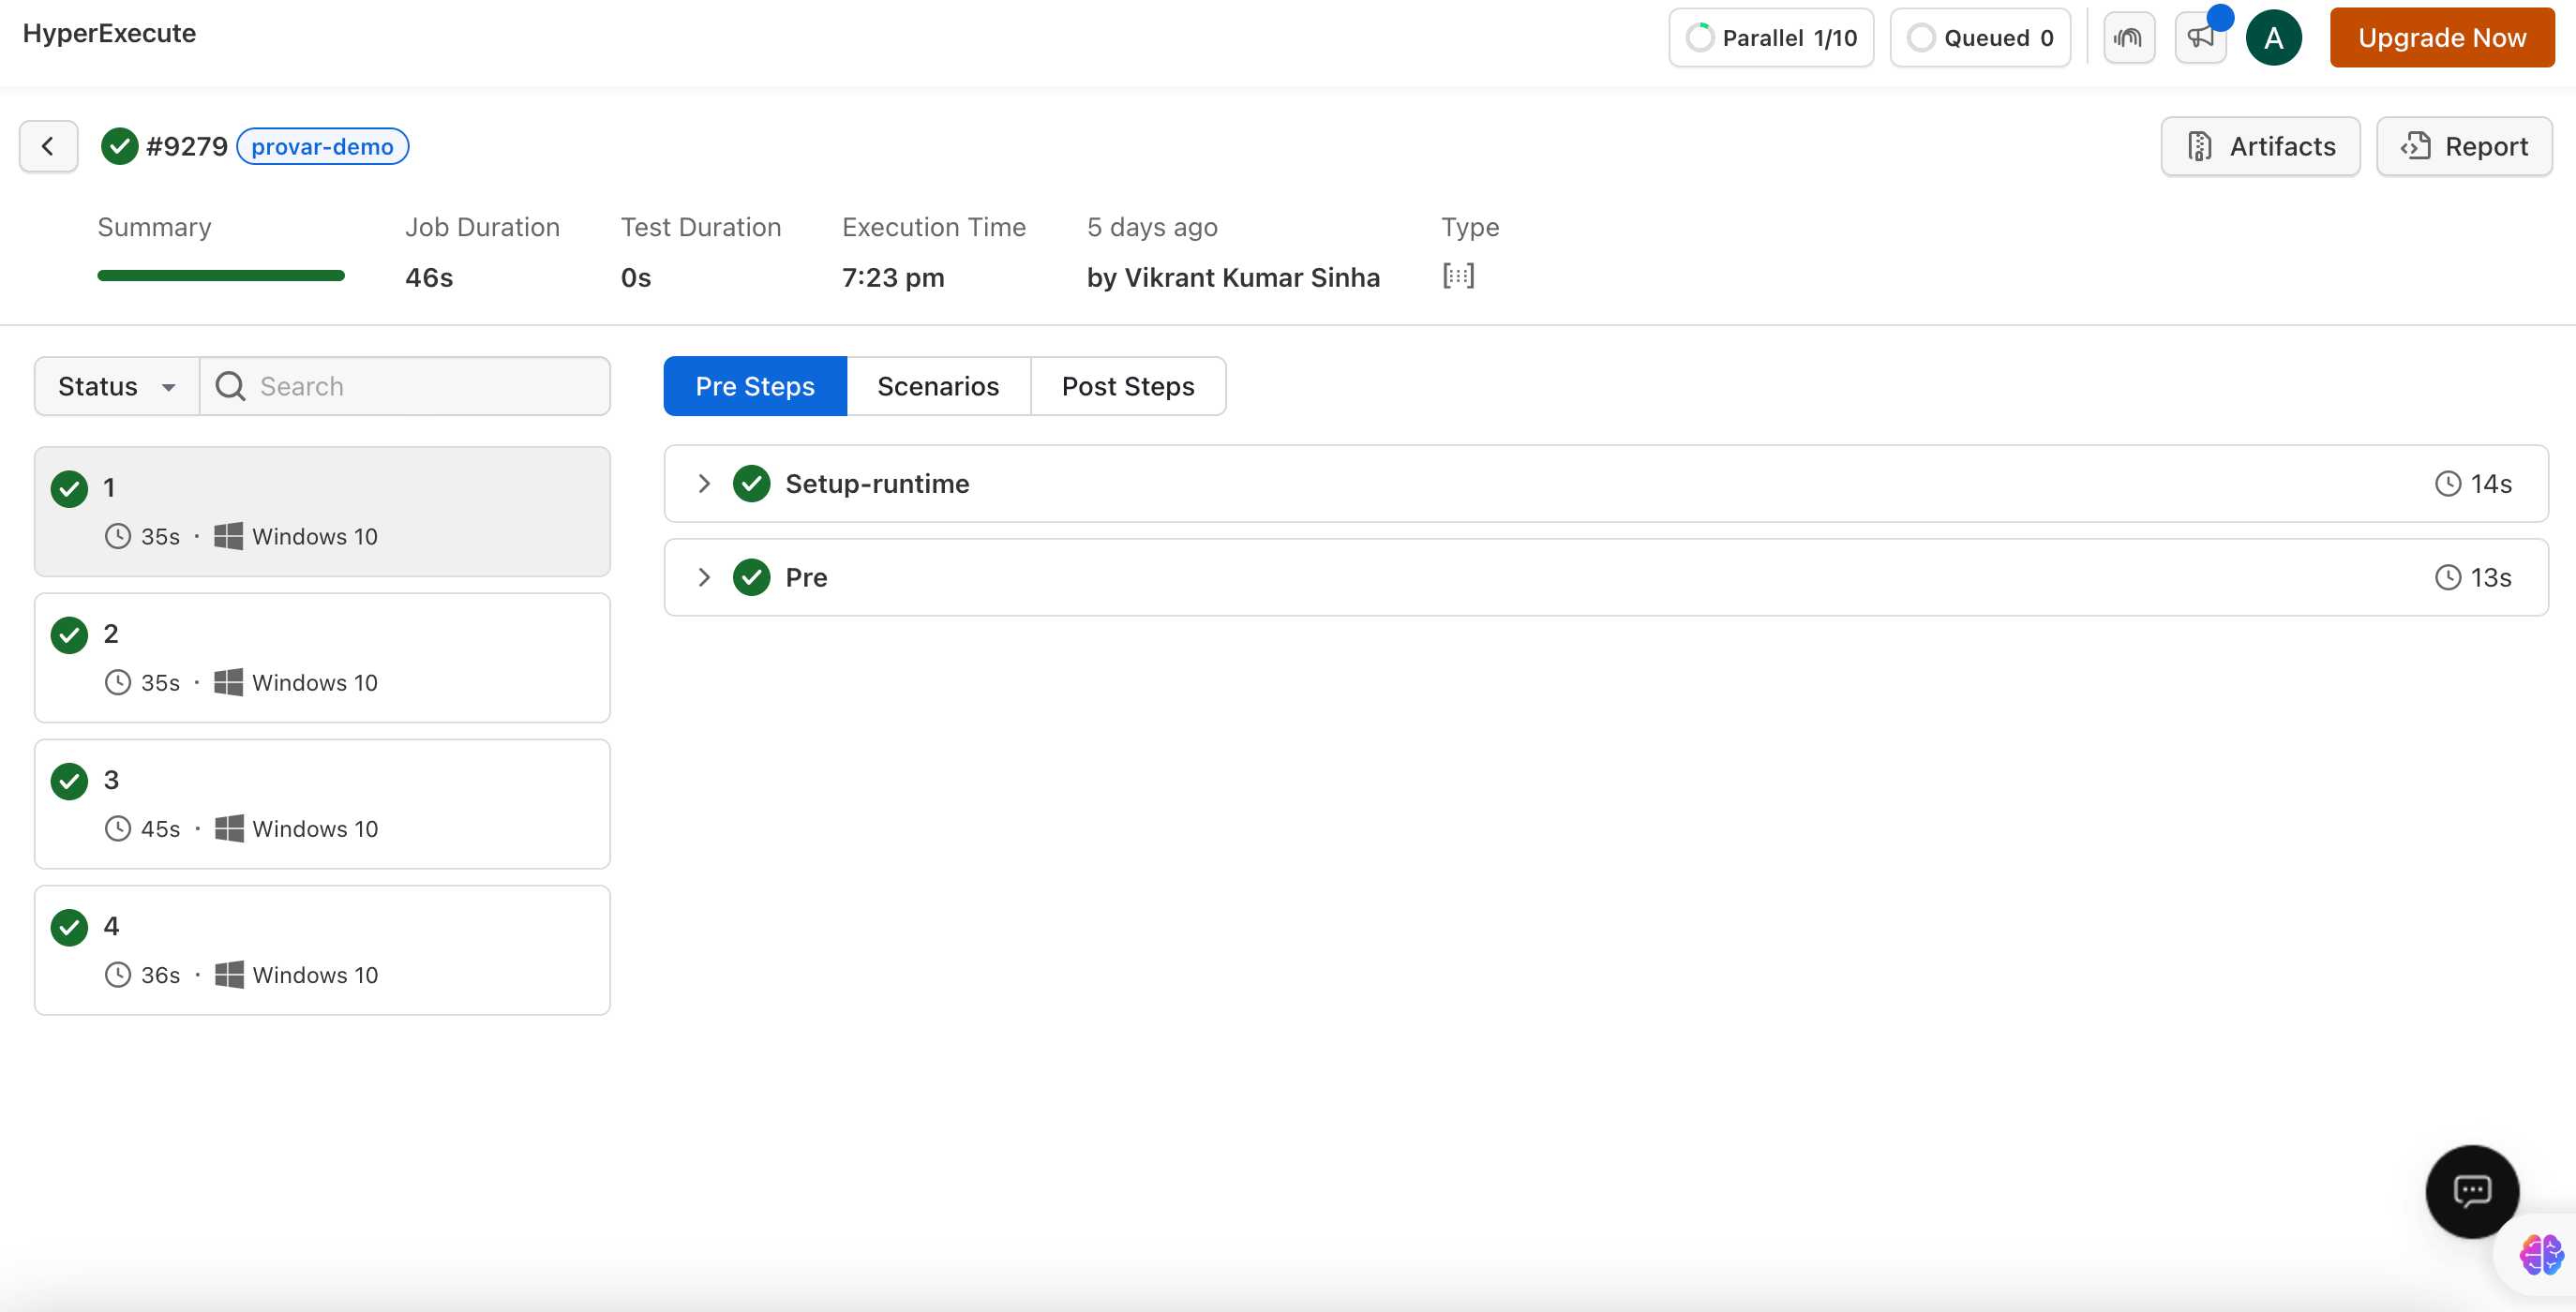
Step 5: Monitor Your Tests
- Visit the HyperExecute Dashboard and check your Job status.