Testsigma Integration With HyperExecute
Testsigma is an AI Native, cloud-based test automation platform that helps testers create, run, and maintain automated tests for web, mobile, and API applications.
Testsigma can help you with:
-
Natural Language Support: You can create test cases in simple English, which makes it easy for people without programming experience to get started with test automation.
-
AI Native Test Generation: Testsigma can automatically generate test cases for you based on your application's code or user interface.
-
Cloud-Based Execution: You can run your tests on the cloud without having to set up your own infrastructure.
-
Cross-Browser Testing: You can test your application on different browsers and devices.
-
Continuous Integration: Testsigma can be integrated with your CI pipeline so that you can run your tests automatically every time you make changes to your code.
-
Reporting: Testsigma provides detailed reports on the results of your tests.
Integrate Testsigma with HyperExecute
Step 1: Creation of Agent
- Navigate to your Testsigma Dashboard to Create an agent.
Note:
- This agent has an activation key. You must ensure that it is secure and accessible.
- This activation key will allow you to start your agent from any other machine.
- This key is associated with a single agent and can be used on only one machine at a time.
Step 2: Create your HyperExecute YAML file
When creating the YAML, consider the following points:
-
One-to-One Mapping: Each test plan ID can only be linked to a single agent at a time. This means two separate agents will be required to execute two test plans parallelly.
-
Agent Activation Wait: Since the agents are activated before test execution, it's crucial to include a waiting period of 90-100 seconds. This ensures the agents are fully operational and ready to handle the upcoming workload.
-
Dynamic Activation Key Handling: The
$activationKeysvariable defined in the matrix section allows you to dynamically pass the appropriate activation key to each agent during execution. This simplifies configuration and avoids manual key assignment.
Here is the sample YAML file for your reference:
---
version: 0.1
globalTimeout: 150
testSuiteTimeout: 150
testSuiteStep: 150

runson: win
concurrency: 2

env:
  CACHE_DIR: m2_cache_dir

cacheKey: '{{ checksum "pom.xml" }}'
cacheDirectories:
  - ${CACHE_DIR}

matrix:
  tests: ["48","70"]
  activationKeys: ["agent1_activationkey","agent2_activationkey"]
exclusionMatrix:
  - tests: ["48"]
    activationKeys: ["agent1_activationkey"]
  - tests: ["70"]
    activationKeys: ["agent2_activationkey"]

pre:
  - npm install -g npm@10.4.0
  - npm i axios

mergeArtifacts: true

uploadArtefacts:
 - name: ExecutionSnapshots
   path:
    - target/surefire-reports/html/**

report: true
partialReports:
  location: target/surefire-reports/html
  type: html
  frameworkName: extent

testSuites:
  - Sleep 100
  - node script.js $tests; Sleep 45

post:
  - stop-agent.bat

captureScreenRecordingForScenarios: true

background:
  - start-agent.bat $activationKeys

jobLabel: [testsigma]
Step 3: Setup the Test Execution Files
- Create a start-agent.bat file. This particular .bat file will start the agent in background services.
@echo off

REM Step 1: Download TestsigmaAgent-Windows.zip
curl -O https://s3.amazonaws.com/hybrid-production.testsigma.com/agent/windows/4.7.0/TestsigmaAgent-Windows.zip

REM Step 2: Extract the contents of TestsigmaAgent-Windows.zip
jar xf TestsigmaAgent-Windows.zip

REM Step 3: Change the directory to TestsigmaAgent
cd TestsigmaAgent

REM Step 4: Run start.bat with the provided activation key
start.bat "TS_ACTIVATION_KEY=%1"
- Create a stop-agent.bat file. This .bat file will stop the agent after the completion of execution.
@echo off

REM Step 1: Change the directory to TestsigmaAgent
cd TestsigmaAgent

REM Step 2: Run start.bat with the provided activation key
stop.bat
-
Now, map your tests (from the testsigma dashboard) via the agent to execute on HyperExecute platform. The main goal of the script file is to make the API call for test execution.
-
The script is created to start the agent, then execute the test plan and then stop the agent after the whole Job is executed.
NOTE: You can use any language to create your execution script file. We have used javascript for the reference below.
const axios = require('axios');

const testPlanId = process.argv[2];

const numid1 = parseInt(testPlanId);
let data = JSON.stringify({
  "executionId": numid1
});

let config = {
  method: 'post',
  maxBodyLength: Infinity,
  url: 'https://app.testsigma.com/api/v1/execution_results',
  headers: {
    'Content-Type': 'application/json',
    'Authorization': 'Bearer <YOUR_AUTH_KEY>'
  },
  data: data
};

axios.request(config)
  .then((response) => {
    console.log(JSON.stringify(response.data));
  })
  .catch((error) => {
    console.log(error);
  });
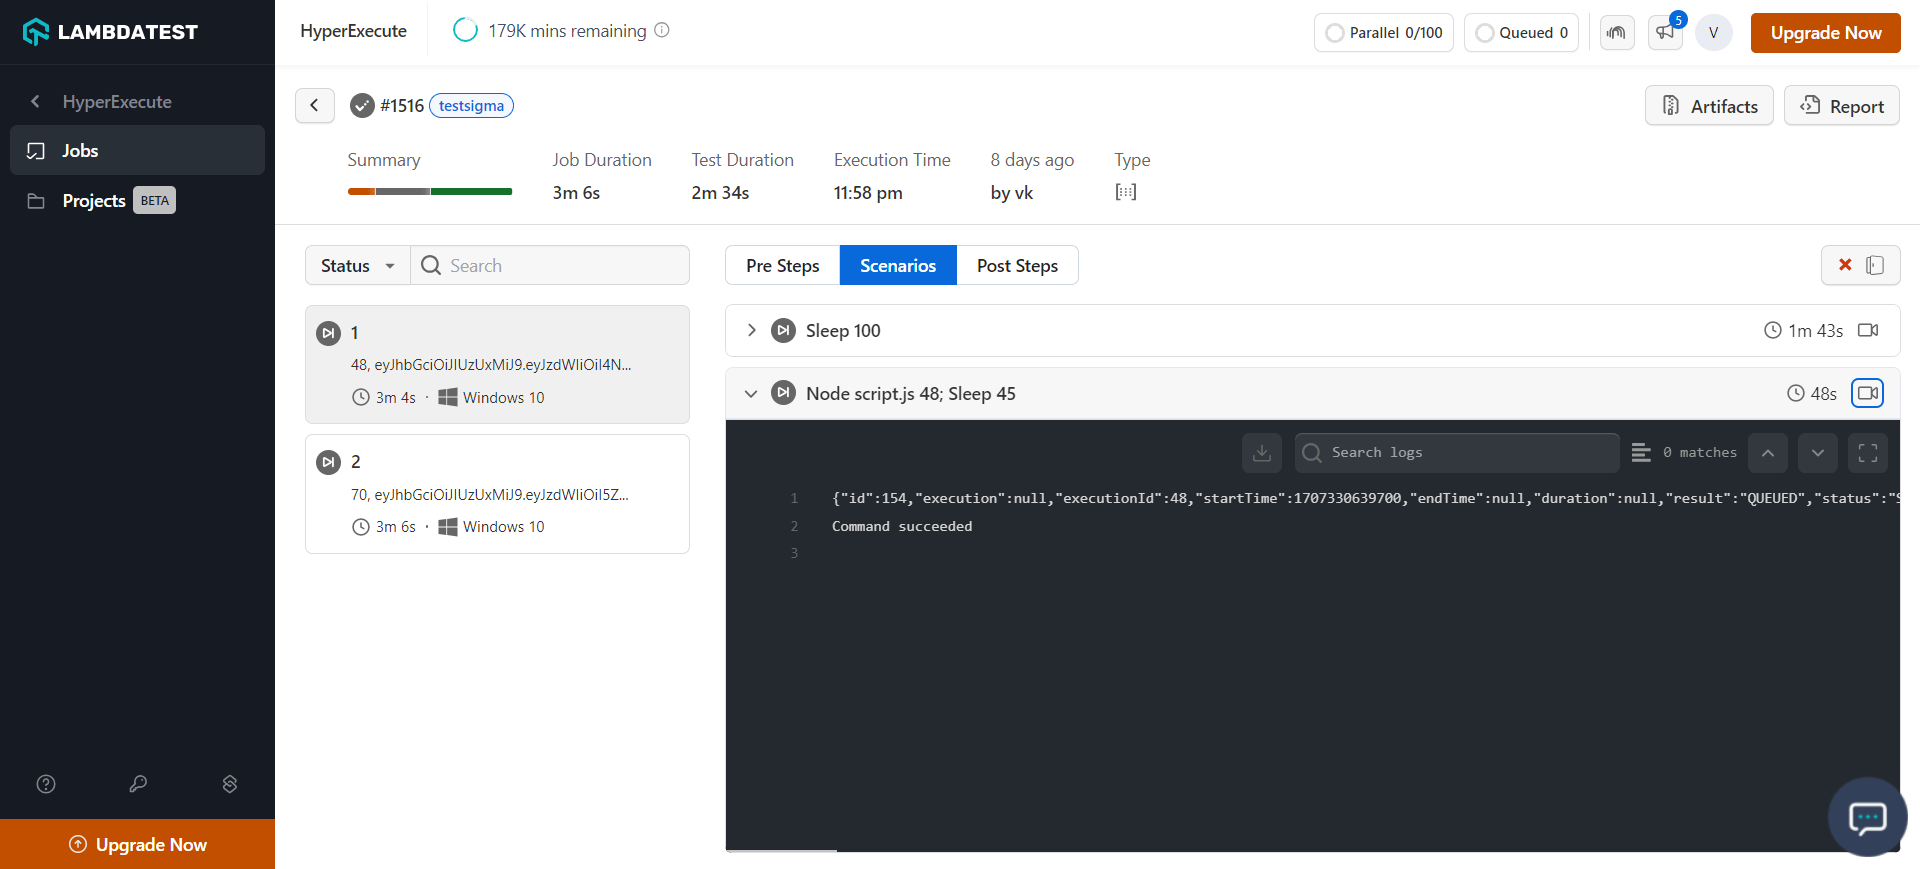
Step 4: Execute the Test
Trigger your test plan on HyperExecute.
- Download the Hyperexecute CLI Binary based on the OS you use.
- Run the below mentioned commands in your terminal to setup the CLI and the environment variables.
- Linux / MacOS
- Windows
export LT_USERNAME="undefined"
export LT_ACCESS_KEY="undefined"
set LT_USERNAME="undefined"
set LT_ACCESS_KEY="undefined"
In case of MAC, if you get a permission denied warning while executing CLI, simply run
chmod u+x ./hyperexecuteto allow permission. In case you get a security popup, allow it from your System Preferences → Security & Privacy → General tab.
- Run the below command in your terminal at the root folder of the project
./hyperexecute --config RELATIVE_PATH_OF_YOUR_YAML_FILE
OR use this command if you have not exported your username and access key.
./hyperexecute --user undefined --key undefined --config RELATIVE_PATH_OF_YOUR_YAML_FILE