Azure DevOps Pipeline Integration with Hyperexecute
Azure DevOps offers developer services that enable teams to plan their work, collaborate on code development, and build and deploy applications. Azure DevOps fosters a collaborative culture and set of processes that bring together software developers, project managers, and contributors. It enables organizations to create and improve products at a much faster rate than traditional software development approaches allow.
This document will show you how to integrate Azure Devops Pipeline with HyperExecute to greatly shorten your test cycles.
How To Integrate Azure DevOps Pipeline with Hyperexecute
To integrate Azure DevOps Pipeline with HyperExecute, follow the below steps:
You can use your own project to configure and test it. For demo purposes, we are using the sample repository.
Download or Clone the code sample from the TestMu AI GitHub repository to run the tests on the HyperExecute.
 View on GitHub
1. Log into your Azure DevOps account
2. Create a New Project
Go to the top-right corner of your Azure Devops profile page and click the + New Project button.
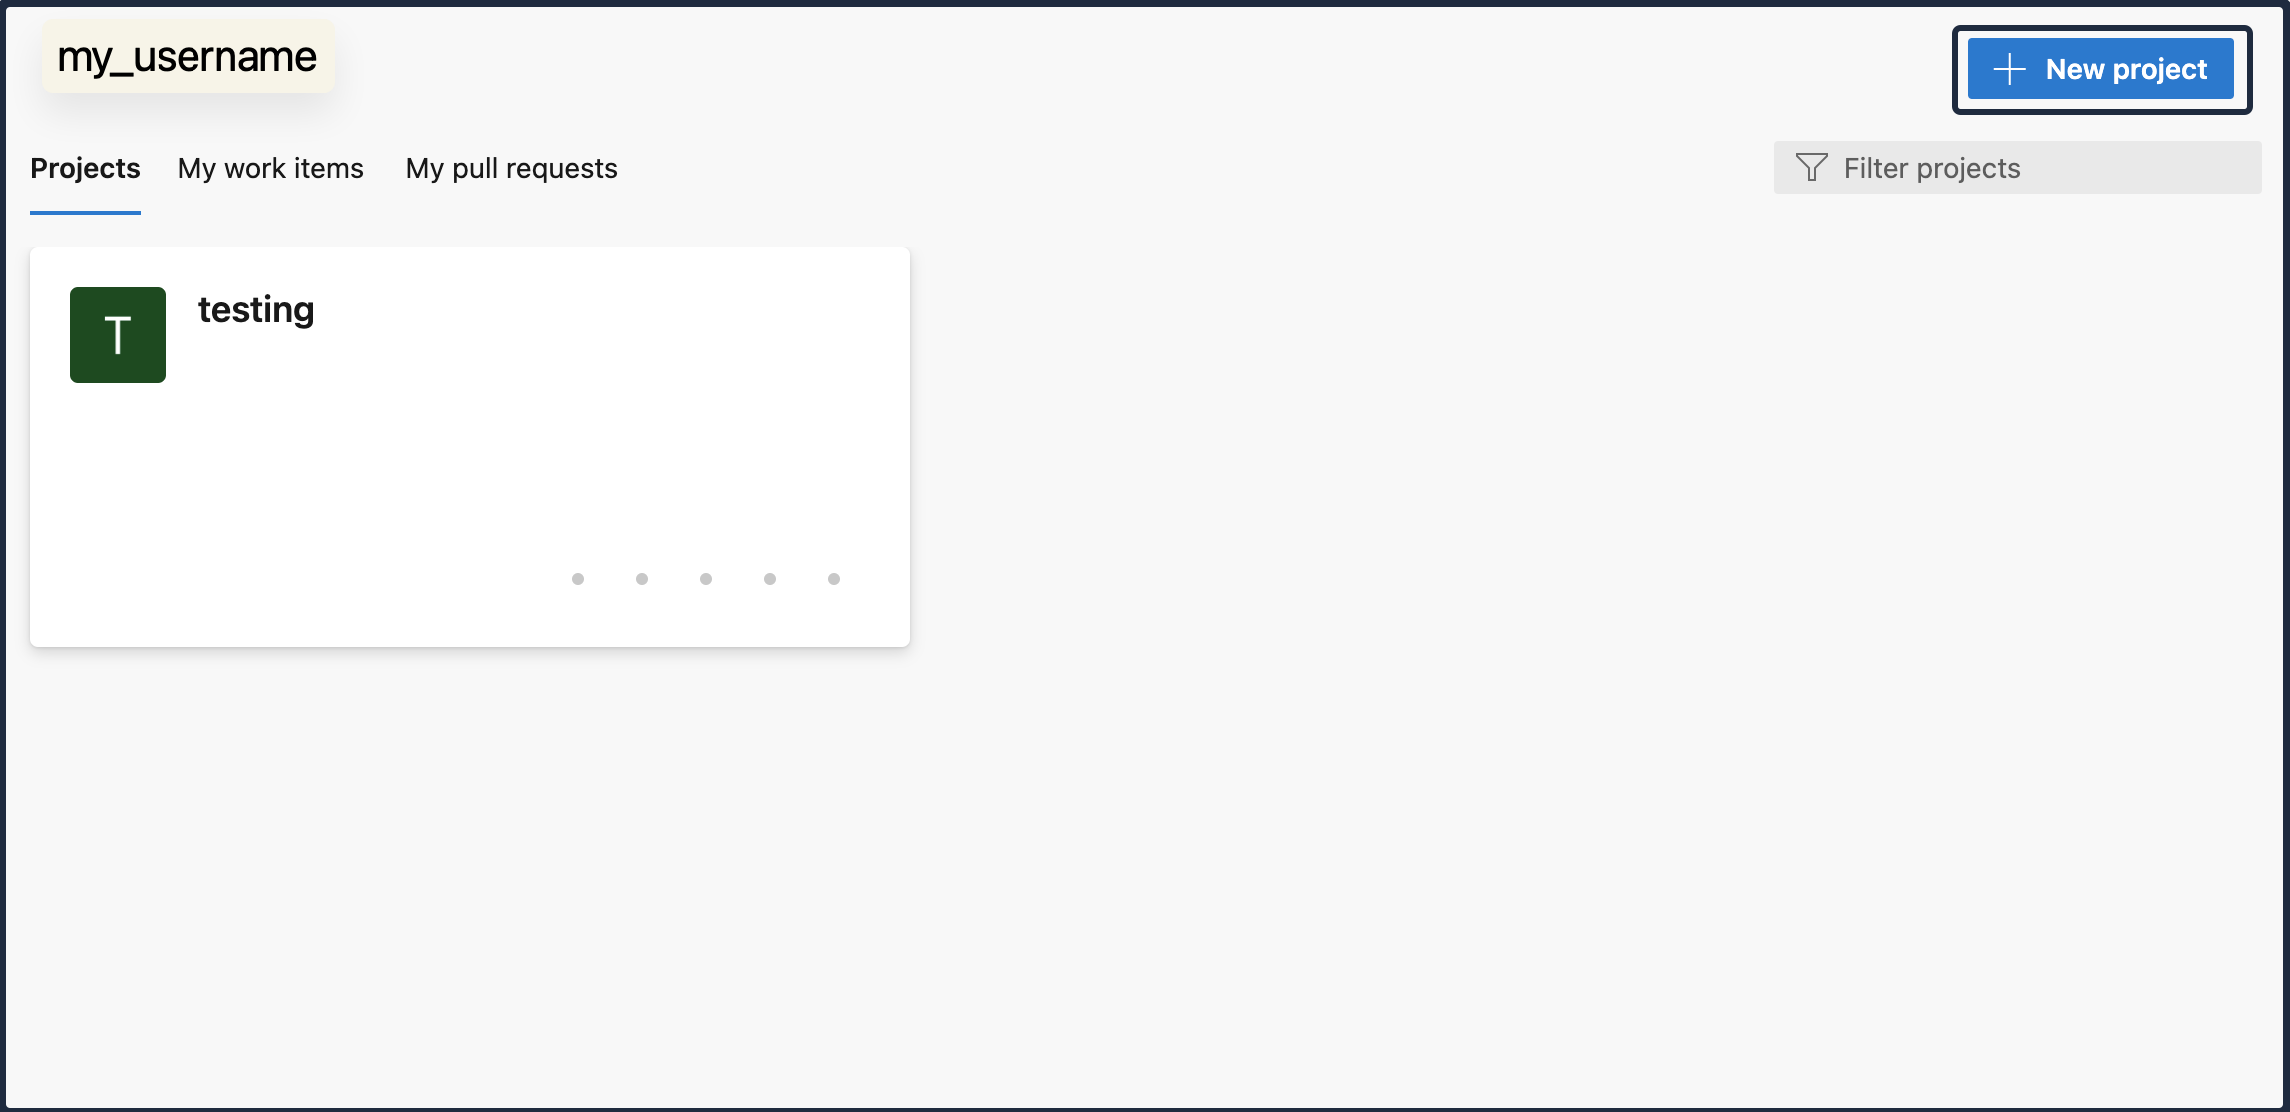
Follow the prompts to successfully create a new project.
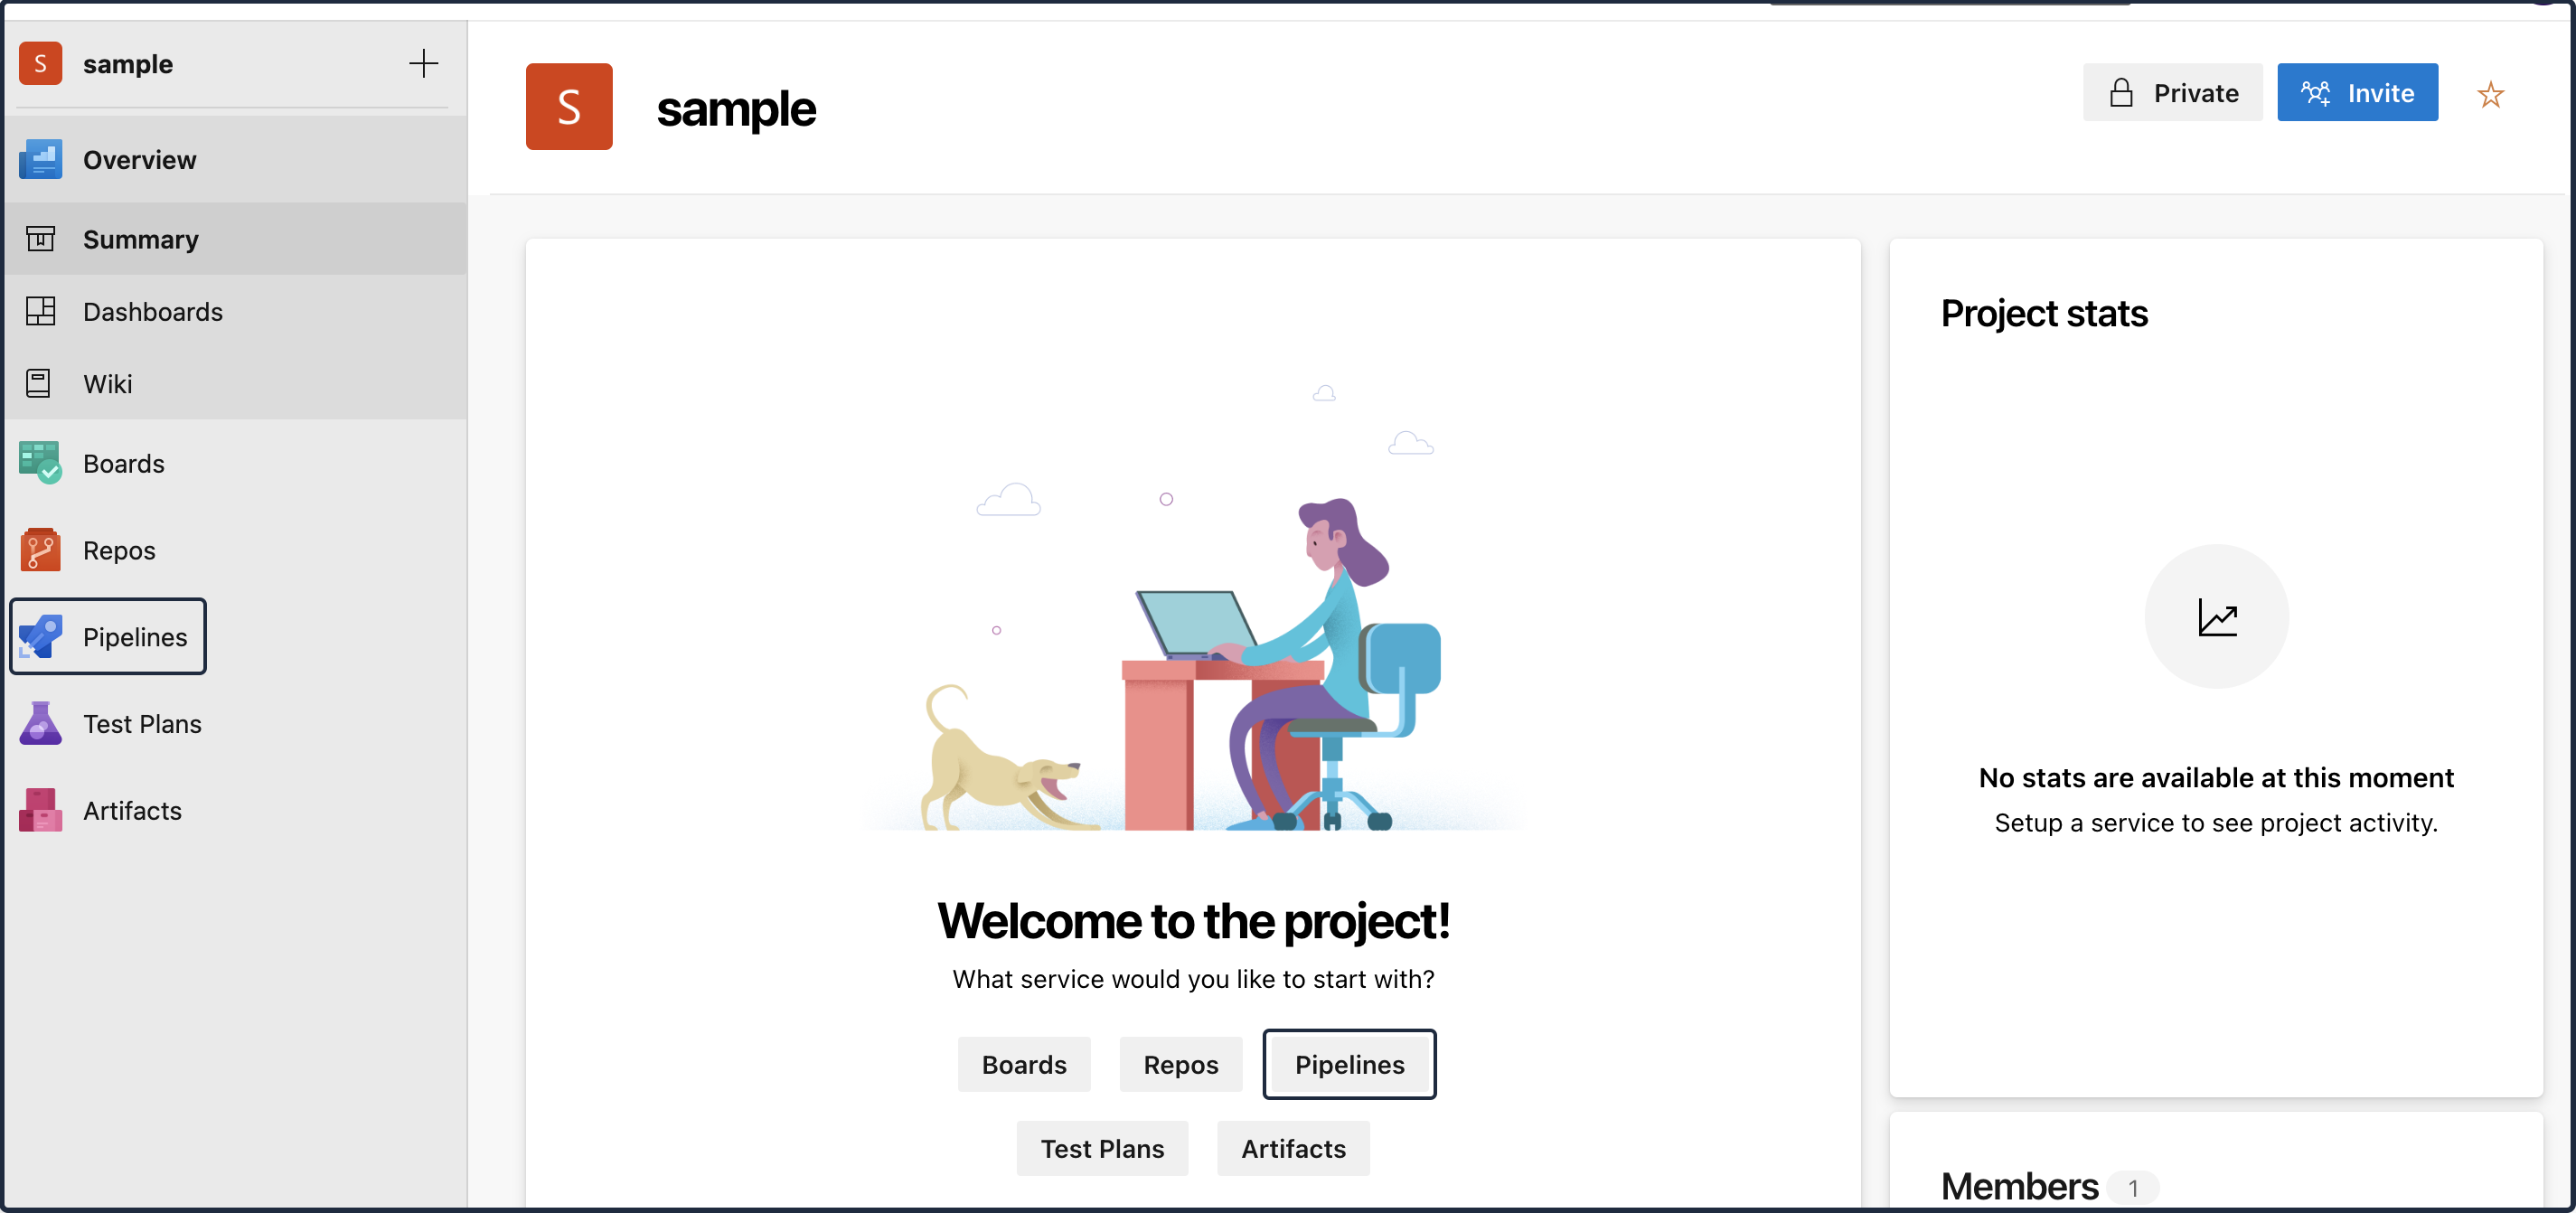
3. Create a New Pipeline
Next, you need to create a new pipeline. To create a new pipeline, click the Pipelines button from the left panel or from the main page.
4. Configure the Azure Pipeline YAML to Execute Hyperexecute CLI Binary:
To configure the Azure DevOps pipeline YAML to execute the HyperExecute CLI Binary, run the following command:
trigger:
- main

pool:
  vmImage: 'ubuntu-latest'  # Adjust for macOS if needed

steps:
  - task: Bash@3
    inputs:
      targetType: 'inline'
      script: |
        # Download Hyperexecute CLI for macOS (adjust for other OS)
        name: Download HyperExecute CLI
        script: wget https://downloads.lambdatest.com/hyperexecute/darwin/hyperexecute

        # Grant execute permission to the downloaded binary
        name: Make HyperExecute executable
        script: chmod +x hyperexecute

        # Run Hyperexecute with user credentials and configuration file
        name: Run Hyperexecute Tests
        script: ./hyperexecute --user <your_username> --key <your_access_key> --config <your_yaml_file_path>
- Trigger: In the trigger section, state the branch of your your test repository that you would like to trigger. Here, the main branch is selected as the test repository to commit the Azure Pipeline Yaml.
- Pool: In the pool section, state the OS flavor of the Virtual Machine Image that you would like to use.
- Steps: In the steps section, declare the flow of the pipeline execution.
- Script: In the script section, state the command that you would like to execute in the following steps:
- Download a fresh version of the HyperExecute CLI binary
- Execute the Hyperexecute CLI binary. (The Hyperexecute CLI binary contains TestMu AI username, access key and path of the Yaml created for Hyperexecute. You can find more information on this here.)
Note: Ensure that your username and access key for your TestMu AI account is visible in the script.

5. Run the Pipeline
To run the new pipeline that you just created, click the Run or Save and Run button at the top-right corner of the page.
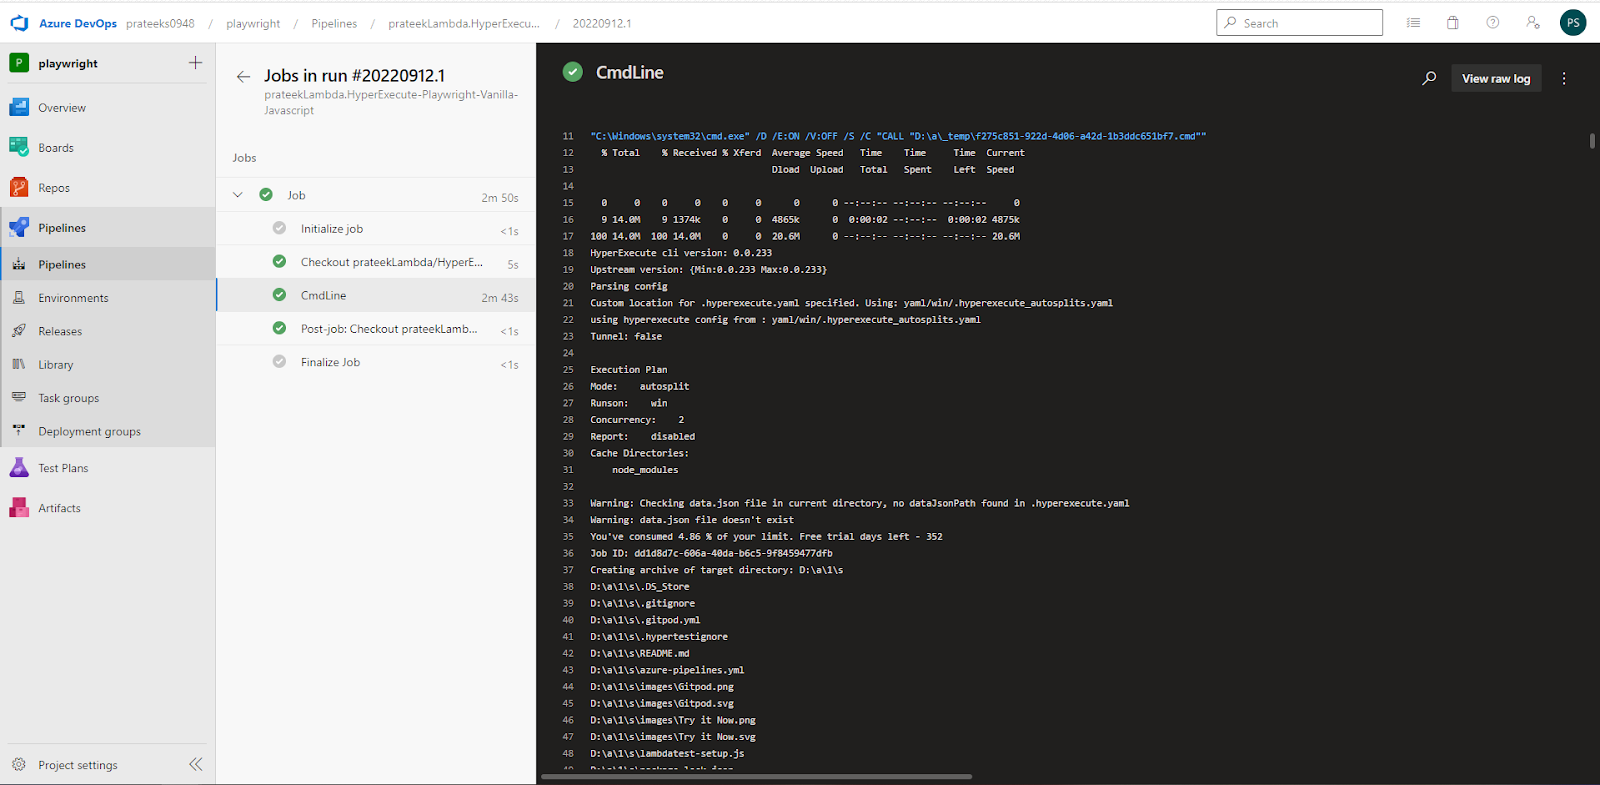
An example of how a test that is run on the Azure DevOps pipeline gets executed:
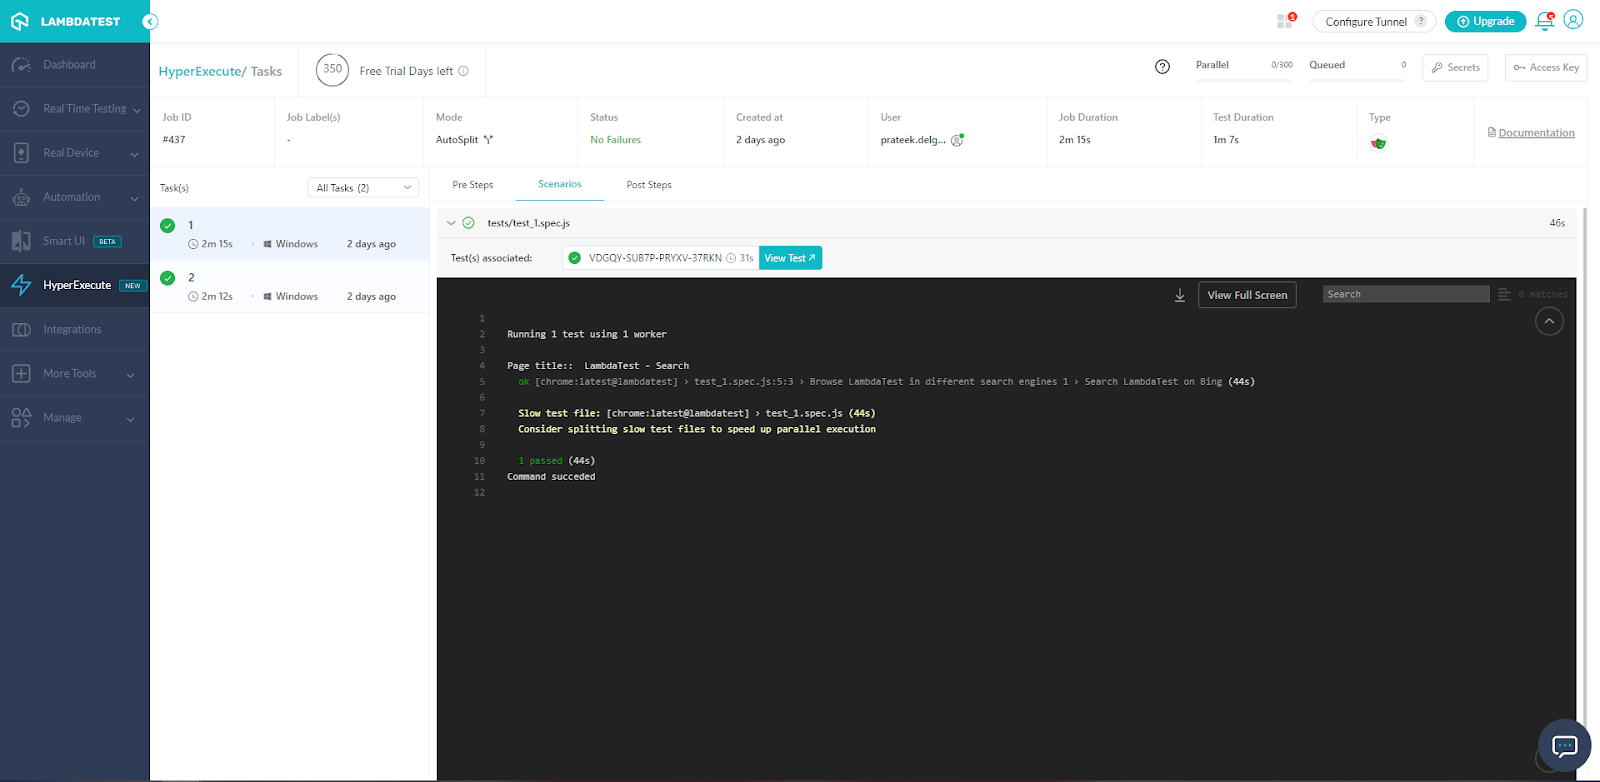
An example of a Hyperexecute job that was triggered through the above pipeline:
Run your tests at speeds never seen before. Happy testing! :)
