Run Automation Tests on HyperExecute using Cypress v10
NOTE : This documentation is applicable for Cypress v10 and later versions.
HyperExecute is a smart test orchestration platform that allows you to run end-to-end Cypress tests as quickly as possible by providing a test infrastructure with optimal speed, test orchestration, and detailed execution logs.
This guide will cover the basics of getting started with Cypress v10 testing on the HyperExecute.
Running Cypress v10 Tests on HyperExecute
Cypress Tests can be executed on HyperExecute using 2 ways:
- Using Local System - Requires HyperExecute CLI to execute tests from your Local System.
- Using Gitpod - Execute tests using GitPod. (Requires a Gitpod account)
1. Testing Using Local System
Prerequisites:
To run the Tests on HyperExecute from your Local System, you are required:
- HyperExecute YAML file which contains all the necessary instructions.
- HyperExecute CLI in order to initiate a test execution Job .
- Your TestMu AI Username and Access key
- Setup the Environmental Variable
You can either download or clone the code samples of Cypress v9 from the TestMu AI's GitHub Repository to quickly run your tests.  View on GitHub
Download HyperExecute CLI
The HyperExecute CLI is used for triggering tests on HyperExecute. It is recommend to download the HyperExecute CLI binary on the host system to perform the tests on HyperExecute. The CLI download site for various platforms is displayed below:
| Platform | HyperExecute CLI download location |
|---|---|
| Windows | https://downloads.lambdatest.com/hyperexecute/windows/hyperexecute.exe |
| macOS | https://downloads.lambdatest.com/hyperexecute/darwin/hyperexecute |
| Linux | https://downloads.lambdatest.com/hyperexecute/linux/hyperexecute |
Setup Environment Variable
Export the environment variables LT_USERNAME and LT_ACCESS_KEY that are available in the TestMu AI Profile page. Run the below mentioned commands in the terminal to setup the CLI and the environment variables.
- Linux / MacOS
- Windows
export LT_USERNAME="undefined"
export LT_ACCESS_KEY="undefined"
set LT_USERNAME="undefined"
set LT_ACCESS_KEY="undefined"
Execution Methods:
Cypress Tests can be executed on HyperExecute using 2 methods:
1. Execution Using Auto-Split
The Auto-Split mechanism enables you to run tests at predefined concurrency levels and distribute them across available infrastructure. Concurrency can be achieved at various levels, including file, module, test suite, test, and scenario.
To learn more about Auto-Split, refer to the Auto-Split Getting Started Guide
Core
Auto-split YAML file in the repo contains the following configuration:
globalTimeout: 90
testSuiteTimeout: 90
testSuiteStep: 90
The runson key determines the platform (or operating system) on which the tests are executed. Here we have set the target OS as Windows.
runson: win
auto-split is set to true in the YAML file.
autosplit: true
retryOnFailure is set to true, instructing HyperExecute to retry failed command(s). The retry operation is carried out till the number of retries mentioned in maxRetries are exhausted or the command execution results in a Pass. In addition, the concurrency (i.e. number of parallel sessions) is set to 4.
retryOnFailure: true
maxRetries: 1
concurrency: 1
cypress is set to true in the YAML file.
cypress: true
Cypress Build name and tags are added in the YAML file.
cypressOps:
 Build: "Hyperexecute Cypress Sample Build"
 Tags: ["Hyperexecute","Cypress", "Windows", "Autosplit"]
 BuildTags: ["Hyperexecute-Cypress"]
Pre Steps
Steps (or commands) that must run before the test execution are listed in the pre run step.
pre:
  - npm install
Post Steps
Steps (or commands) that need to run after the test execution are listed in the post step. In the example, we cat the contents of yaml/.hyperexecute_autosplit.yaml
post:
  - cat yaml/win/.hyperexecute_autosplit.yaml
The testDiscovery directive contains the command that gives details of the mode of execution, along with detailing the command that is used for test execution. Here, we are fetching the list of class names that would be further passed in the testRunnerCommand
testDiscovery:
  type: raw
  mode: static
  command: ls cypress/e2e/2-advanced-examples | sed -n 1,'1p'
Running the above command on the terminal will give a list of scenarios present in the feature files:
- actions.cy.js
The testRunnerCommand contains the command that is used for triggering the test. The output fetched from the testDiscoverer command acts as an input to the testRunner command.
testRunnerCommand: npx cypress run --spec ./cypress/e2e/2-advanced-examples/$test --browser=chrome-95.0 --headed --config video=false
Test Execution
Run the following command on the terminal to trigger the tests as per your machine.
- Windows
- Mac
- Linux
./hyperexecute --config yaml/win/.hyperexecute_autosplit.yaml --force-clean-artifacts --download-artifacts
./hyperexecute --config yaml/mac/.hyperexecute_autosplit.yaml --force-clean-artifacts --download-artifacts
./hyperexecute --config yaml/linux/.hyperexecute_autosplit.yaml --force-clean-artifacts --download-artifacts
Visit HyperExecute Automation Dashboard to check the status of execution
Sample YAML File for Auto-Split
---
version: 0.1

runson: win
cypress: true

autosplit: true
concurrency: 2

retryOnFailure: true
maxRetries: 1

pre:
  - npm install
  - npm install cypress --save-dev

cacheKey: '{{ checksum "package.json" }}'
cacheDirectories:
  - node_modules
  - cypressCache

env:
  CYPRESS_CACHE_FOLDER: cypressCache

testDiscovery:
  mode: static
  type: raw
  command: ls cypress/e2e/2-advanced-examples

testRunnerCommand: npx cypress run  --spec ./cypress/e2e/2-advanced-examples/$test --browser=chrome-95.0 --headed --config video=false

cypressOps:
  Build: "Hyperexecute Cypress Sample Build"
  Tags: ["Hyperexecute","Cypress", "Windows", "Autosplit"]
  BuildTags: ["Hyperexecute-Cypress"]
  Network: true
  FullHar: true

post:
  - cat yaml/win/.hyperexecute_autosplit.yaml

jobLabel: [cypress-v10, win, autosplit]
2. Execution Using Matrix
Matrix-based test execution is used for running the same tests across different test (or input) combinations. The Matrix directive in HyperExecute YAML file is a key:value pair where value is an array of strings. Also, the key:value pairs are opaque strings for HyperExecute.
To learn more about Auto-Split, refer to the Matrix Getting Started Guide
Core
In the current example, matrix YAML file in the repo contains the following configuration:
globalTimeout: 100
testSuiteTimeout: 90
testSuiteStep: 90
The target platform is set to Win. Please set the runson key to mac if the tests have to be executed on the macOS platform.
runson: win
The matrix constitutes of the following entries - files. The entries represent the test file names in the test code.
matrix:
  os: [win]
  browser: ["chrome-95.0","chrome-96.0","chrome-97.0","chrome-98.0","chrome-99.0","chrome-100.0","chrome-101.0","chrome-102.0","chrome-103.0","chrome-104.0","chrome-105.0"]
  files: ["actions.cy.js"]
The testSuites object contains a list of commands (that can be presented in an array). In the current YAML file, commands for executing the tests are put in an array (with a '-' preceding each item). The Maven command mvn test is used to run tests located in the current project. In the current project, parallel execution is achieved at the class level. The maven.repo.local parameter in Maven is used for overriding the location where the dependent Maven packages are downloaded.
testSuites:
  - npx cypress run  --spec ./cypress/e2e/2-advanced-examples/$files --browser=$browser --headed --config video=false
cypress is set to true in the YAML file.
cypress: true
Cypress build name and tags are added in the YAML file.
cypressOps:
 Build: "Hyperexecute Cypress Sample Build"
 Tags: ["Hyperexecute","Cypress", "Windows", "Matrix"]
 BuildTags: ["Hyperexecute-Cypress"]
Pre Steps
Steps (or commands) that must run before the test execution are listed in the pre run step.
pre:
  -  npm install
Post Steps
Steps (or commands) that need to run after the test execution are listed in the post step. In the example, we cat the contents of yaml/.hyperexecute_matrix.yaml
post:
  - cat yaml/win/.hyperexecute_matrix.yaml
Test Execution
Run the following command on the terminal to trigger the tests as per your machine.
- Windows
- Mac
- Linux
./hyperexecute --config yaml/win/.hyperexecute_matrix.yaml --force-clean-artifacts --download-artifacts
./hyperexecute --config yaml/mac/.hyperexecute_matrix.yaml --force-clean-artifacts --download-artifacts
./hyperexecute --config yaml/linux/.hyperexecute_matrix.yaml --force-clean-artifacts --download-artifacts
Visit HyperExecute Automation Dashboard to check the status of execution
Sample YAML File for Matrix
---
version: 0.1

runson: ${matrix.os}
cypress: true

parallelism: 1

retryOnFailure: false
maxRetries: 2

cacheKey: '{{ checksum "package.json" }}'
cacheDirectories:
  - node_modules

pre:
  - npm install
  - npm install cypress --save-dev

matrix:
   os: [win]
   browser: ["chrome-103.0","chrome-104.0","chrome-105.0"]
   files: ["actions.cy.js"]

testSuites:
  - npx cypress run  --spec ./cypress/e2e/2-advanced-examples/$files --browser=$browser --headed --config video=false

cypressOps:
  Build: "Hyperexecute Cypress Sample Build"
  Tags: ["Hyperexecute","Cypress", "Windows", "Matrix"]
  BuildTags: ["Hyperexecute-Cypress"]
  Network: true
  FullHar: true

post:
  - cat yaml/win/.hyperexecute_matrix.yaml

jobLabel: [cypress-v10, win, matrix]
2. Testing Using Gitpod
Follow the below steps to run Cypress Tests on HyperExecute using Gitpod:
Step 1: Click the Open in Gitpod button (You will be redirected to Login/Signup page).

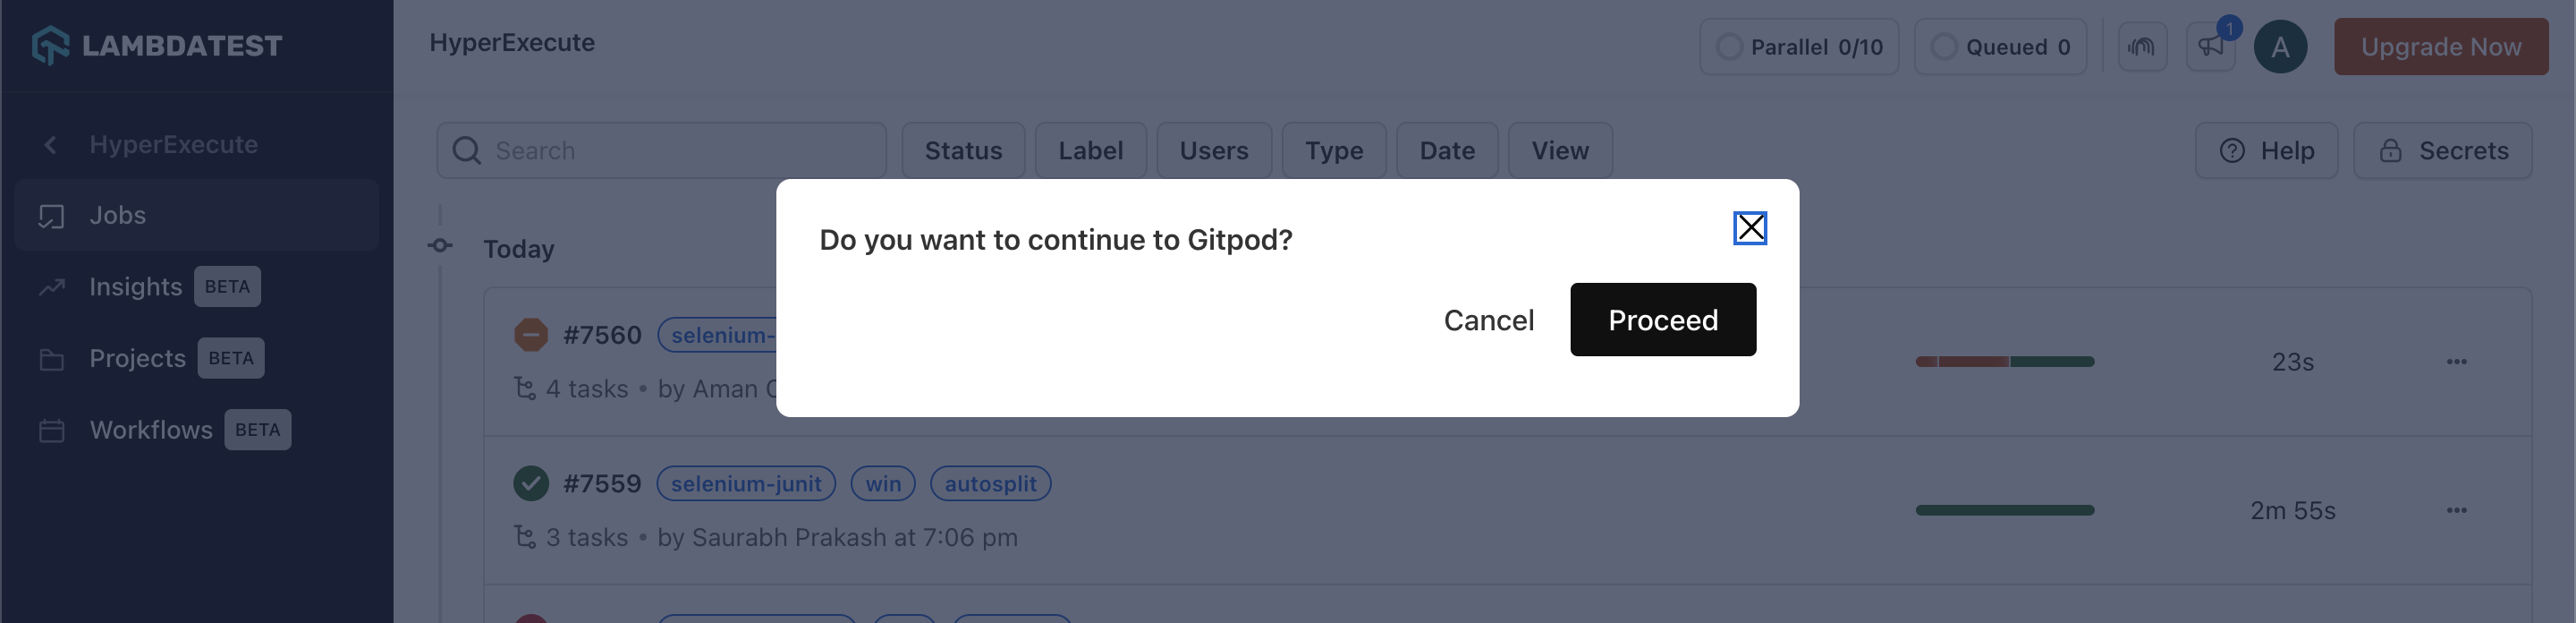
Step 2: Login with TestMu AI credentials. You will be redirected to HyperExecute dashboard with pop-up confirming to 'Proceed' to Gitpod editor in the new tab and current tab will show hyperexecute dashboard.
Step 3: You will need to login into your Gitpod account, or create a new one.
(If you are creating a new account, choose your preferred editor. We recommend VS Code)
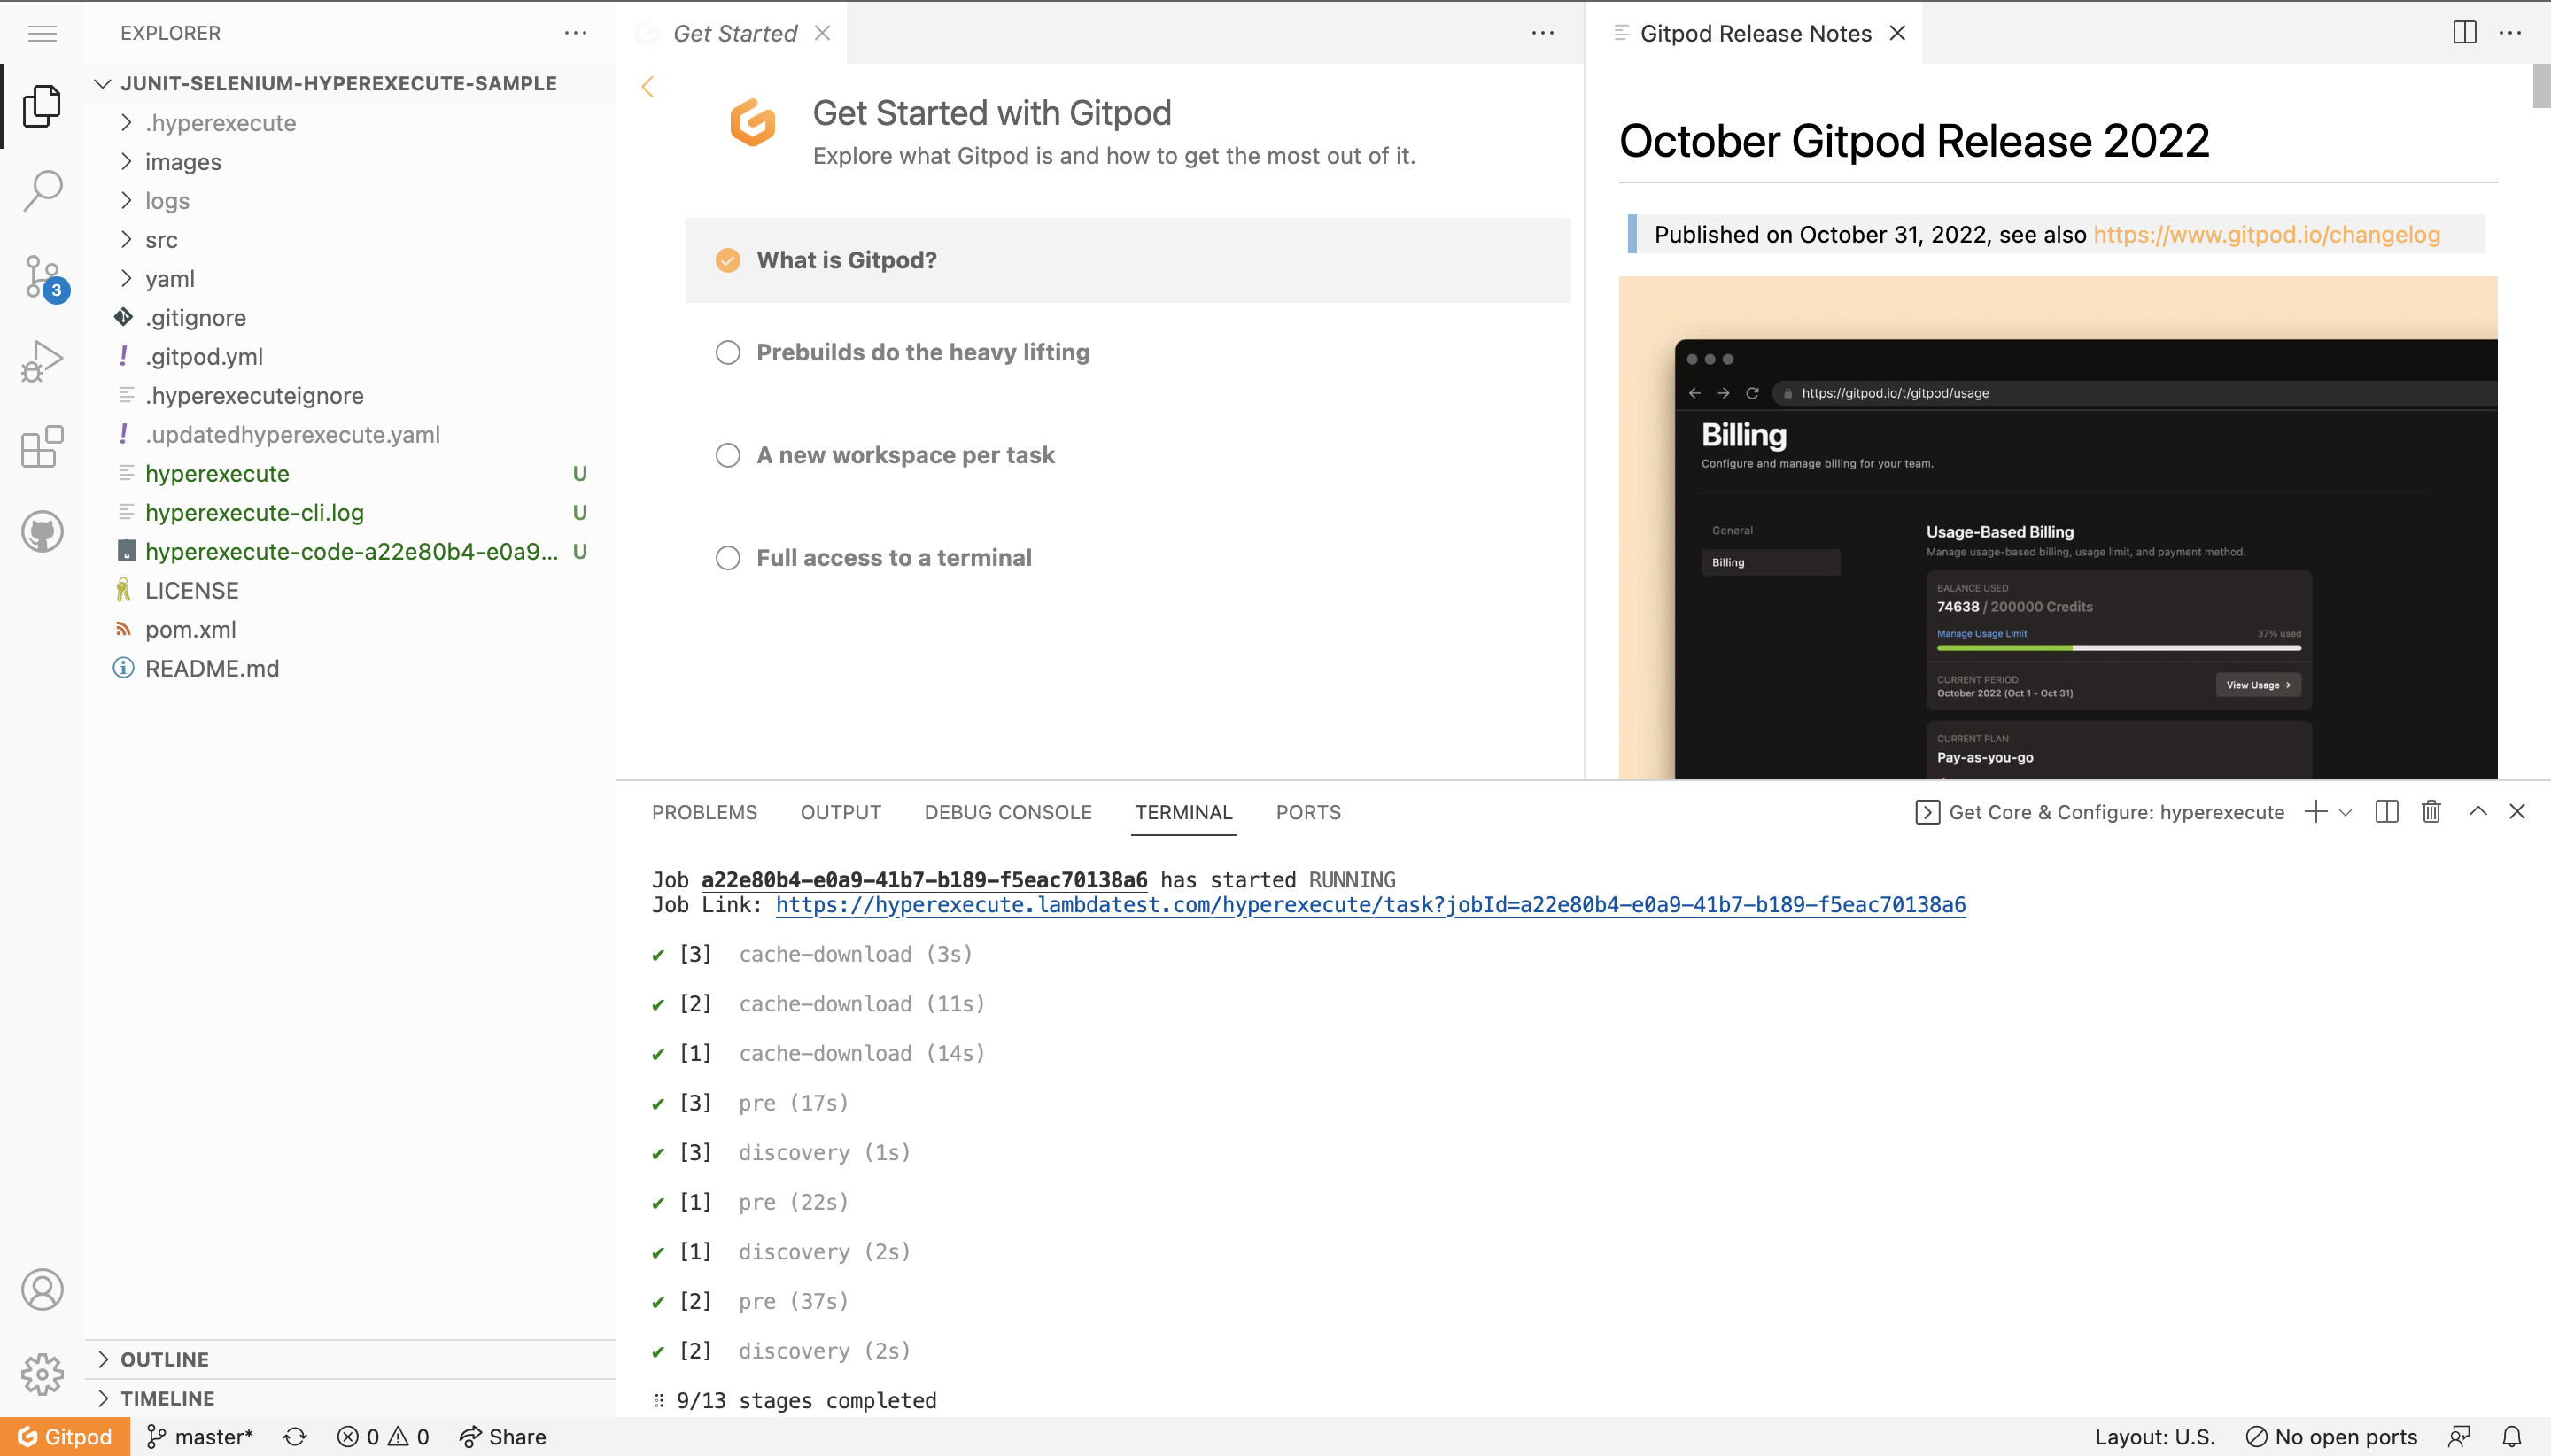
Step 4: As you are running a sample project, Fetching of the Test Scripts, HyperExecute YAML, HyperExecute CLI and Triggering your tests using the Execution Command will be automated.
Step 5: Once you see the Job Link in the logs, you can visit the HyperExecute dashboard to see the tests getting executed.
Additional Details
Secrets Management
If you want to use any secret keys in the YAML file, this can be set by clicking on the Secrets button on the dashboard. All you need to do is create an environment variable that uses the secret key:
env:
  PAT: ${{ .secrets.testKey }}
HAR Logs
HAR files are a standardized format for archiving HTTP Archive data. They provide a detailed record of all network requests and responses made by a web browser, including information like URLs, headers, timings, and response data.
HAR logs offer a comprehensive view of your application's network activity during testing. This can be helpful for:
- Debugging network-related issues
- Analyzing performance bottlenecks
- Diagnosing Load Order Issues
Network Logs are disabled by default. To enable it, pass the Network and FullHar capability to true in the cypressOps flag.
cypressOps:
  Network: true
  FullHar: true
You can download network logs via the Automate Dashboard. You can visualize HAR files using the HAR Viewer.
Detailed Cypress Command Logs
To enable it for your organization, please contact us via 24×7 chat support or you can also drop a mail to support@testmu.ai.
The Detailed Command Logs feature can be used to generate a comprehensive record of all Cypress commands and their results, both in the console and in a file. This can be extremely useful for debugging and troubleshooting Cypress tests because it narrows down the logs to reveal specific information. The logs are presented in a human-readable format, making them simple to read and comprehend.
Prerequisite to get the detailed logs in HyperExecute:
pre:
  - npm install cypress-terminal-report --save-dev
For in detailed information on how to configure it properly, visit Cypress Detailed Command Logs documentation.
