AppVeyor CI Integration with TestMu AI
AppVeyor CI is a very popular continuous integration and deployment platform based on .NET applications. It can also be easily integrated with GitHub and BitBucket projects for CI/CD. It makes testing, deployment, and monitoring builds very easy for developers. It is free for open-source projects.
TestMu AI now integrates with AppVeyor CI to boost your go-to-market delivery. You can perform automated cross-browser testing with TestMu AI to ensure seamless code render through an online Selenium grid. TestMu AI provides 3000+ real browsers running through machines, on the cloud. You can perform automation testing in parallel with TestMu AI’s Selenium grid, which can help you trim down your test cycles drastically.
Prerequisites For Integrating AppVeyor CI With Our Online Selenium Grid
To perform your tests with TestMu AI, you would need the below things to be already set up:
- A GitHub or BitBucket repository on which you want to activate the CI pipeline.
For demo purposes, we have used TestMu AI Appveyor CI Github repository.
- You also need your TestMu AI authentication credentials, which include your TestMu AI username, and access key.
To get your Username and Access Key, go to your TestMu AI automation dashboard and click on the "key" icon left to the help button, on the top right corner.

Update your username and access key in the "Config.properties" file.
Activating A Github Repository For CI/CD
Here are the steps to activate and integrate your Github repository with AppVeyor CI on TestMu AI:
Login to your AppVeyor CI platform and click on New Project to enable CI/CD on your selected repository. For demo purposes, we have used the GitHub repository mentioned in the Prerequisites above. 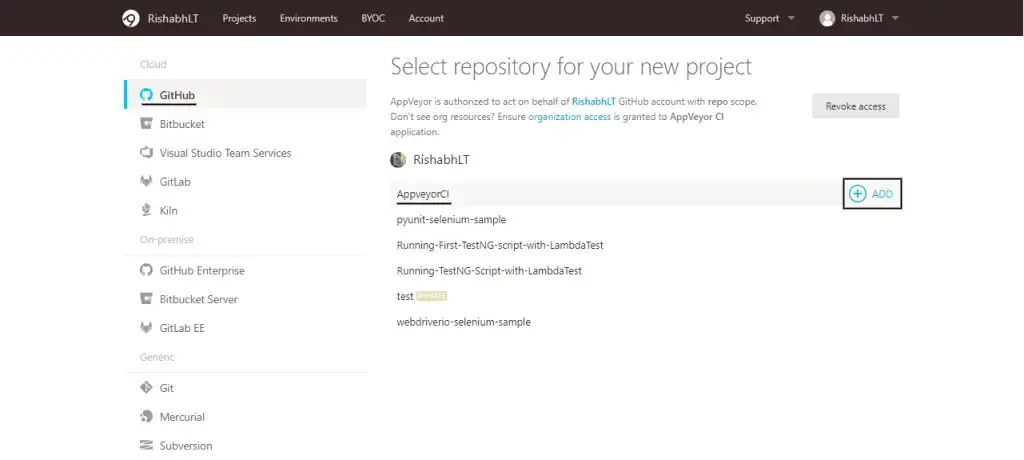 ]
]
Once your repository is added, go to the Settings -> Build, and select the trigger choice for build purpose. For this demo, we have used Script trigger and passed the below code in command line (Cmd). Save the build settings when done.
mvn test

Congratulations!! Now you have successfully activated your repository for CI/CD on the AppVeyor platform.
Execution Of The AppVeyor CI Pipeline On TestMu AI
Below is the step-by-step execution of the AppVeyor CI pipeline.
-
Make sure to add your TestMu AI's hub URL and Desired Capabilities in your test setup, as done in the AppveyorCI/src/main/java/stepDefinitions/ToDoStepDefinition.java file of the mentioned GitHub repository.
-
Push the changes to your integrated GitHub repository. For example, we have changed the test name in the forked repository.
-
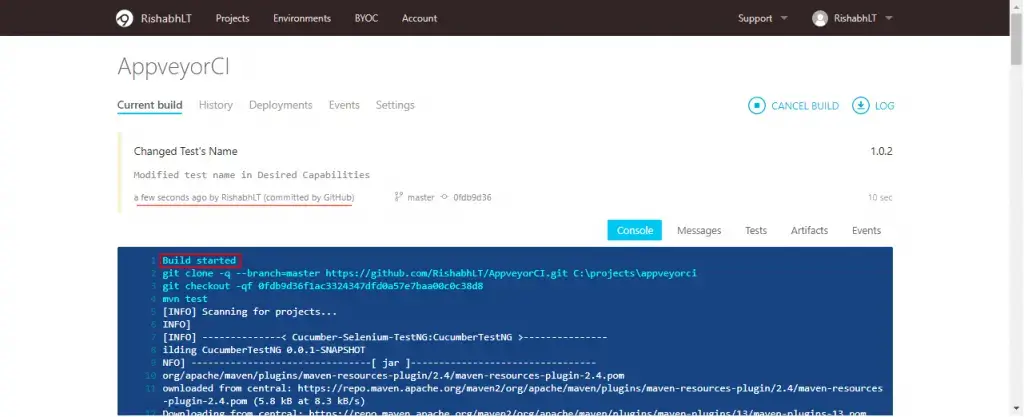
Once the edit is complete, click on "Commit Changes" to save and commit the changes made. AppVeyor CI is activated as soon as this step is done since we have used "push event" for triggering the AppVeyor CI.
-
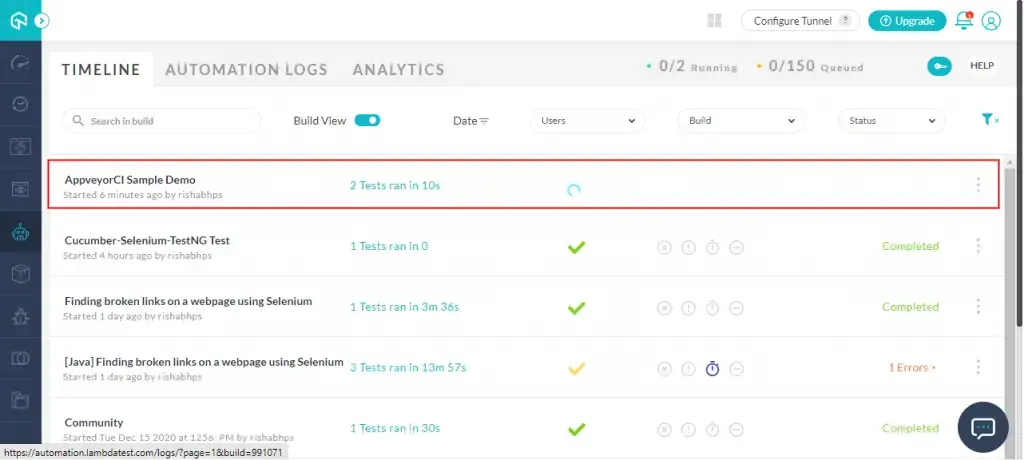
As soon as the AppVeyor CI is triggered (through push event in this case), a new build can be seen in the "Timeline" on your TestMu AI's automation dashboard. The current status of this build will be "running" or "executing".
-
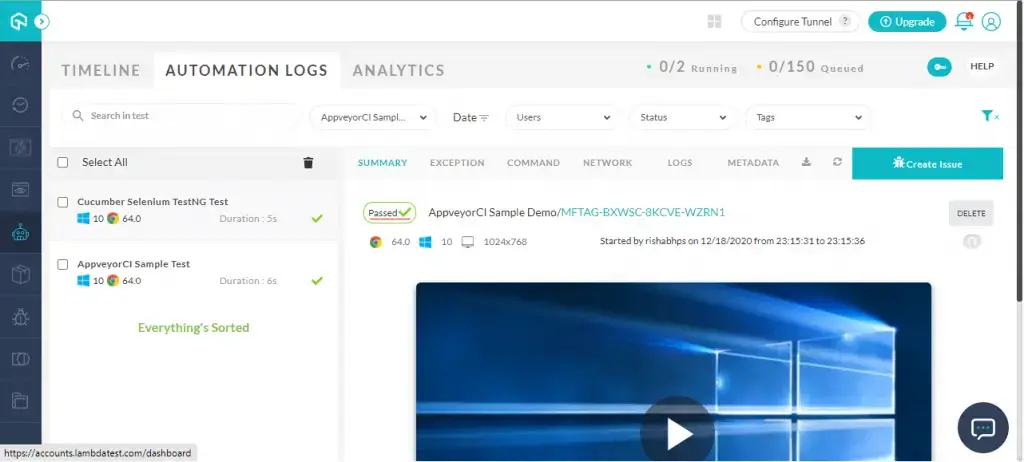
Now based on the tests, this build can pass or fail. If passed, a green tick along with the term Passed will appear in the summary of the test. Else if failed, a red cross will appear instead, along with the term Failed, as shown below.
Deploy your code in a reliable manner at scale using AppVeyor CI integration with TestMu AI, and ensure it looks robust across every browser to provide a seamless user experience to all your visitors. If you have any doubt, please feel free to reach out to us via 24/7 chat support or by mailing to us on support@testmuai.com. Happy testing!
