AWS CodePipeline Integration With TestMu AI
AWS CodePipeline is a cloud-based continuous delivery platform for fully automating your release pipelines. Provides an intuitive interface for configuring & modeling different stages of release cycles, so you can envision how your code changes would look when pushed across these different changes. You can also track your pipeline in real-time, and look into the pipeline history to understand the timestamps involved in the execution of various pipelines.
TestMu AI integration with AWS CodePipeline will help you perform automated cross browser testing through a Selenium Grid offering 3000+ real browsers, browser versions. Now, not only can you commit changes to your code using AWS CodePipeline, but you can also validate any UI/UX anomalies of your web application through a wide variety of browsers using TestMu AI, a cloud-based cross browser testing tool.
Prerequisite
-
Login details in AWS CodePipeline CI.
-
A GitHub repository. Here is our sample GitHub repository for AWS CodePipeline.
-
TestMu AI Authentication Credentials
Be aware of your TestMu AI authentication credentials, i.e., your TestMu AI username, access key,a and HubURL. You need to set them up as your environment variables. You can retrieve them from your TestMu AI automation dashboard by clicking on the key icon near the help button.- For Linux/Mac:
$ export LT_USERNAME= {YOUR_LAMBDATEST_USERNAME}
$ export LT_ACCESS_KEY= {YOUR_LAMBDATEST_ACCESS_KEY}-
For Windows:
$ set LT_USERNAME= {YOUR_LAMBDATEST_USERNAME}
$ set LT_ACCESS_KEY= {YOUR_LAMBDATEST_ACCESS_KEY}
Integrating Your TestMu AI Account With AWS CodePipeline
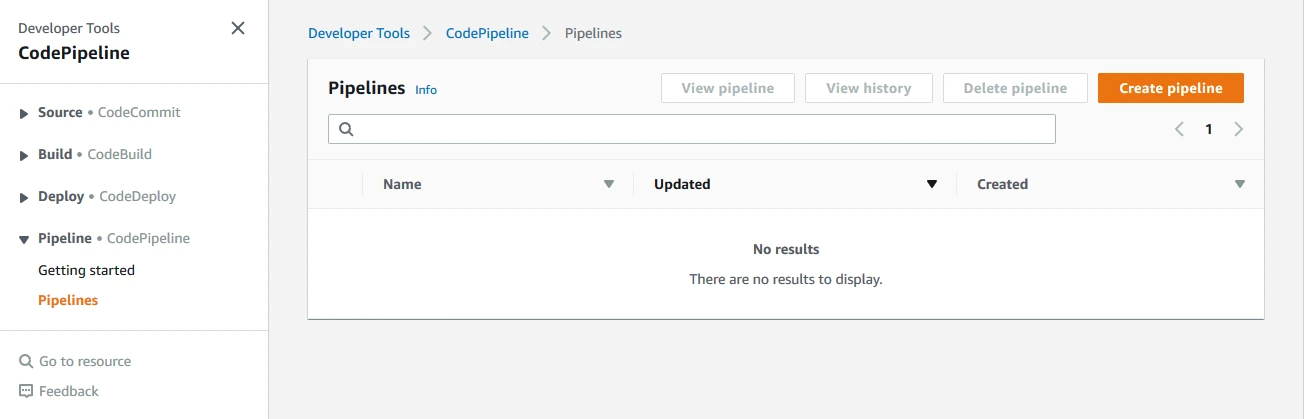
Step 1: Login to your AWS CodePipeline instance. Visit the Pipelines page and create a new pipeline.
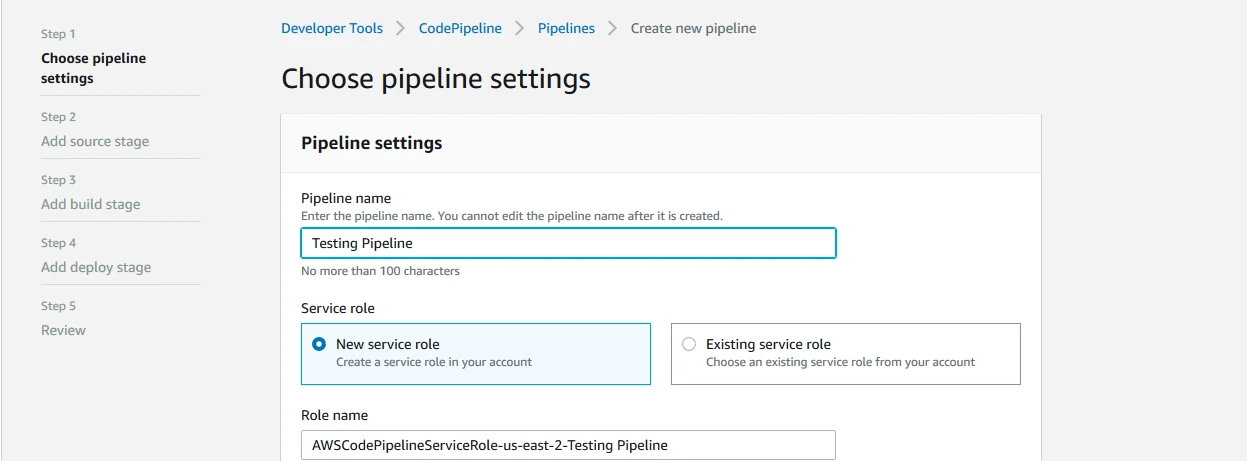
Step 2: Set your pipeline settings for a new service role.
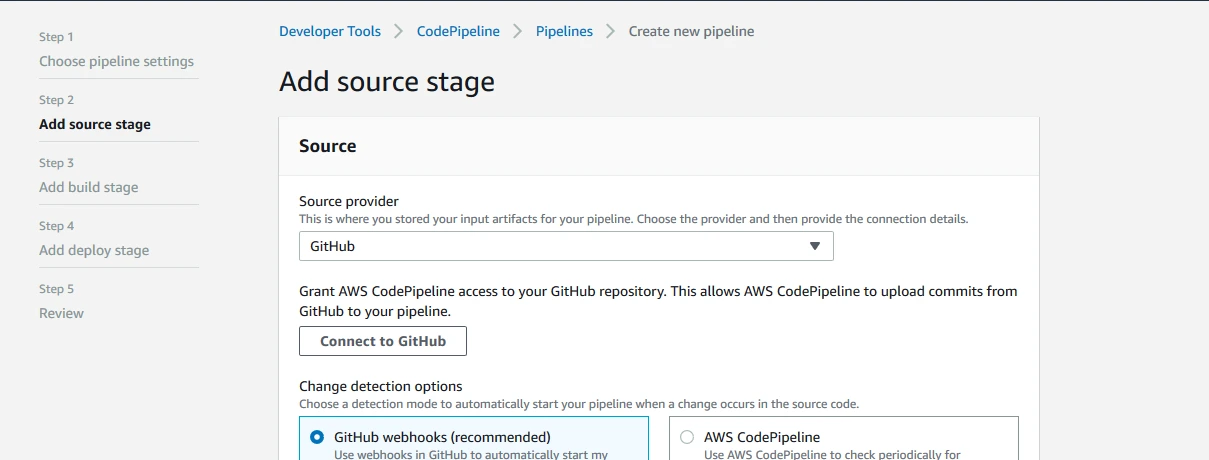
Step 3: Now, provide your git details in the next step to Add Source Stage.
Step 4: Follow the steps in AWS CodePipeline & fill the form page on the next step to Add build stage.
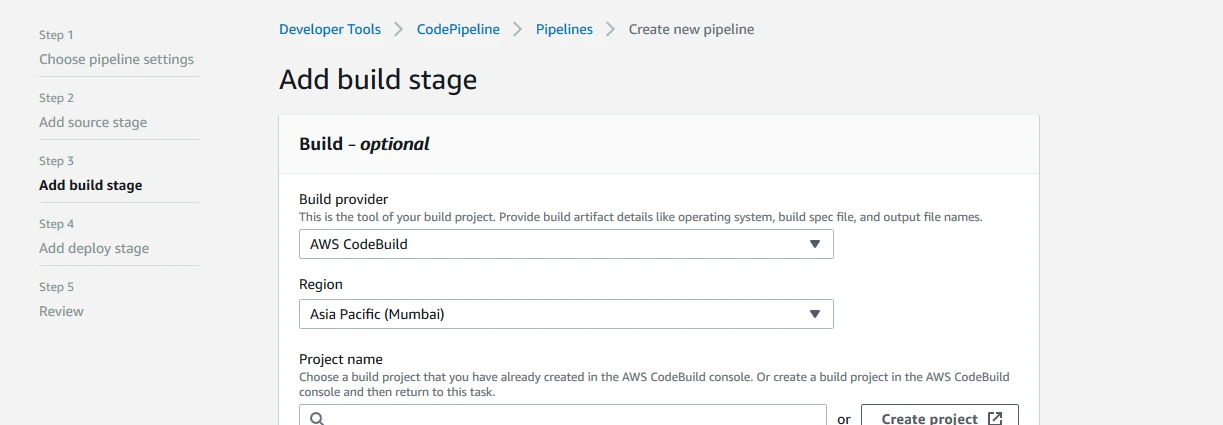
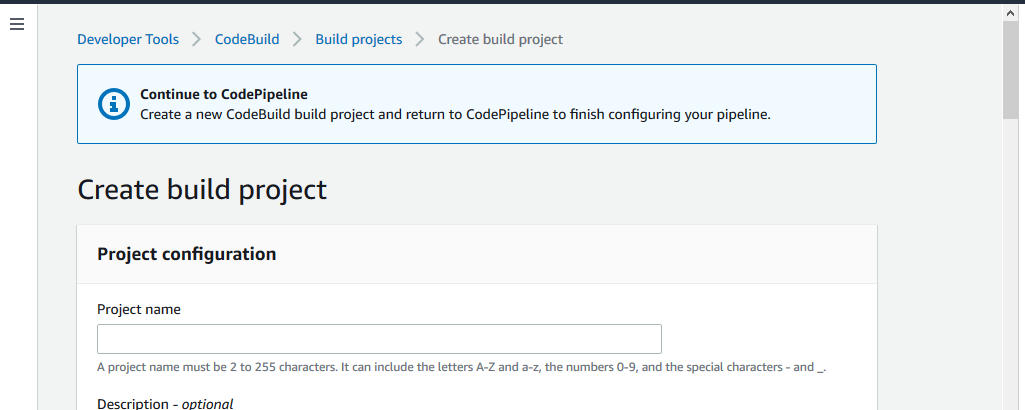
Step 5: Create a new build project while adding a Build Stage.
Step 6: Choose a Deploy Provider on deploy stage screen and click on Next.

Note: Find the sample code from our GitHub repository for AWS CodePipeline.
Step 7: Start a build and pull the codes from Git. Read the below buildspec.yml from your project’s root directory.
version: 0.2
env:
  variables:
    LT_USERNAME: "{your_lambda_username}"
    LT_ACCESS_KEY: "{your_lambda_access_key}"
phases:
  install:
    runtime-versions:
      nodejs: 10
  pre_build:
    commands:
      - echo Installing source NPM dependencies...
      - npm install
      - npm install -g protractor
  build:
    commands:
      - echo Build started on `date`
      - cd conf
      - protractor single.conf.js
artifacts:
  files:
      - '**/*'
  base-directory: 'dist*'
discard-paths: yes
Step 8: Monitor your test being triggered on the TestMu AI platform. You will observe the below output generated.
[Container] 2019/07/09 05:43:39 Running command echo Build started on `date`
Build started on Tue Jul 9 05:43:39 UTC 2019
[Container] 2019/07/09 05:43:39 Running command cd conf
[Container] 2019/07/09 05:43:39 Running command protractor single.conf.js
[05:43:39] I/launcher - Running 1 instances of WebDriver
[05:43:39] I/hosted - Using the selenium server at https://user:bX3VZpiN4Tp7cLD7MTfoXqqOZK3q7Xov7UcSCwGQkzf1MEB6bI@hub.lambdatest.com/wd/hub
Started
•[32m.•[0m
1 spec, 0 failures
Finished in 15.406 seconds
[05:44:04] I/launcher - 0 instance(s) of WebDriver still running
[05:44:04] I/launcher - chrome67.0 #01 passed
Kudos! Now, you can rapidly commit changes and validate them for UI/UX anomalies by executing automated cross browser testing using TestMu AI Selenium Grid. Happy Testing! 🙂
