Selenium Testing With Concourse CI And TestMu AI
Codeship is a scalable, cloud-based platform for continuous integration that offers GitHub, Bitbucket, and GitLab projects support. There are two versions of Codeship, Codeship Basic and Codeship Pro. Codeship Basic instantly provides robust VMs along with technology stacks being preinstalled to help run your CI/CD pipeline faster. Keep in mind, though, the primary purpose of Codeship Basic is to develop applications with general workflows by UI. It doesn’t offer support for dockers.
TestMu AI now integrates with Codeship to boost your go-to-market delivery. Perform automated cross browser testing with TestMu AI to ensure your development code renders seamlessly through an online Selenium grid providing 3000+ real browsers running through machines on the cloud. Perform automation testing in parallel with TestMu AI’s Selenium grid to trim down your test cycles drastically.
Prerequisites
-
Signing details of Codeship
-
A GitHub repository. Here is our sample GitHub repository for Codeship Basic.
-
TestMu AI Authentication Credentials
Be aware of your TestMu AI authentication credentials i.e. your TestMu AI username, access key and HubURL. You need to set them up as your environment variables. You can retrieve them from your TestMu AI automation dashboard by clicking on the key icon near the help button.- For Linux/Mac:
$ export LT_USERNAME= `{YOUR_LAMBDATEST_USERNAME}`

$ export LT_ACCESS_KEY= `{YOUR_LAMBDATEST_ACCESS_KEY}`- For Windows:
$ set LT_USERNAME= `{YOUR_LAMBDATEST_USERNAME}`

$ set LT_ACCESS_KEY= `{YOUR_LAMBDATEST_ACCESS_KEY}`
Integrating Codeship With TestMu AI
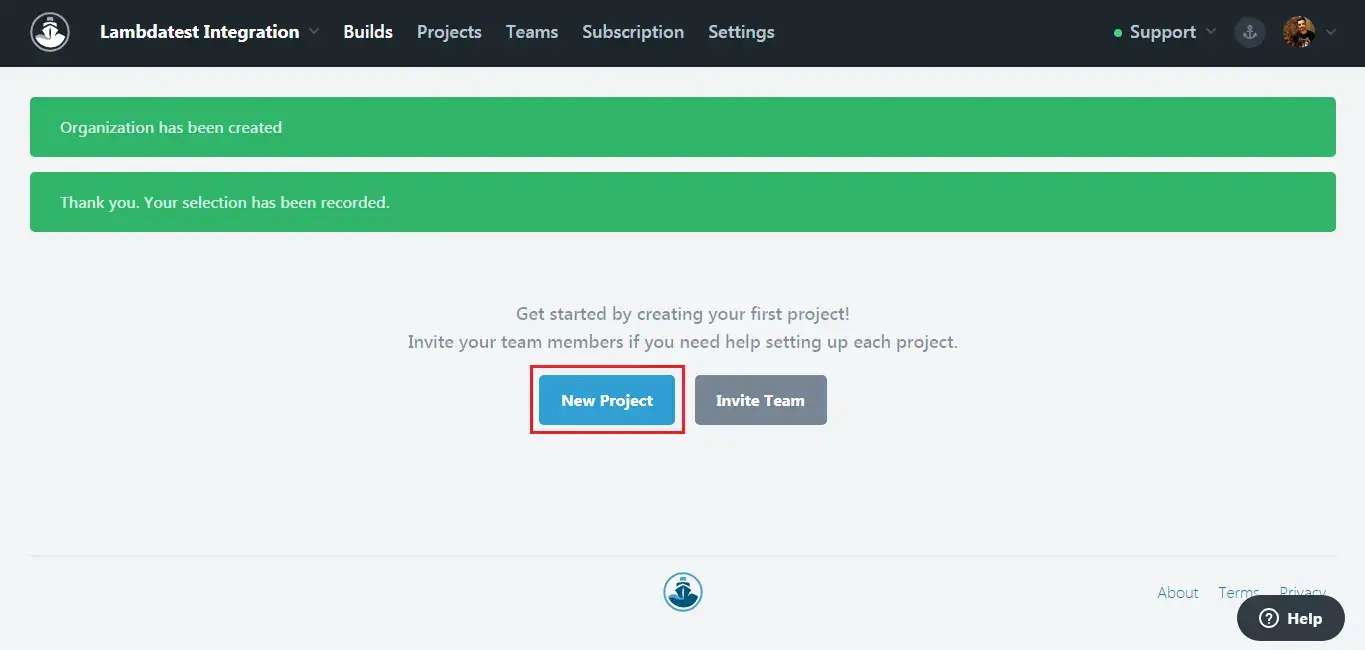
Step 1: Sign up on Codeship with your GitHub account, and create a "New Project."
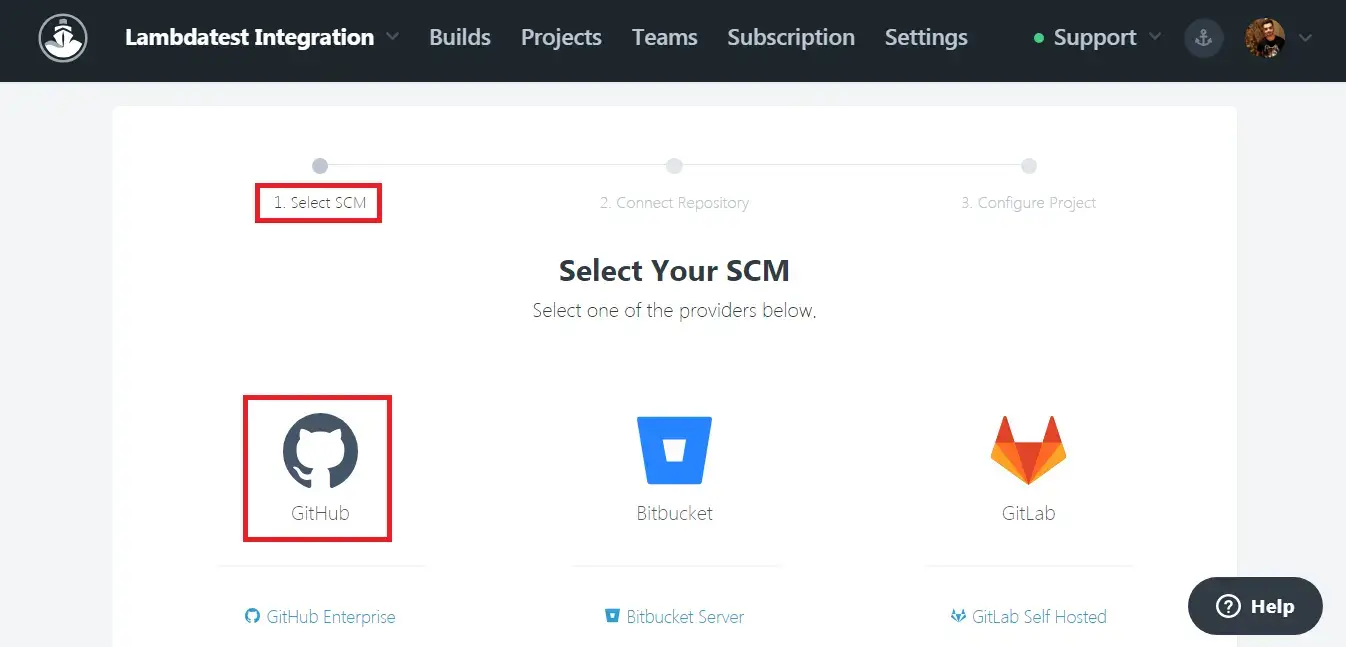
Step 2: Select GitHub as your SCM.
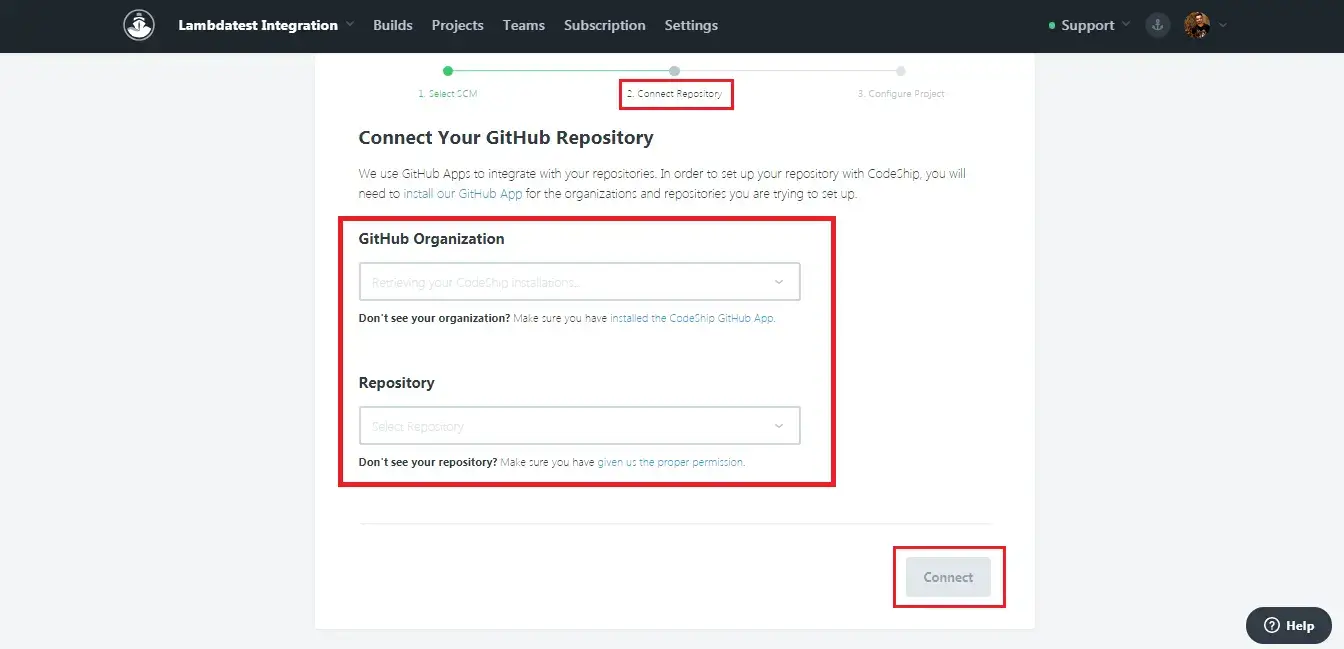
Step 3: Provide your GitHub organization and your GitHub repository, then hit Connect.
Step 4: Now, you need to opt for "Codeship Basic" as your project type by clicking on "Select Basic Project."

Step 5: You will be redirected to a screen of Project Settings. Select the technology to prepopulate basic commands with respect to your tests. For the below demonstration, we will be using Protractor, so you can select Node.js. Now, enter the commands below in setup.
#nvm install 0.10
npm install
npm install -g protractor
Step 6: Create a new pipeline in the section "Configure Test Pipelines." Use the below command to connect it with your GitHub repository by replacing the GitHubOrganization & reponame with the input's values.
cd /home/rof/src/github.com/<GitHubOrganization>/<reponame>/conf
protractor single.conf.js
Step 7: Provide your TestMu AI authentication credentials in the Environment Variables and hit the "Save and go to Dashboard" button.
That is it! Now, any changes you commit in your GitHub repository will trigger the build in Codeship and run your test on TestMu AI Selenium Grid.
Testing Locally Hosted or Privately Hosted Projects
To help you perform cross browser testing of your locally stored web pages, TestMu AI provides an SSH(Secure Shell) tunnel connection with the name Lambda Tunnel. With Lambda Tunnel, you can execute a test server inside your GitLab CI build a container to perform automated cross browser testing on browsers offered by Selenium grid on TestMu AI. So you make sure how well your changes look, even before your customers. Curious to know more about Lambda Tunnel?
Follow our documentation on Lambda Tunnel to know it all. OS-specific instructions to download and set up tunnel binary are at the following links.
Download the binary file of:
The below example of pipelinecommand would demonstrate you to leverage TestMu AI Selenium Grid by performing cross browser testing through the test server contained in your Codeship build. Create two pipelines with the following commands:
Pipeline 1
#Downloading tunnel binary
<!--For Linux-->
wget http://downloads.lambdatest.com/tunnel/linux/64bit/LT_Linux.zip
<!--For MacOS-->
wget http://downloads.lambdatest.com/tunnel/mac/64bit/LT_Mac.zip
<!--For Windows-->
wget http://downloads.lambdatest.com/tunnel/windows/64bit/LT_Windows.zip
#Extracting tunnel binary
sudo apt-get install unzip
unzip LT_Linux.zip
#Executing tunnel binary
./LT -user <username> -key <AccessKey>
Pipeline 2
sleep 90
cd /home/rof/src/github.com/<GitHubOrganization>/<reponame>/conf
protractor local.conf.js
The setup command will be the same as mentioned earlier under the "Integration With Codeship" section. After then commit any changes into the repository and get your test run using TestMu AI Tunnel.
Parallel Testing
Go to the Project Settings screen. Change your pipeline command with the following one & save settings.
cd /home/rof/src/github.com/<GitHubOrganization>/<reponame>/conf
protractor parallel.conf.js
Now, any changes commit in your repository will trigger a build and run automation tests in parallel on TestMu AI Selenium Grid.
Monitor and analyze your test result on the TestMu AI automation dashboard.
Reliably deploy your code at scale using Codeship integration with TestMu AI, and ensure it looks robust across every browser to provide a seamless user experience to all your visitors. Happy Testing!
