Notion Integration
Notion is an all-in-one workspace for the teams where you can write, plan, collaborate, and get organized. You can take notes, assign tasks, manage projects, and much more. Notion has customized markdown support that integrates kanban boards, tasks, wikis, and databases.
The TestMu AI and Notion integration allows you to perform one-click bug logging while perform cross browser testing of your websites (and web apps). You can mark and share bugs directly from the TestMu AI to your Notion pages.
Integrating Notion With TestMu AI Account
For existing users: Re-Sync your Integration
If you are already an existing user and have integrated Notion with TestMu AI earlier, then you have to re-sync the integration to update the changes.
Follow the below-mentioned method to re-sync the changes:
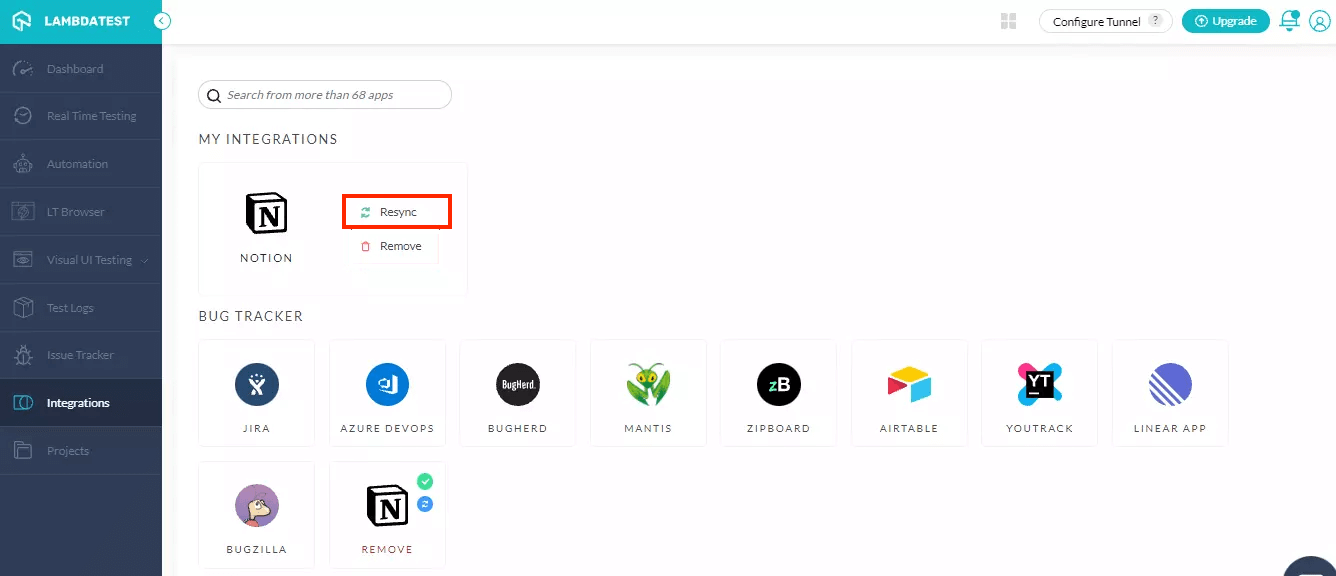
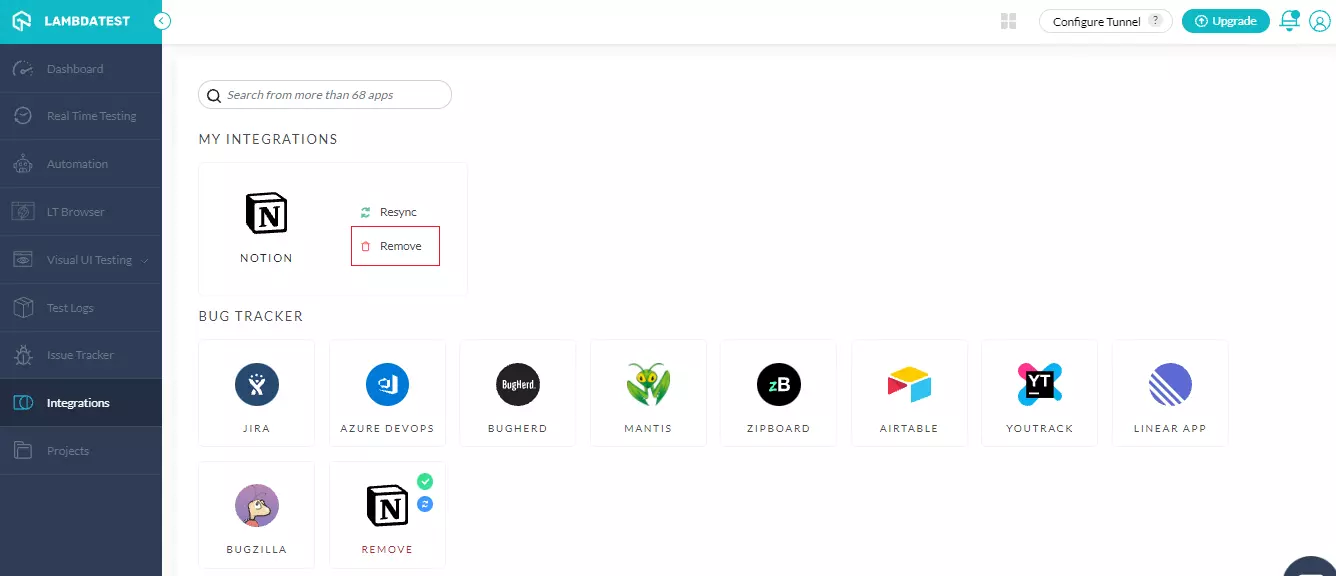
Step 1: Go to the Integrations page.
Step 2: Click on the Resync button to re-sync the changes made.
For new users: Install the Integration
If you already have a TestMu AI integration with any third-party tool then you will be asked to uninstall the existing TestMu AI integration.
-
Login to your TestMu AI account. To install integrations, ensure you have admin or user level access.
-
Visit 'Integrations' from the left menu and select 'Notion' from the 'BUG TRACKER' section.
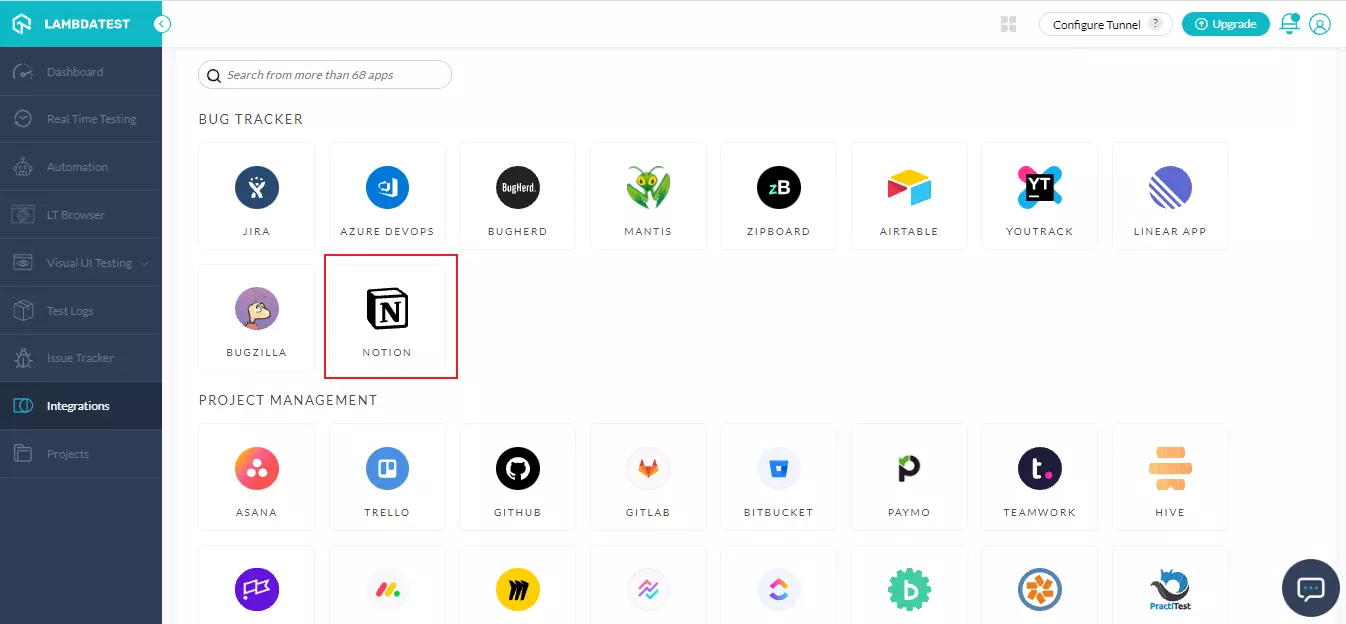
Note: Make sure you have created an account on Notion.
- You will be taken to OAuth Page. Click on Select Pages.
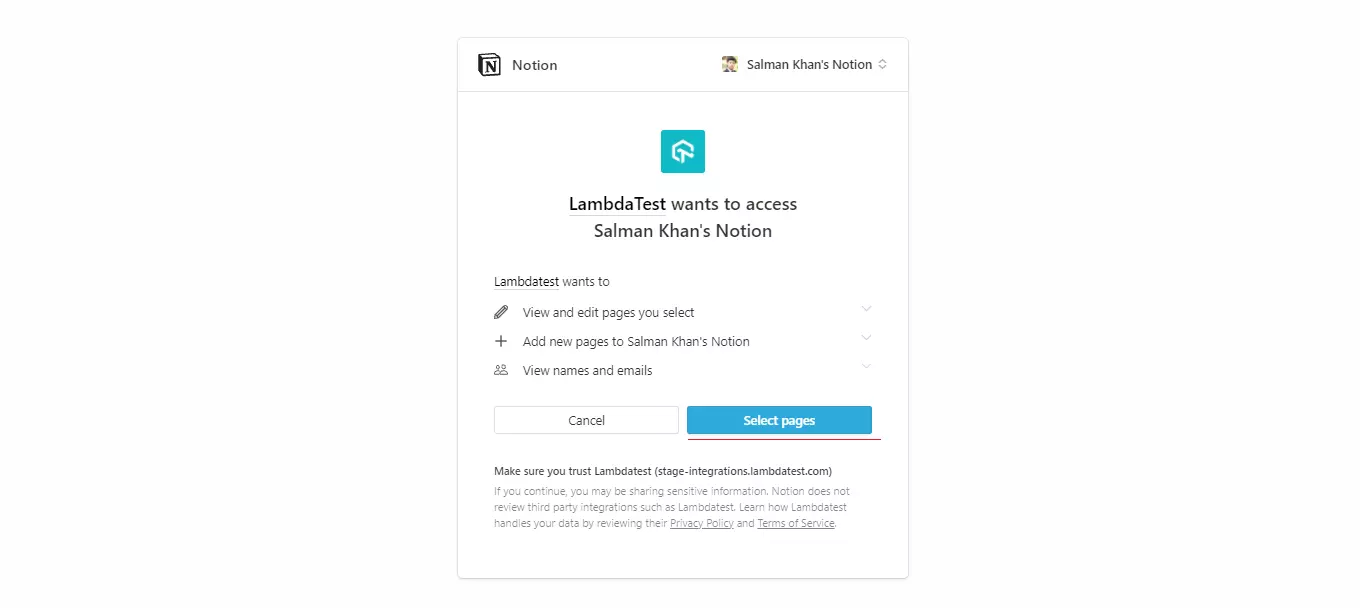
- Choose the page on which you want to give an access. For example, in the below screenshot, we select DemoTest1 page.

- After selecting the pages, click on Allow Access.

The Notion will be successfully integrated with your TestMu AI account. You'll also receive the confirmation message and an email of the same.
Creating A Kanban Board
- Open Notion dashboard. From the left menu, click Add a page.
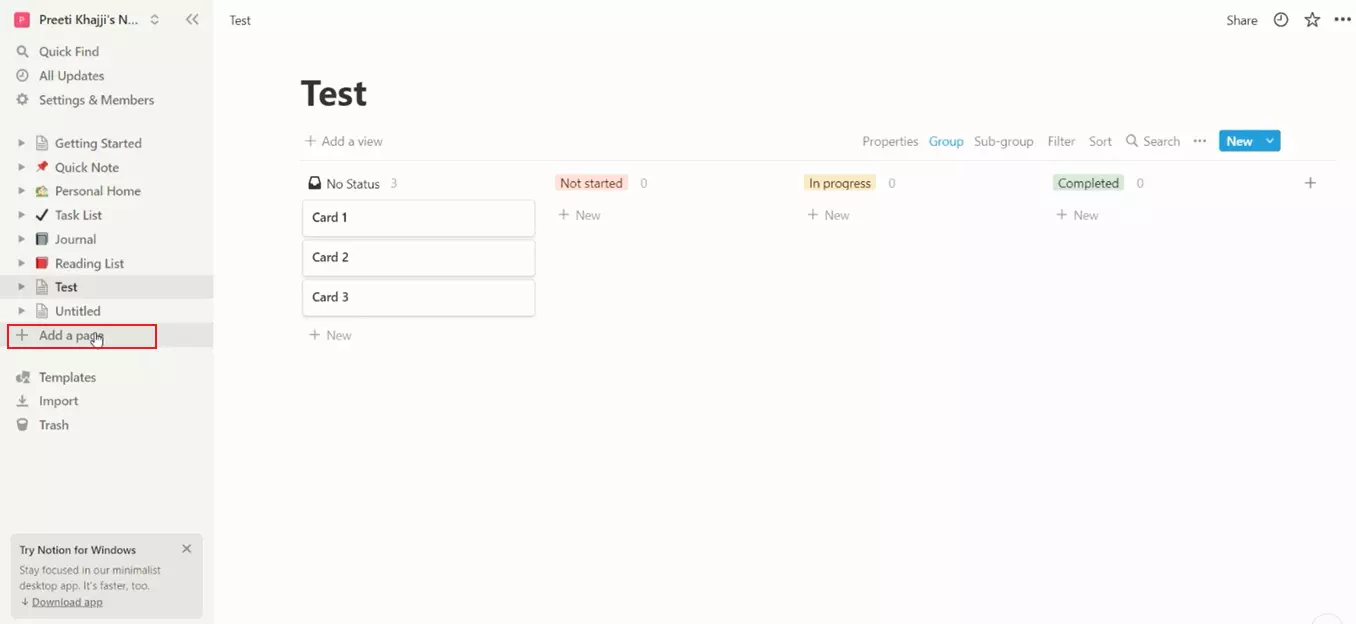
- Select Board.

- Give a relevant title and add your desired properties in the board.

Your Kanban board is now configured to store bugs.
One-Click Bug Logging Through Notion
We will perform one-click bug looging while perform Real Time Testing.
-
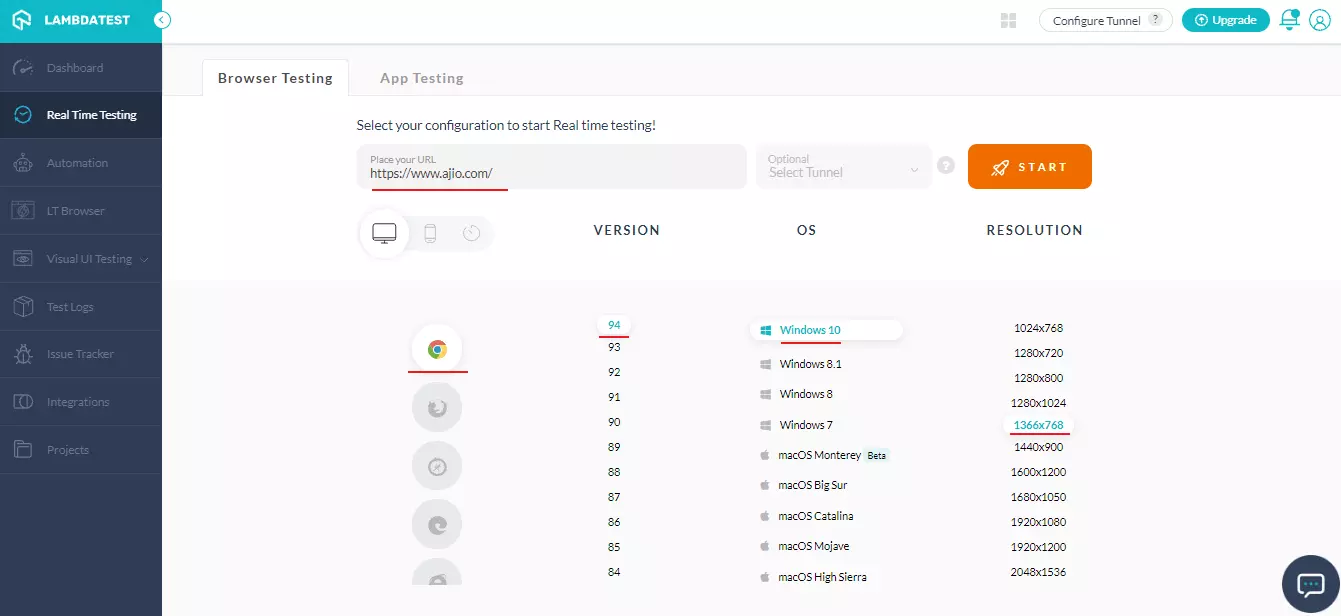
Select Real Time Testing from the left menu.
-
Enter the test URL, select the test environment details like Browser, Browser versions, OS and Resolution. Then click on 'START'.
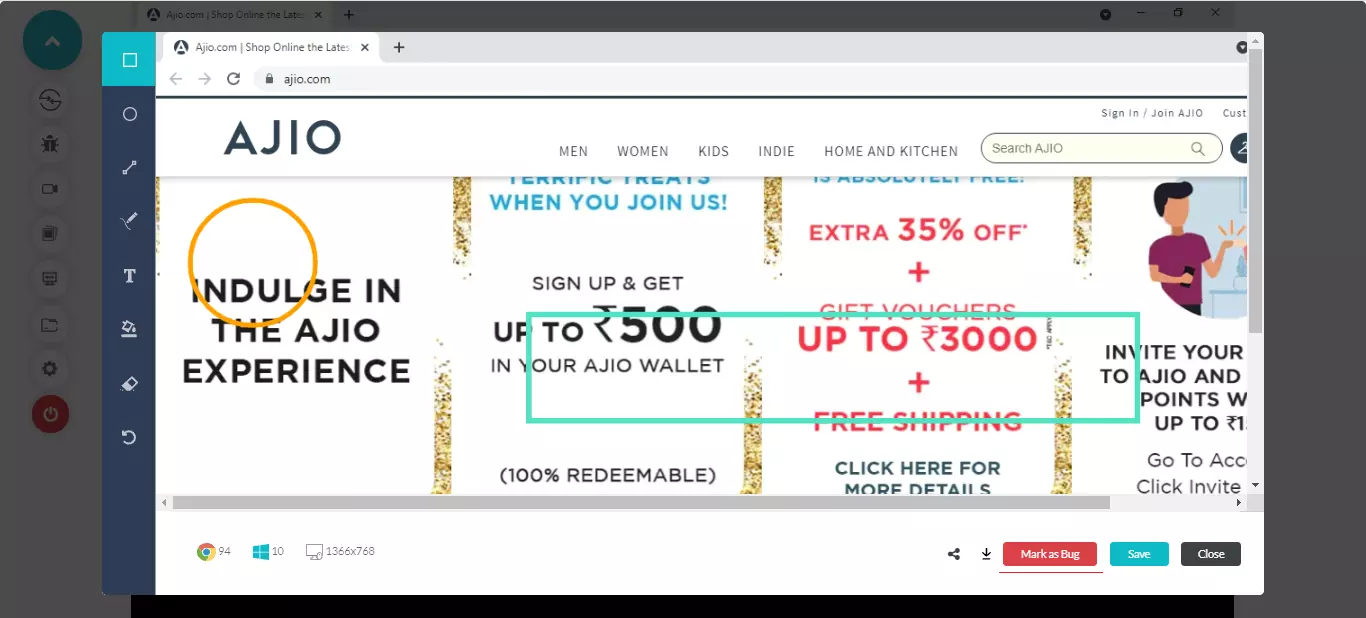
- A cloud-based virtual machine will launch where you can perform real time testing of websites and web apps. If you found a bug, click on the 'Mark as Bug' icon from the left tool bar to grab the screenshot.
- Once the screenshot is captured, annotate issues or tasks that you have encountered using in-built image editor tools. After annotating the bugs, click on 'Mark As Bug'.
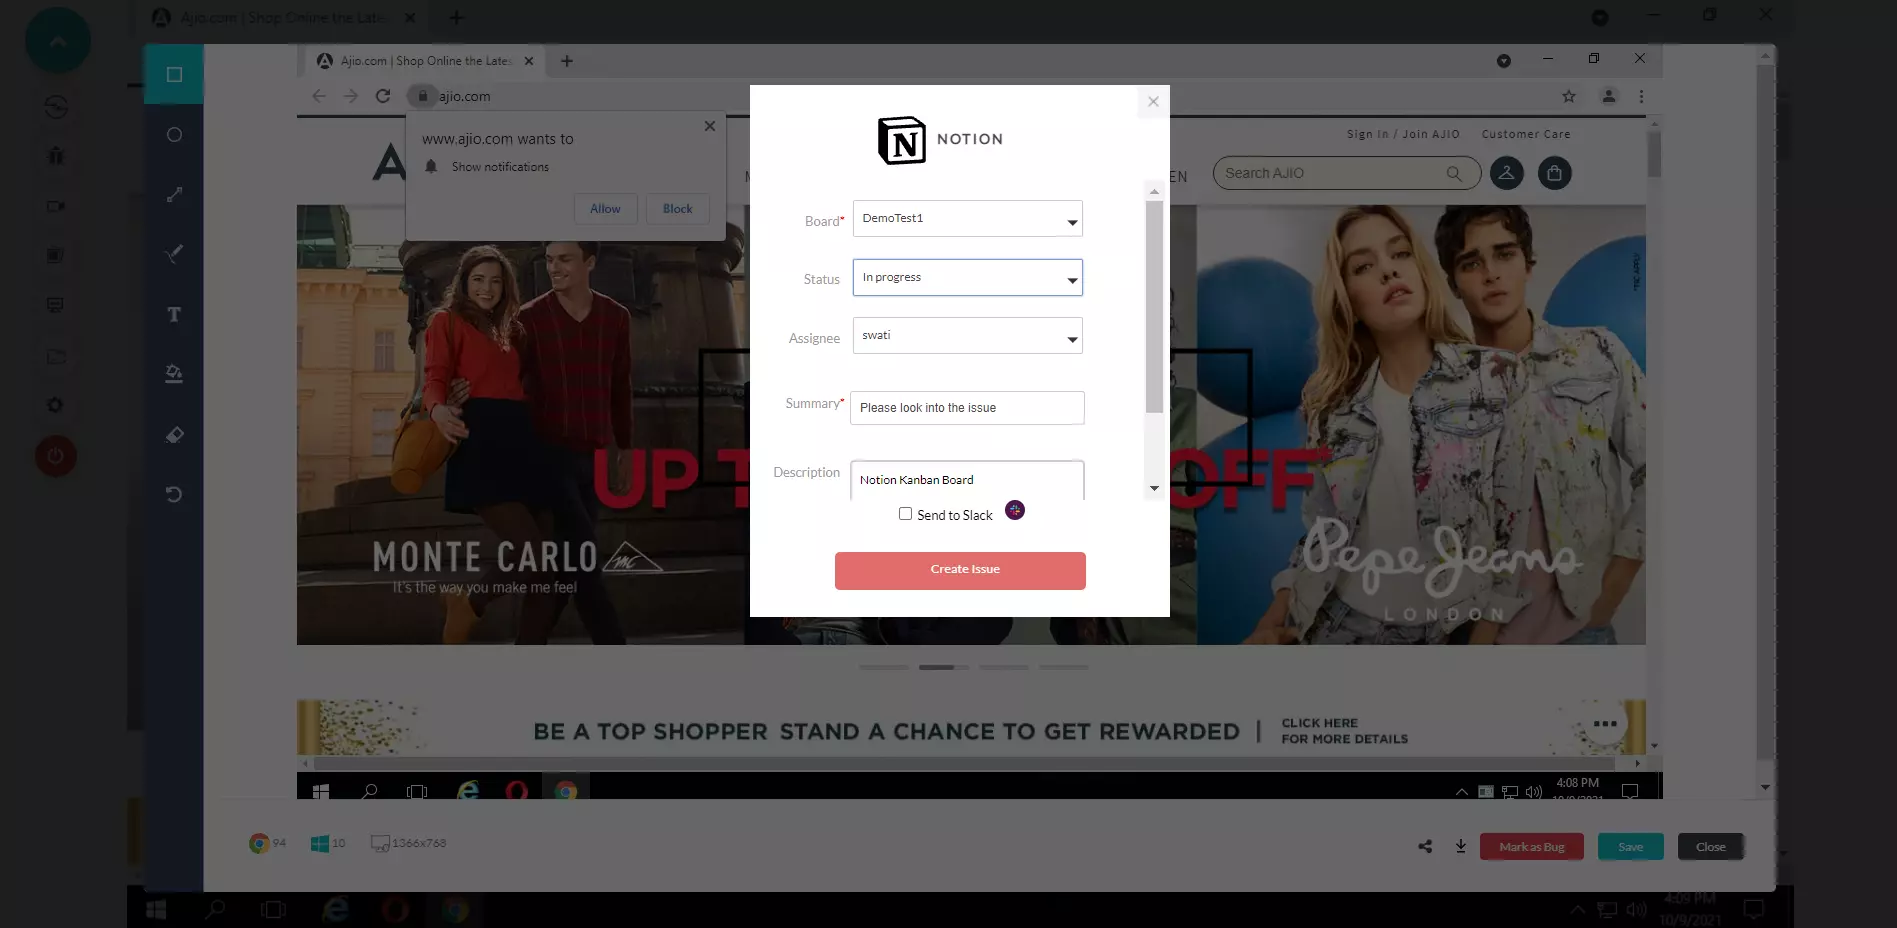
- A Notion ticket will open up. Fill the details like Board, Status, Assignee, Summary and Description. After providing the details in the ticket, click on 'Create Issue".
Once you click on Create Issue, your bugs will be marked successfully.
- To view your logged issues, visit Issue Tracker from the TestMu AI left menu. You'll notice the marked bugs along with the Test environment details on the right.
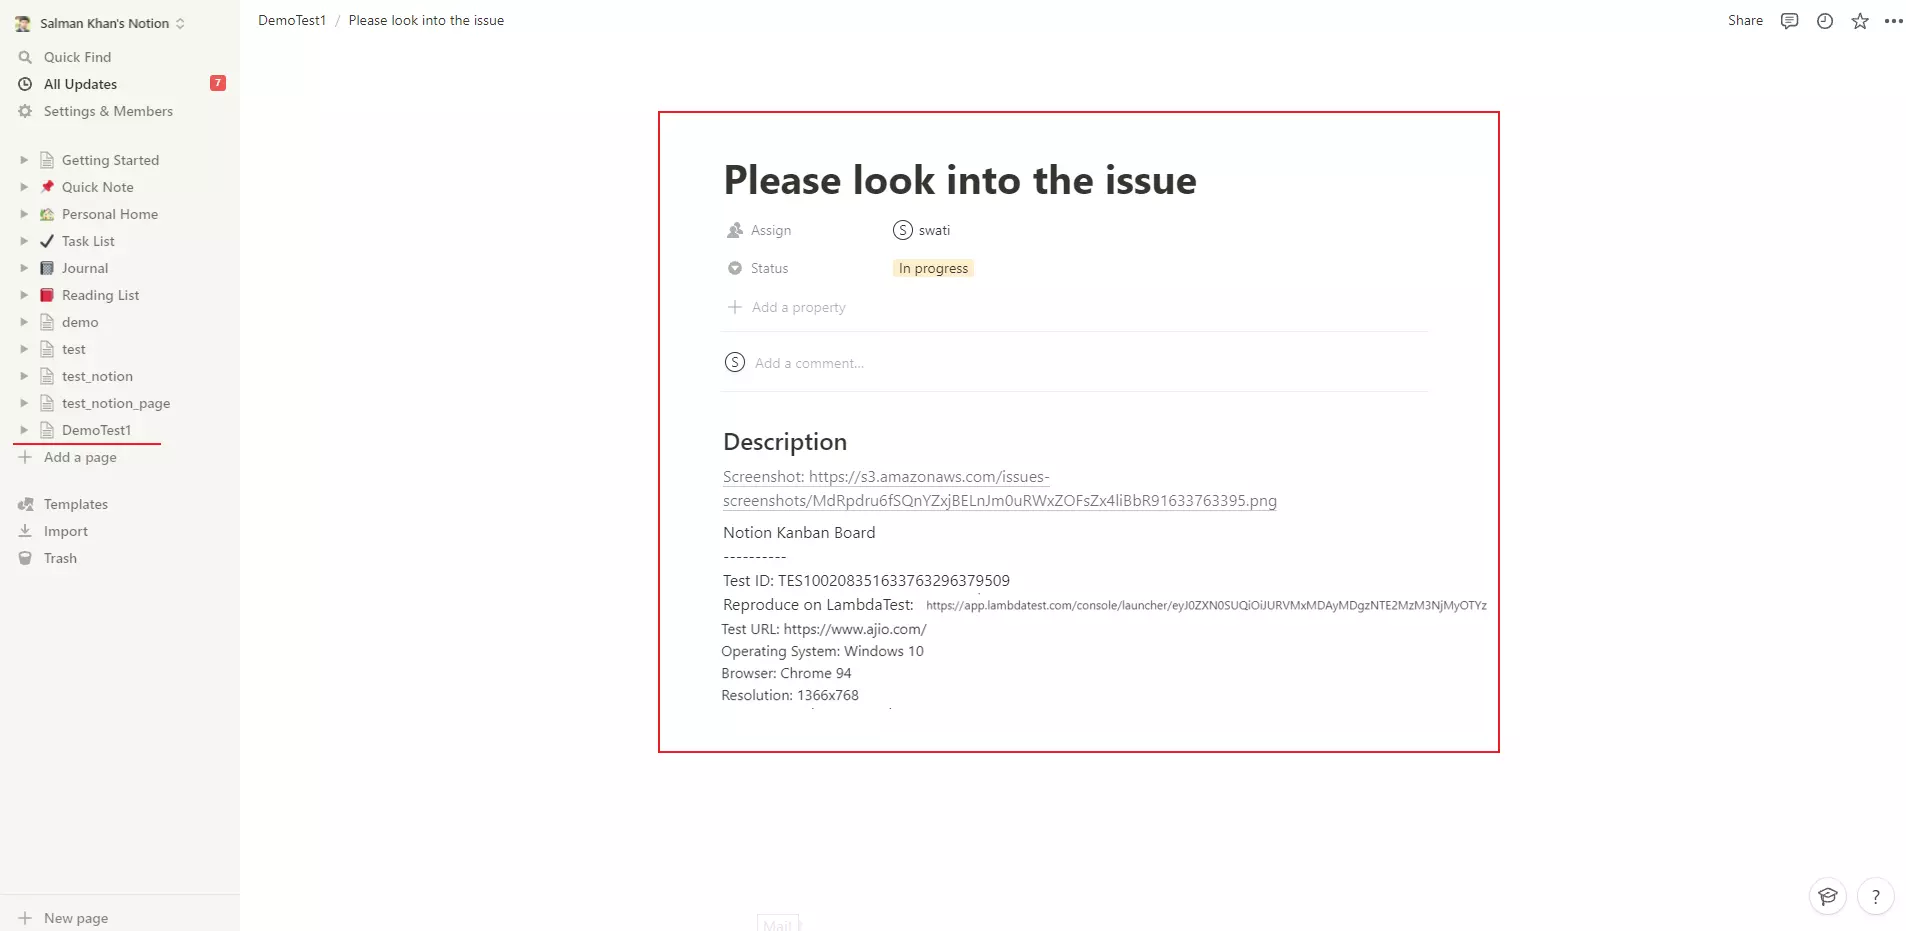
- To view your marked bugs in Notion, click on the right diagonal arrow icon.

You'll be routed to the Notion dashboard where you can find your marked issues along with the test environment details.
Uninstalling The Notion Integration
-
Login to your TestMu AI account and visit Integrations from the left menu.
-
Navigate to 'My Integrations'and click on 'REMOVE' under the Notion block.
The Notion integration will be uninstalled.
In case you have any doubts or questions, feel free to drop them at our 24x7 Chat Support or you could also mail us directly at support@testmuai.com.
