Setting up an iOS Simulator for Testing: A Comprehensive Guide
Suraj Kumar
Posted On: October 16, 2018
![]() 35182 Views
35182 Views
![]() 5 Min Read
5 Min Read
Any product developed goes through the process of testing. With websites, a web developer makes sure to check the functionality on every web browser available. It is done to check for any bugs and offer the user a seamless experience irrespective of the device used to access the website.
But, how does a mobile application developer test their applications? Keeping a set of different devices to test will definitely be an expensive affair. Moreover, with the number of updates and changes in the hardware and software, keeping up-to-date can be tedious. But what then, does the developer do? The answer is simple: Simulation, the act of recreating a real-life process or system.
With the ever-expanding array of technology, it is now possible to simulate any physical system on a computer. Today, we specifically discuss one of the most used operating systems in the mobile industry, the iOS.
For any app developer working with iOS, it is extremely important to stay updated. With iOS 12 making its debut, developers can expect a new version every few weeks until the bugs are fixed. This makes setting up a simulator all the more important.
Also Read – Android emulator: Test your websites and mobile apps from your desktop
Xcode Simulator
So let’s have a look at the process of setting up an iOS simulator. This will enable you to test any iOS compatible app and/or browser eg. iPhone browser simulator for browser compatibility testing.
- Apple does not offer a standalone simulator on the App Store. Rather, look for and download Xcode which is freely available on the store. Xcode is an integrated development environment (IDE). It enables the development of applications for all Apple operating systems including iOS, MacOS, tvOS, and WatchOS. Xcode has been developed by Apple.
- Technically, you have downloaded the simulator, but, there are still a couple of steps. These will get you to the iOS simulator.
- After downloading Xcode, you will need to download the iOS simulator environment. To do this, open Xcode and navigate to preferences. ( Xcode-> Preferences) Here in ‘Components’ download the iOS version as per your requirement.
- After obtaining the desired iOS version, go to Xcode-> Open Developer Tools-> Simulator. This will open the iPhone simulator which can be used for testing.
- You have the option to select your desired device by going into Hardware-> iOS-> ‘Desired Device’.

Test on virtual macOS versions for compatibility across latest and legacy macOS browsers.
Benefits of using the in-built simulator
The most important feature is the ability to use multiple simulators enabling cross-testing. So, you could use an iPhone simulator and a WatchOS simulator simultaneously to test certain app features requiring both. In addition, the Xcode simulator is the best option for small teams.
It also offers accessibility to core APIs. These include development for Game Centre and Healthkit. While no amount of accessibility can match a real device, Xcode offers an extremely close experience without any associated costs.
Now start your free website testing on iPhone simulators.

Now run your app testing on iPad simulator!!!
Other simulator options
While Xcode is provided by Apple, free of cost, there are several other options in the market who have gained attention from the developers.
Visual Studio (With Xamarin Live for Mac)
Xamarin Live, an iOS app was launched in May 2017 and has gained popularity with the C# Developers. Unlike Xcode, it does not offer multiple simulations, yet it has upped the game for the C# developers using Visual Studio. The niche audience includes those users of Visual studio who seek to build and deploy iOS apps. Along with Visual Studio Enterprise Edition, you will also need a Xamarin Basic plan. The cost starts at $99 per month.
Hey, now you can test on iOS Simulator For Linux
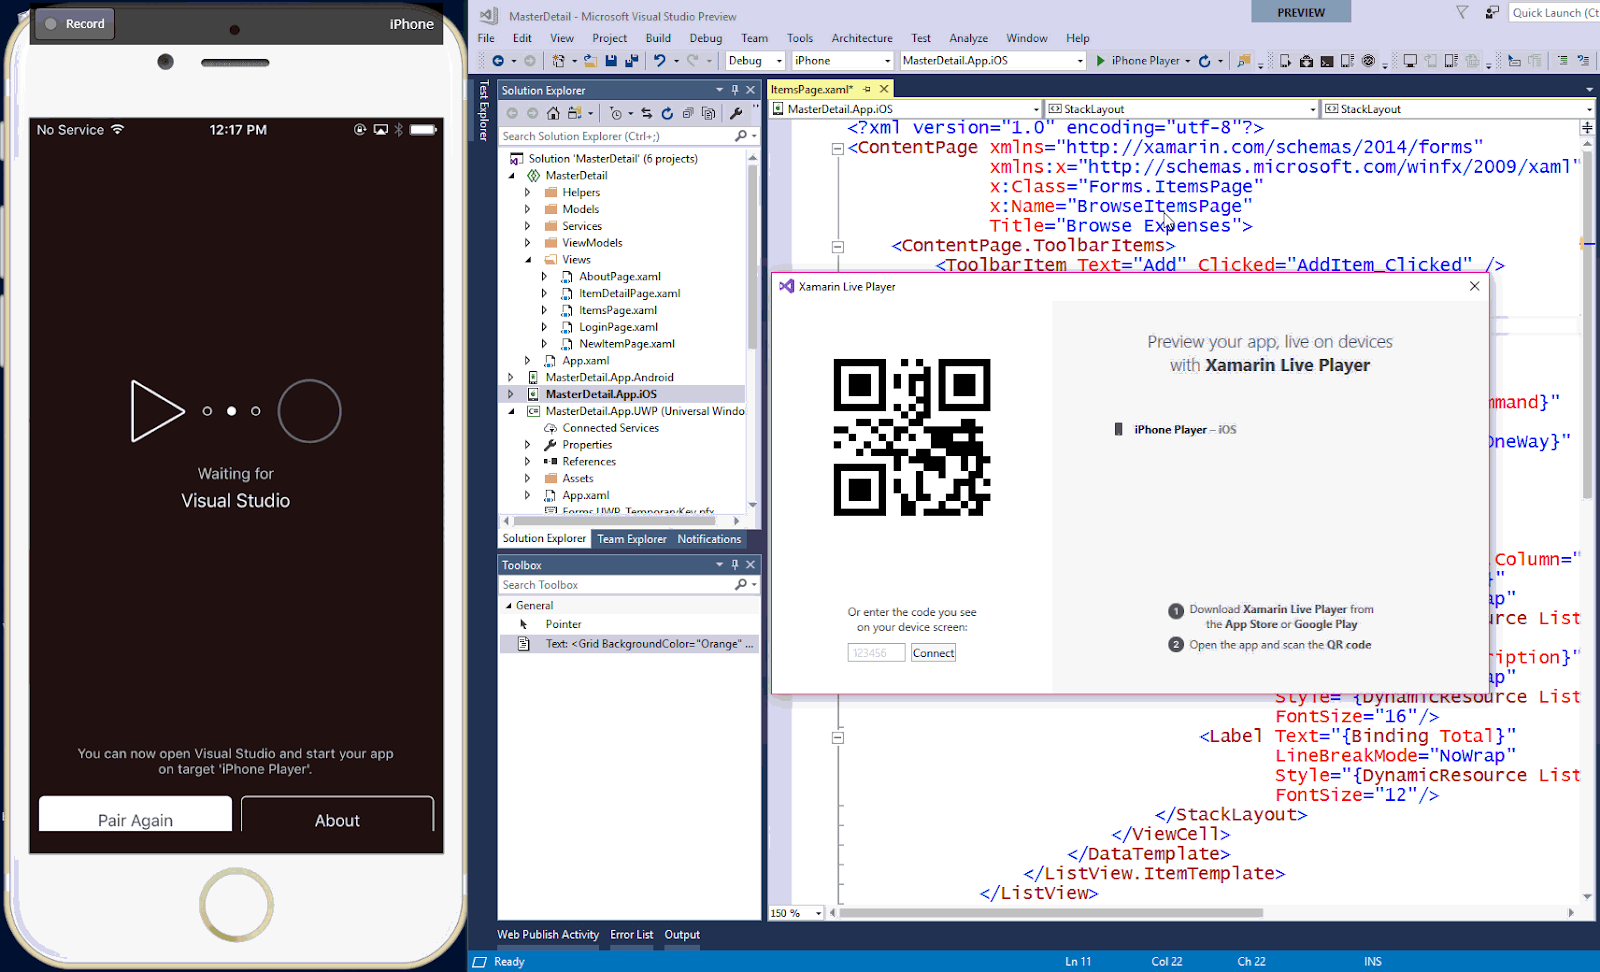
Visual Studio (With Xamarin and a Mac)
Unlike Visual Studio with Xamarin Live, this version is a little complicated to set up. While the development is done over the Visual Studio and Xamarin Live, the only difference is the simulations which are sent to the Mac over the network and then streamed to the user in return.
This version needs the latest version of Xcode installed and an updated Xamarin.iOS SDK file. Following the is the developer needs to ensure that the Xamarin has been configured to push the apps over to the Xcode.
Most developers use this to avail the benefits of Visual Studio without missing out on any functionality of the Xcode. Priced same as the Xamarin Live, the user needs Microsoft Visual Studio Enterprise and Apple hardware, making it an expensive affair.
Appetize.io (Browser-based)
A browser-based solution, appetize.io allows users to perform mobile application testing through simulation for testing purposes. The application can be uploaded via appetize.io. A dedicated API can also be used.
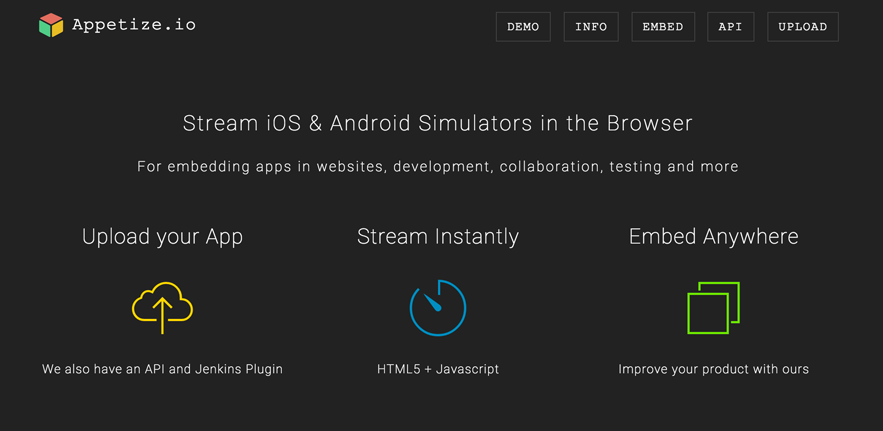
Post uploading, the apps are run through the browser. This is an ideal platform for not only testing but to embed using an iFrame for demonstration purposes. While this is a good alternative, it does not perform as good as the previous options and lacks certain features of a development environment.
So, while setting up an iPhone simulator is a simple process, the above-mentioned features will help you get a better insight and set-up accordingly.
Test your iOS app and website on official iPhone simulators.


Author’s Profile
Suraj Kumar
Blogs: 5
Got Questions? Drop them on LambdaTest Community. Visit now