
How to Find Element by Text in Selenium C#
Andreea Draniceanu
Posted On: October 26, 2023
![]() 167662 Views
167662 Views
![]() 18 Min Read
18 Min Read
Selenium is a robust open-source framework for automating web browsers and is used by many software testers and developers to ensure the functionality and performance of their web applications. Selenium interacts with web pages by identifying web elements within the page and engaging with them in a manner that mimics user actions, such as clicking a button, entering text into an input field, or choosing radio buttons.
Web applications are dynamic and constantly evolving, making it crucial to have a robust method for finding elements. Whether your requirements involve tasks like clicking a “Submit” button, confirming the existence of a particular message, or extracting data from tables with rows with differing content, understanding the method of element location by their text can streamline complex automation scenarios.
There are several scenarios where finding elements by text using the “find by text” approach is more appropriate or advantageous compared to using other locators in Selenium.
If you’re new to Selenium and wondering what it is, please go through our guide – What is Selenium? If you are preparing for an interview you can learn more through Selenium interview questions.
Throughout this Selenium C# tutorial, we will demonstrate how to find elements by text in Selenium C# using real-world examples.
TABLE OF CONTENTS
- Locators in Selenium WebDriver
- Why use Find Element by Text?
- How to Find an Element by Text?
- Demonstration: How to Find Element by Text in Selenium C#
- Find Multiple Elements by Text in Selenium C#
- Finding Element by Text in Selenium C# Using Normalize-Space and Contains
- Test Execution on Cloud
- Frequently Asked Questions
Locators in Selenium WebDriver
There are multiple ways to identify elements on a web page, and locators (or identifiers) are one of them.
Following are the different locators in Selenium used for element identification.
ID Locator
The ID locator in Selenium can be used when the element on the page has an ID attribute in its HTML code, as shown below.
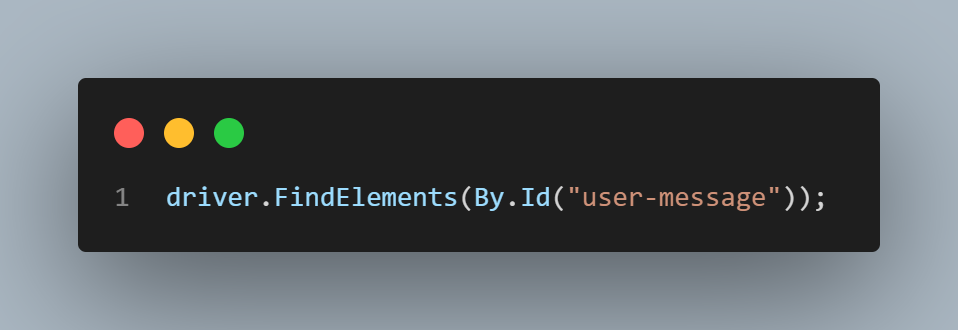
ID is usually the preferred locator because it usually works the fastest. Ideally, all the elements on the page should have unique IDs to locate them in Selenium.
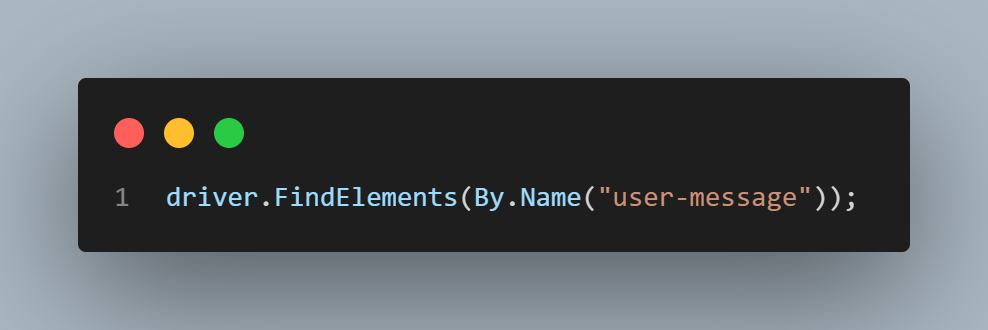
Name Locator
It’s helpful when the ID is unique and not dynamic (meaning it won’t change). The Name locator is similar and can be applied when the web element has a value for the name HTML attribute, ideally unique.
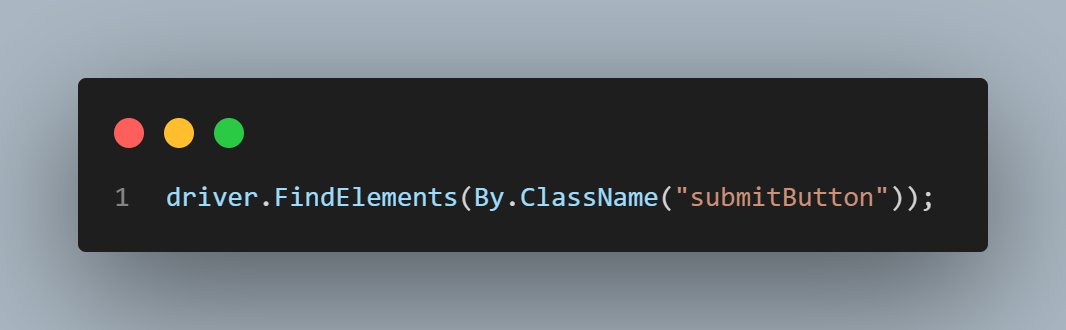
ClassName Locator
The ClassName locator can be used when the element is identifiable by its CSS class.
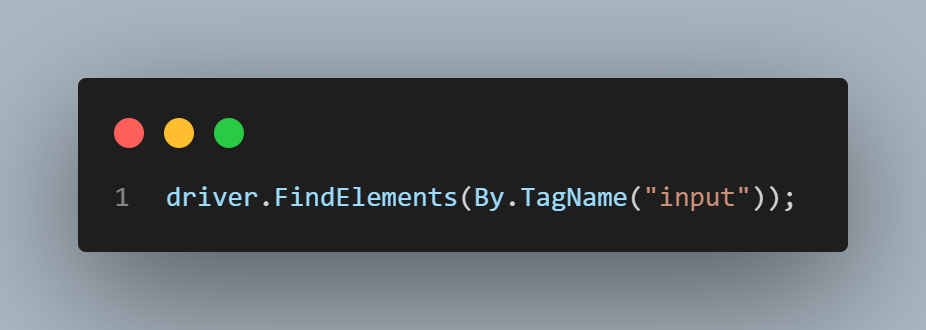
TagName Locator
The TagName locator refers to the HTML tag of the elements—for example, button, input, or table.
LinkText and PartialLinkText
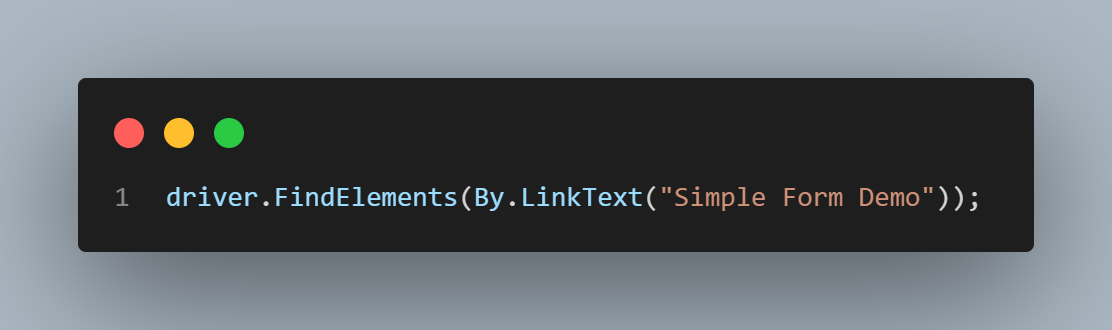
LinkTextandPartialLinkText locators can be used to link elements (with the HTML tag a).
LinkText has to match the entire text of the link (Simple Form Demo for the above link).
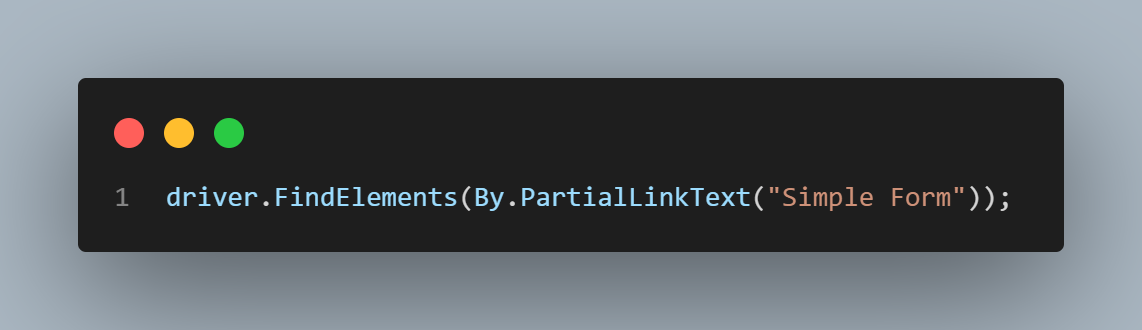
The PartialLinkText can be used with just part of the text (for example, we can provide the text Simple Form).
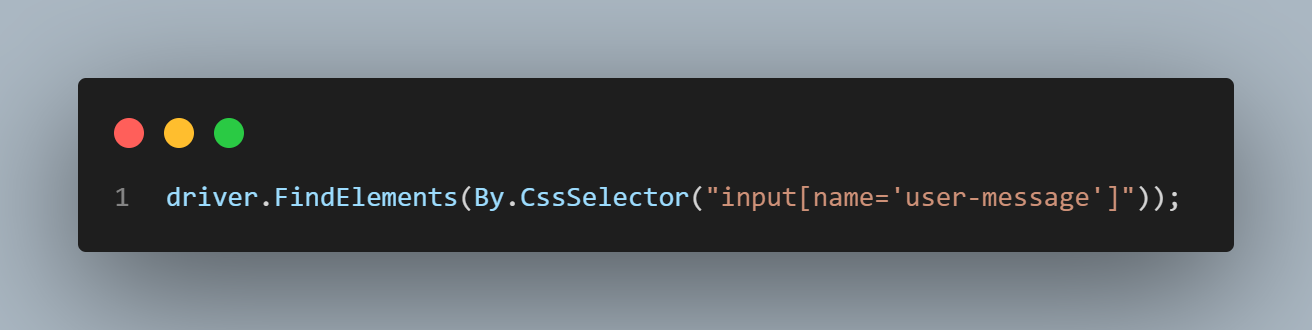
CssSelector
CSS selectors are patterns formed from the element’s selector and a value that identifies the web element on a web page. They represent HTML tags, attributes, IDs, and classes as strings. An example of a CSS selector that uses the element’s tag and name looks like this.
XPath
XPath is a query language to find and search for elements in XML and HTML documents. When other CSS locators (ID, Class, etc.) are not available on a web page, XPath is the recommended locator. In Selenium, XPath uses an XML path to go through a web page’s HTML code. The XPath for the element used above is shown below.
In this blog on how to find elements by text in Selenium C#, we will focus on the XPath locator to identify elements by their text value in Selenium C#. We will also look into how to extract the XPath using the Developer Tools, and how to integrate it in our automated tests.
Why use Find Element by Text?
Find element by text can be used to locate a wide variety of elements on a web page, especially those with dynamic IDs or class names or elements that are not visible. It is also helpful in testing dynamic content or interacting with hidden elements.
Here are some common situations where the find element by text method proves to be helpful:
- Dynamic content: When web page content is dynamic and unpredictable, especially for elements that do not have consistent attributes or hierarchical relationships with other elements, finding elements by their text can provide a stable way to interact with them. This is because text content often remains consistent even as other attributes change.
- Localization testing: In localization testing, where you need to verify that the text displayed on a webpage matches the expected translations in different languages, finding elements by text content becomes essential. It allows you to ensure that the correct localized text is displayed.
- Validation and verification: When you want to validate or verify the presence of specific text on a webpage, finding elements by text is the most direct approach. This is often used for confirming the presence of error messages, success messages, or expected content after specific actions are taken.
- Data extraction: If you need to scrape data from tables, lists, or other structured elements, locating elements by text within these containers can simplify data extraction. You can easily identify rows or cells containing specific text values.
- Readability and maintainability: Using text-based locators can improve the readability and maintainability of your Selenium scripts, especially for non-technical team members. Descriptive text is often more human-readable than complex XPath or CSS selector expressions.
How to Find an Element by Text?
We can use the developer tools in our browser to examine elements on a web page. If an element has no unique attribute, such as an ID or a specific tag, we can use its text content to locate it in Selenium.
Using an ID as the locator is preferred because it is faster than other locators, such as XPath. However, ensuring that the chosen locator and its associated attributes are unique is important. Otherwise, Selenium may return multiple elements that match the locator or not find the element at all.
When a web element doesn’t have a unique ID, no ID, or a dynamic ID (which means that the ID does not stay the same each time the page is loaded), we need to consider other locator strategies. If the element has a unique text that identifies it, we can build an XPath based on this text and use it in our Selenium tests.
An important thing here is that the text is case-sensitive, so we need to use the correct text value.
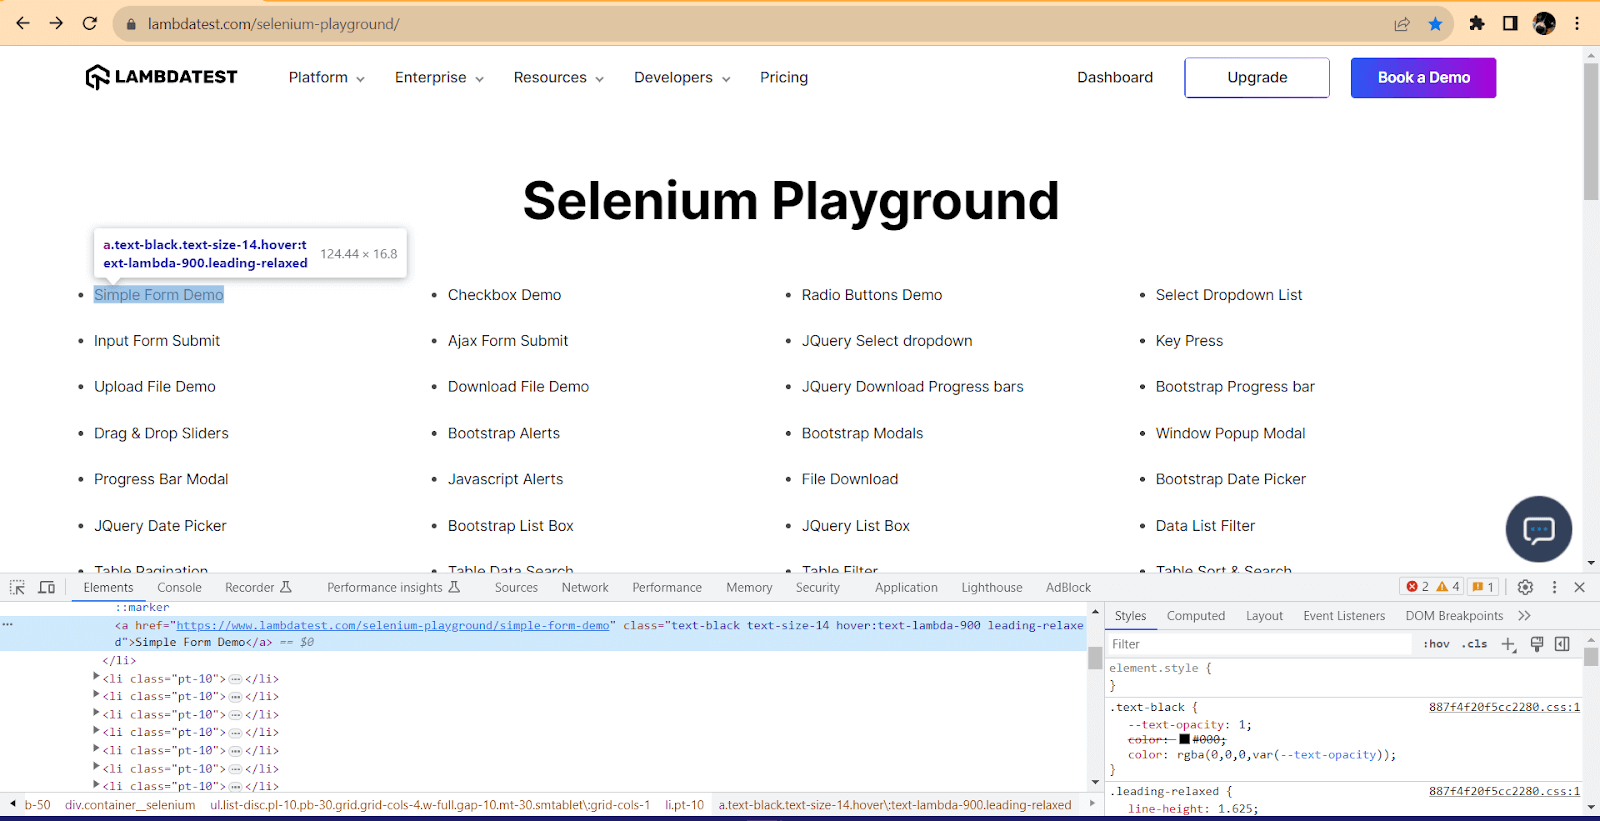
Inspecting an Element with Developer Tools
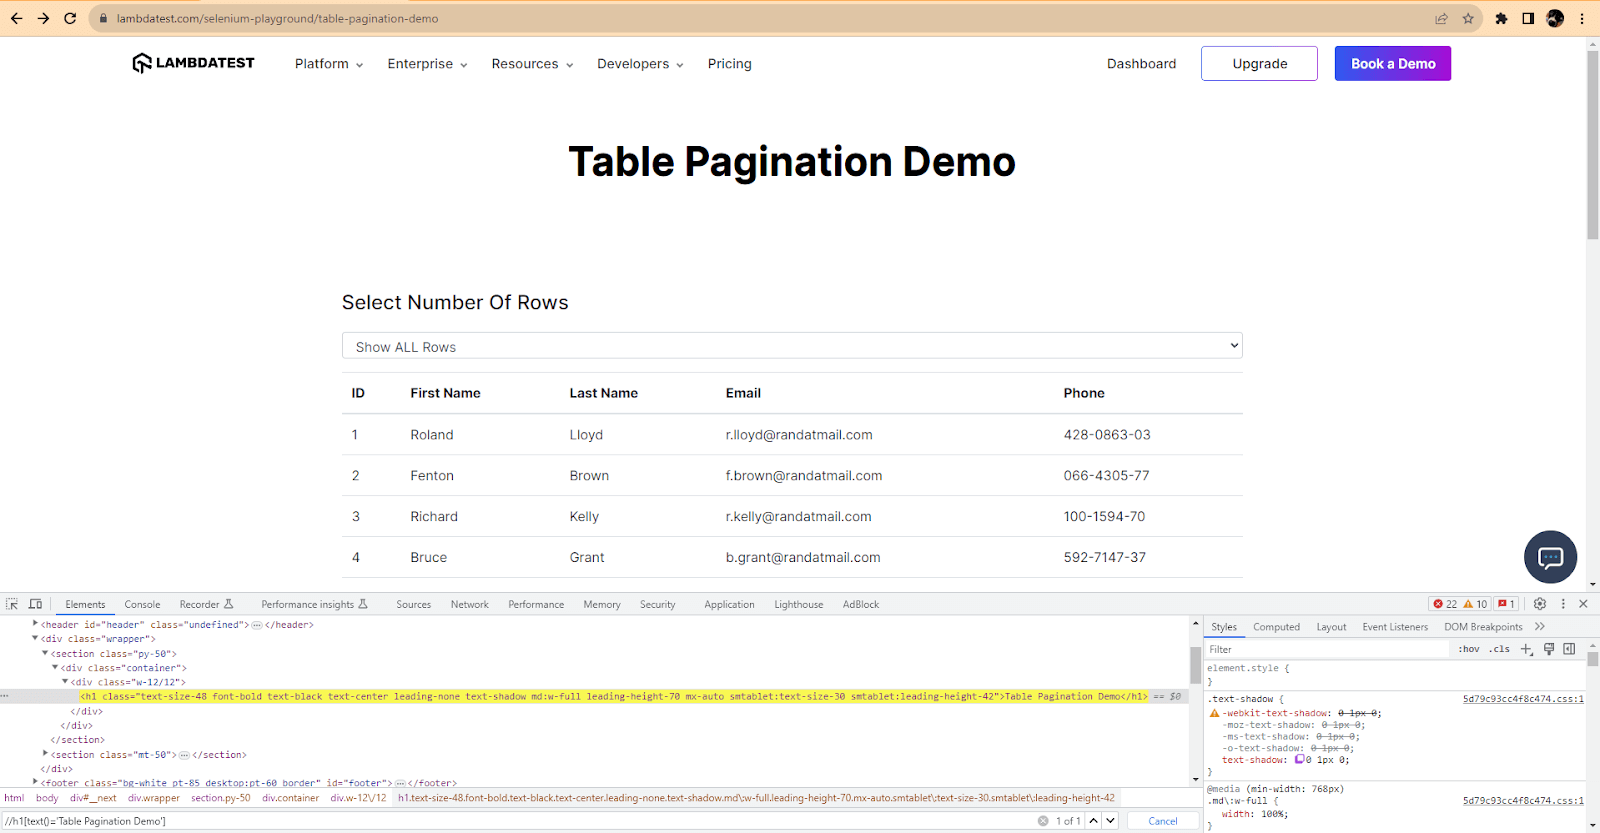
To see an element’s HTML code in Chrome (the same thing works on other browsers, too), we can right-click on it and select Inspect.
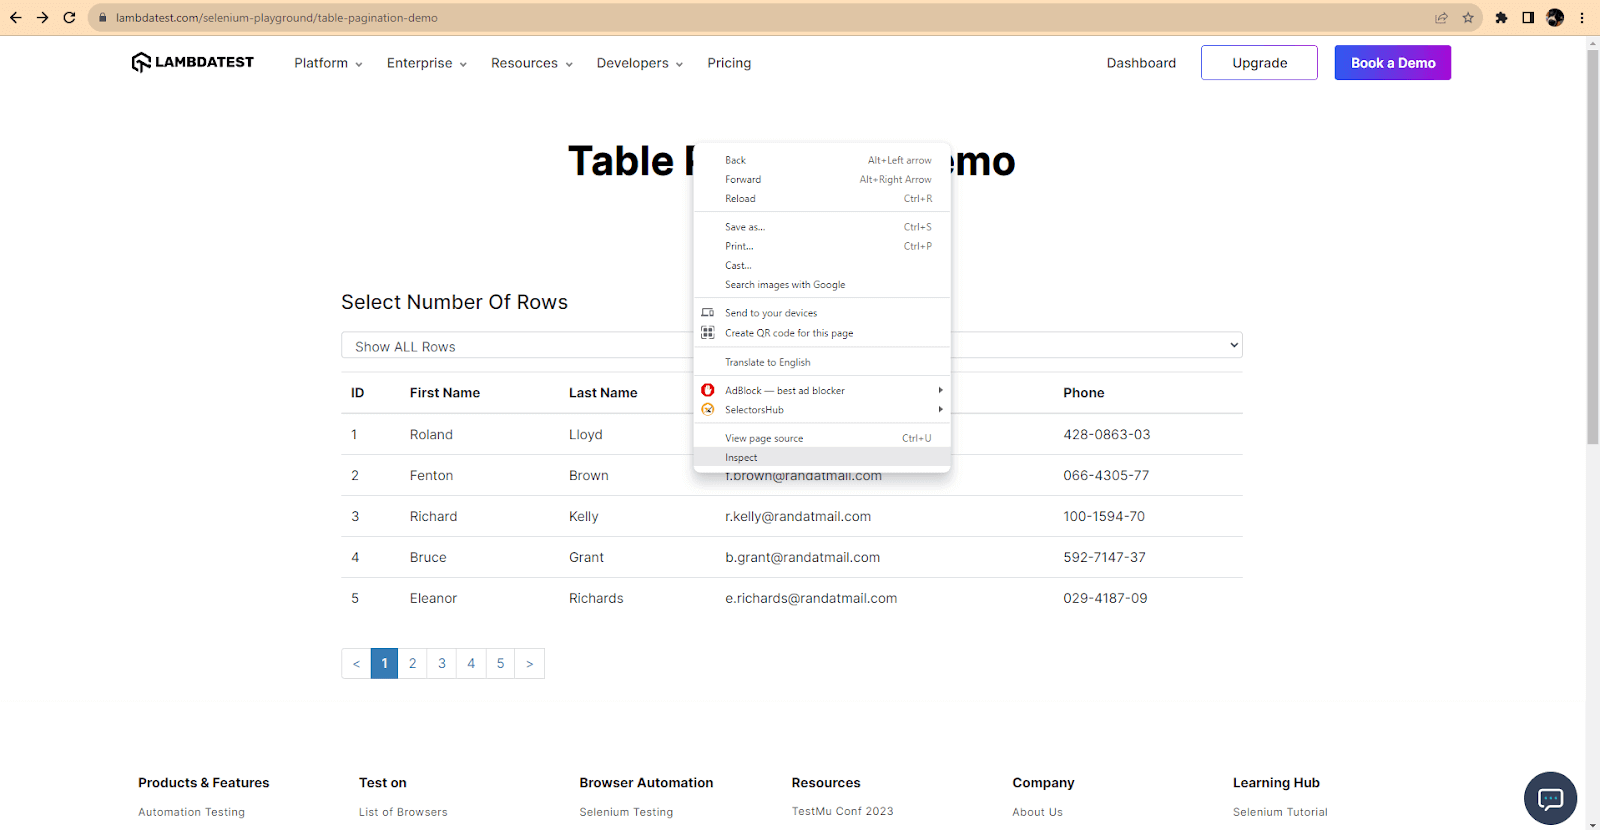
This will open the Developer Tools and display the source code of the page, with the selected element in focus.
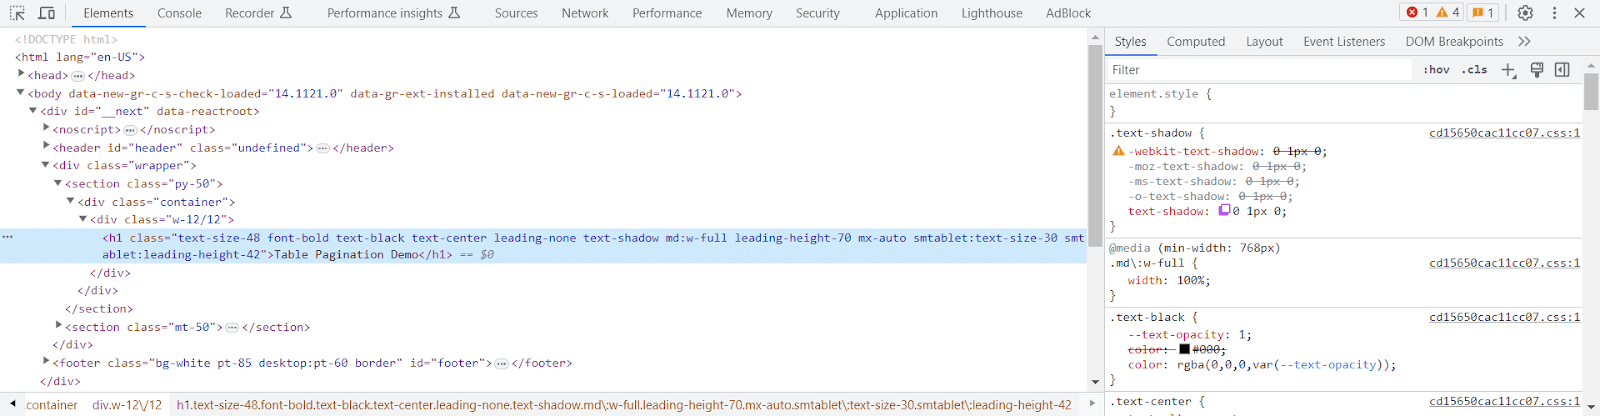
From here, we can use the Developer Tools to retrieve the XPath, also by right-clicking on the element in the Elements tab and selecting Copy XPath.
Also, do not use the full XPath (also known as absolute XPath) because this is a rigid XPath that includes the entire element path, starting from the HTML tag. It is not recommended in automated testing due to its rigidness. Any change done to attributes starting from the root of the web page will render the XPath invalid.
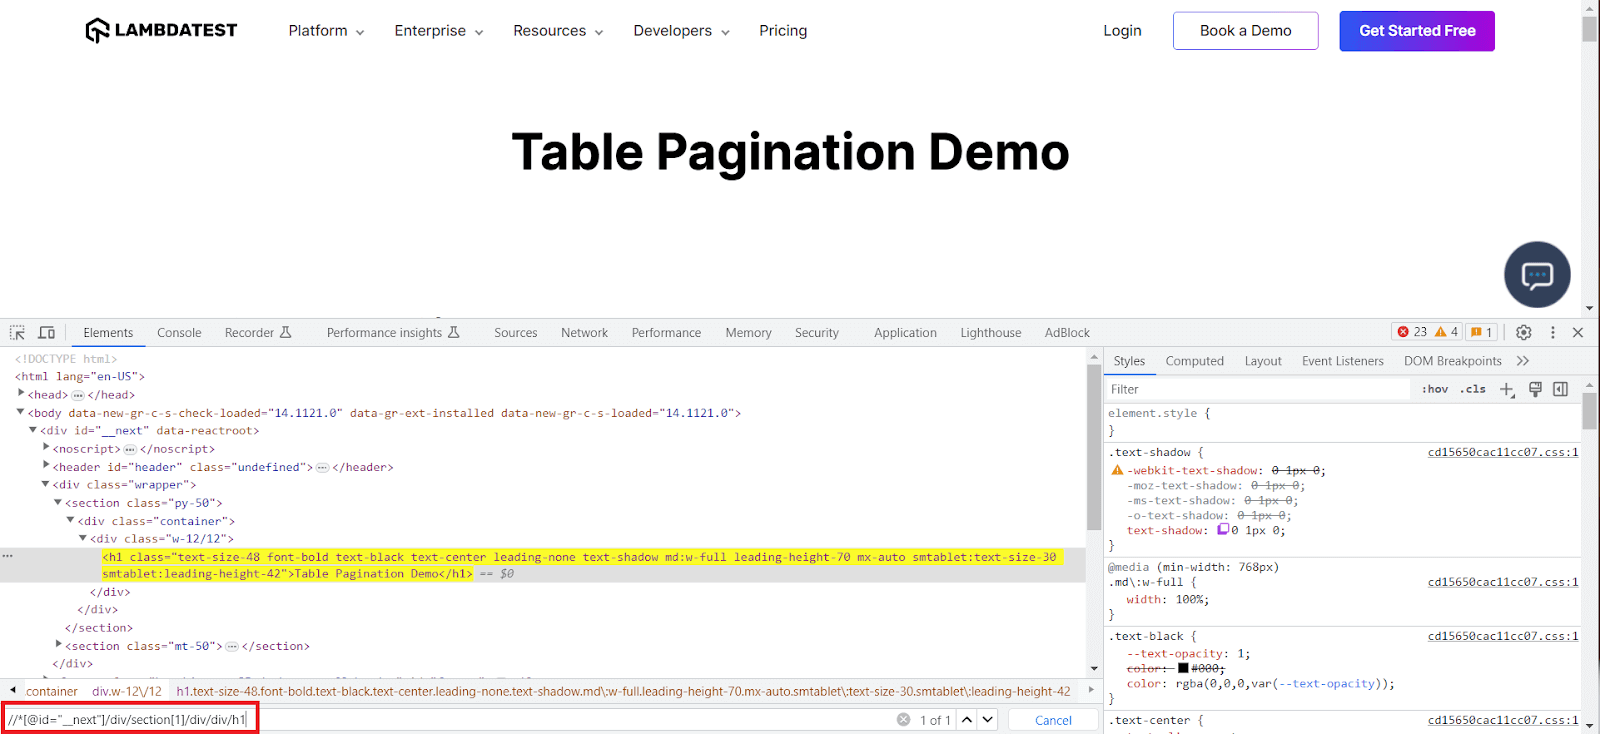
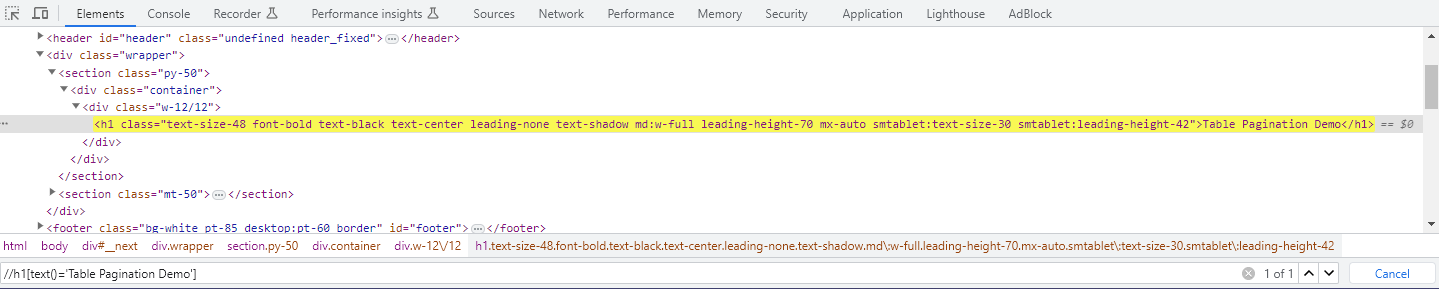
So, using the Copy XPath option will copy a relative XPath to the clipboard. You can see what it looks like and what elements it identifies by running a search (keyboard shortcut CTRL+F on Windows) in the Elements tab in the Developer Tools, and paste the copied value, then press Enter.
XPath Syntax for Finding an Element by Text
Another thing to note is that the XPath generated in Developer Tools will not always be the one we want to use in our tests. In the above example, you can see that the XPath is not necessarily the ideal one.
We can change it and create our own based on the element’s text. Here are the following ways to do this.
| Check the exact text value | driver.FindElements(By.XPath("//h1[text()='Table Pagination Demo']")); |
| Use the contains function | driver.FindElements(By.XPath("contains (text(),'Table Pagination Demo')")); |
| Use normalized space (which ignores trailing and leading spaces) | driver.FindElement(By.XPath("//a[normalize-space()='Shop by Category']")) |
To ensure the XPath is correct, we can use the Find function in the Developer Tools again and see how many elements match the XPath.

How to Find Element by Text in Selenium C#?
Let’s see how finding elements by text works with Selenium WebDriver in C#. When identifying elements with Selenium, we can use two commands:
- FindElement(), which will identify the first matching elements.
- FindElements(), which identifies all matching elements on the page as a list or an empty list if no elements are found.
The first one is useful when we need to interact with one specific element, for example, when we want to click a button. The second one can be used to check that more elements of the same type can be found – for example, a number of search results after performing a filter.
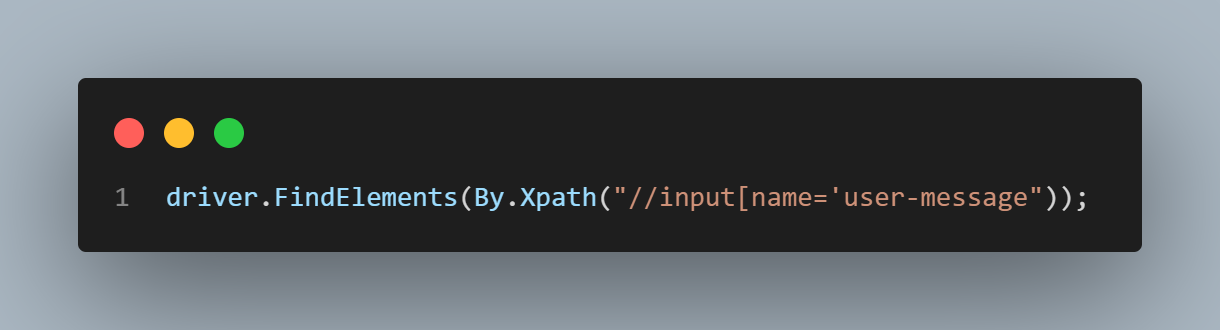
When finding an element by text using Selenium C#, the syntax looks like this (I will use the same element from the above example).
FindElement():
|
1 2 |
driver.FindElement(By.XPath("//h1[text()='Table Pagination Demo']")); driver.FindElement(By.XPath("//h1[ contains (text(),'Table Pagination Demo')]")); |
FindElements():
|
1 2 3 |
driver.FindElements(By.XPath("//h1[text()='Table Pagination Demo']")); driver.FindElements(By.XPath("//h1[text()='Table Pagination Demo']")); driver.FindElements(By.XPath("//h1[ contains (text(),'Table Pagination Demo')]")); |
Demonstration: How to Find Element by Text in Selenium C#?
In this blog section on how to find elements by text in Selenium C#, let’s see a test scenario where we find an element by text using Selenium C#.
Problem Scenario
|
Implementation
Before getting started, let’s get a few things out of the way. For this demo on how to use find element by text in Selenium C#, I am using Visual Studio 2022, but you can use any IDE of your choice. In Visual Studio, you can select to create a new project, select its type (NUnit Test, in this case), and then proceed.
Ensure you’re up-to-date with the latest tutorials on automated testing, Selenium automation testing, and more — Subscribe to the LambdaTest YouTube Channel.
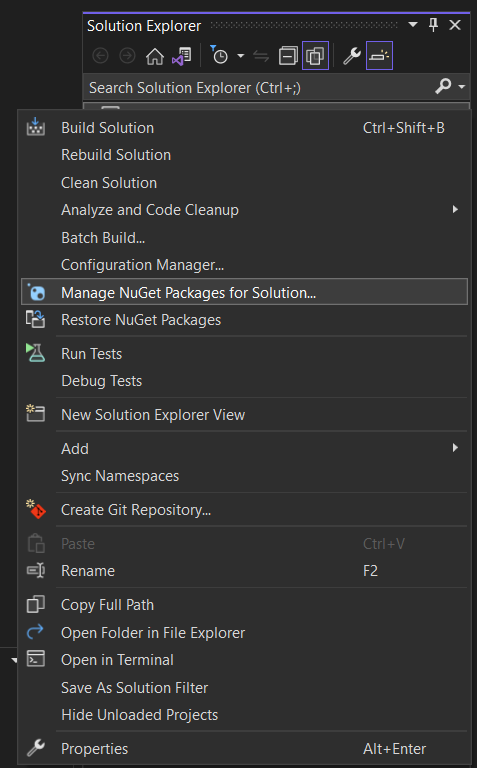
Then, we need to add the NuGet packages for Selenium WebDriver. You can do that from the Visual Studio UI by right-clicking on the solution name and then selecting Manage NuGet Packages for Solution.
Then, search for the NuGet packages in the Browse list.
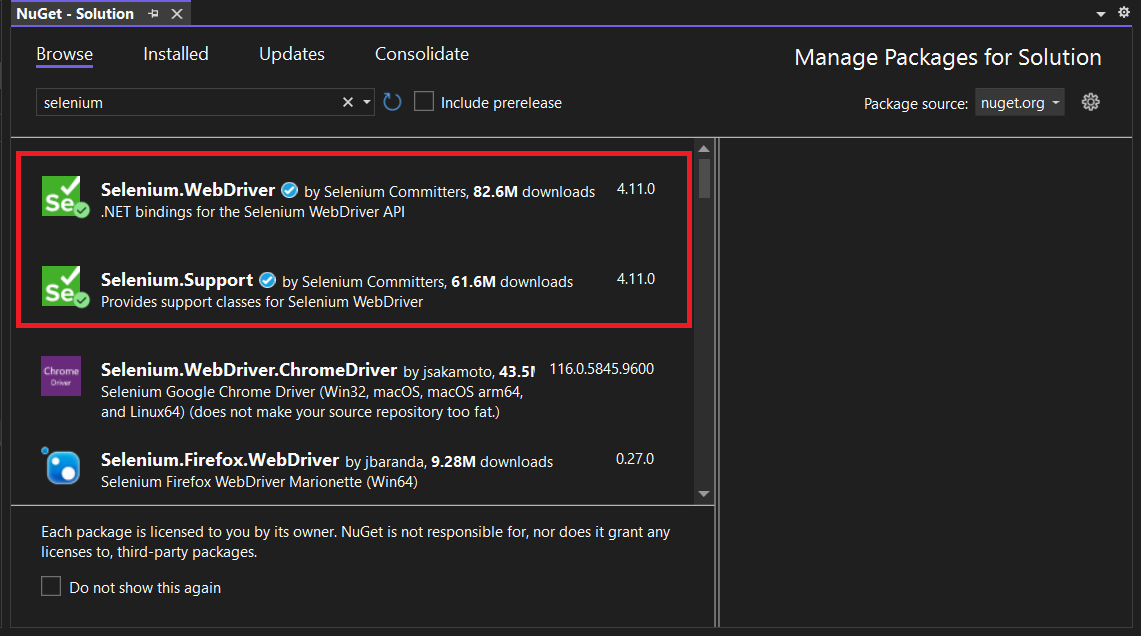
Select and add them to the project – I used the latest versions for Selenium.WebDriver and Selenium.Support (when writing this blog on how to find elements by text in Selenium C#, both are 4.11.0).
Alternatively, you can install the packages through the command line.
PM> NuGet\Install-Package Selenium.WebDriver -Version 4.11.0
For executing the Selenium tests, I am using the cloud grid provided by LambdaTest – an AI-powered test orchestration and execution platform that allows you to perform automation testing using C# of your websites across 3000+ different browsers, devices, and platform permutations.
I will use the LambdaTest capabilities generator to configure the browser capabilities – in this example, I used the latest version of Chrome, but you can modify them as needed.
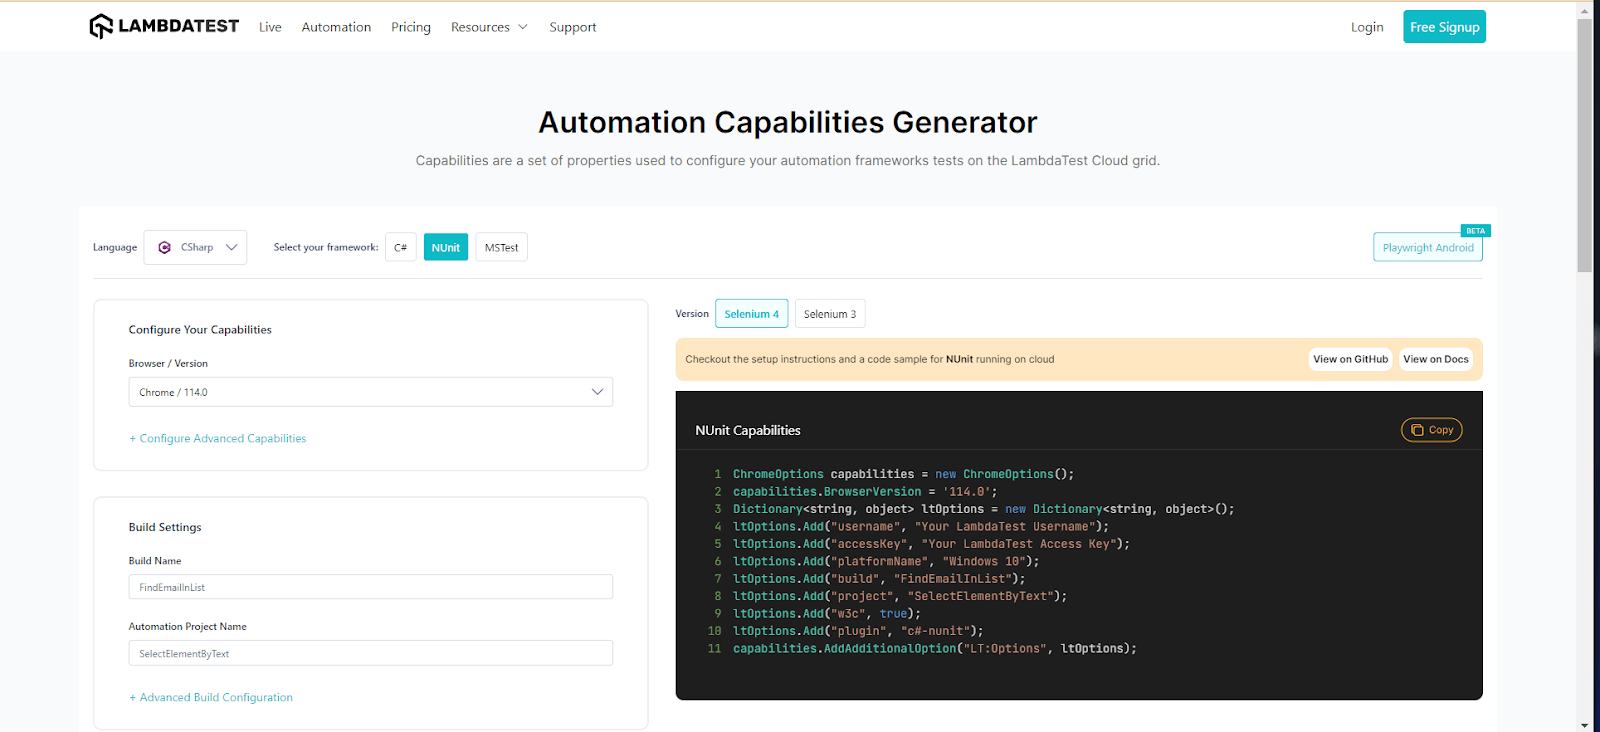
Also, it’s good practice to keep credentials (such as the access key and the username) stored as environment variables and not hardcoded in your code.
To get these credentials, go to your LambdaTest Profile > Account Settings > Password & Security.
For macOS and Linux:
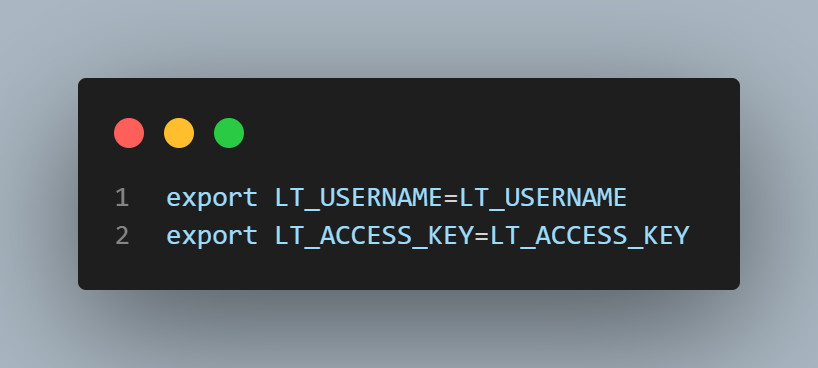
For Windows:

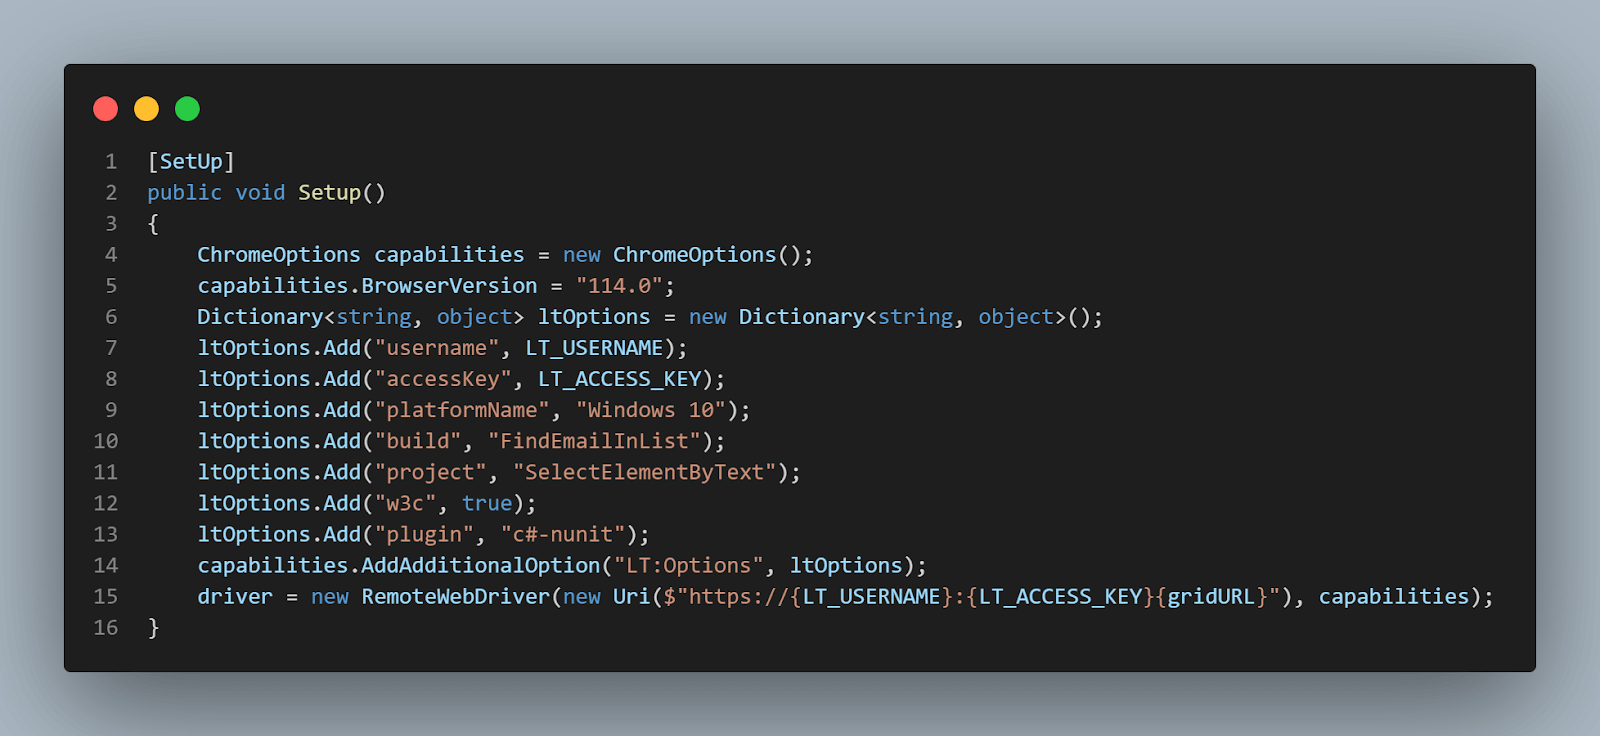
Let’s take a look at the test script now.
|
1 2 3 4 5 6 7 8 9 10 11 12 13 14 15 16 17 18 19 20 21 22 23 24 25 26 27 28 29 30 31 32 33 34 35 36 37 38 39 40 41 42 43 44 45 46 47 48 49 50 51 52 53 54 55 56 |
using OpenQA.Selenium; using OpenQA.Selenium.Chrome; using OpenQA.Selenium.Remote; using OpenQA.Selenium.Support.UI; namespace FindElementByText { public class FindElementByTextCSharp { private static IWebDriver driver; public static string gridURL = "@hub.lambdatest.com/wd/hub"; private static readonly string LT_USERNAME = Environment.GetEnvironmentVariable("LT_USERNAME"); private static readonly string LT_ACCESS_KEY = Environment.GetEnvironmentVariable("LT_ACCESS_KEY"); private static readonly string testURL = "https://www.lambdatest.com/selenium-playground/table-pagination-demo"; [SetUp] public void Setup() { ChromeOptions capabilities = new ChromeOptions(); capabilities.BrowserVersion = "latest"; Dictionary<string, object> ltOptions = new Dictionary<string, object>(); ltOptions.Add("username", LT_USERNAME); ltOptions.Add("accessKey", LT_ACCESS_KEY); ltOptions.Add("platformName", "Windows 10"); ltOptions.Add("build", "FindEmailInList"); ltOptions.Add("project", "SelectElementByText"); ltOptions.Add("w3c", true); ltOptions.Add("plugin", "c#-nunit"); capabilities.AddAdditionalOption("LT:Options", ltOptions); driver = new RemoteWebDriver(new Uri($"https://{LT_USERNAME}:{LT_ACCESS_KEY}{gridURL}"), capabilities); } [Test] public void FindEmailByText() { driver.Navigate().GoToUrl(testURL); SelectElement dropDown = new SelectElement(driver.FindElement(By.XPath("//select[@class='form-control']"))); dropDown.SelectByValue("5000"); // Validate the element exists bool isEmailFound = driver.FindElement(By.XPath("//td[text()='noemail@randatmail.com']")).Displayed; Assert.That(isEmailFound); } [TearDown] public void CloseBrowser() { driver.Quit(); } } |

Code Walkthrough
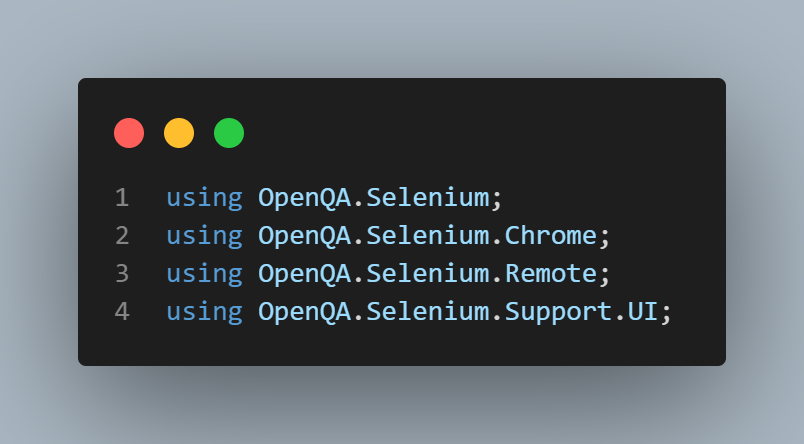
Any C# class starts with the using statements – this is where the directives are added.
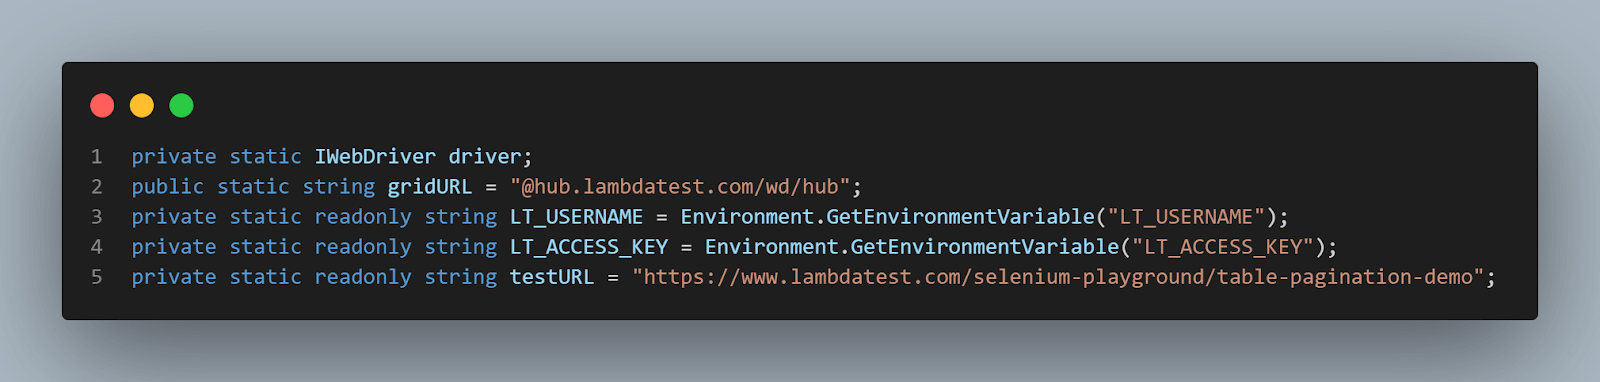
Then, we declare the local variables: we need a driver instance, the LambdaTest credentials (which we read from the environment variables) and URL, and the test URL, the web page where we run our tests.
The [Setup] method is a method that will run before each test case. We are using the NUnit [Setup] attribute – marking it as such will instruct the code to execute the code inside it before starting each test.
Here, we need to use the capabilities set up in the capabilities generator (just copy/paste the code from there) and initialize the driver.
Again, using NUnit annotations, we mark the test method with the [Test] attribute.
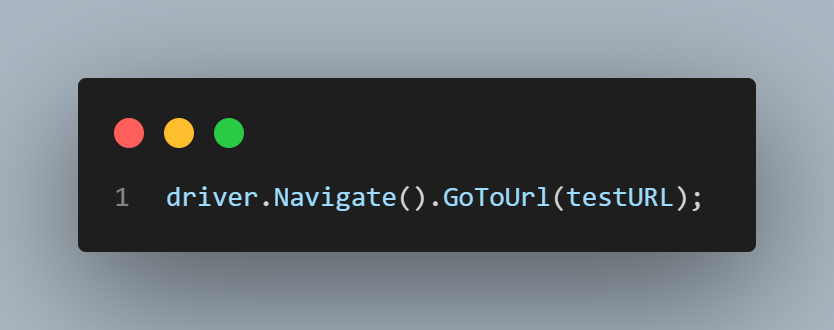
The first step is to open the web page. This is done using the Navigate().GoToUrl() Selenium command.
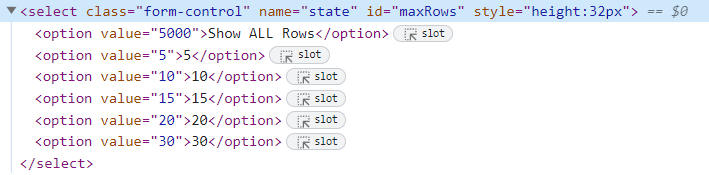
Next, to open the dropdown and select a value, we need to use the SelectElement class.
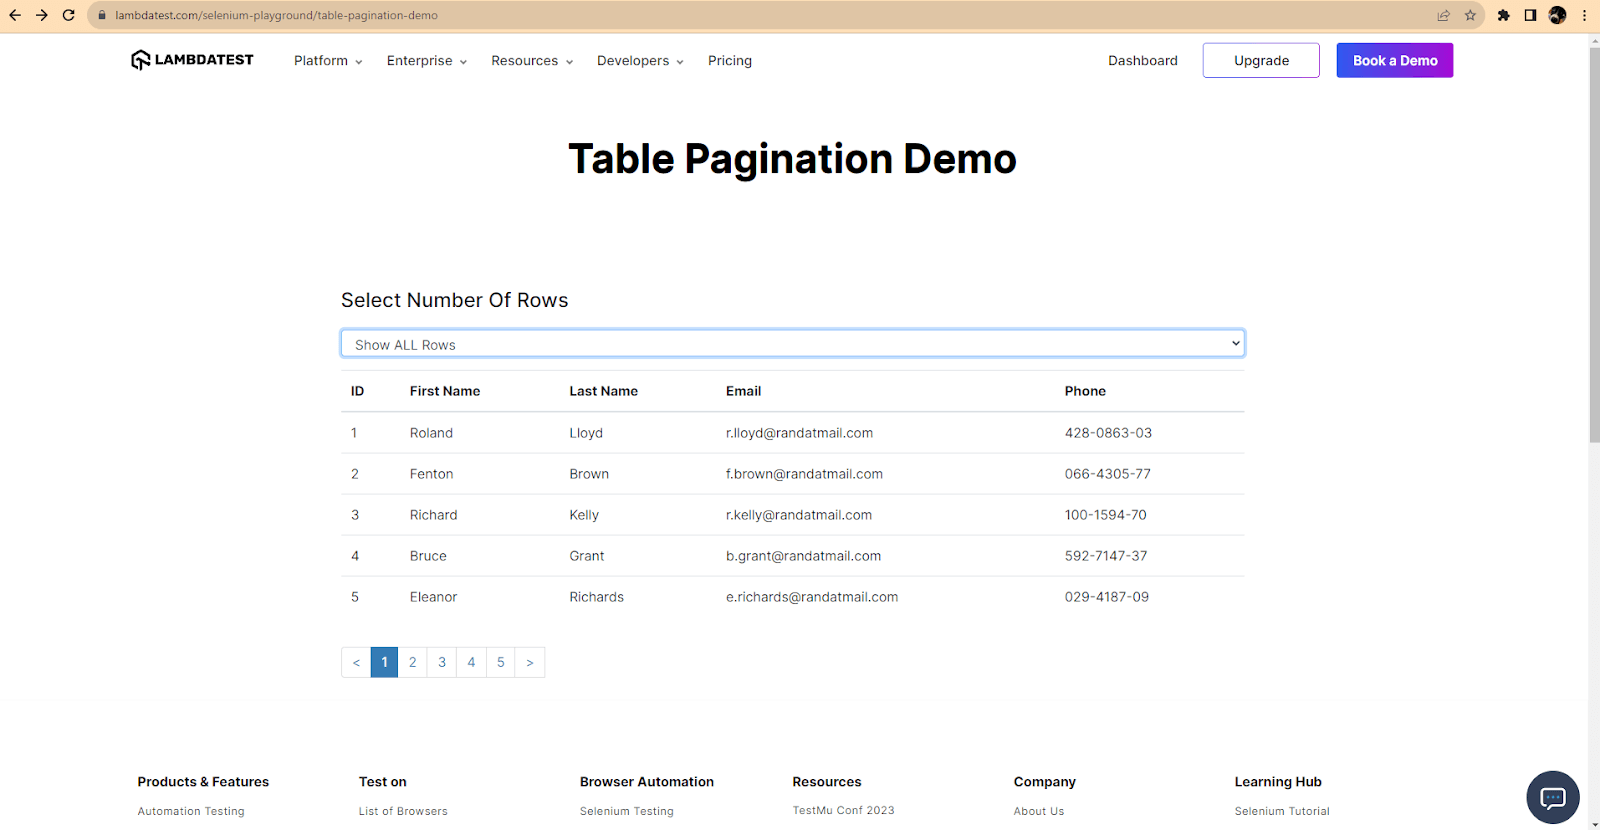
To identify it, we can use its XPath and then select the drop-down option based on its value.

Next, we need to validate that the expected element is displayed. I used two ways to validate this. But first, let’s see how to locate the element on the page.
For this, we need to do the same thing as before and inspect the element in the Developer Tools Elements tab.
![]()
We can see that the element has no attributes other than the text. So, we can create our XPath using its HTML tag (td) and text value r.smith@randatmail.com. The resulting XPath will be as follows.
|
1 |
//td[text()='r.smith@randatmail.com'] |
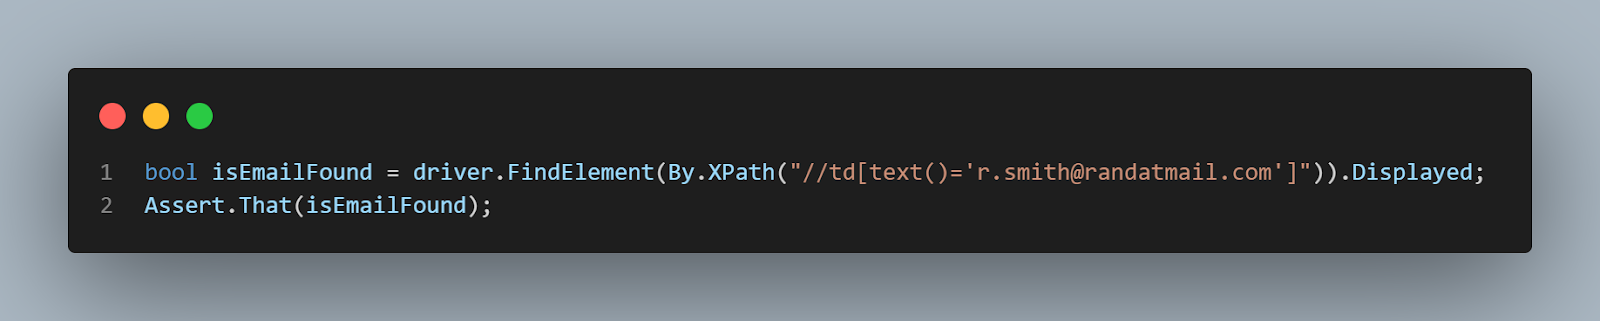
The first way to validate is to check that the web element containing the text is displayed. This way, we can create a new boolean variable, which will be true if the element is displayed or false if it’s not. To do this, we need to declare the variable and use the FindElements() command with the XPath created using the text value and the Displayed property.
Then, we validate that the boolean value is true using the NUnit Assert class.
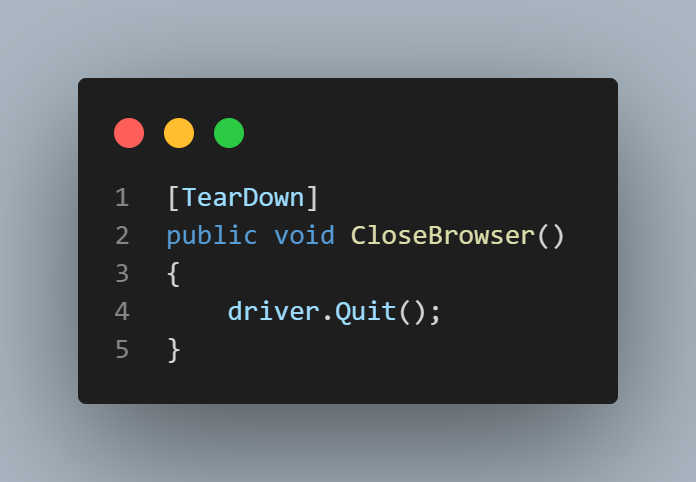
The last part of the test class is the teardown, marked as such with the NUnit attribute [TearDown]. This is a method that will run after each test execution. In our test, we only need to close the browser instance to use the Quit() command.
Find Multiple Elements by Text in Selenium C#
Another way to validate that same scenario is to find the list of elements with the expected text value and validate that the list is not empty.
Implementation
We will use the same setup and teardown as above; only the test will look different:
|
1 2 3 4 5 6 7 8 9 10 11 12 |
[Test] public void FindMultipleEmailsByText() { driver.Navigate().GoToUrl(testURL); SelectElement dropDown = new SelectElement(driver.FindElement(By.XPath("//select[@class='form-control']"))); dropDown.SelectByValue("5000"); // Validate the list of elements contains at least one web element var elements = driver.FindElements(By.XPath("//td[text()='r.smith@randatmail.com']")); Assert.That(elements.Count > 0); } |
Code Walkthrough
The first steps are the same as above. We need to navigate to the page and load all the elements in the table.
The XPath is also the same, but this time, we stored all the found elements in a web elements list variable.
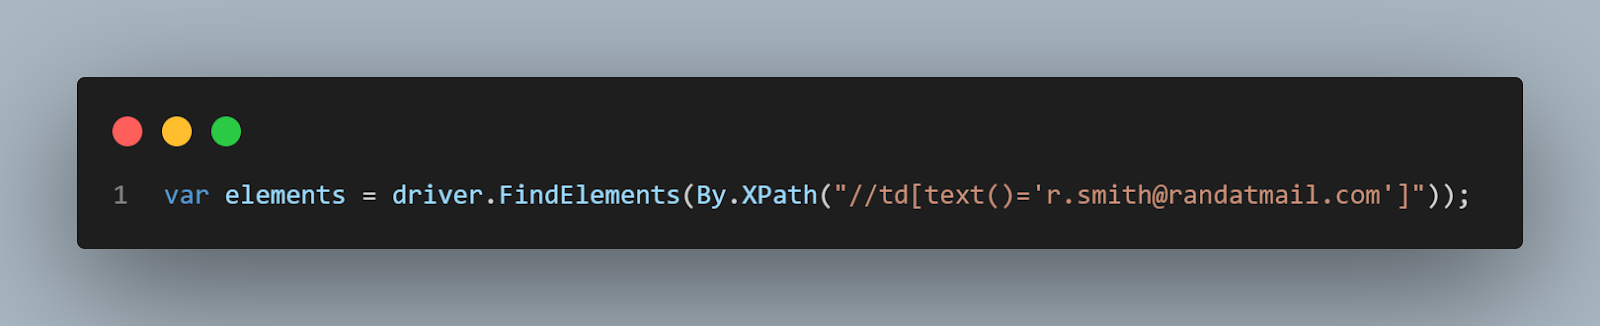
Then, using the Assert class from NUnit, we validate that the list is not empty, meaning that its element count is higher than 0.

Finding Element by Text in Selenium C# Using Normalize-Space and Contains
In this section on how to find elements by text in Selenium C#, I will demonstrate another way of finding an element by text using a different scenario before we finally move to the test execution.
Problem Scenario
|

We can create the test in the same class, so there is no need to recreate new SetUp and TearDown methods, only the test method.
|
1 2 3 4 5 6 7 8 9 |
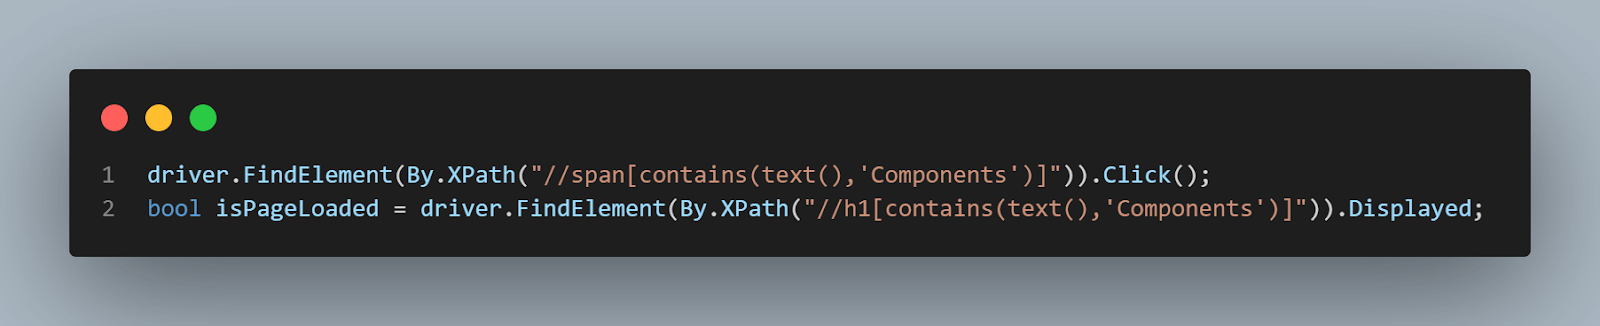
[Test] public void FindElementByTextInEcommerceSite() { driver.Navigate().GoToUrl("https://ecommerce-playground.lambdatest.io/"); driver.FindElement(By.XPath("//a[normalize-space()='Shop by Category']")).Click(); driver.FindElement(By.XPath("//span[contains(text(),'Components')]")).Click(); bool isPageLoaded = driver.FindElement(By.XPath("//h1[contains(text(),'Components')]")).Displayed; Assert.That(isPageLoaded); } |
Code Walkthrough
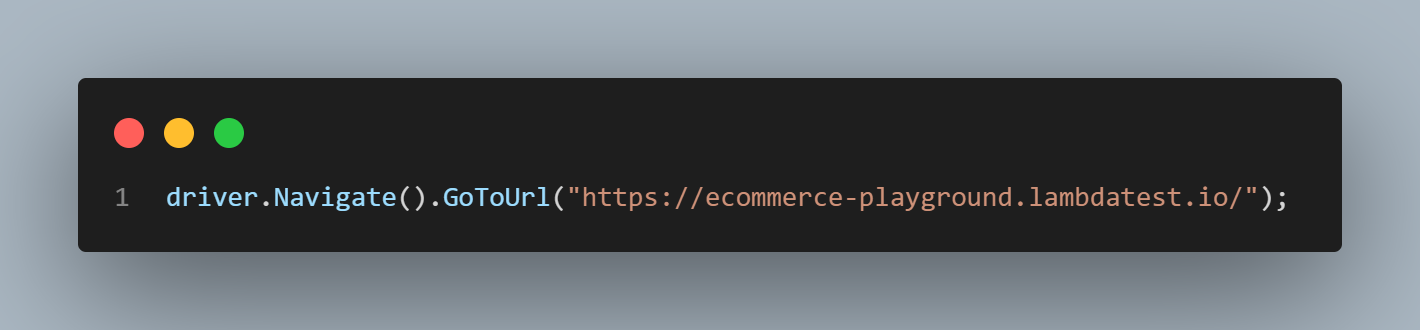
The code is not very different from what we had before. We start by navigating to the web page URL.
Then, we identify and click on the Shop by Category element.

In the Developer Tools, we can see that the text contains a space.

So we can use the XPath either as before, like this
|
1 |
driver.FindElement(By.XPath("//a[text()=' Shop by Category']")) |
Or we can use normalize-space() to ignore the leading space, as you can see in the screenshot. Both XPath work the same, but I find the normalize-space() method to be a bit more elegant.
To click on the sub-menu item, we can again use an XPath containing text and apply the same strategy for the element we want to confirm is displayed.
Then, use the same Assert as before:
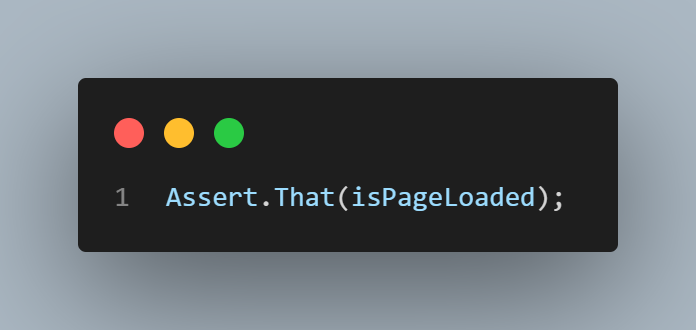
 Note
NoteRun your C# automated tests on the cloud Selenium grid. Try LambdaTest Today!
Test Execution on Cloud
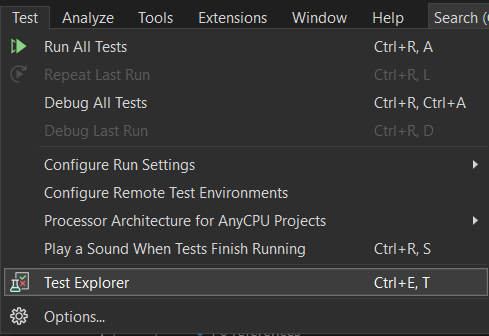
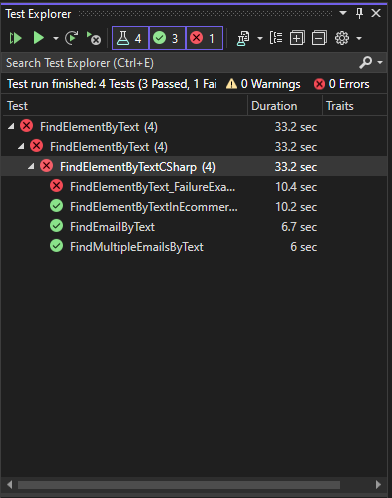
If you’re working with Visual Studio, the available tests are shown in the Test Explorer panel. If the panel is not visible, you can open it from the Test → Test Explorer or using the shortcut Ctrl+E, T.

|
1 2 3 4 5 6 7 8 9 |
[Test] public void FindElementByText_FailureExample() { driver.Navigate().GoToUrl(testURL); SelectElement dropDown = new SelectElement(driver.FindElement(By.XPath("//select[@class='form-control']"))); dropDown.SelectByValue("5000"); bool isEmailFound = driver.FindElement(By.XPath("//td[text()='noemail@randatmail.com']")).Displayed; Assert.That(isEmailFound); } |
Then the tests can be executed by right-clicking on them or their parent and selecting Run or from the buttons on the top menu.
After the test execution ends, you can see the results in the same panel.

Because we are running our tests on the LambdaTest online Selenium Grid, no browser window opens on the local machine, and everything runs on the remote machine. In Test Explorer, we can see the pass/fail results, but if we go to the LambdaTest Web Automation Dashboard, we can see even more details.
To see the results, open the Dashboard, then navigate to the Automation → Web Automation. Here is a list of all the executed tests (I filtered to only see the runs on the current day).
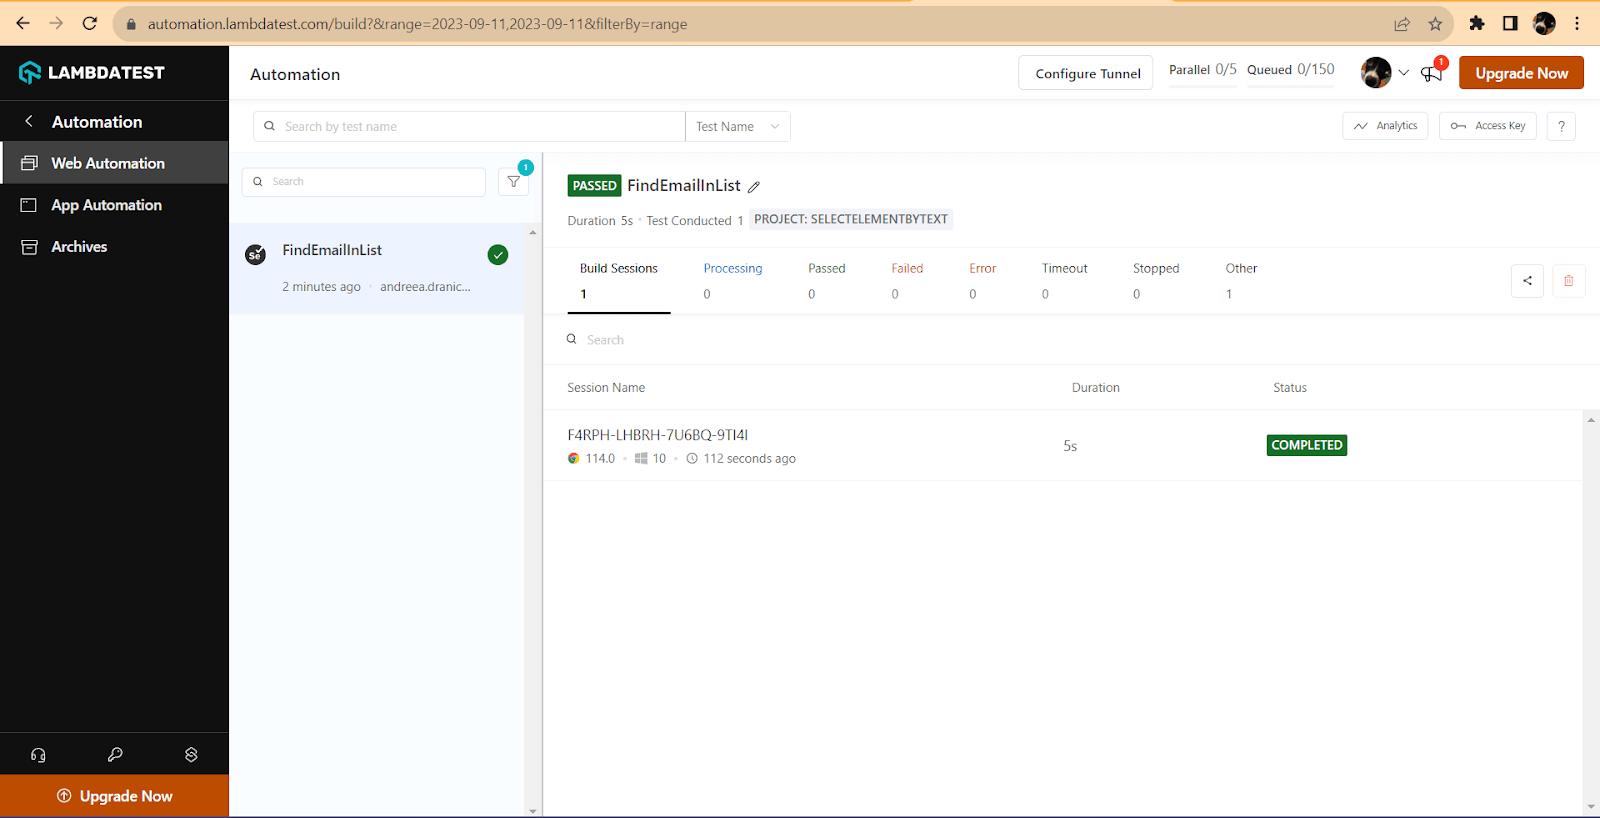
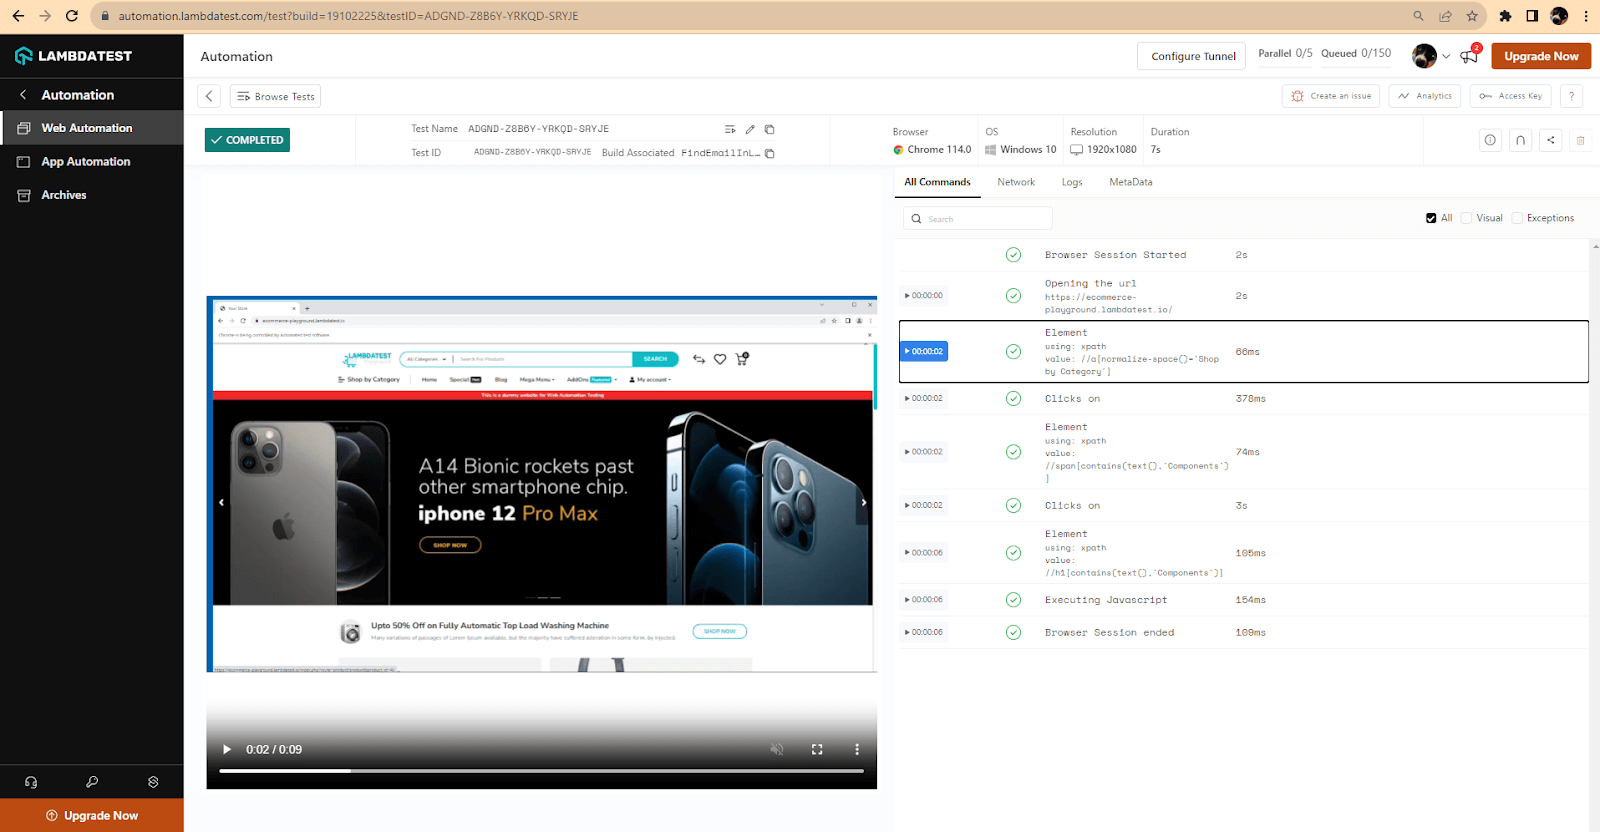
You can see here, on the left side panel, that the build name from the capabilities is displayed. Then, if you open the session, you can access more details for the test.
The browser capabilities set in the setup are also shown – the browser version, the operating system, and the resolution. You can also see a playback of the test execution, and on the right-hand side, you can see all the Selenium commands sent in the test.
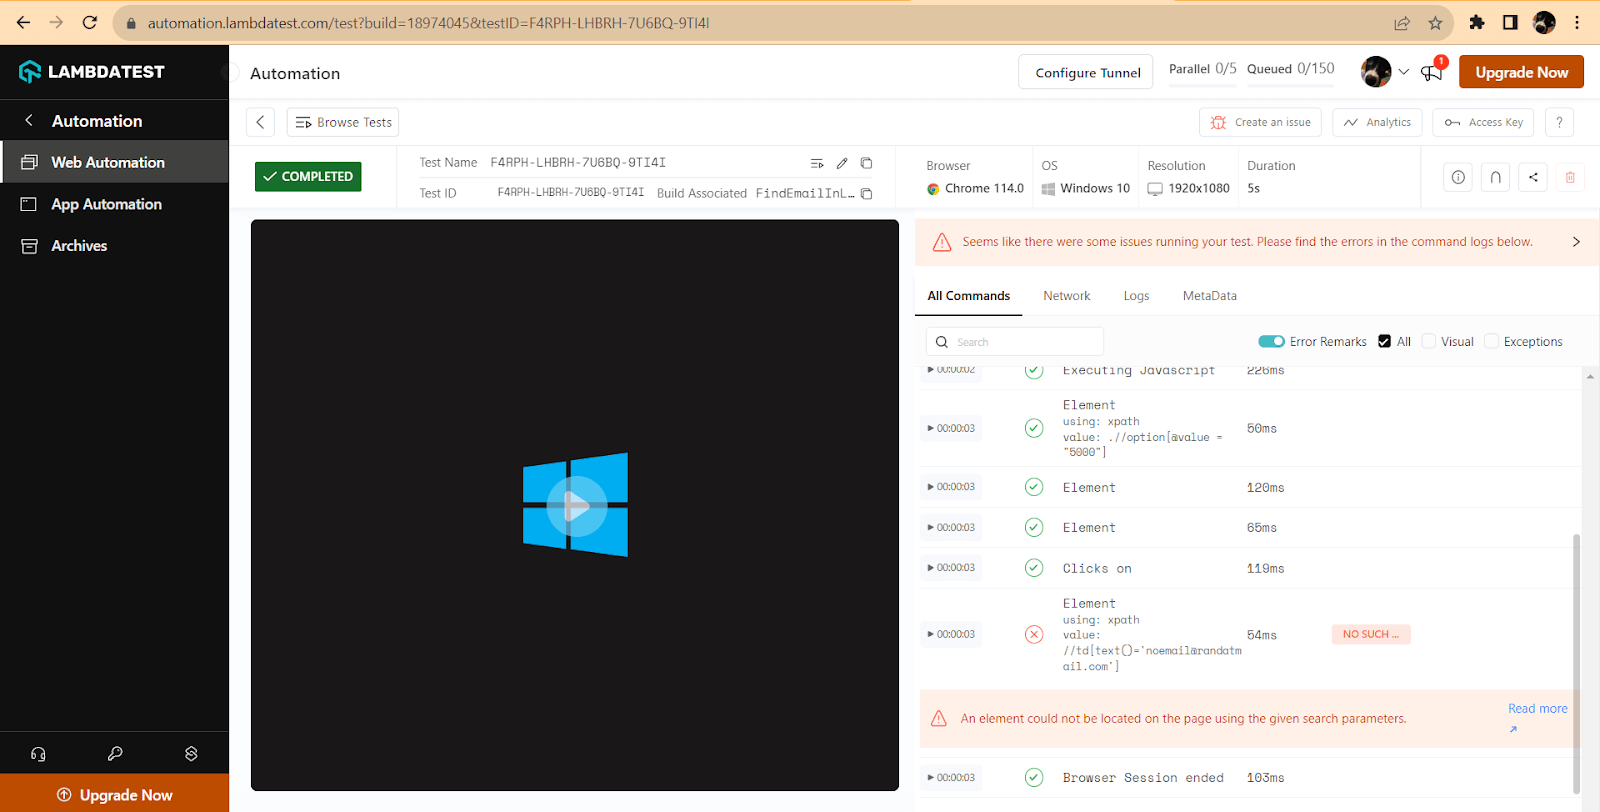
And if you go back to the Web Automation Dashboard, you can also see the details (the command where it failed).
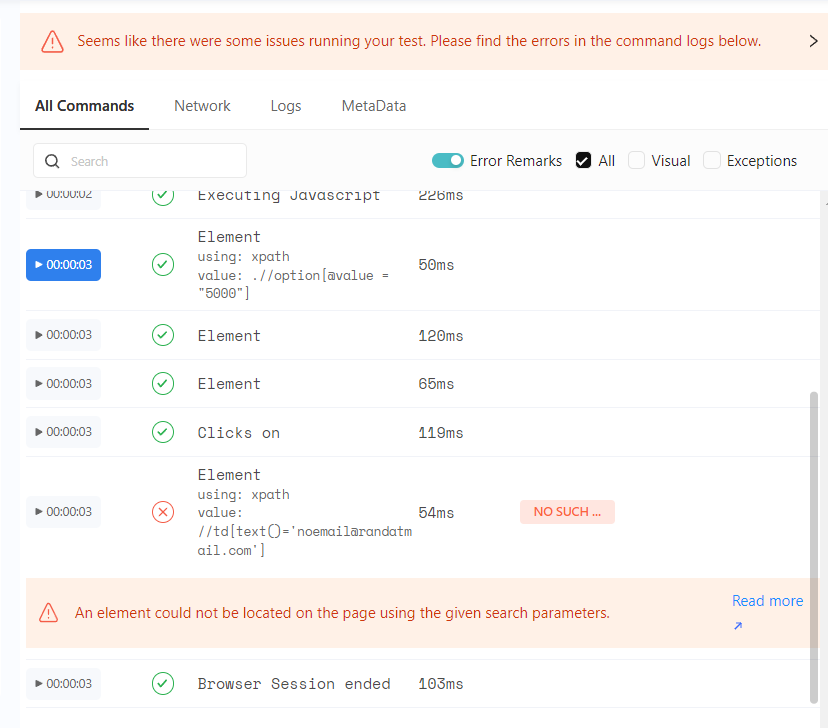
You can also click on Read more to find out more details about the error (in our case, it’s No Such Element); you can view the parameters of the error.

We can also run all the tests together by selecting Run All Tests in View or selecting Run while on the class name, project name, or solution name in the Test Explorer. The rest of the tests should pass.
Back in the LambdaTest Web Automation Dashboard, we can also see details on the test execution.
Once the tests are written, the test execution is simple – just run the tests and analyze the results. For failed tests, you can see the failure caused both in Visual Studio and the LambdaTest Web Automation Dashboard. For all tests, you can see each step detailed in the LambdaTest Web Automation Dashboard and even watch a recording of the test execution.
Conclusion
Sometimes, basic locators such as ID or tag are insufficient to identify the element on the web page with which we need to interact, so we need to locate them based on their text value. This can be easily done using an XPath created based on the text.
In this blog on how to find elements by text in Selenium C#, we covered how to use Developer Tools in the browser to see the element information, build the XPath using the text value, and then find the element by text in Selenium C#.
Also, using a basic scenario, we were able to execute a test on the cloud grid and evaluate the test results, both in the case of a passed and a failed test.
While finding elements by text can be a powerful approach in various scenarios, it’s essential to use it wisely. Over Reliance on text-based locators can make your tests fragile if the text changes frequently or elements have identical text values. In such cases, combining text locators with other attributes or strategies, such as unique IDs or CSS classes, can help create more robust and stable automation scripts.
Frequently Asked Questions (FAQs)
How do I find an element that contains specific text in Selenium WebDriver C#?
To find an element containing specific text in Selenium WebDriver C#, use the findElement() or findElements() method with the XPath locator strategy. XPath is a language that is used to select nodes from an XML document. In Selenium, XPath can be used to locate elements on a web page, which is essentially an HTML document.


Author’s Profile
Andreea Draniceanu
I’m a software QA engineer based in Romania. I’ve been in the software industry for over 10 years. My current focus is UI test automation with C#, but I love exploring all QA-related areas and sharing my knowledge.
Blogs: 13
Got Questions? Drop them on LambdaTest Community. Visit now


